 USD
USD

Aloha and welcome back to my workstation, everyone!
After I finished creating the shorter Pikake earrings, my brain didn’t want to rest at all. Instead of slowing down, it started buzzing with excitement — ideas popping up one after another — until one clear thought took over: “Okay… now let’s create a 3" Pikake!”
Once that idea pops in, it sticks with me, and before I know it, I’m already imagining what comes next.
I begin to see colors, patterns, and balance dancing around in my head before I even touch a single shell. Everything feels so clear and vivid in my mind that I get excited and just a little impatient to begin. Before anything else, I reach for my little notebook and start writing everything down — color ideas, shell flow, proportions, and all the tiny details that feel important in that moment.
That little notebook is my secret book.
So many of my designs begin right there, captured in a rush of excitement before the shells even come out.
Bringing the Vision to Life
With this new pattern in mind, I knew I would need all kinds of Momi shell colors — black spotted, brown spotted ʻŌnikiniki, soft whites, every shade of blue, and those beautiful yellow tones. Just thinking about mixing all of them together made me smile. This is the part I truly love — taking a vision that lives only in my head and slowly bringing it to life, shell by shell.
Before I could start, I checked my inventory to see what I already had cleaned, sorted, and ready. Luckily, it looked like I had enough prepared Momi shells to make a few pairs before needing to clean more. That moment always feels like a small win.
But then I noticed something right away — I needed to spend more time on the blue shades.
Working with Blue ʻUliʻuli Momi Shells
Blue and gray ʻUliʻuli Momi shells come in so many different tones, and every shade is beautiful in its own way. When used as accents, they make other colors stand out even more. They quietly add depth and contrast, and I love how they bring balance to a design.
I’m already working on a full blog all about blue Momi shells, and I honestly can’t wait to share it with you in the near future. There’s so much to talk about with these shells — from their subtle color variations to the challenges they bring — and I know many of you will enjoy learning more about them.
I’ve also written a separate blog about whether you should or should not clean the sand out from the waha, since that question comes up often and really depends on how the shells will be used.
At the same time, blue Momi shells can be some of the most challenging to work with. Many of them hold sand very tightly inside, and cracks are more common than people realize. That means extra sorting, extra checking, and a lot of patience. Quite a few shells collected from the beach never make it into jewelry at all — many end up in my giveaway pile simply because they aren’t strong enough to last.
Once the sand is gently cleaned away, the shells start to glow with their natural color and texture.
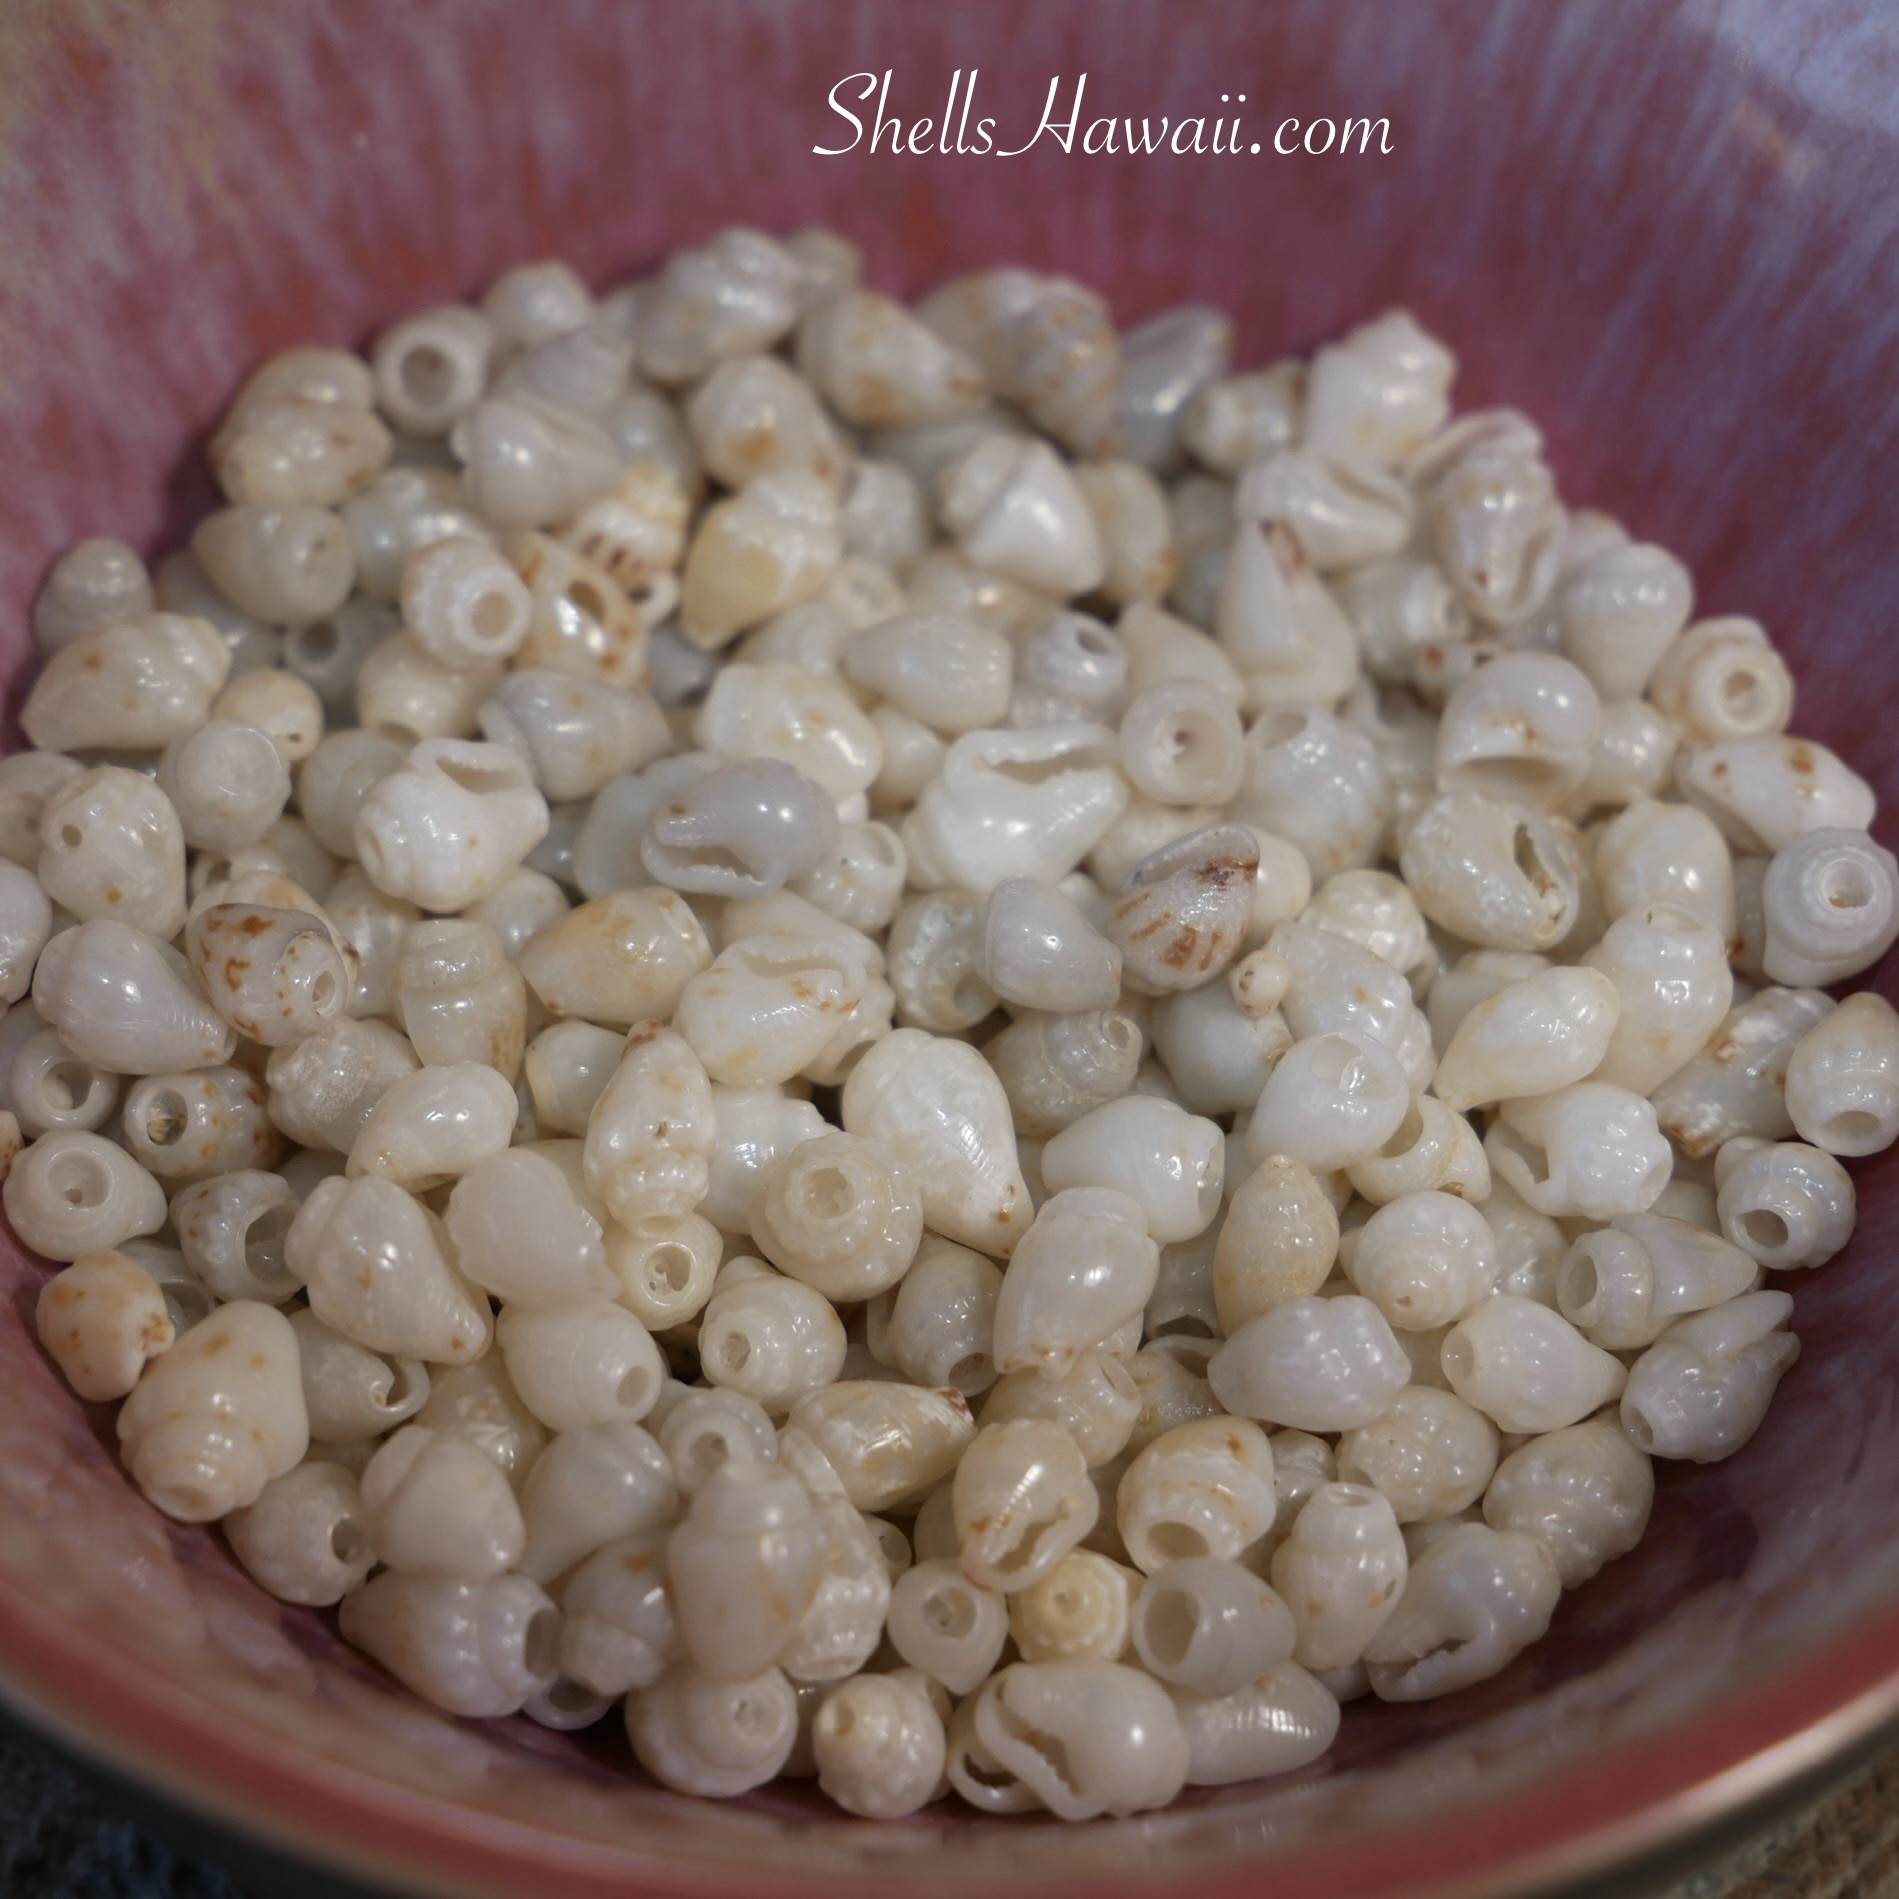
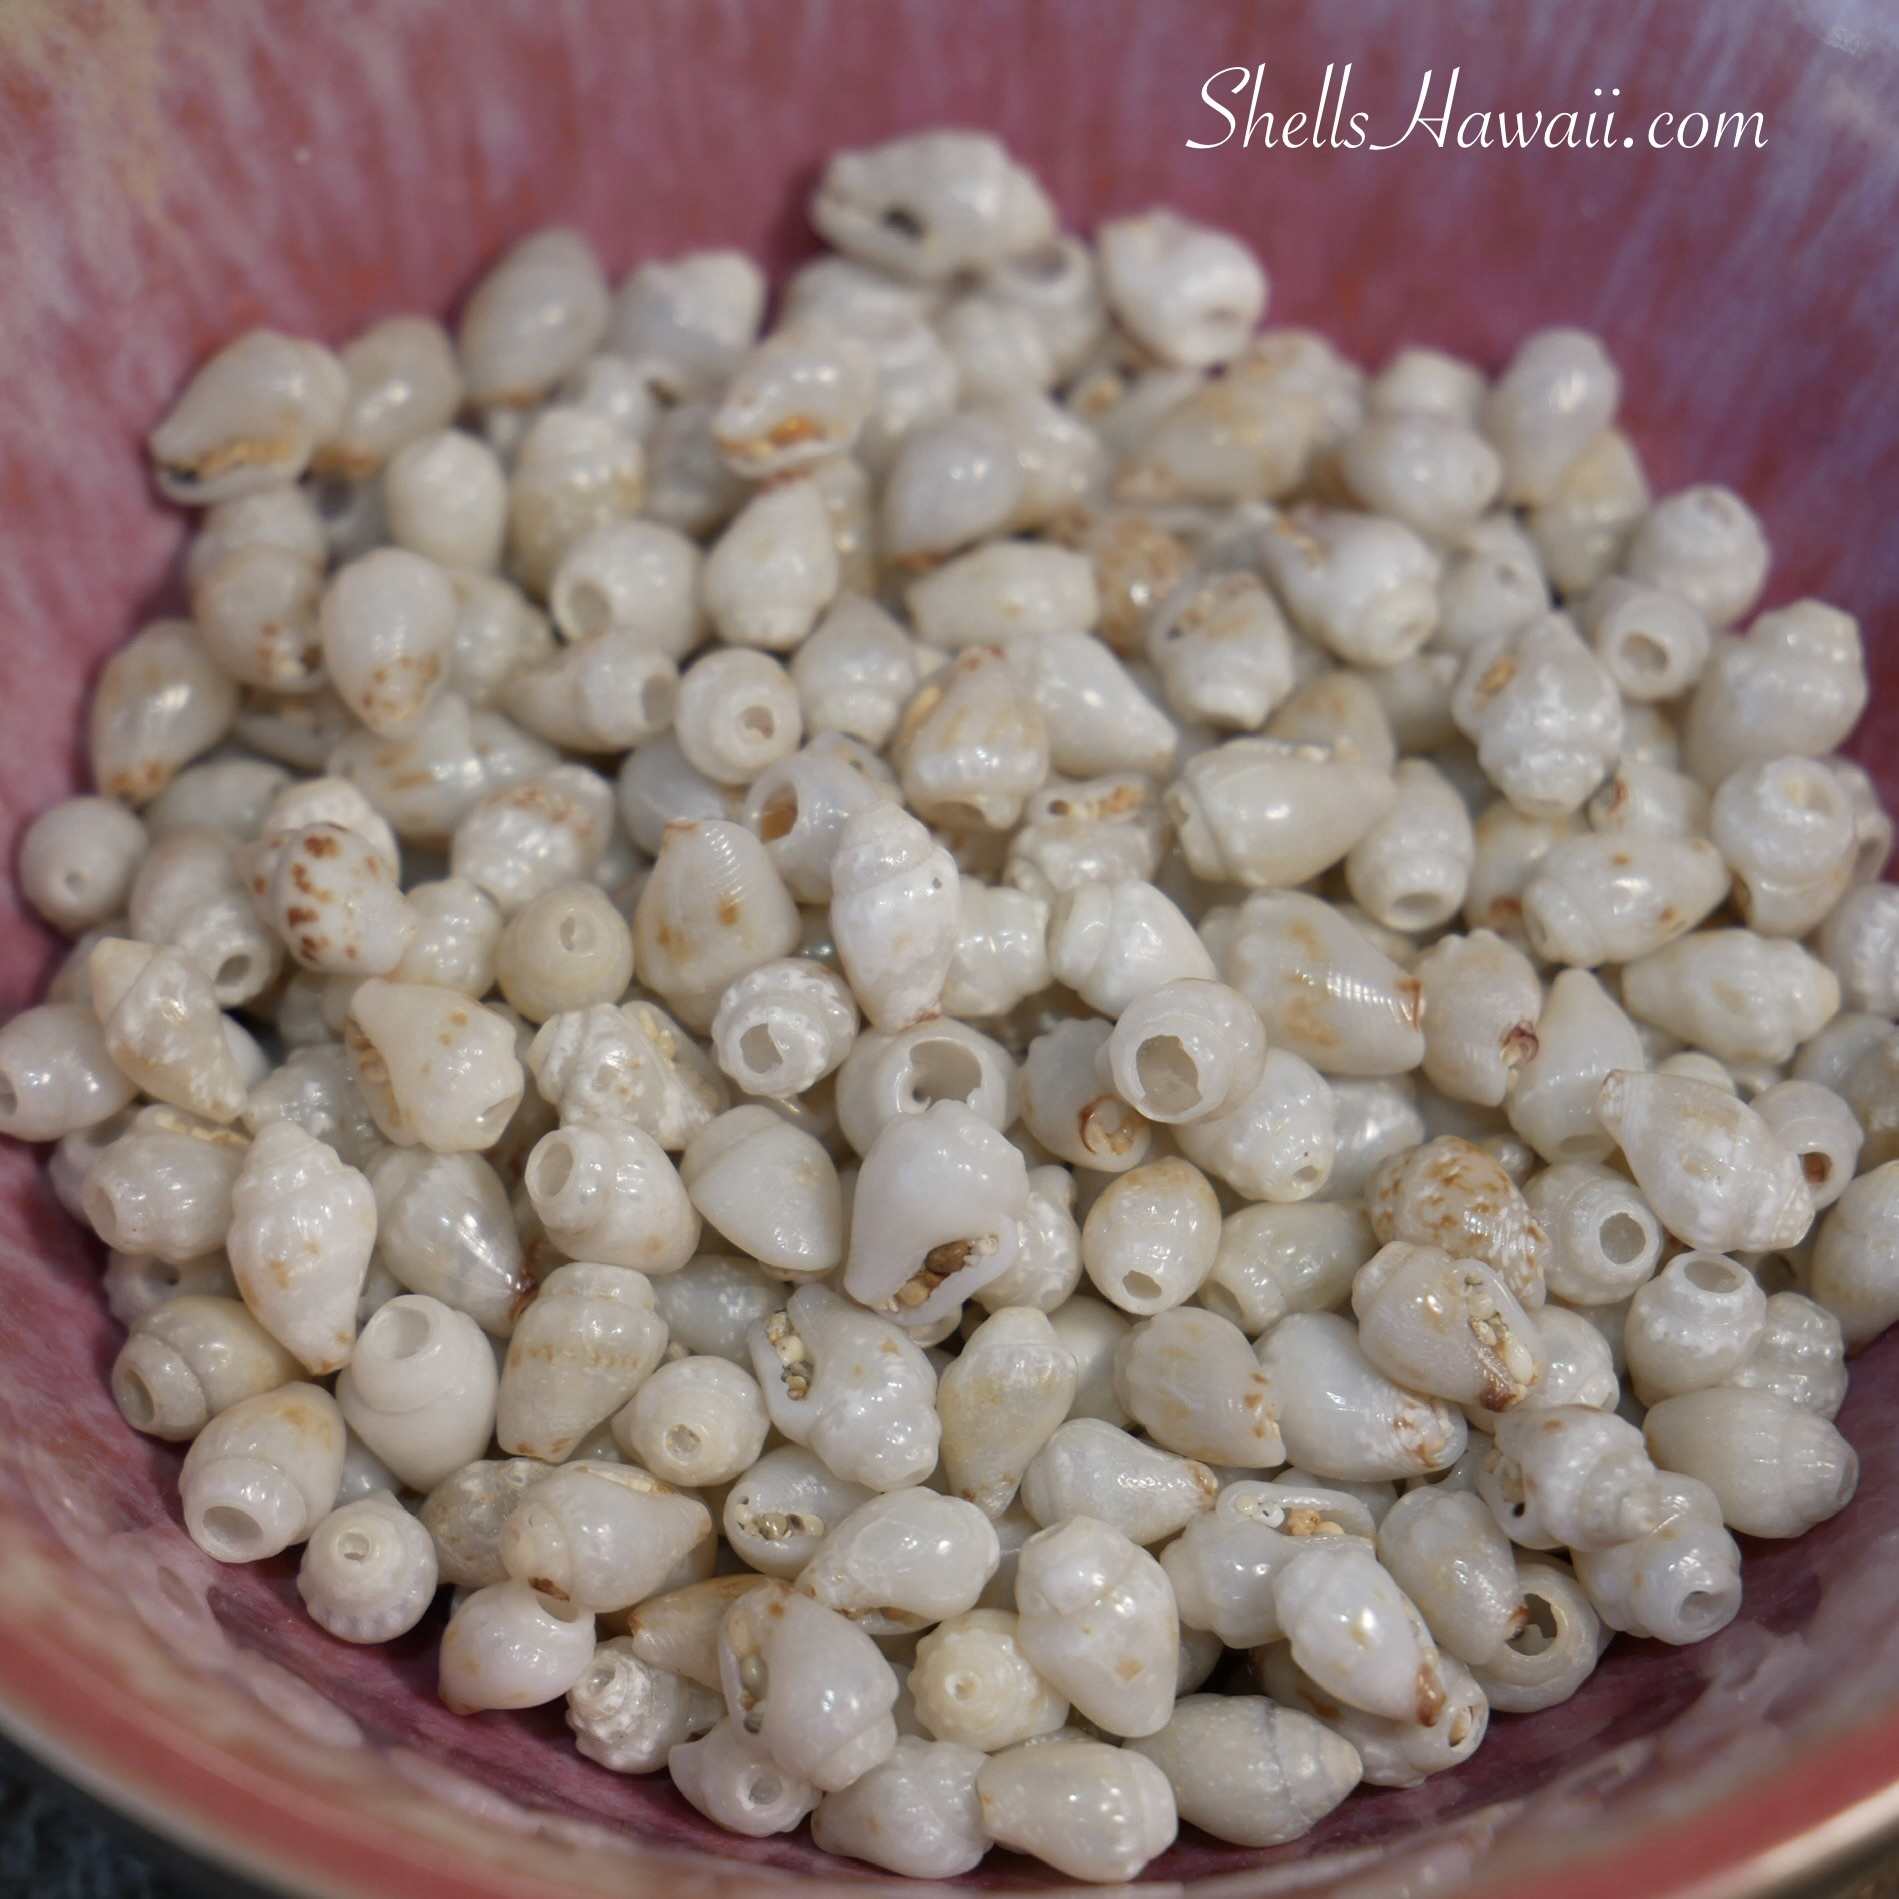
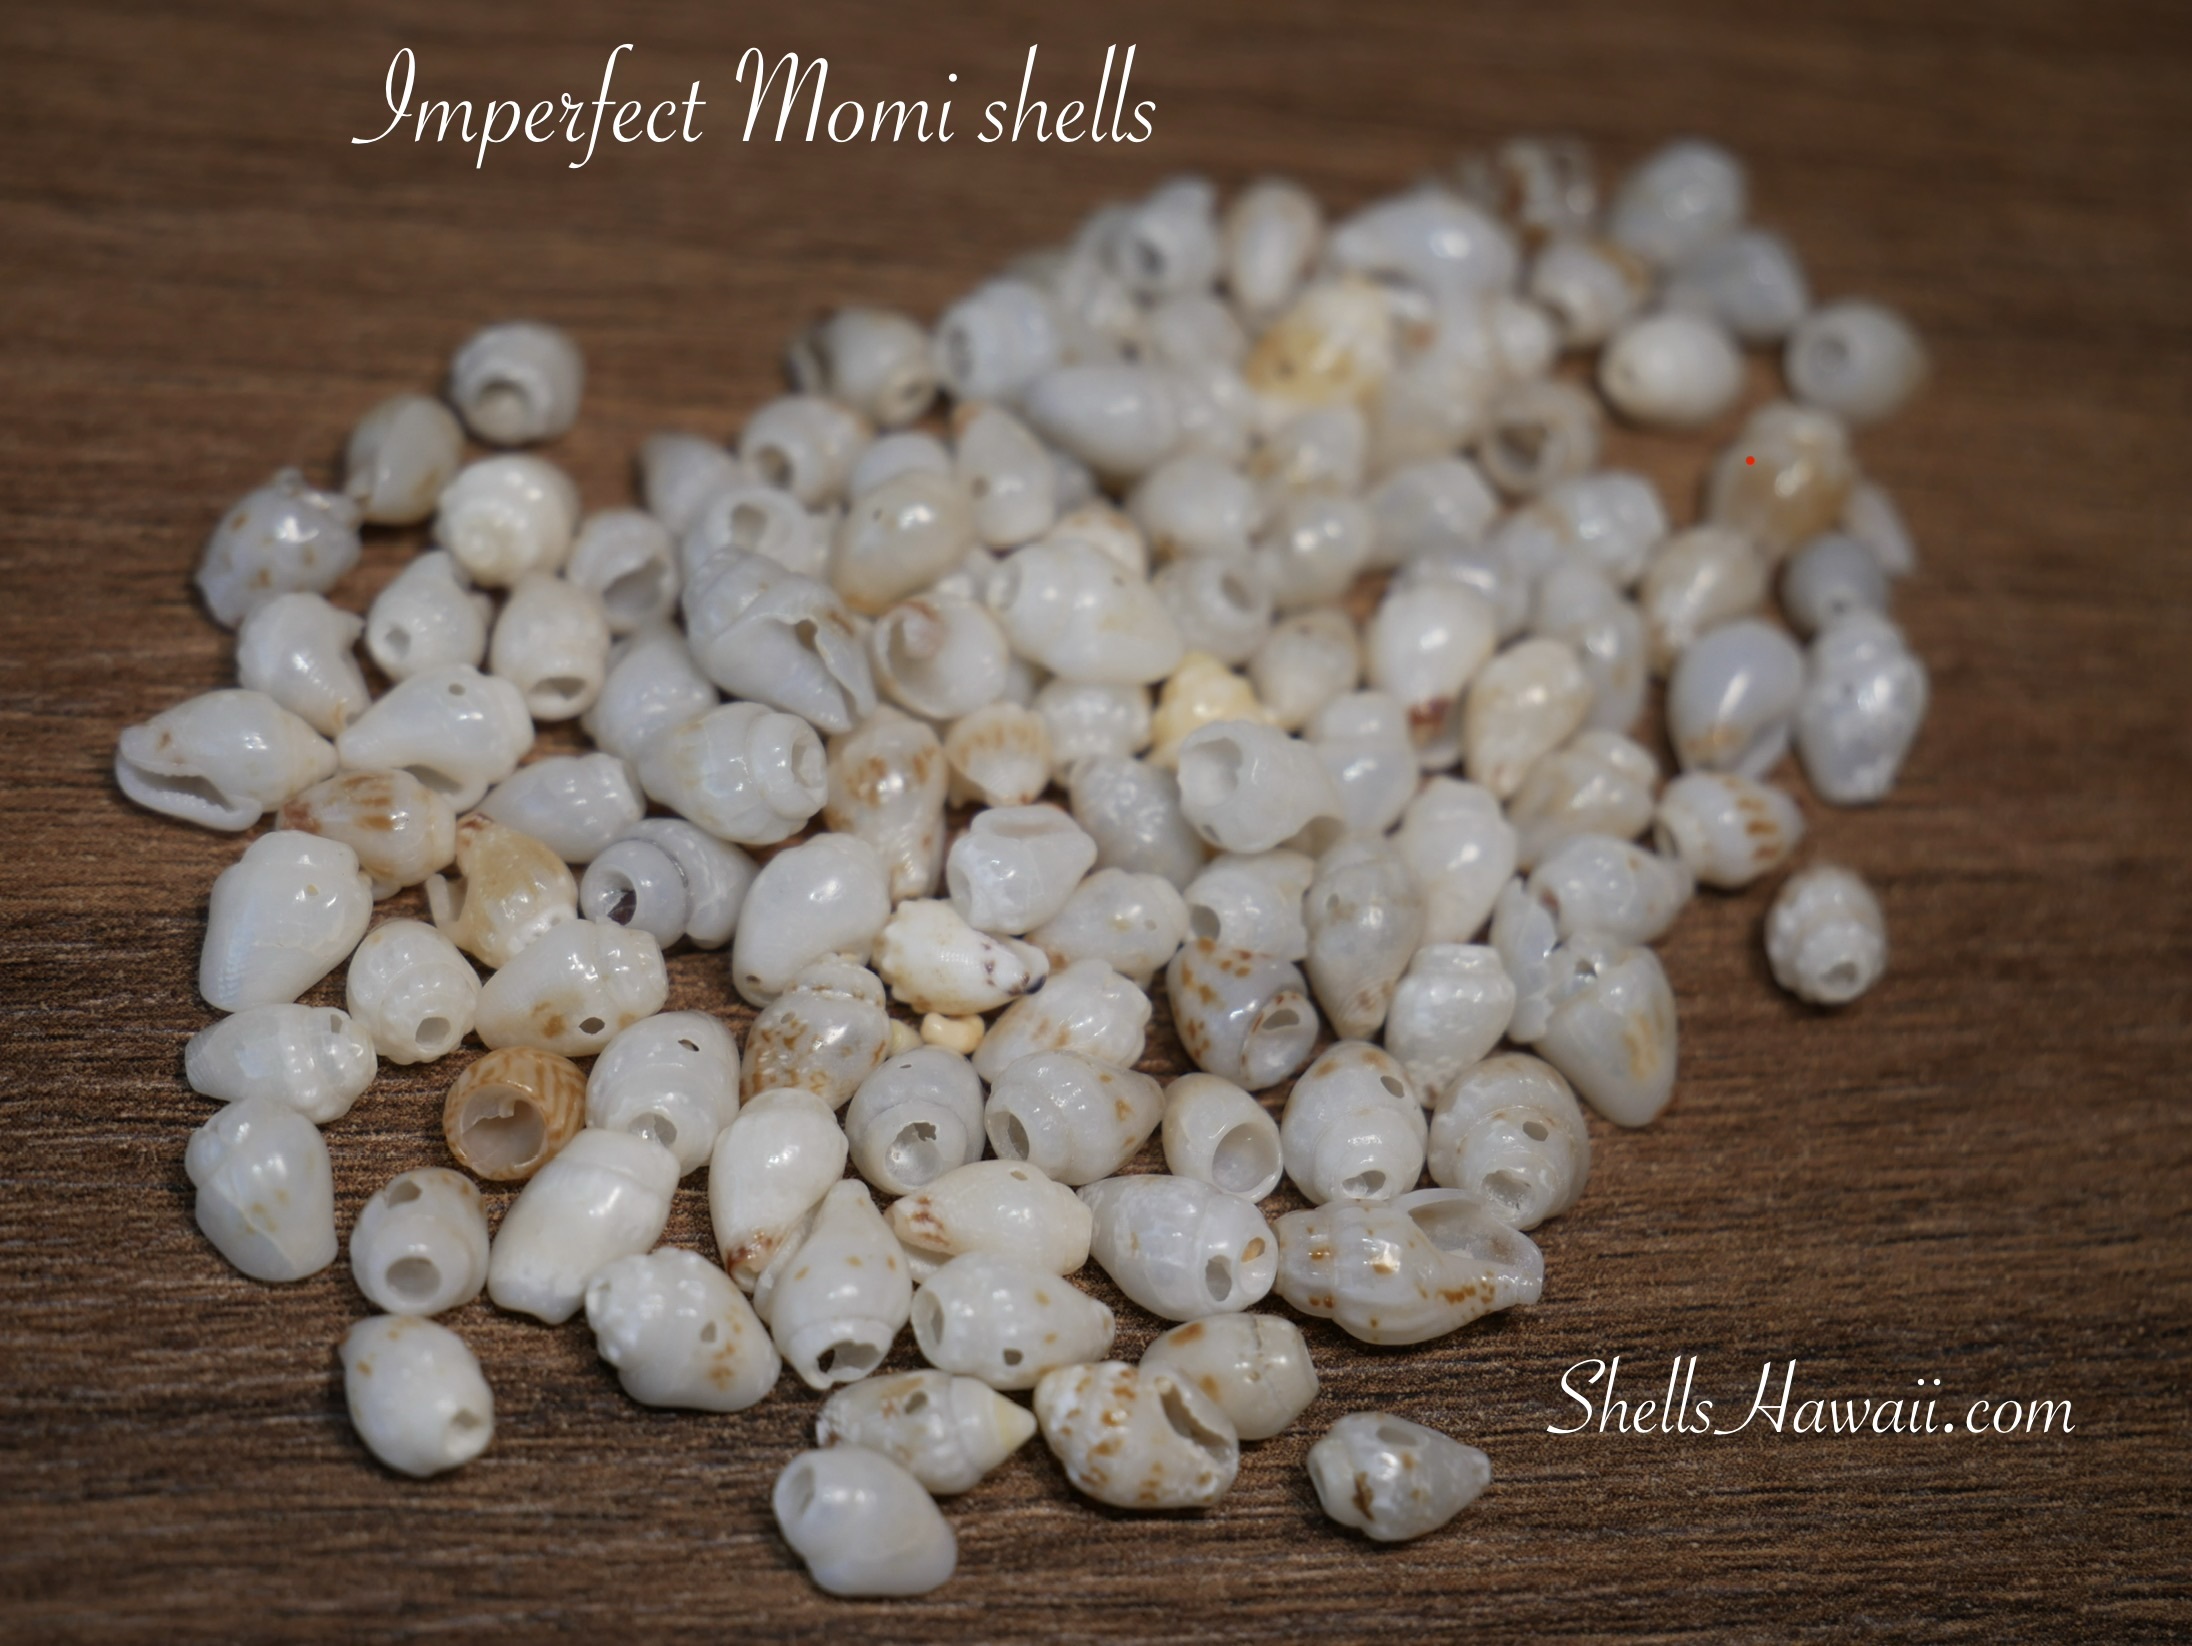
Sorting the Blues: Let’s Look a Little Closer Together
Before we begin sorting, let’s look at this pile together. What do you see?
How many shades and colors of Momi shells can you spot so far in this photo? Do you notice the soft blue ʻUliʻuli tones mixed with lighter, almost off-white shells? Can you see small differences in size — some shells a little rounder, some slightly taller, some thinner than others? And if you look closely, do you notice any shells that might be imperfect?
This set of Momi shells has already been sorted a few times. The tips have been cut, and all the sand has been carefully removed from the waha. Even so, I know there are still imperfections hiding here. Blue ʻUliʻuli shells are known for that — tiny cracks, weak spots, or fragile areas that only show themselves when you slow down and really look.
So let’s take our time and enjoy this part together.
Let’s look closely, sort gently, and see which shells are truly ready — and which ones need to be set aside. I’m sure I missed a few along the way, and we’ll find them together.
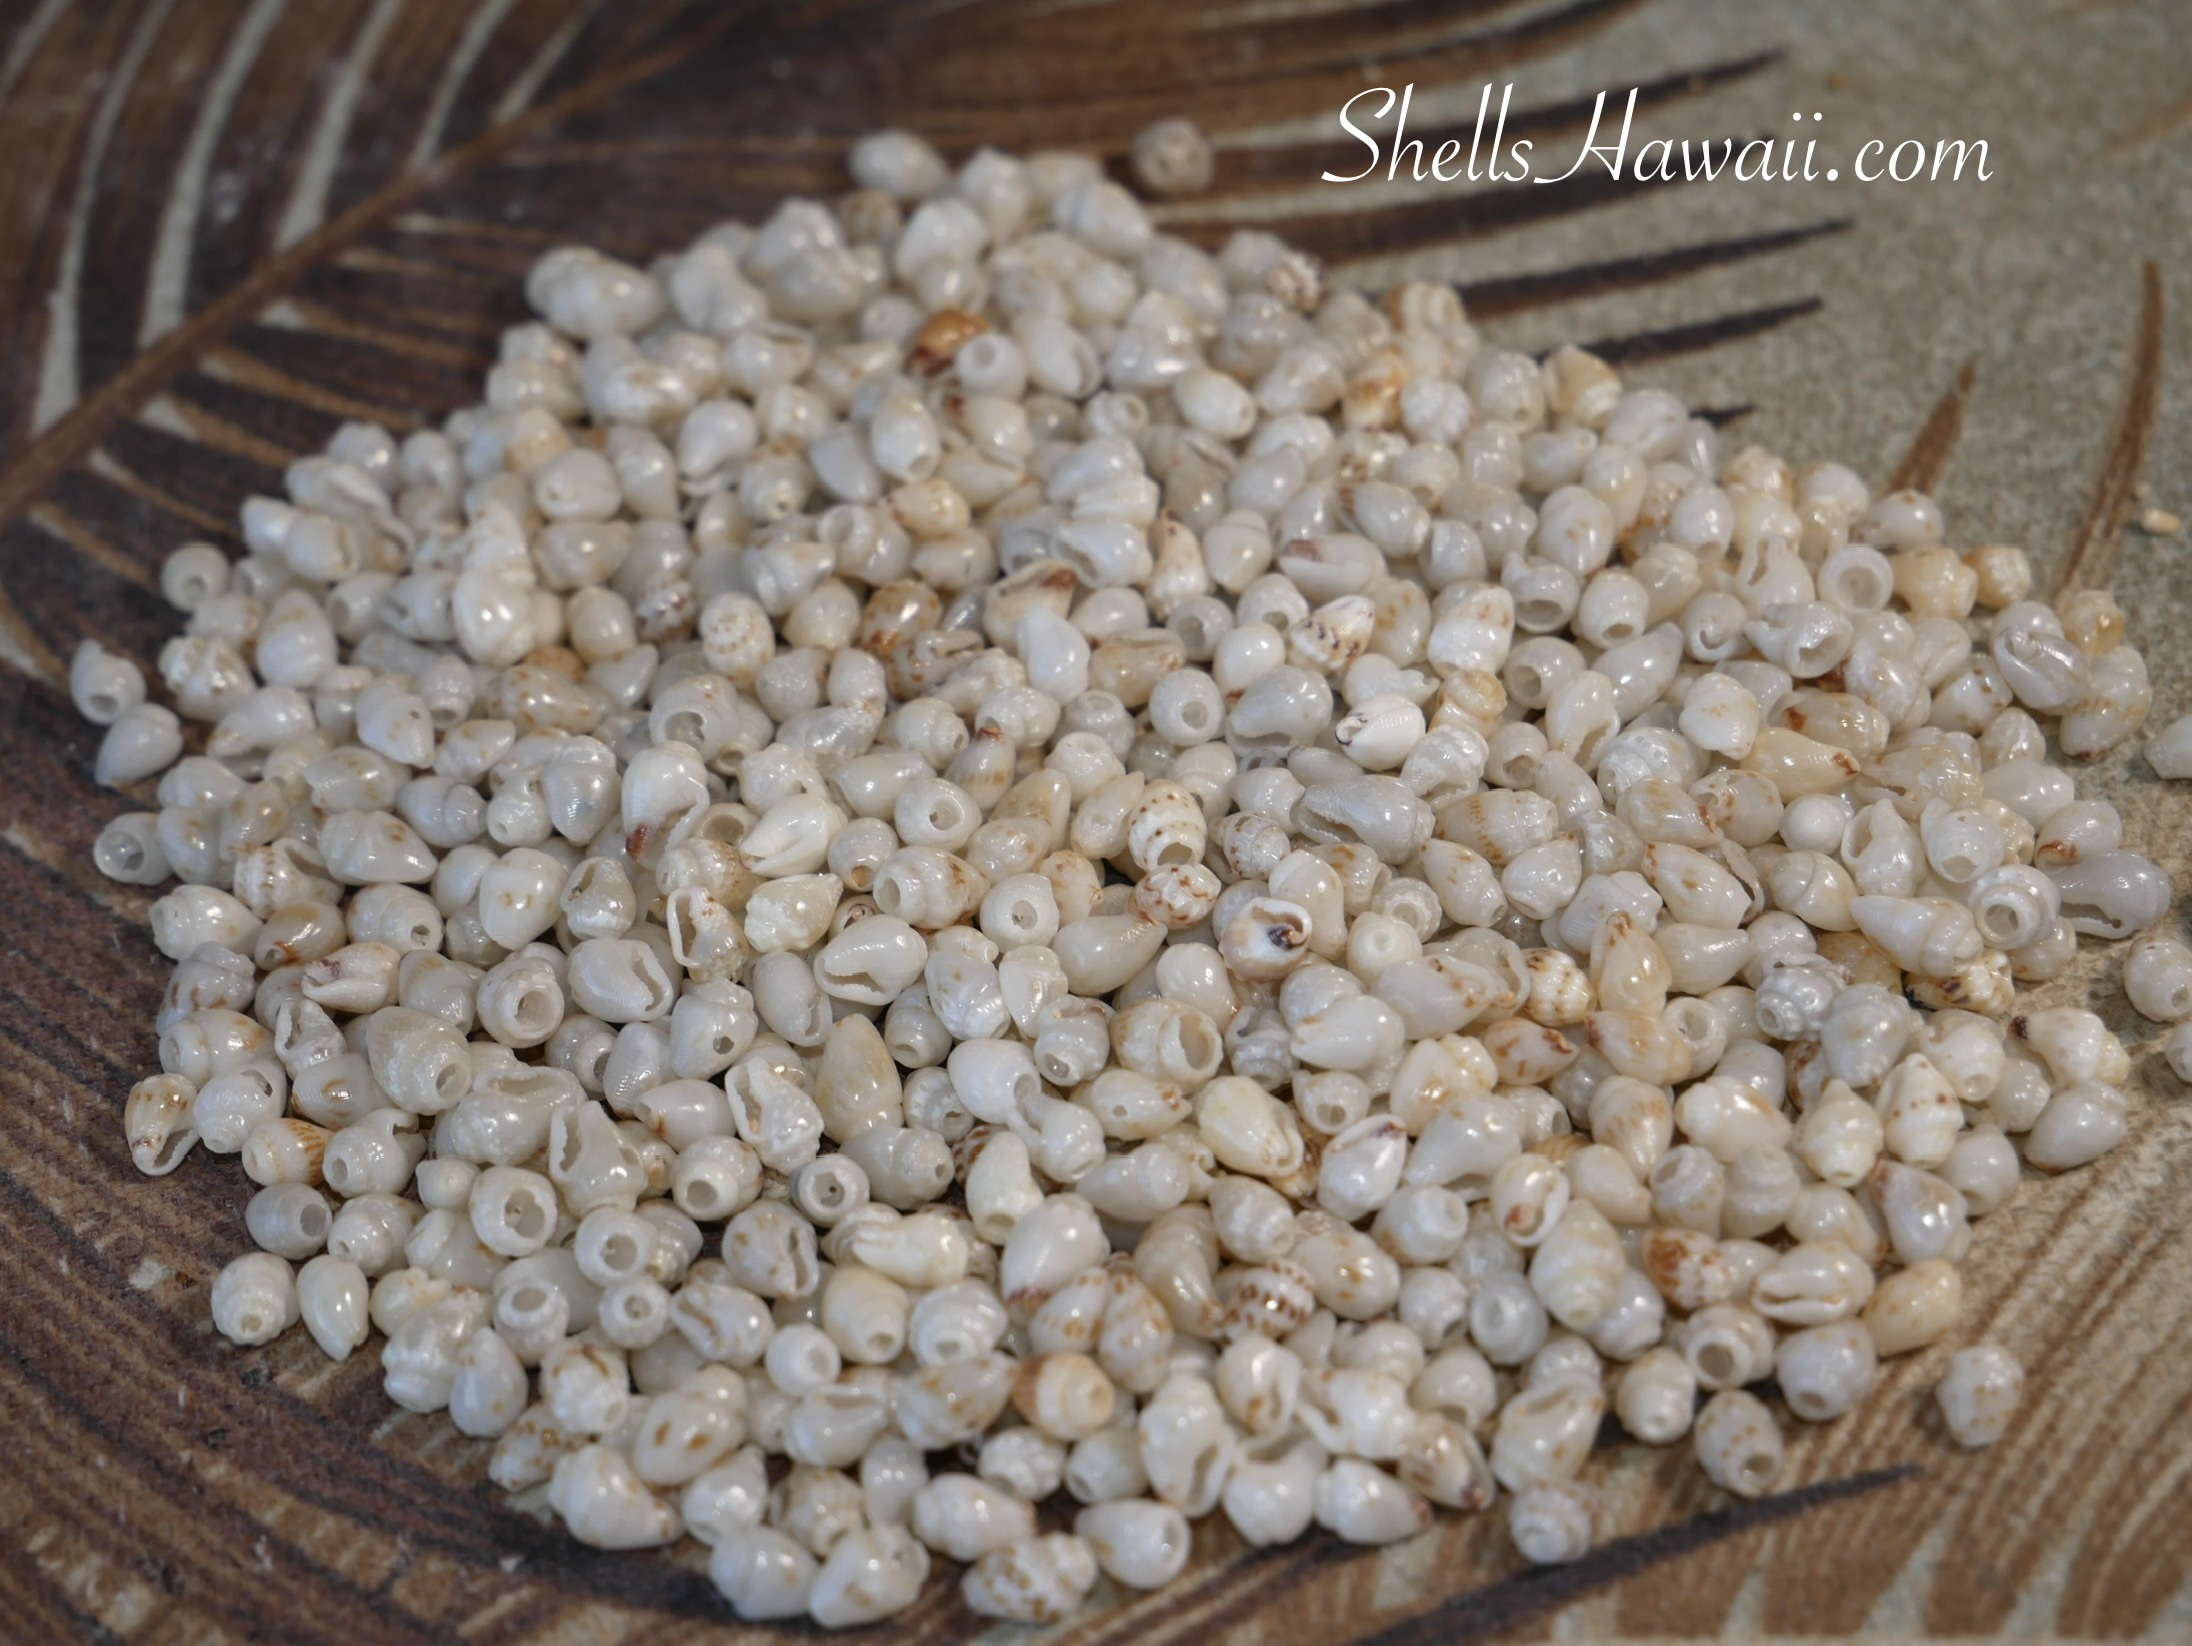
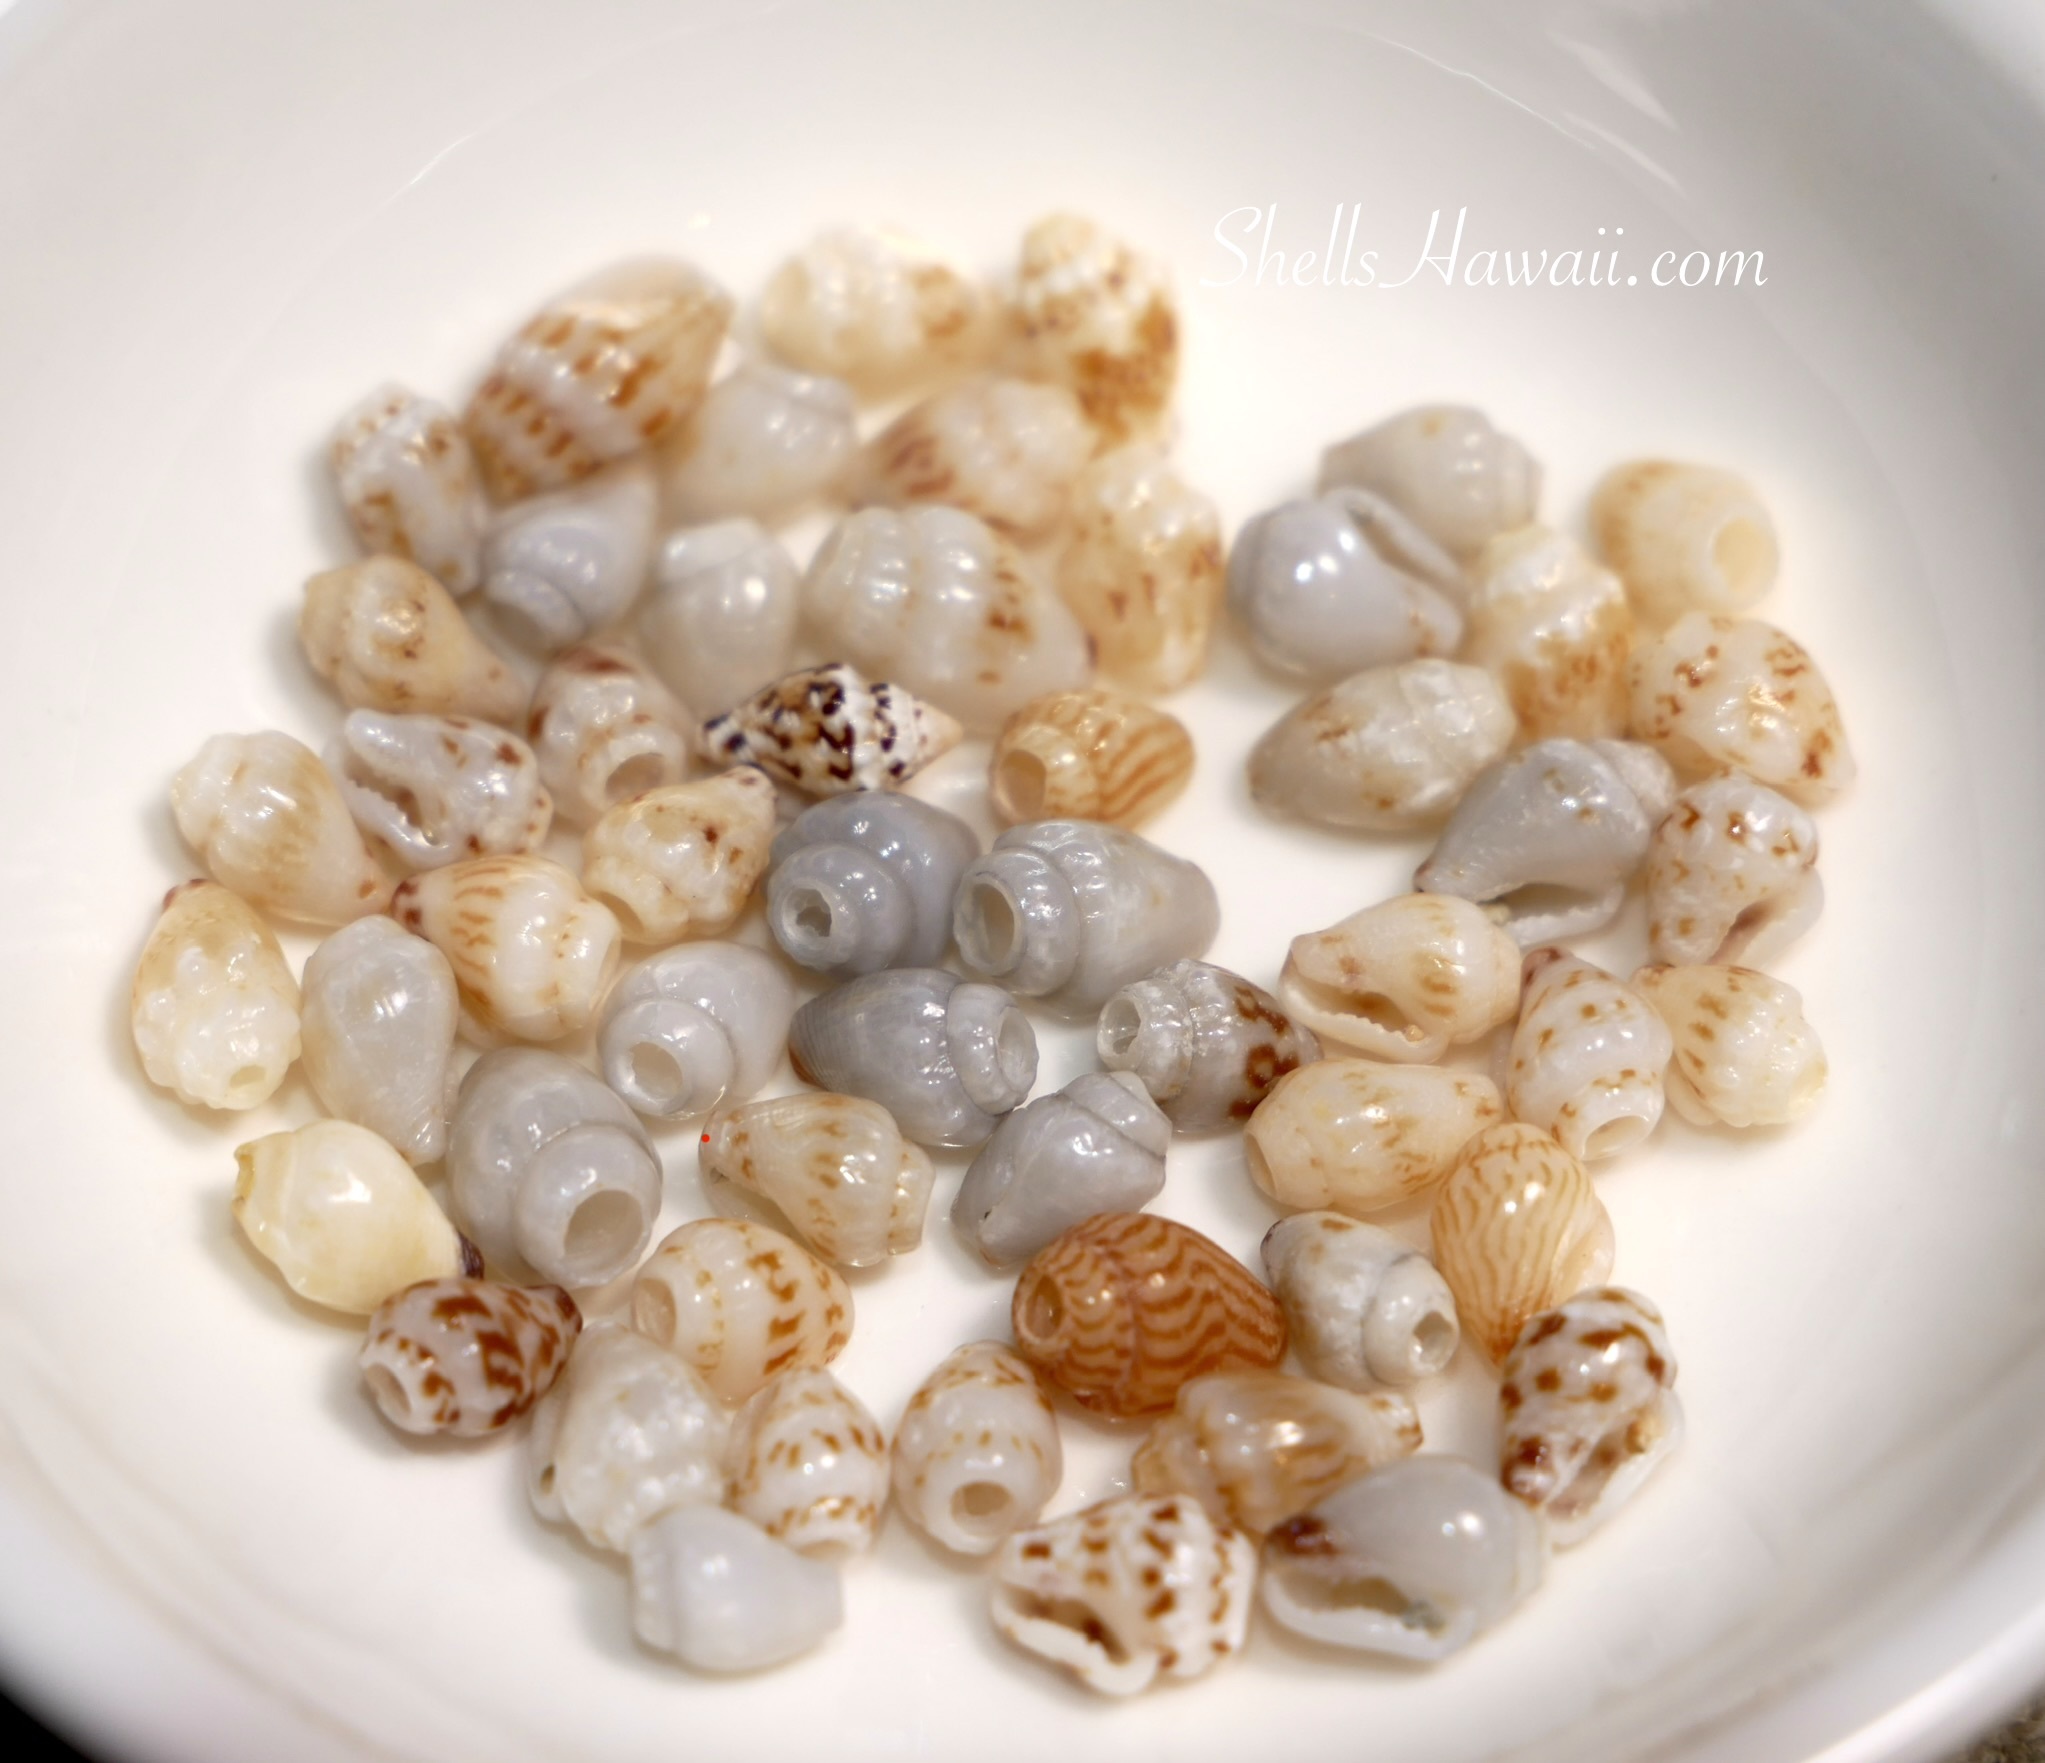
And Here’s What I Found
After spending quite a bit of time under my super-power LED light — yes, the one that shows everything, and makes you feel like you might pass out for a second when you lift your head up because the brightness is so intense — here’s what I found and was able to separate from the shells in the big pile earlier.
Even though these Momi shells had already been sorted several times, trimmed at the tip, and cleaned with all the sand removed from the waha, there were still imperfect shells hiding among them. That’s just the nature of working with Momi shells — especially small sizes and lighter colors.
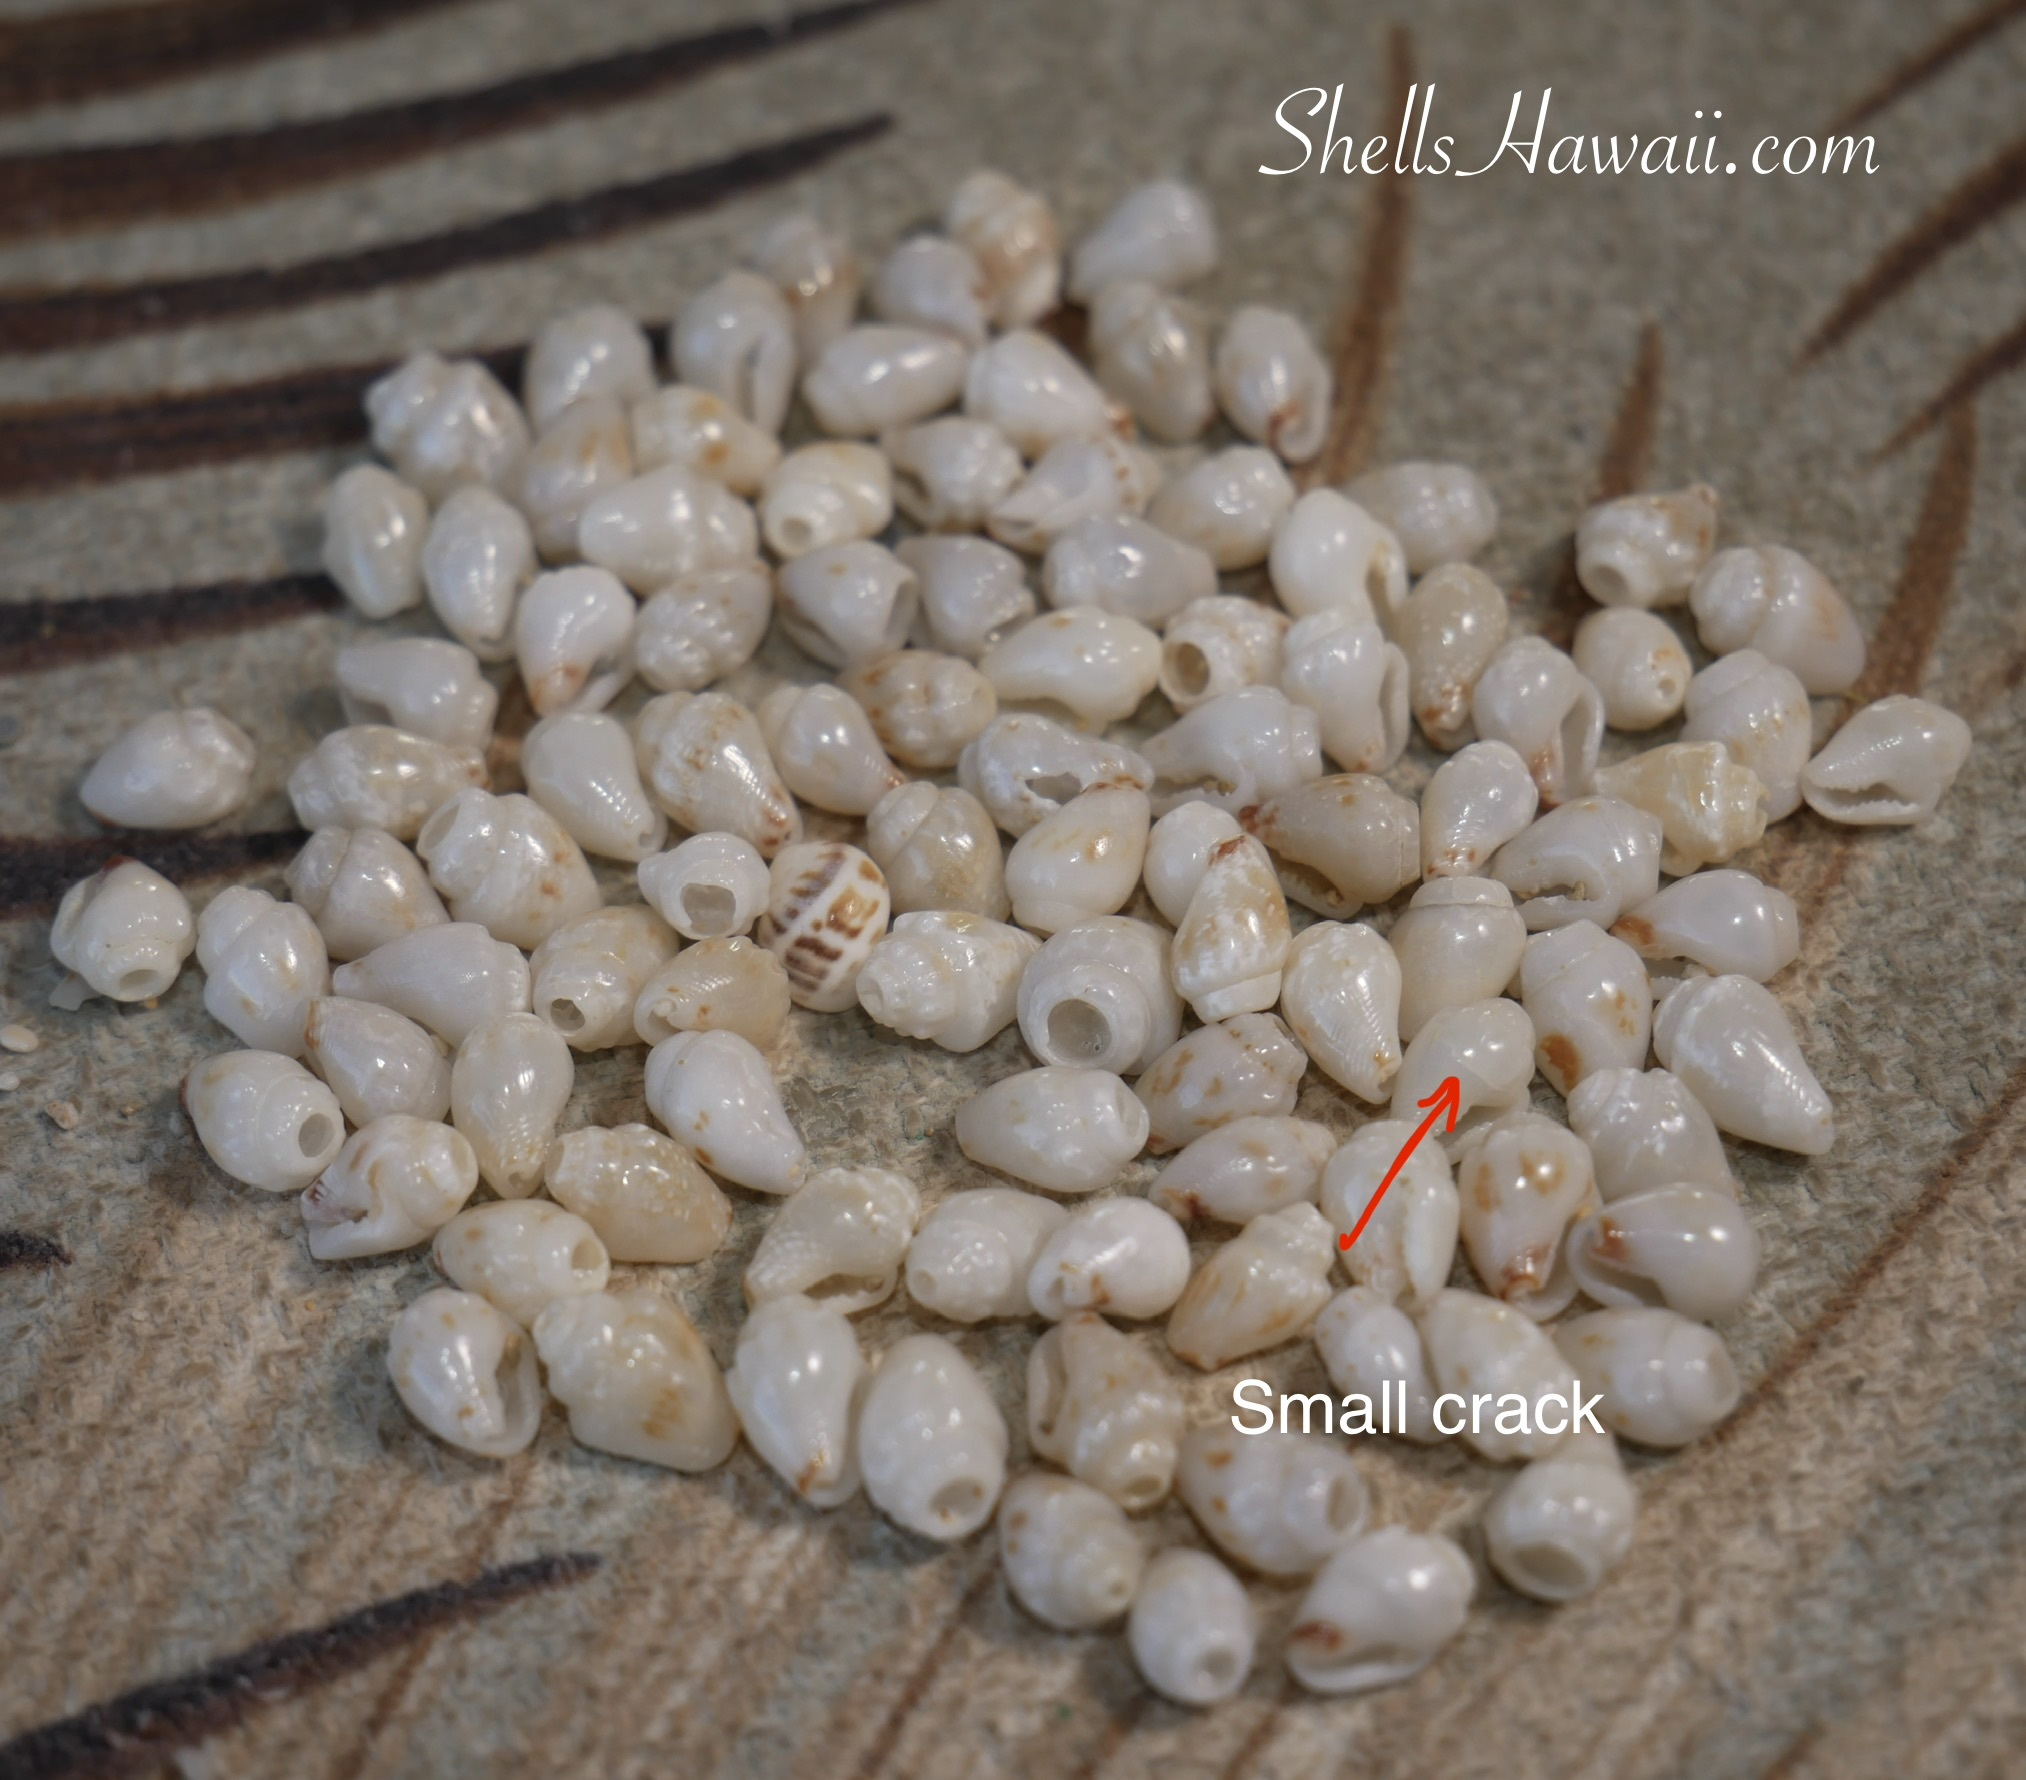
I found shells with tiny hairline cracks, some so subtle you wouldn’t notice them unless the light hit just right. A few had thin or weakened walls near the opening, which can easily break later during poking or stringing. There were also shells with slightly uneven openings that may look fine at first, but won’t hold up well once tension is applied.
It looks like most of the shells in this pile fall into the lighter blue range. I did find some medium blue tones, and just a few darker blue ones — those deeper shades are always so special. I’ve been collecting them for decades, and even after all this time, I still don’t have enough to make a full 16–18" lei. That alone tells you how rare they really are.
From Sorting to Vision: Preparing Momi Shells for 3" Pikake Earrings
Next, I separated the shells by size. Along the way, I found some lovely color, which always makes sorting feel rewarding. Days like this feel like a good workday — progress made, vision moving forward.
And then comes poking — not the most fun part, but one you can’t skip. Once the pairing begins, that’s when everything starts to come together. The shells begin to talk to each other, the balance becomes clear, and the vision slowly comes to life. There’s honestly nothing quite like that feeling.
So please stay tuned. When I’m ready to share this new creation, I’ll update you right here on my blog.
Much aloha for joining me today — I hope you enjoyed reading along and maybe even learned something new.
Mahalo,
Janjira