 JPY
JPY


Aloha and Welcome Back to the ShellsHawaii blog! everyone.
In my previous Behind the Scenes blogs, I shared the journey of creating my traditional Kipona style shell lei #2017 and #2018. Today, I'd love to invite you back to my work table as I begin another handmade Hawaiian shell jewelry creation.
Today's lei is created in the traditional Double-Double Kipona style, one of the designs I really enjoy creating. It's also a wonderful style for beginners. Once you've learned how to properly poke the shells and are comfortable creating the Pikake style, this is a great design to try next.
So, let's get started and see how this creation goes. I hope you'll enjoy the journey and maybe even learn a few new things along the way.
Planning the Design
In my previous blog, I shared the journey of creating traditional Kipona style shell lei #2018 using beautiful Momi shells from Niʻihau. The design combined a Pikake pattern with Poepoe sections featuring very large Kahelelani shells from Kauaʻi. Those larger Kahelelani shells made finding shells that matched in both size and quality much more challenging.
As I mentioned earlier, finding larger Kahelelani shells—especially size 14 and above—is not always easy. For lei design #2018, I used shells that I had carefully collected over many years while living on the island of Kauaʻi. Because of that, I knew I wouldn't be able to create another lei exactly like it again. My hope is that it will one day find a home with someone who truly loves and appreciates it.
Throughout this blog, I'll include links to related blog posts and products if you'd like to explore the shells, techniques, and designs in more detail. I hope you'll enjoy following along as I bring this new creation to life.
After finishing lei #2018, I realized I still had enough size 14.5 Kahelelani shells in good condition to create another lei. Rather than putting them away, I decided to create another traditional Double-Double Kipona style lei. This time, I would use the tied technique for the Poepoe sections instead of the twisted technique because it would give me more flexibility to make the best use of the shells I had left.
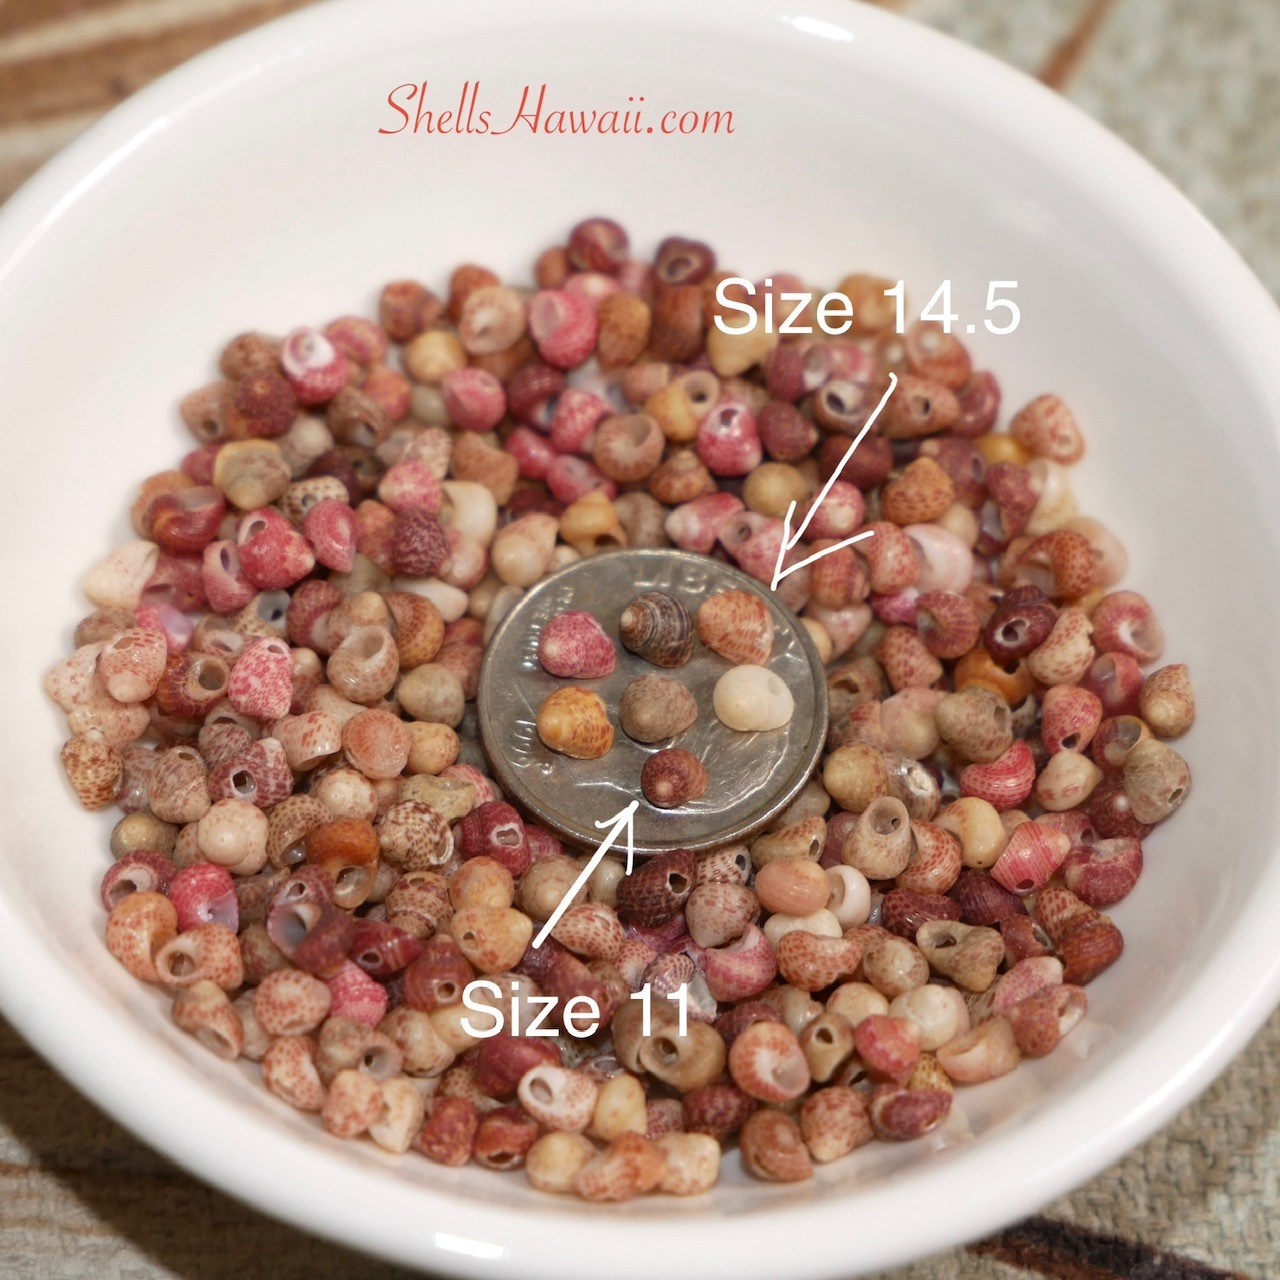
One of the reasons I chose the tied technique is because it's much more forgiving when it comes to making the shells work together. As each shell is tied, they naturally stack on top of one another instead of forming a spiral like the three- or four-strand Poepoe styles.
That gives the design a fuller look and also allows me a little more flexibility if one shell is about 1–2 millimeters smaller or larger than the shell next to it.
The two-strand Poepoe style is different. It creates a more square-shaped profile, so the shells need to be much more consistent in size, shape, and condition. Even a small difference between neighboring shells can affect the overall look, which is one of the reasons the two-strand Poepoe style is much more challenging to create.
Creating the Lei
Now that I had everything planned out, it was finally time for my favorite part—bringing the lei to life.
For most of the lei I create, I always start right in the middle. Why? Because it gives me the flexibility to make small adjustments as I go if I begin running low on a particular shell size or color.
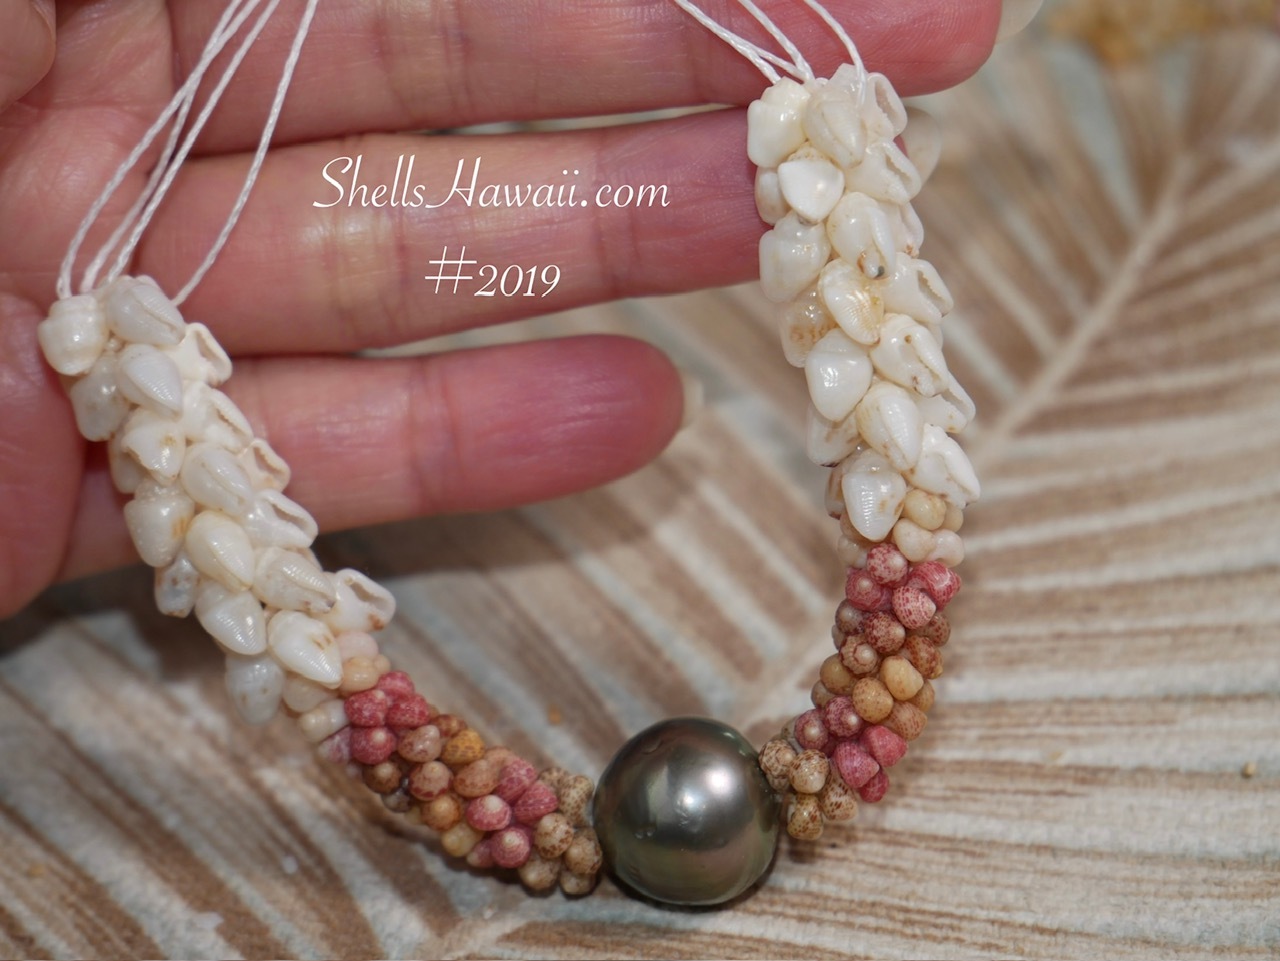
I learned to work this way during my early years, when I had a very limited collection of Niʻihau shells. Back then, every shell mattered, and I had to plan carefully to make sure I could finish each creation. Even today, after all these years, I still use the same approach.
The Challenges Along the Way
As I continued working on the lei, I was happy to see everything coming together just as I had planned. Overall, this creation went much more smoothly and was a lot more relaxing than creating lei #2018.
Of course, I still had a few shells break while I was poking and stringing them, but that's completely normal. No matter how careful I am, an occasional shell will break during the process.
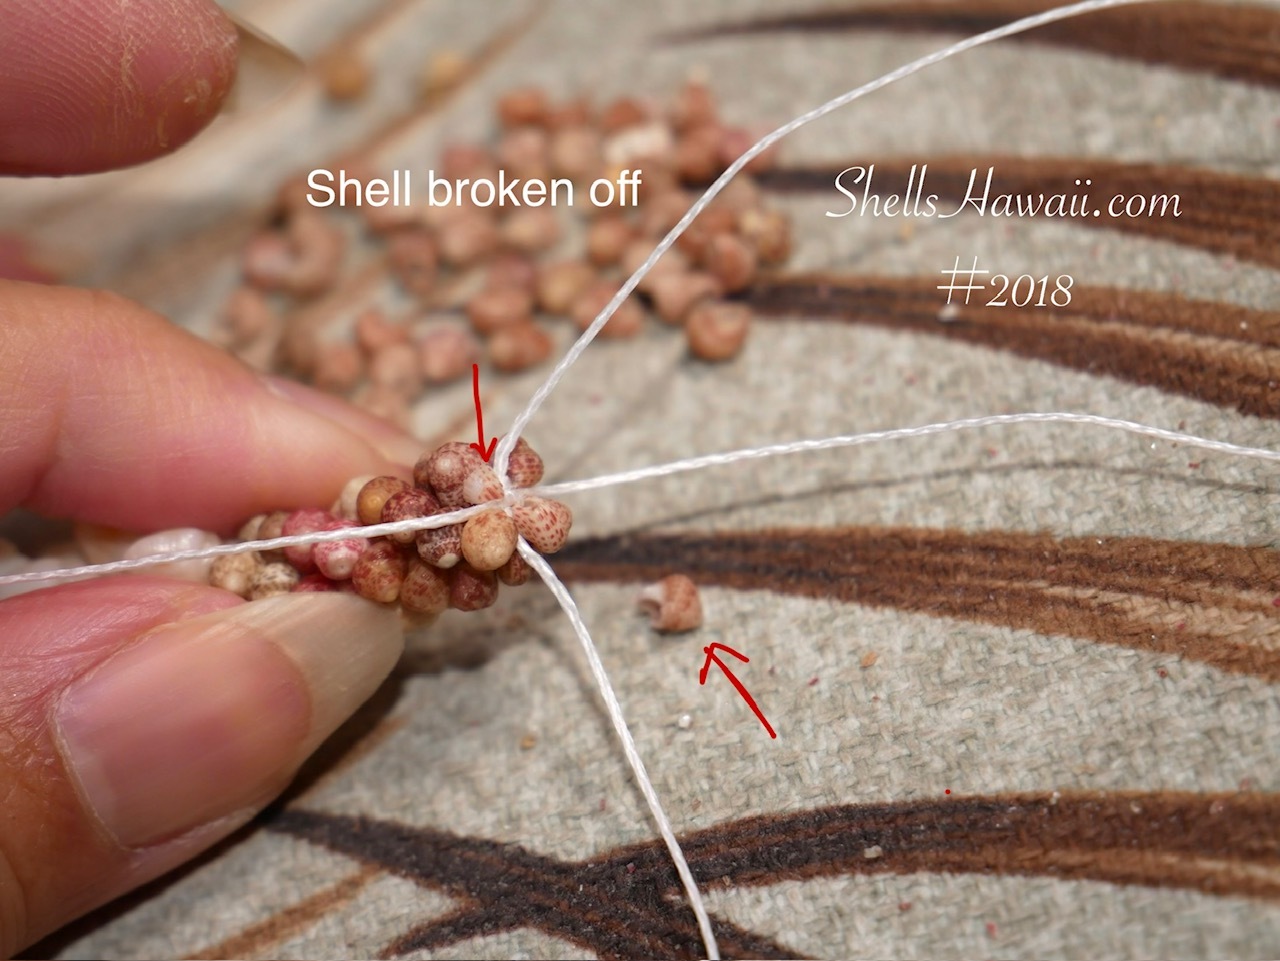
One of the biggest challenges with creating a tied-style lei actually begins before you even string the first shell. Every creator has to decide how long the finished lei will be, what style or combination of styles to use, and perhaps the biggest challenge of all—figuring out how much thread to start with.
Estimating the correct thread length is a skill that comes with experience. Too little thread means you may not have enough to finish the lei, while too much can easily become tangled as you work. Even after many years of creating Niʻihau shell jewelry, I still take a moment to estimate the right amount before I begin. One tip I always recommend is to add another 5–10 inches to whatever length you estimate. That extra thread gives you a little safety net in case you need it, and it's always easier to trim away the excess than to run out before the lei is finished.
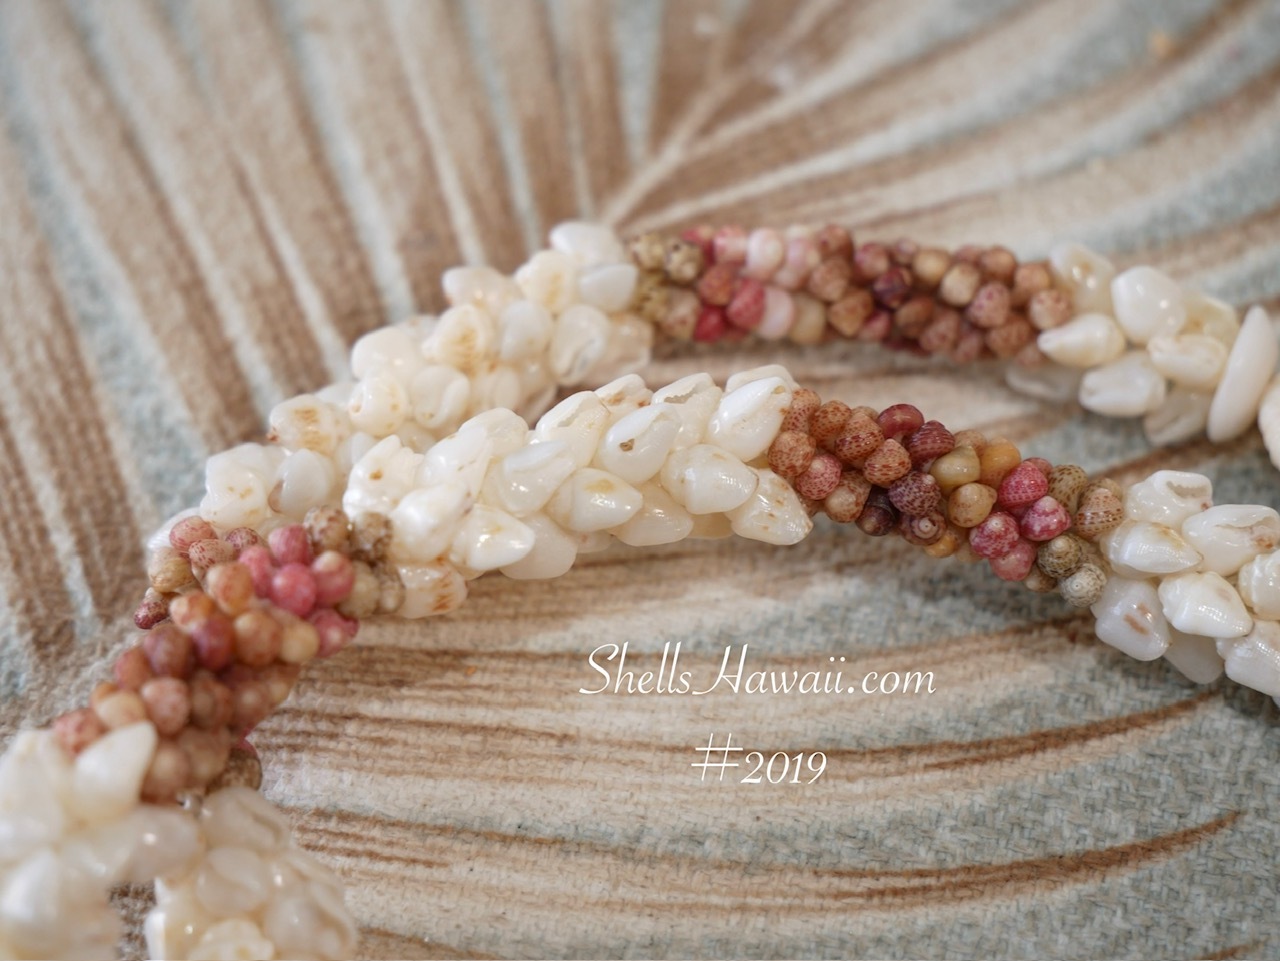
As I mentioned earlier, once the creation is underway, consistency becomes everything. Every shell needs to be poked in the same location so they sit evenly, and every knot needs to be tied with the same tension while keeping the thread as hidden as possible. Small adjustments are often necessary along the way to keep the overall pattern balanced.
Those little details may seem small, but they make a big difference in the finished lei. Little by little, the pattern began to take shape. Watching the design come together is always one of my favorite moments because that's when I know all the planning, patience, and attention to detail were worth it.
The Finished Lei
Before I knew it, the last knot was tied and another traditional Double-Double Kipona style shell lei was complete.
One of the things I enjoy most about creating this lei style is seeing how each finished piece turns out. It's even more enjoyable when I have a wide variety of Momi shell colors and Kahelelani shells in different sizes and colors to work with because I can completely change the look of the lei by creating different combinations. Even though the traditional pattern stays the same, different Momi and Kahelelani shell combinations can dramatically transform the personality of the lei, making every creation unique.
Because this lei design uses very large Kahelelani shells, it has a bold, eye-catching look while still being elegant enough to wear every day. To complete the lei, I finished it with the traditional granulated cowrie shell clasp, keeping the design true to the traditional Hawaiian style.
If you'd like to learn more about this lei, you can now find it in the Lei category of my website under the Four-Strand Lei section.
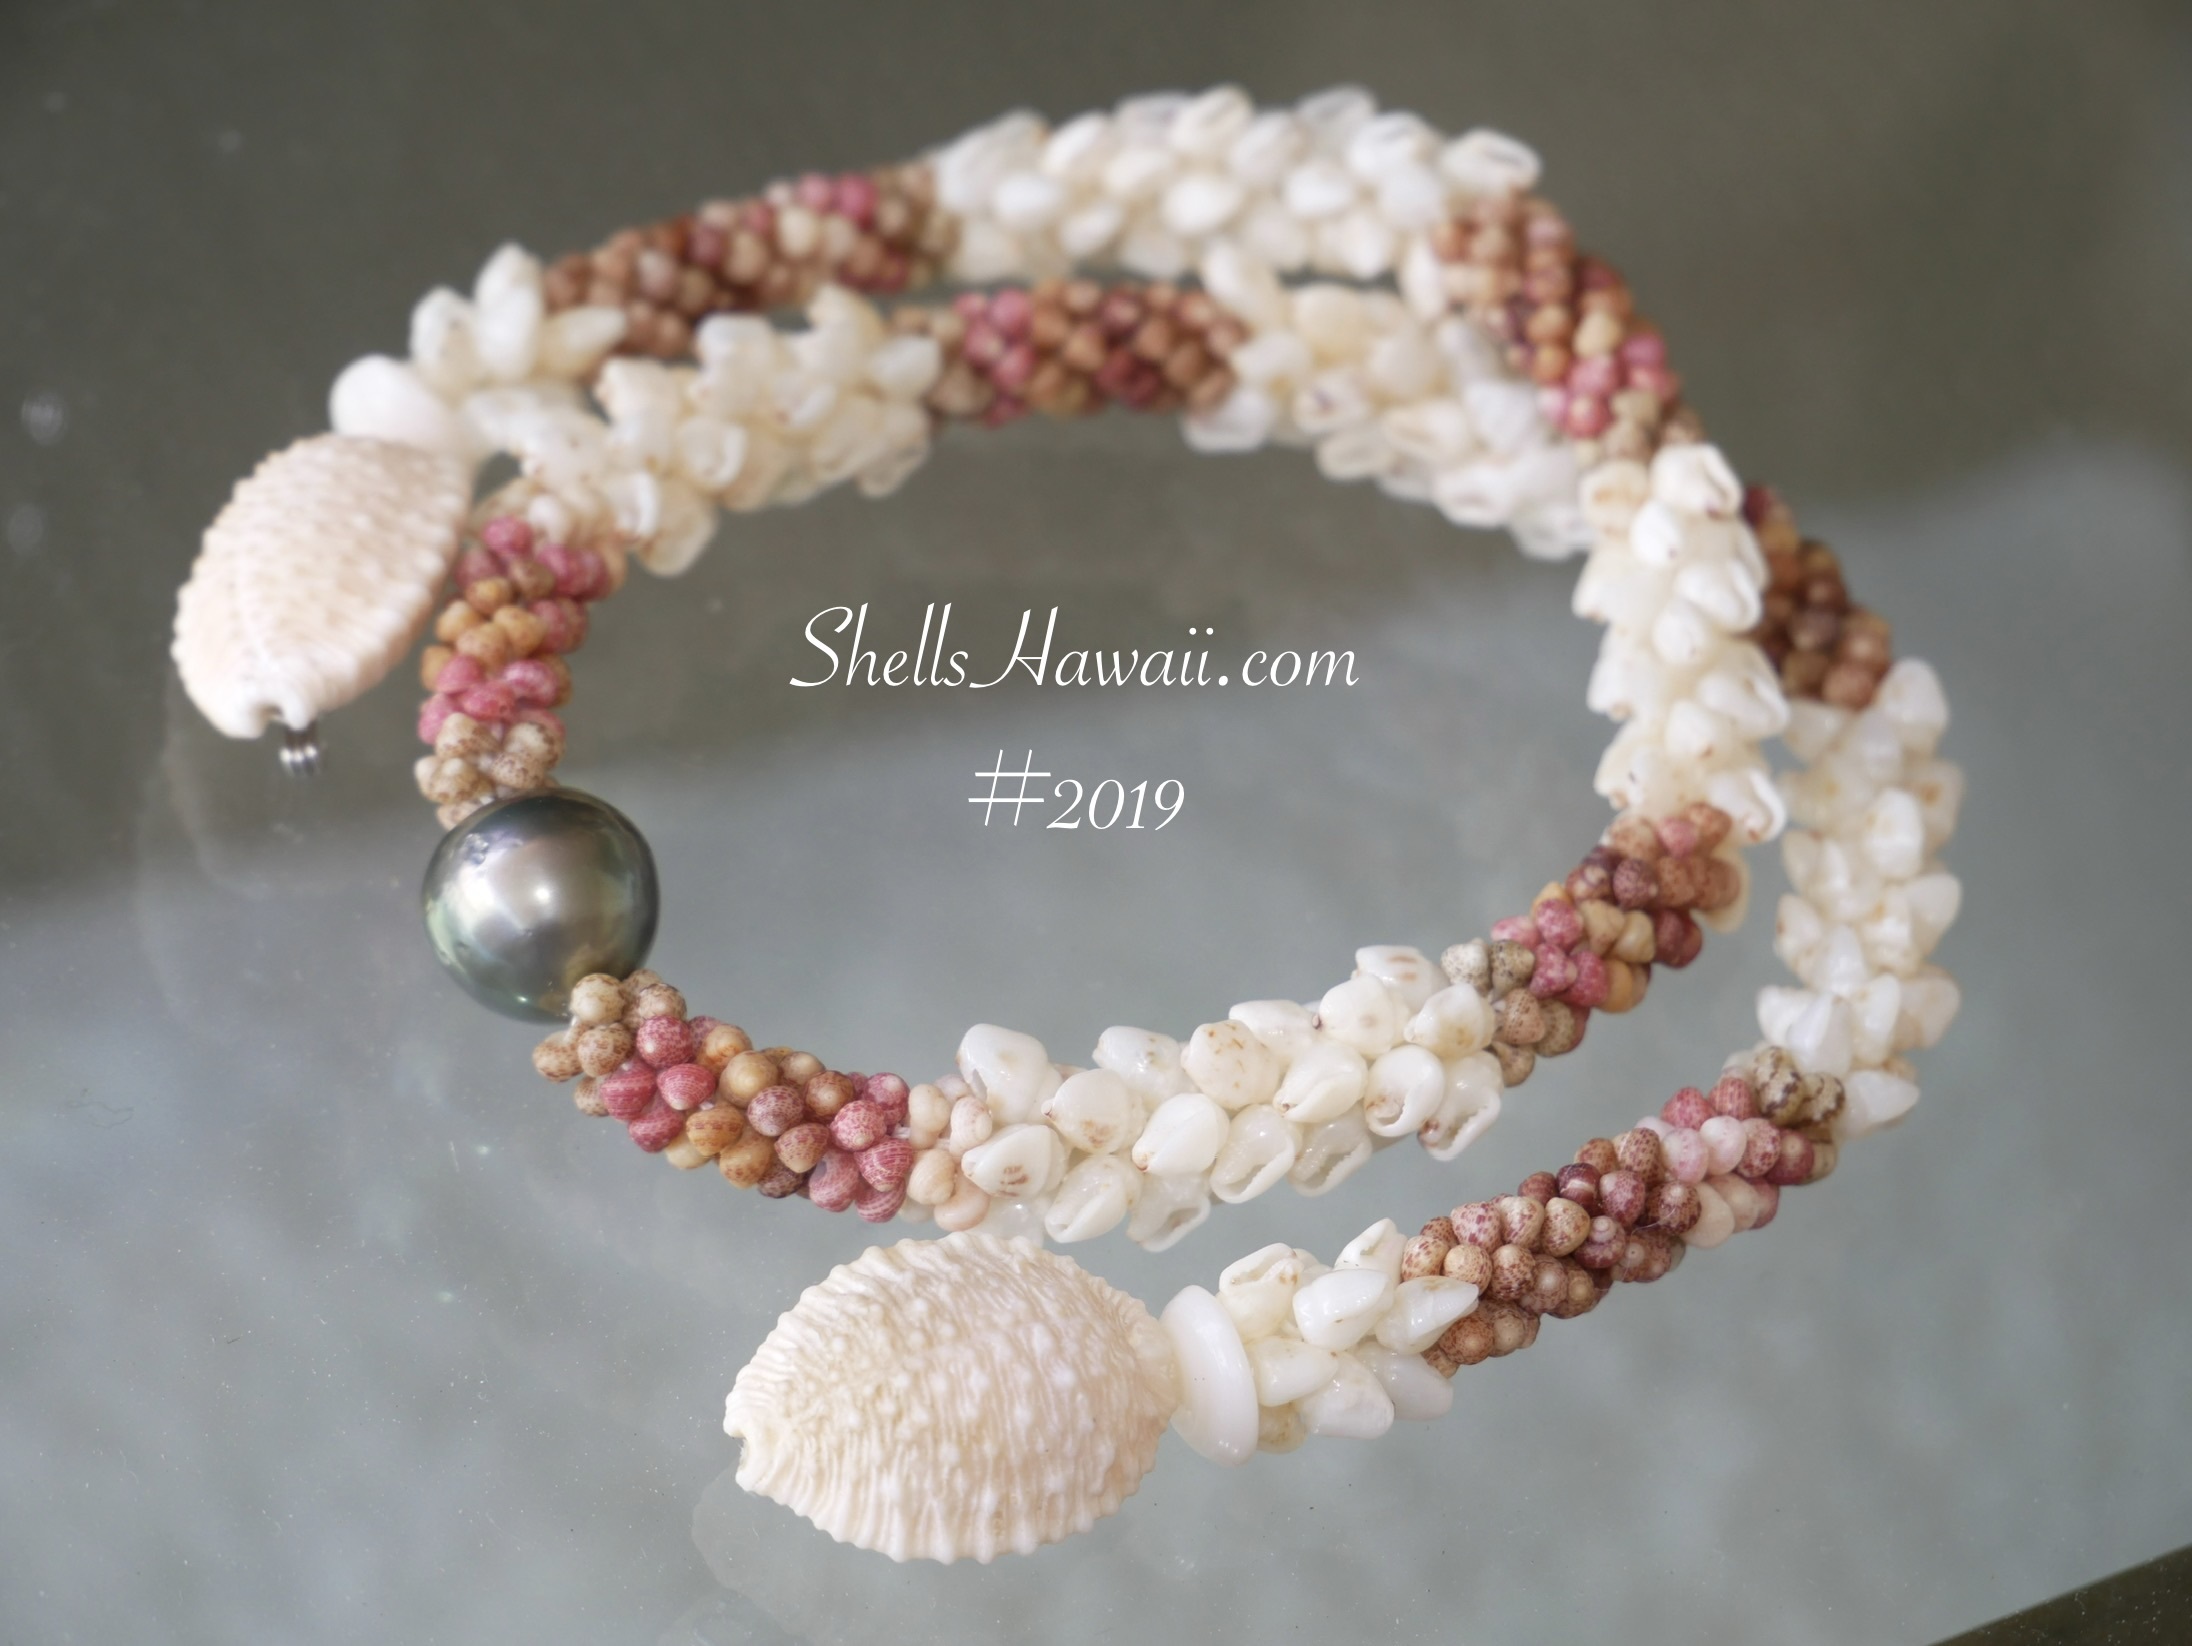
I hope you enjoyed following this creation from beginning to end and seeing how another traditional Double-Double Kipona style shell lei came to life. Thank you for spending a little time with me at my work table.
Mahalo nui loa for being here, and I hope to see you again next time.
With aloha,
Janjira