USD
USD

Aloha and welcome to ShellsHawaii blog everyone,
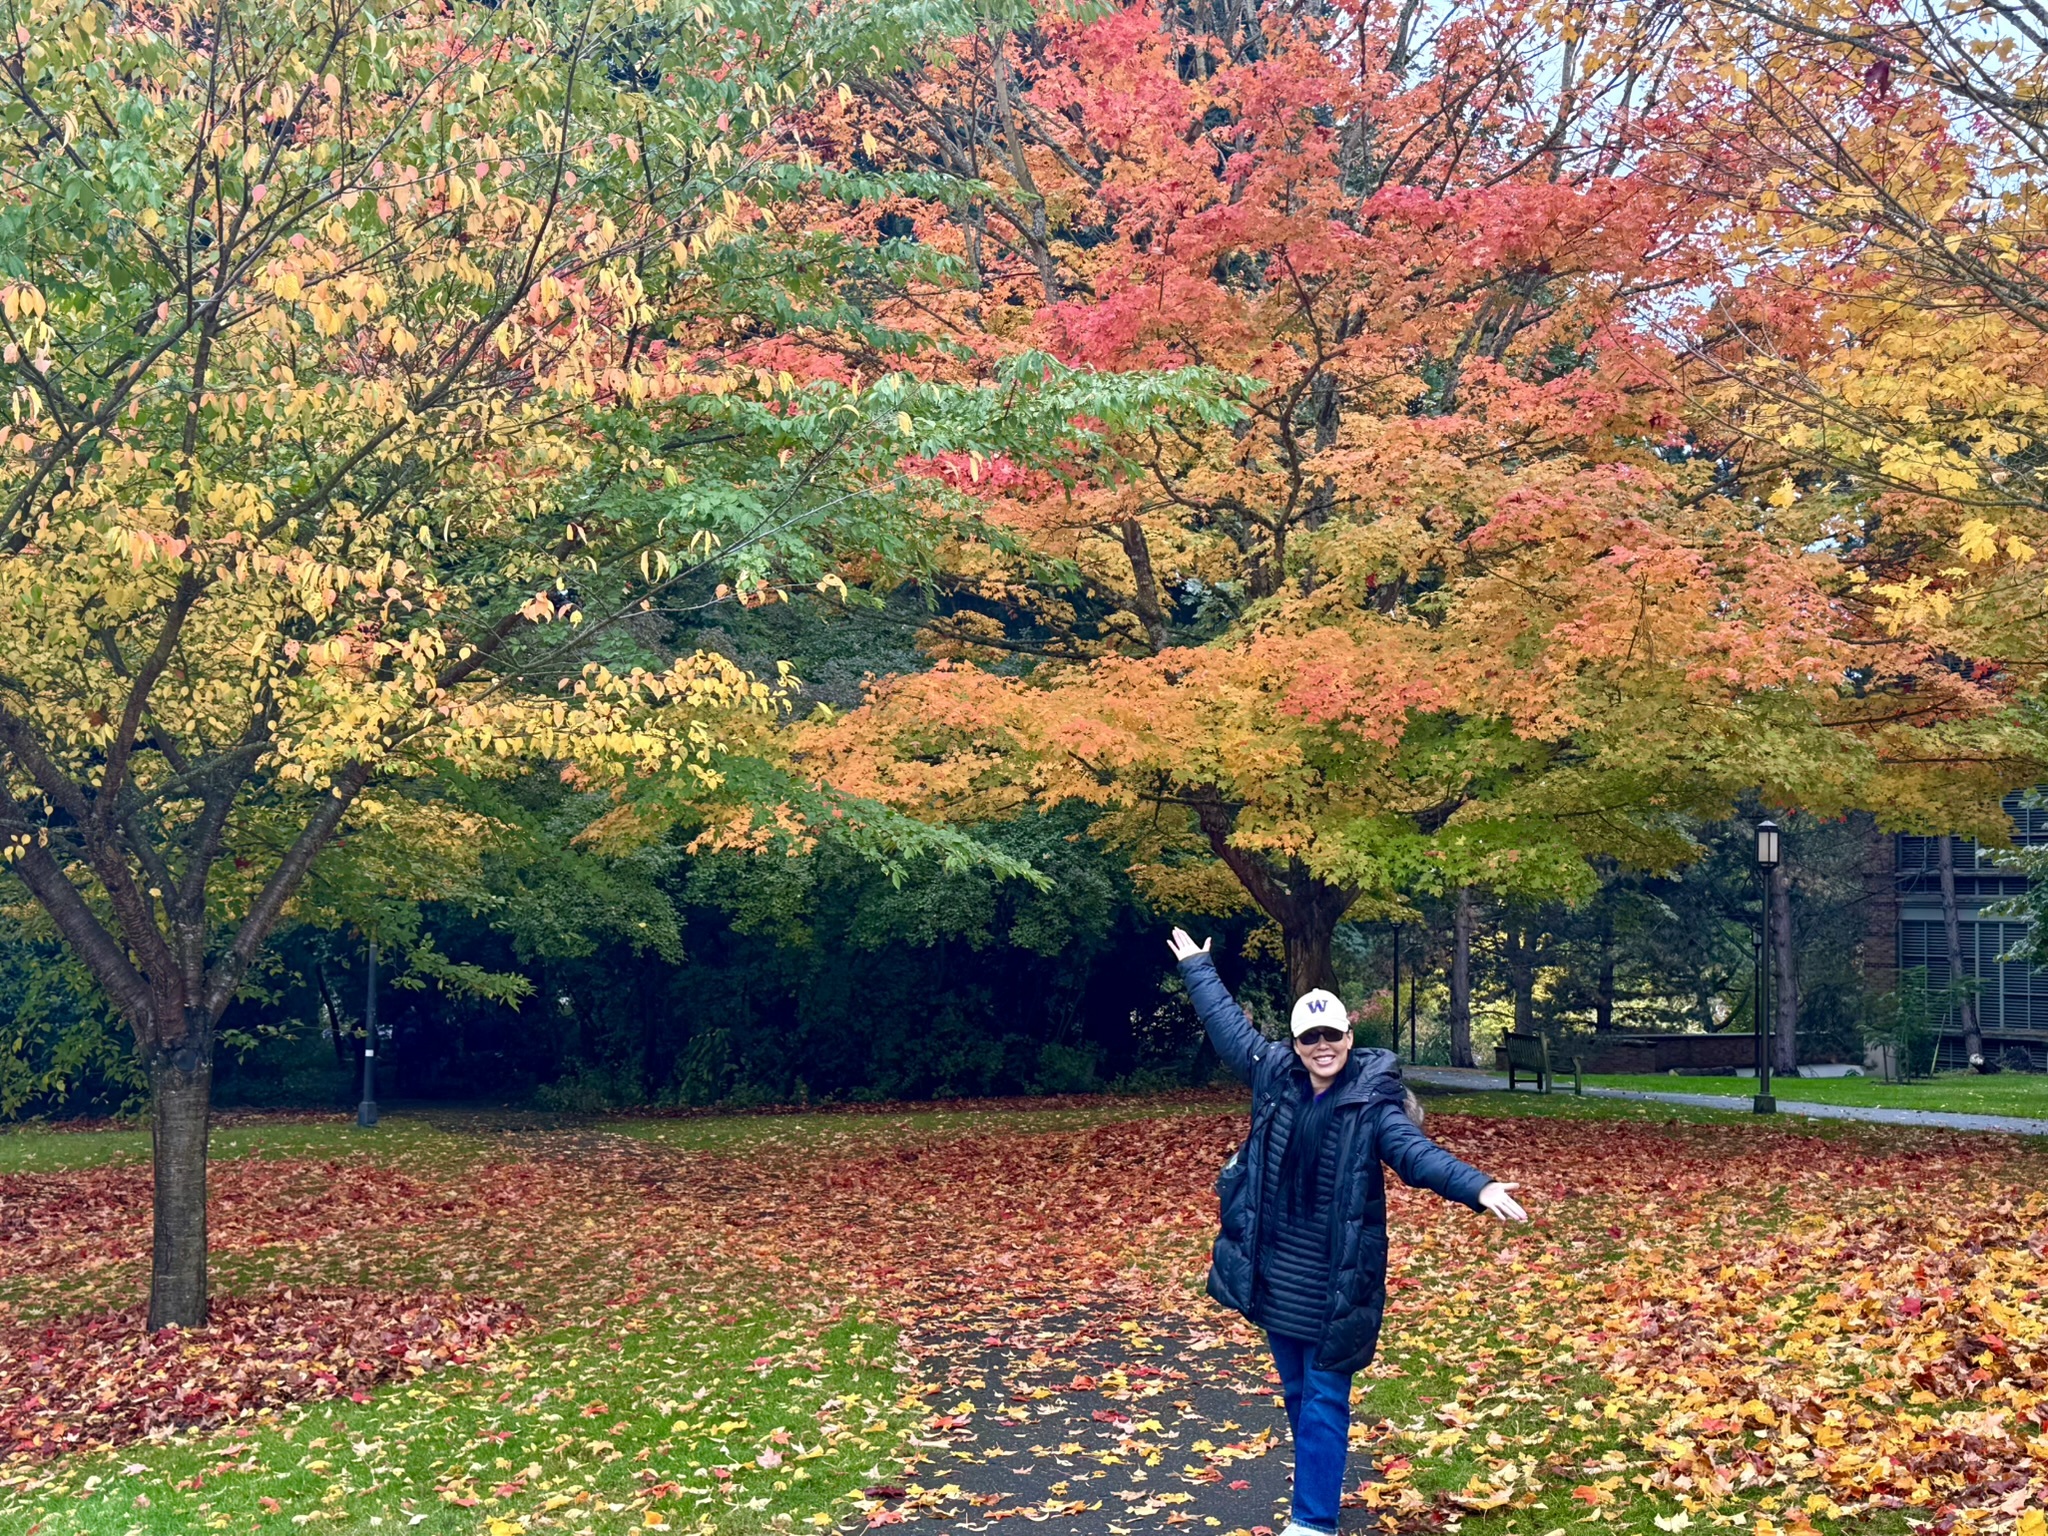
When you live somewhere with real seasons — instead of the endless blue skies and warm ocean breezes of Hawaiʻi — the world outside your window begins to change in ways you can truly feel. The trees slowly turn gold, deep red, orange, and soft yellow, covering the ground like a colorful blanket beneath your feet.
Even after all these years, part of my heart still misses the island life of Kauaʻi — the morning walks along Keālia Beach, the sound of the waves, the salty air, and the feeling of endless summer. But over time, I’ve also learned that inspiration can appear in different forms and places, often when you least expect it.
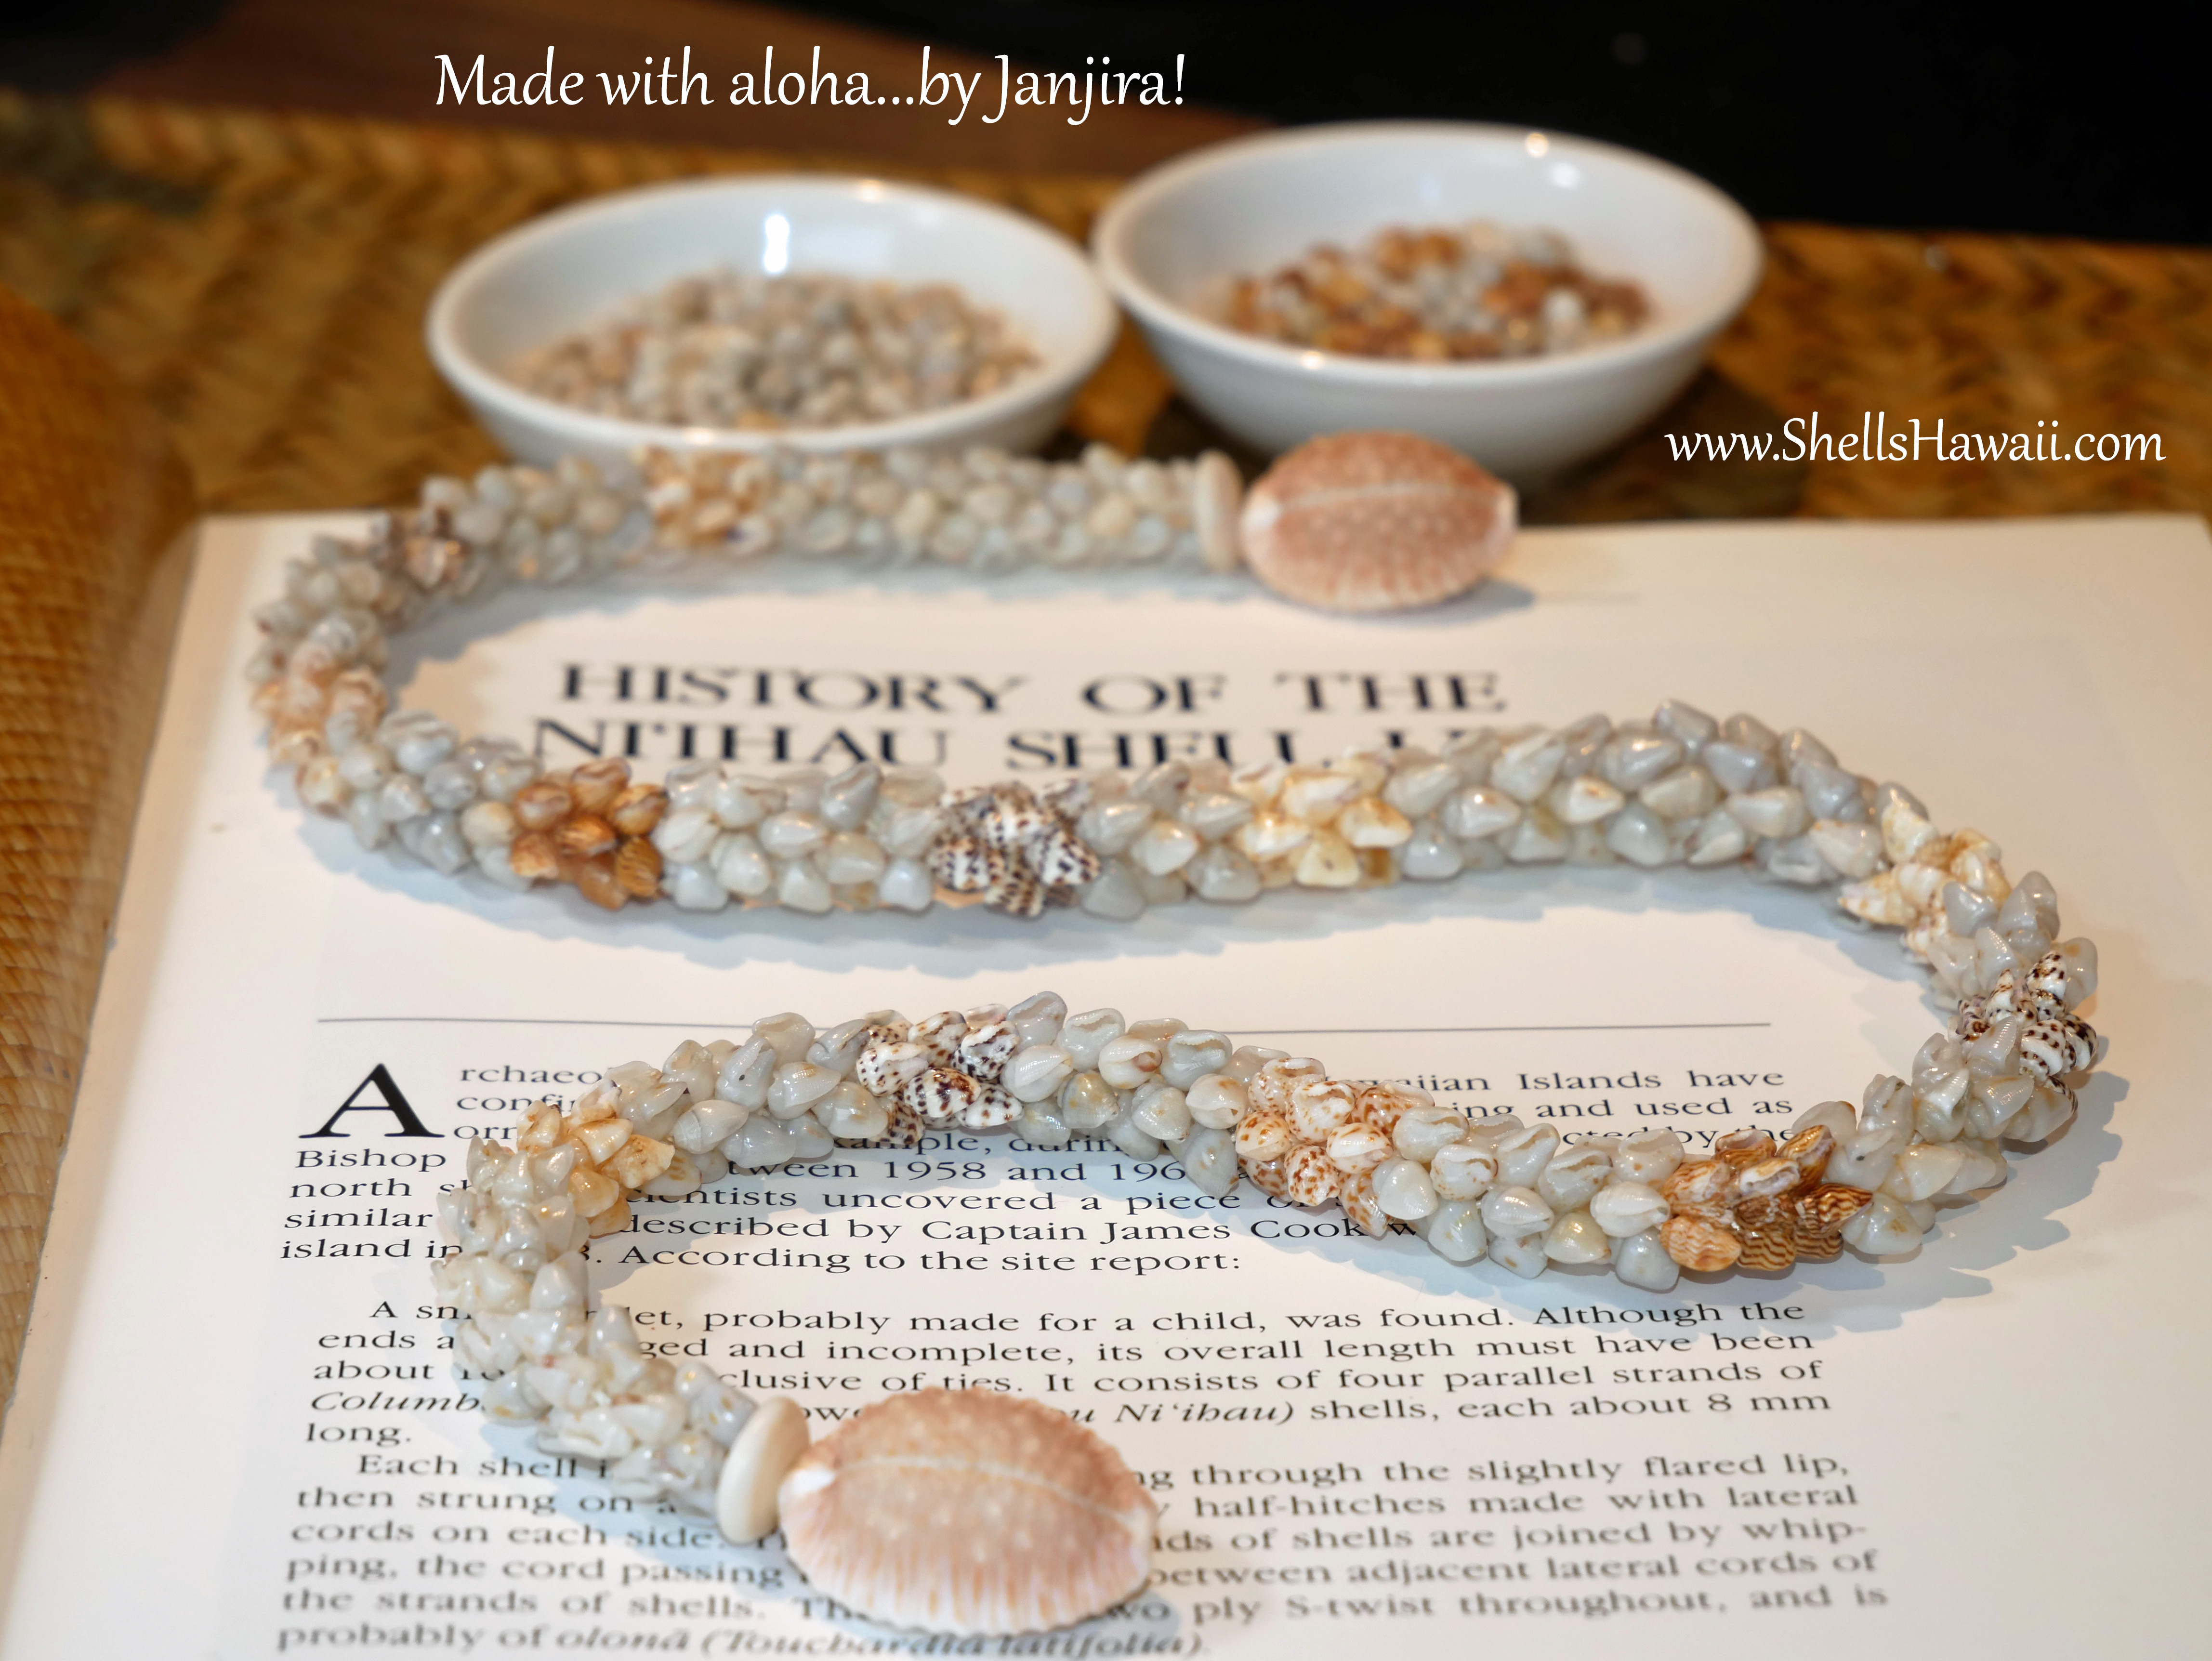
Today was one of those quiet autumn days. The peaceful feeling outside, combined with memories of Hawaiʻi, inspired me to finally sit down and begin creating Lei 2005 — a Double-double Pikake lei made with genuine Momi shells (モミシェル) from Niʻihau.
Sometimes inspiration doesn’t arrive loudly. Sometimes it simply appears little by little — through memories, colors, emotions, and the small moments that gently guide your hands back toward creating.

Since I’ve been wanting to write a blog about what a Double-double Pikake looks like when it’s created with Momi shells, today finally felt like the right moment to begin Lei 2005 and slowly bring this style to life one shell at a time.
Like many of my designs, the first thing I found myself thinking about was the shell colors and how they may come together once the pattern slowly begins to form.
Selecting the Colors of Momi Shells — Beginning With the Vision
The very first step in creating this Double-double Pikake lei is choosing the Momi shell colors. Before the design even begins, the colors have to feel balanced together — that’s where the vision slowly starts to take shape.
For Lei 2005, I began with the rare and beautiful Momi ʻŪliʻuli (blue Momi shells). I would describe this particular shade as a medium blue-gray tone. There are even darker blue Momi shells that exist, but finding enough in matching sizes can be extremely difficult. Even so, this softer shade already creates a beautiful foundation for the lei.
For this lei, I selected a combination you do not often see together:
• blue Momi ʻŪliʻuli
• yellow Momi Lenalena
• black-spotted Momi ʻŌnikiniki ʻEleʻele
• light-spotted Momi ʻŌnikiniki ʻĀhiehie
• strong-striped Momi Kahakaha Ikaika


Sorting and Pairing the Momi Shells — Size, Shape, and Balance
Before I begin cleaning the shells or creating the pattern, the very first step is sorting the Momi shells by size. For fuller styles like Double-double Pikake, this part becomes extremely important because the shells need to work together evenly as the spiral pattern slowly begins to form.
If you would like to learn more about how I sort Momi shells and why this step is so important in Niʻihau shell jewelry, you can click the highlighted link below to explore the related blog.
Once the shells are grouped into similar sizes, I begin carefully poking the holes in the position needed for this particular style. The hole placement plays a major role in how the shells will sit and flow once the Double-double Pikake pattern begins to take shape.
After the shells are poked, I begin pairing and studying them more closely to see how they naturally work together within the pattern. Taking extra time during this stage helps create smoother clusters, better balance, and a cleaner overall flow throughout the lei.
During this process of preparation, I also double check for cracks, chips, shell quality, and color balance before moving forward. It helps avoid missing imperfect shells later once the stringing process begins.
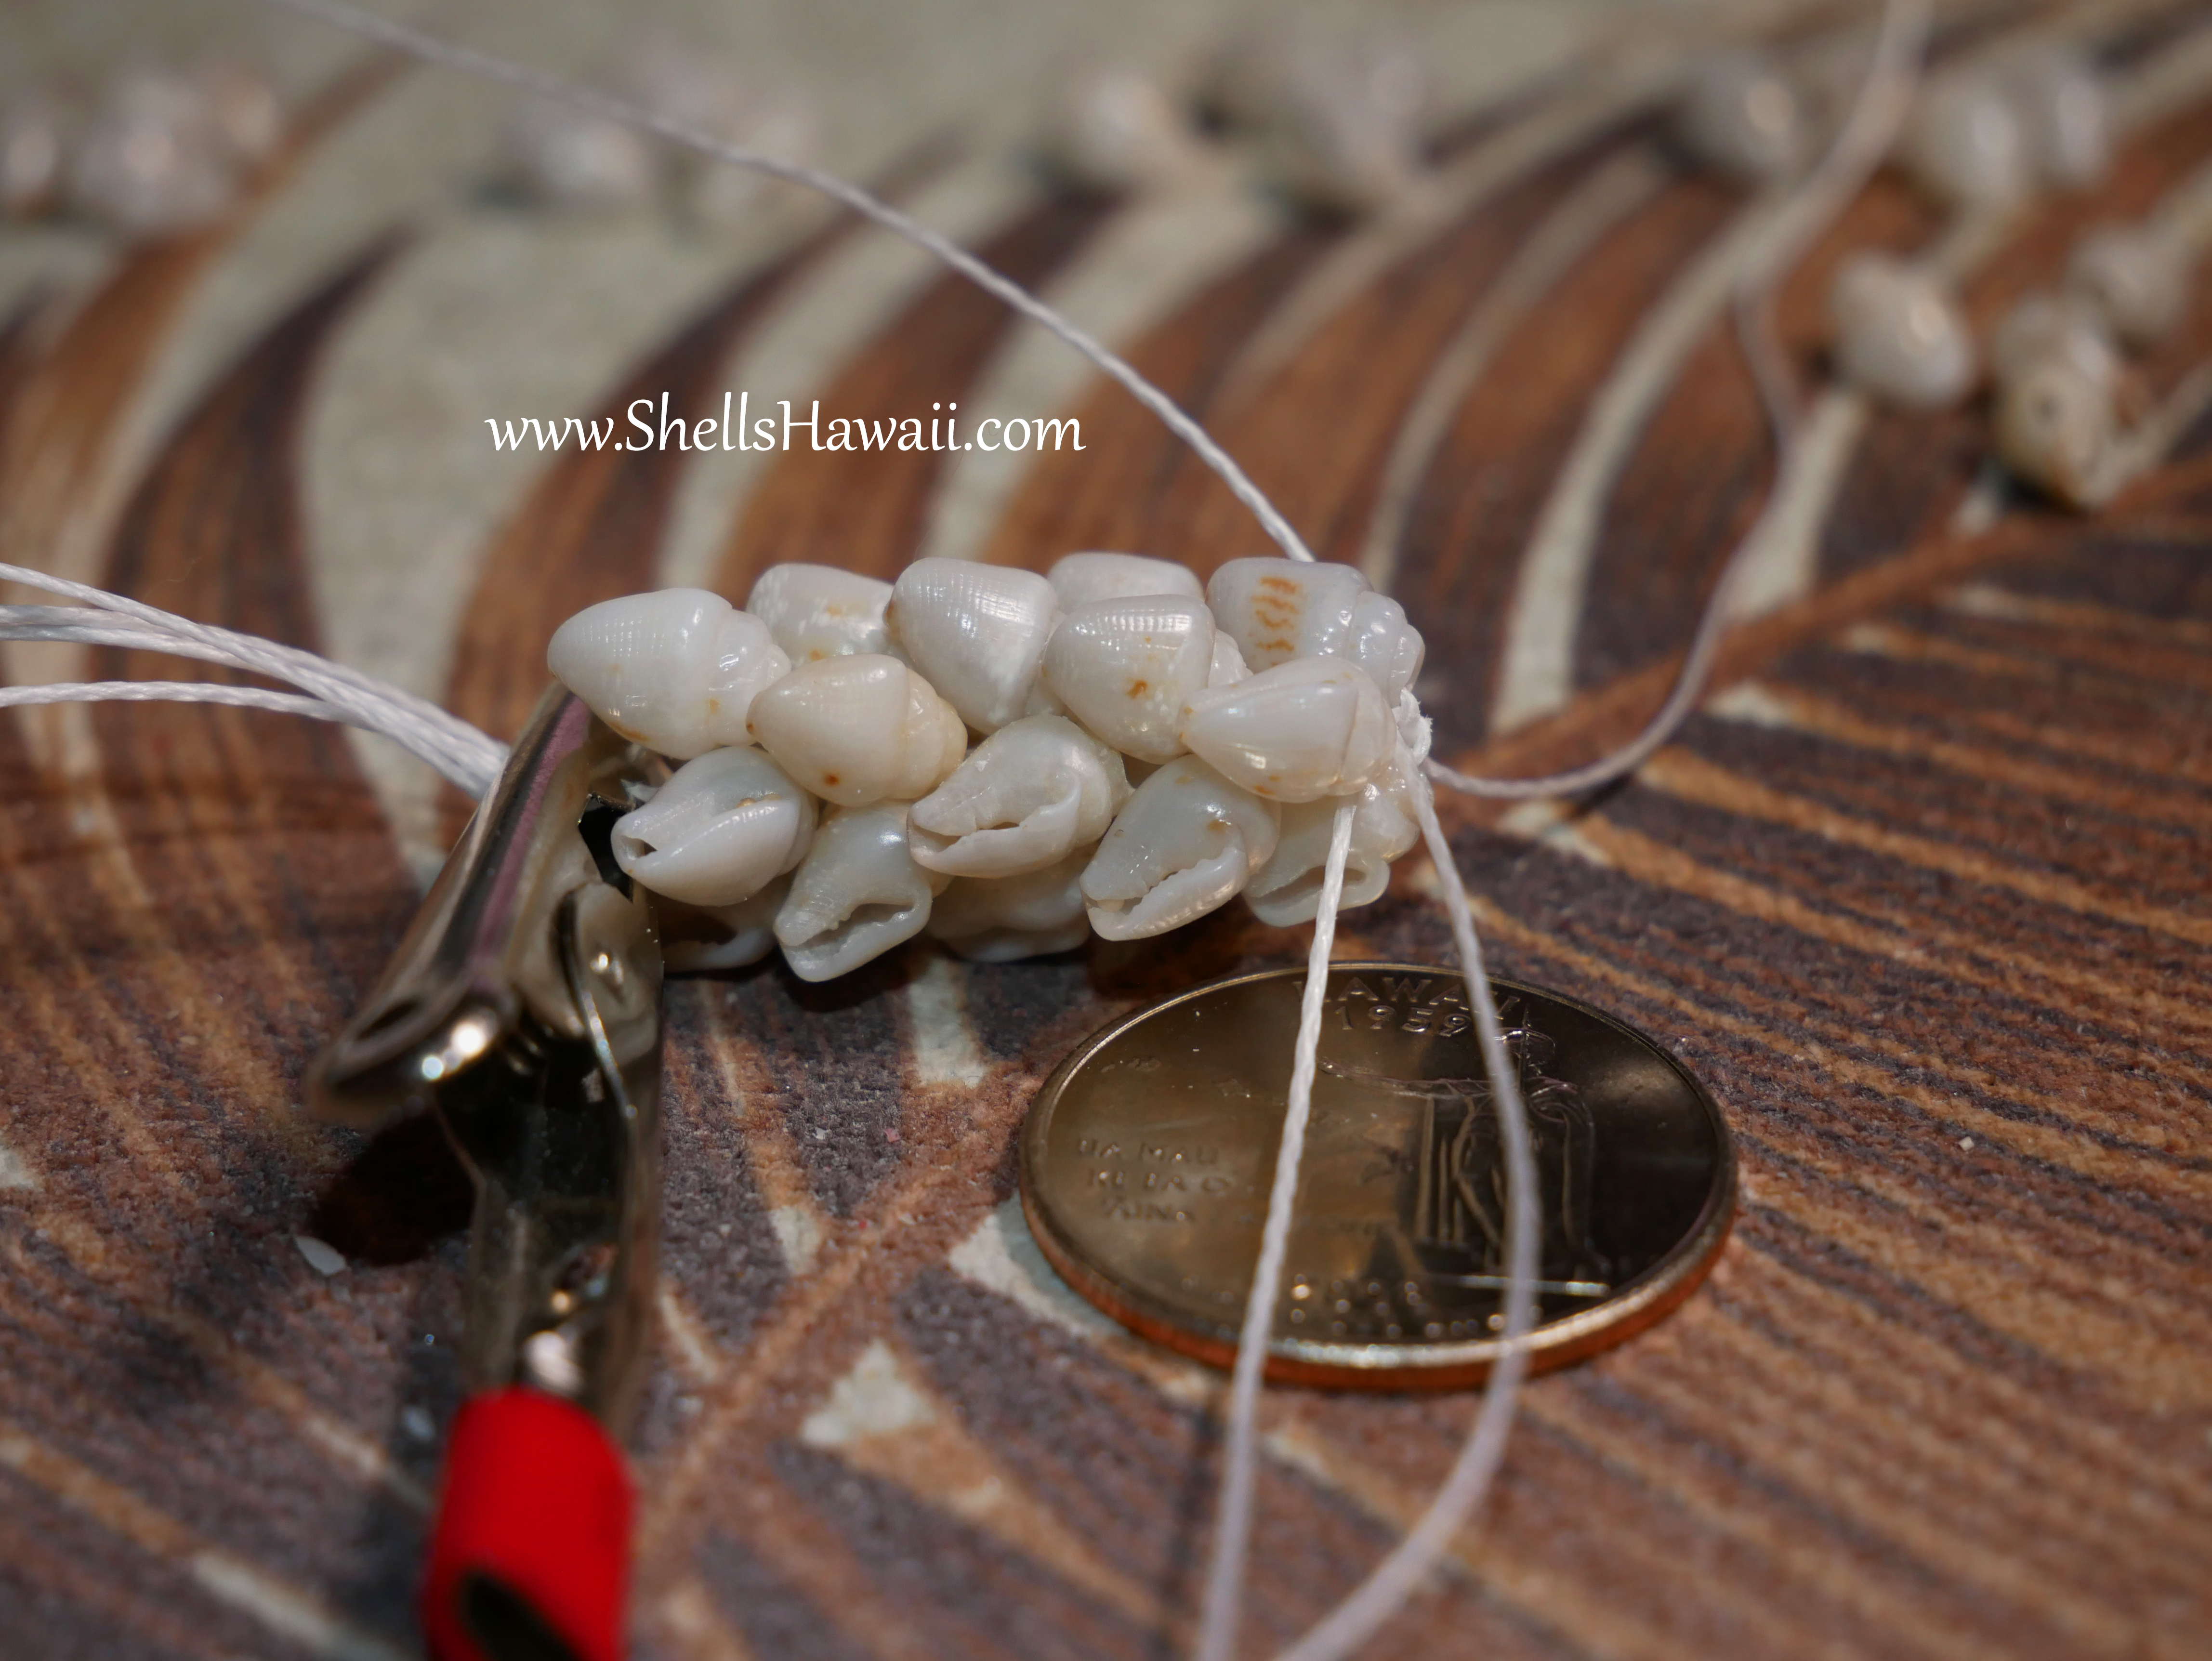
Stringing the Double-Double Pikake Lei
Once the Momi shells are prepared and ready, this is where the stringing process begins. Before moving forward in each section, I take a moment to make sure everything feels right — the shells, the string, and the overall direction of the lei feels balanced. I also double check for any imperfect shells I may have missed earlier so I can replace them before continuing to the next section.
As I begin stringing, I pay close attention to how the pattern forms with each new cluster. I stop often to check the shell alignment, the spiral flow, and make sure no string is showing before continuing.
If something does not look right — whether it is the shell size, spacing, or overall flow — I adjust it immediately before moving forward.
Adding the Clasp
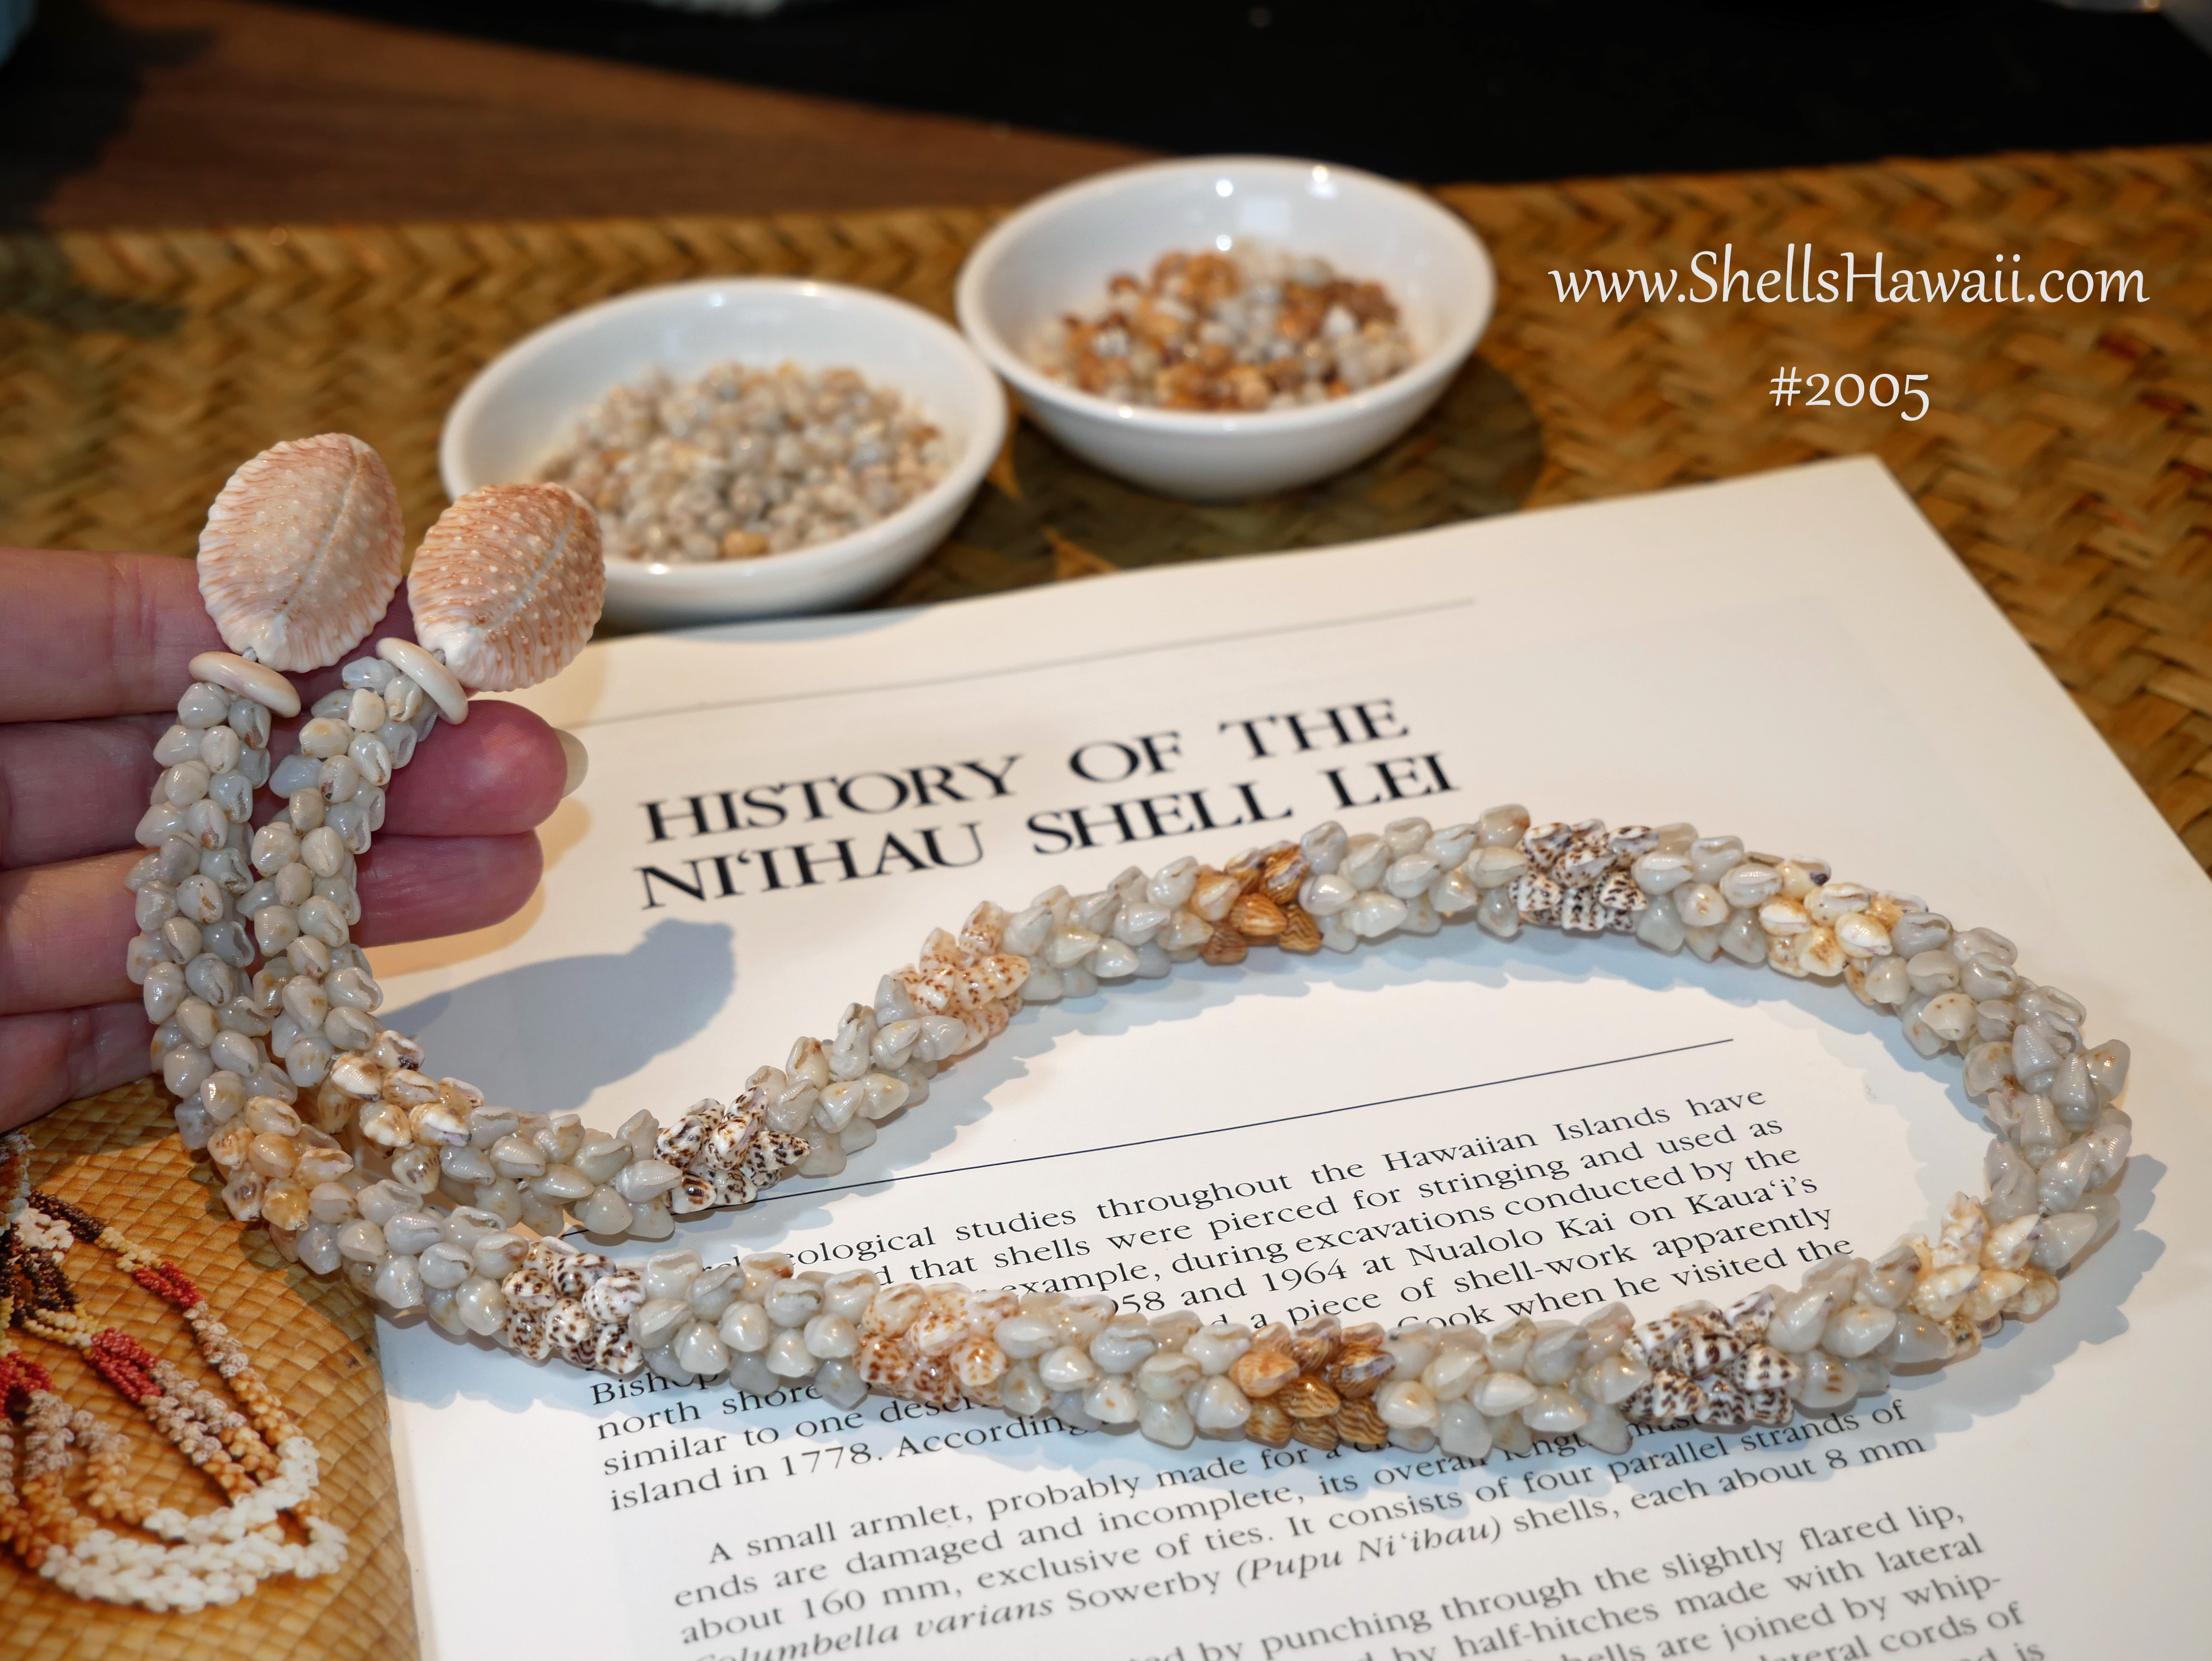
After many hours of work and preparation, I finally completed the lei. It turned out beautifully, and I felt very happy seeing how everything finally came together. The overall look feels very bold and elegant to me — definitely a statement piece and also quite rare because of the unique Momi shell color combination used throughout the design.
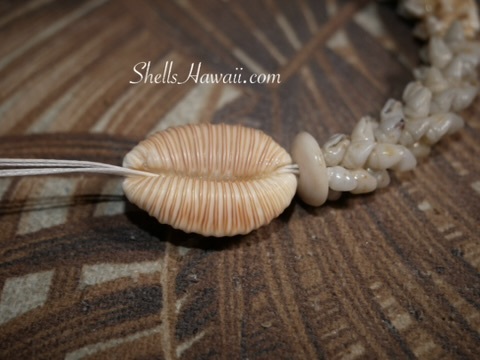
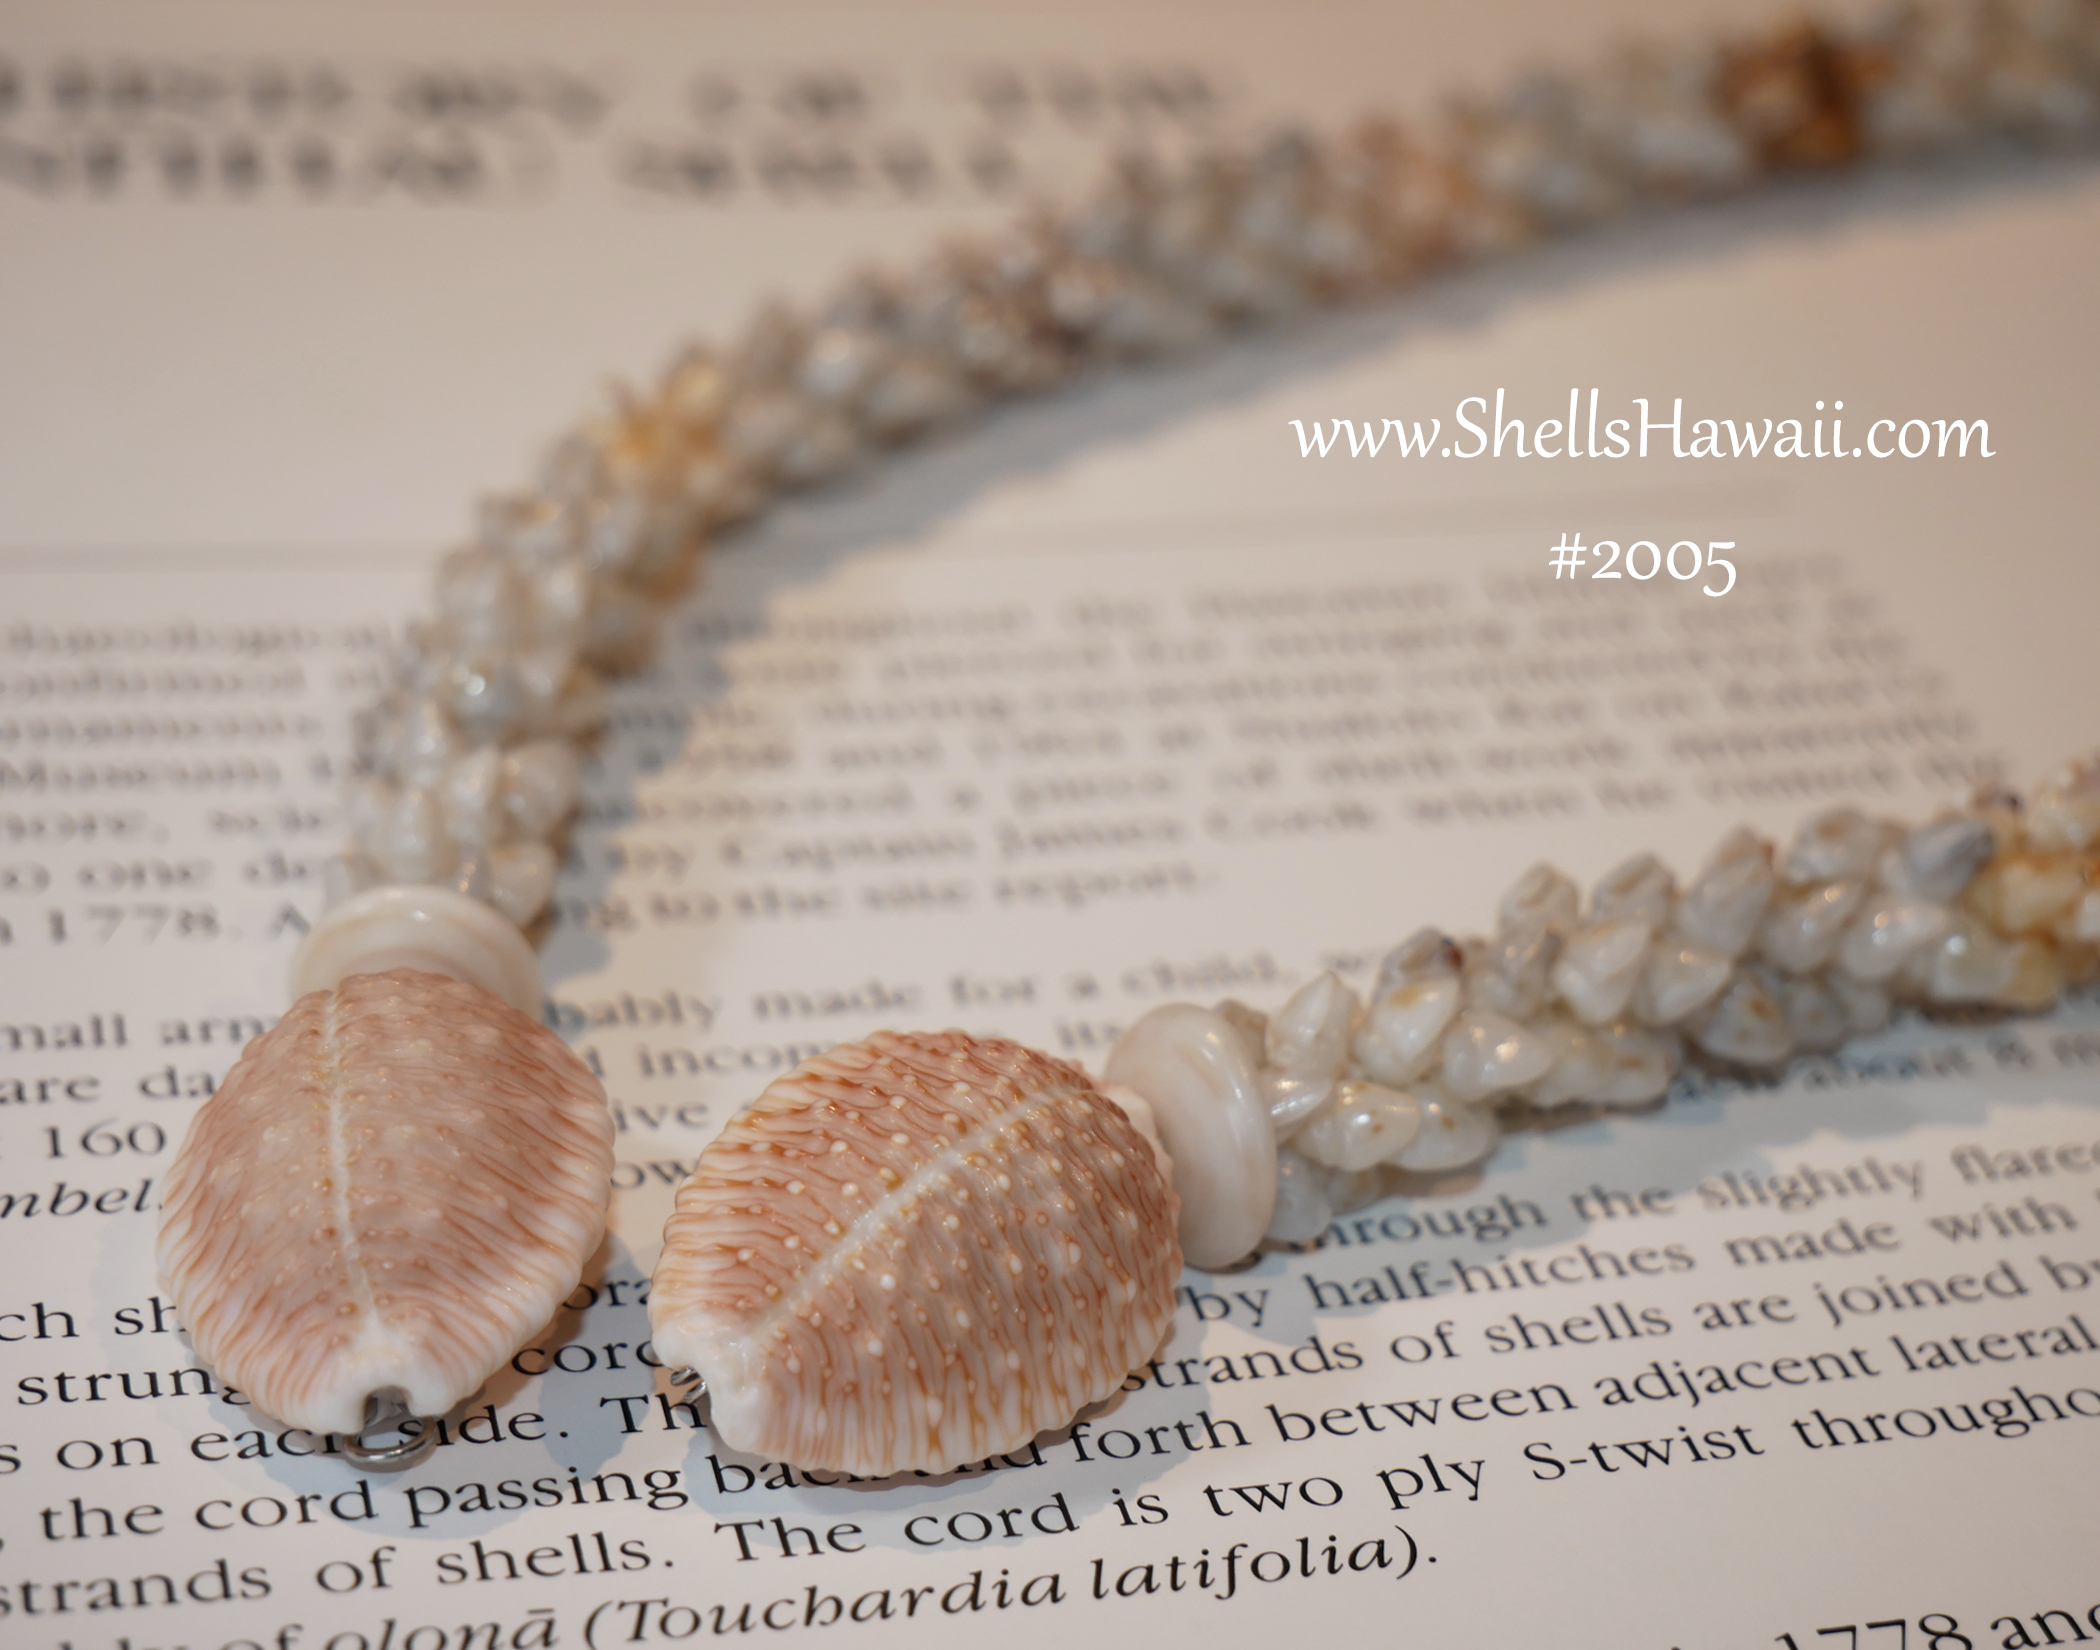
For this particular lei, I felt it would look even more beautiful with a traditional style clasp, so I decided to add brown granulated cowrie shells to create a soft contrast against the Momi shell colors. Once the cowrie shells were cleaned, prepared, and secured with epoxy, the entire piece finally felt complete.
As I looked over the finished lei, I also decided to add slightly more length to help the overall balance and flow feel more natural.
The moment I finished the clasp and held the completed lei in my hands honestly made me very happy. After watching the design slowly come together section by section, it felt very rewarding to finally see the finished piece.
I hope you enjoyed spending a little time behind my work table today and seeing how I created this Double-double Pikake lei step by step. From selecting the Momi shell colors to watching the pattern slowly come together, this piece became very special to me throughout the process.
If you would like to continue learning more about Niʻihau shell jewelry and the different styles I create, you are always welcome to explore my other blogs and collections. If you would like to see this lei and learn more about the finished piece, please click here.
Much aloha,
Janjira