 JPY
JPY


Aloha and welcome back to the ShellsHawaii blog!
In my previous Behind the Scenes blog, I shared the journey of creating my #2017 traditional Kipona style shell lei. Today, I'd love to invite you back to my work table as I begin another handmade Hawaiian shell jewelry creation.
Today, we'll create another Hawaiian shell lei featuring this beautiful design. Let's see how my creation day goes as I carefully bring this piece to life, one tiny shell at a time.
Planning the Design
For this piece, I wanted to create a Kipona style shell lei that combines the beautiful Momi shells from Niʻihau with the beautiful colors of large Kahelelani shells from Kauaʻi.
I also decided that I wanted to use the large Kahelelani shells I have in my collection. This would be a challenge because I needed perfectly matched shells in both size and color to complete the five Poepoe style sections.
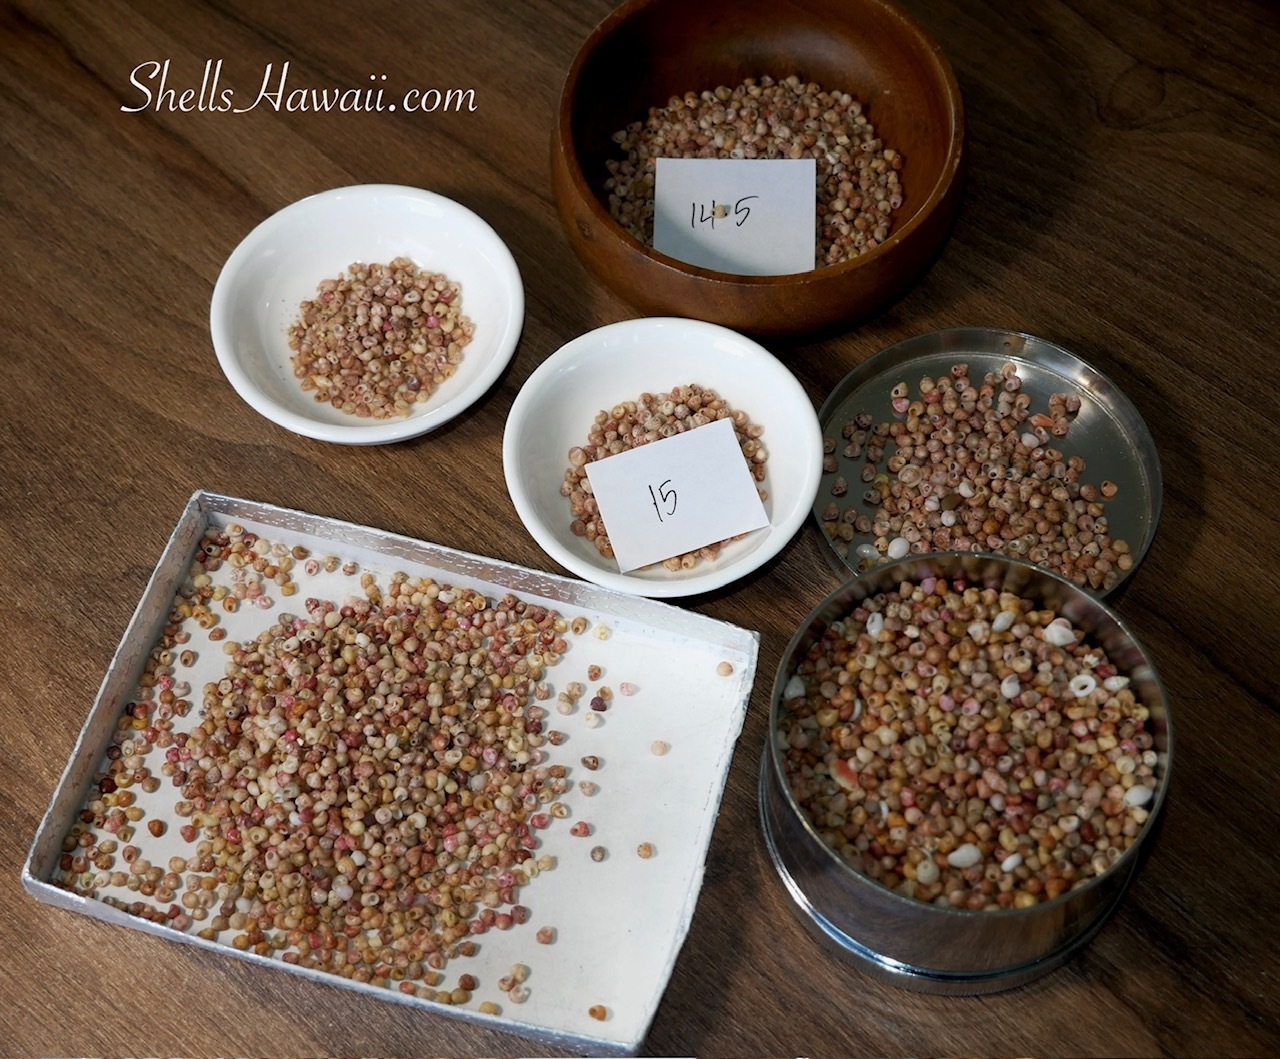
As I mentioned in one of my previous blogs, finding Kahelelani shells in size 14 and larger with matching size and color is never easy. Most of the beautiful Kahelelani shell colors are found in much smaller sizes, making larger matching shells much harder to find.
Although I have plenty of shells, many don't match in size, color, shape, or even the direction of the shell. Creating matching Poepoe style sections throughout this lei requires shells that are very consistent. When you have limited shell colors, sizes, and quality to choose from, creating a piece like this becomes very challenging.
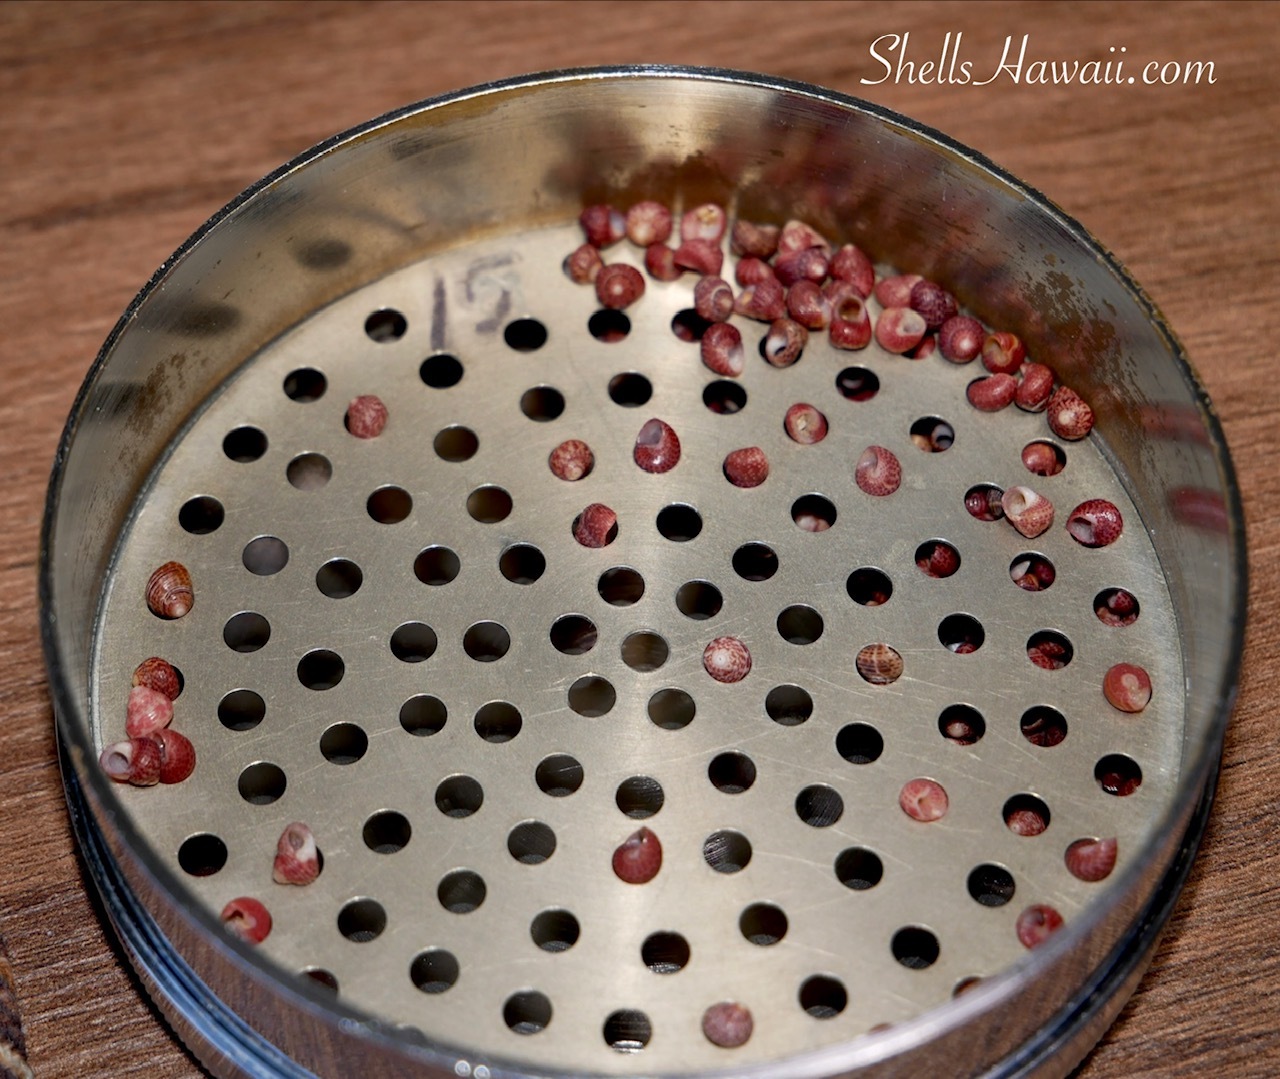
The picture below shows how many mixed-size burgundy Kahelelani shells I sort through in my sizing tray just to find enough matching size 15 Kahelelani shells for the center Poepoe section.
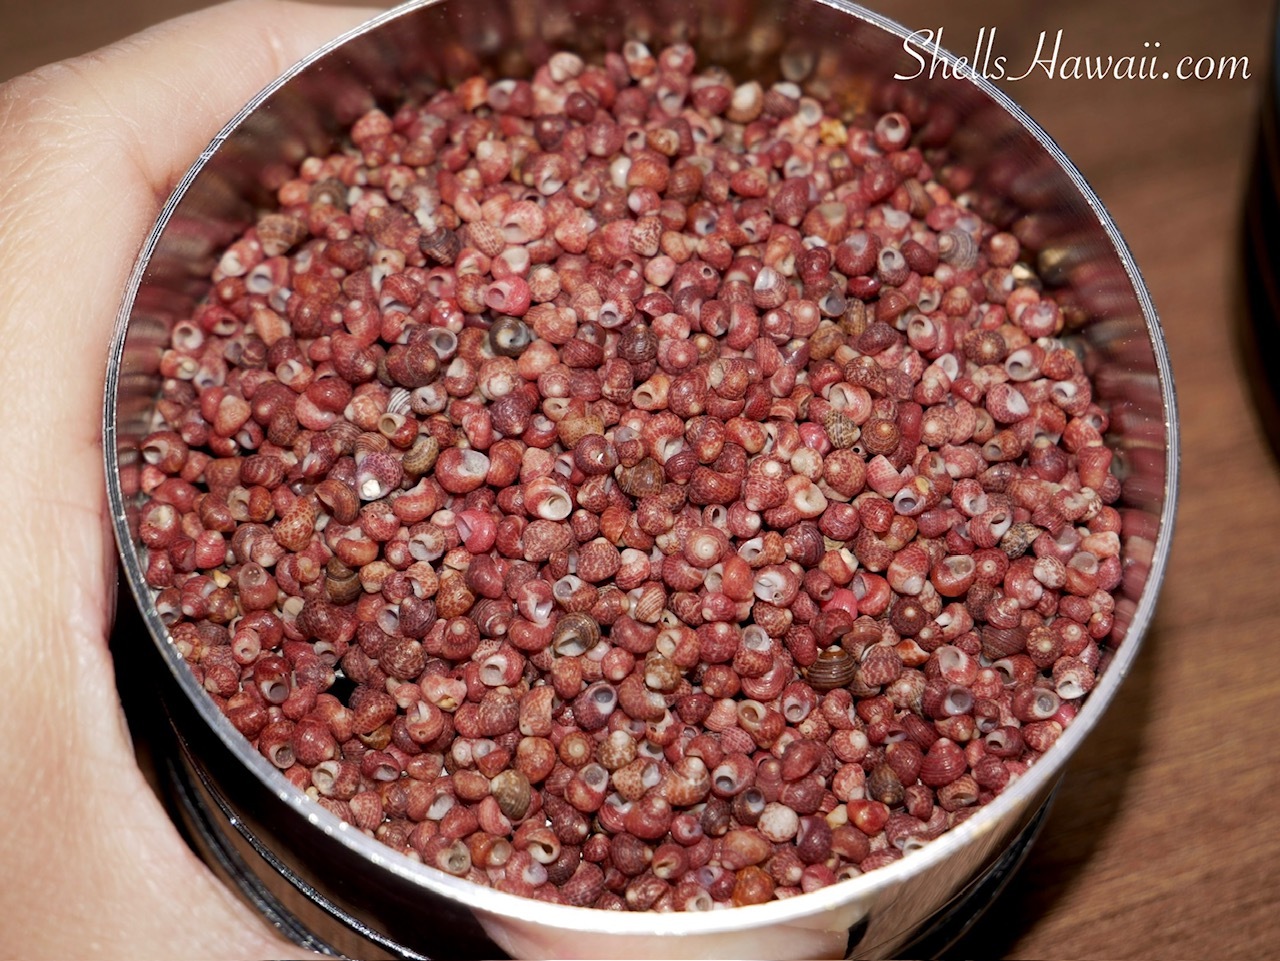
After sorting through hundreds of mixed-size burgundy Kahelelani shells, this is how many matching size 15 shells I had left. Finding enough shells of the same size, color, and quality is one of the biggest challenges when creating the Poepoe sections of this handmade Hawaiian shell lei.
Creating the Lei
After gathering all the shell colors I needed for the center Poepoe section, I began stringing them together and preparing them for the twisting and weaving process.
The first section I created was the center Poepoe section using size 15.5 Kahelelani shells. My goodness... this was a lot of pressure! I honestly thought I had plenty of shells to choose from, but once I started, I realized I barely had enough matching shells to complete the section. Thankfully, I was able to make it work.
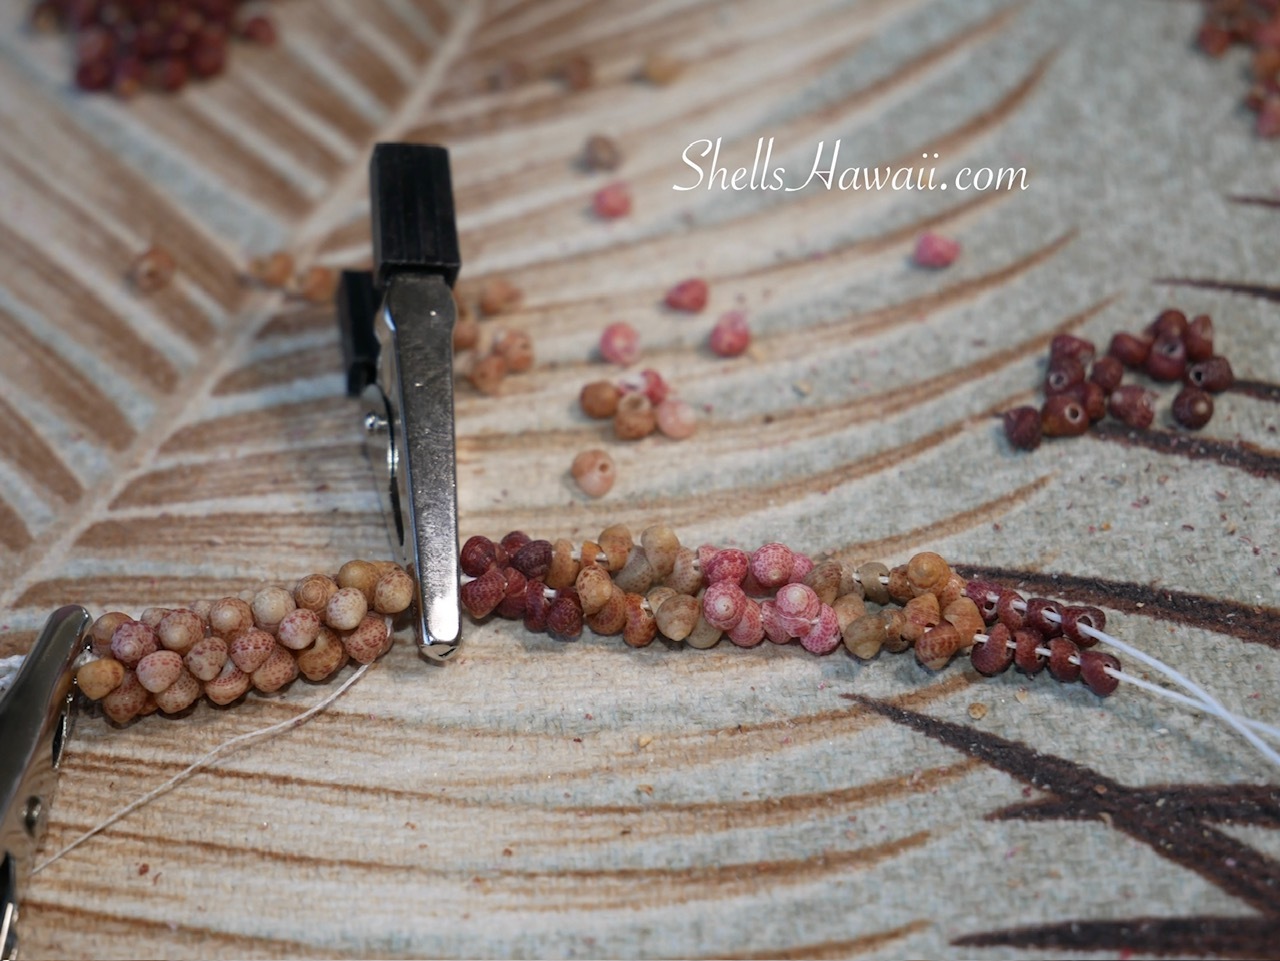
The picture below shows a close-up view of the Kahelelani Poepoe section in the center of the lei. Creating this detailed pattern requires carefully matching tiny Kahelelani shells by size, color, and quality so each section flows beautifully into the next.
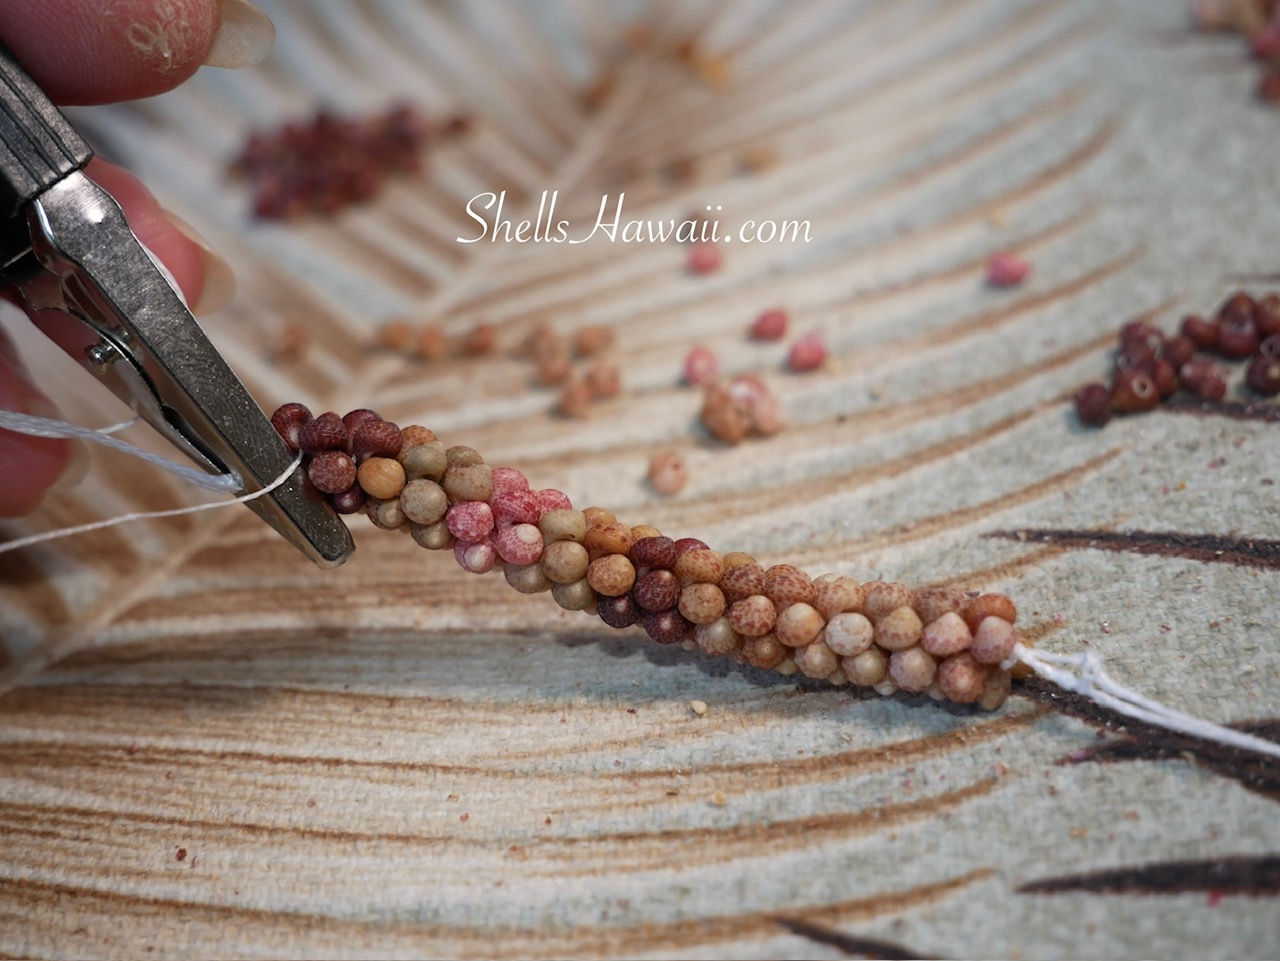
Once the center section was finished, I continued adding the beautiful Momi shells from Niʻihau. Their natural luster contrasts beautifully with the matte finish of the Kahelelani shells from Kauaʻi, creating a balanced and harmonious look throughout the lei. After completing that section, I began creating the next Poepoe section using size 15 Kahelelani shells.
This section brought another challenge. Even after sorting the shells by size, they are never perfectly identical. Sometimes the difference between two shells is only one or two millimeters, but that tiny difference can make a big impact once the shells are twisted into place and woven together. If one shell is slightly too large or too small, it can throw off the entire section.
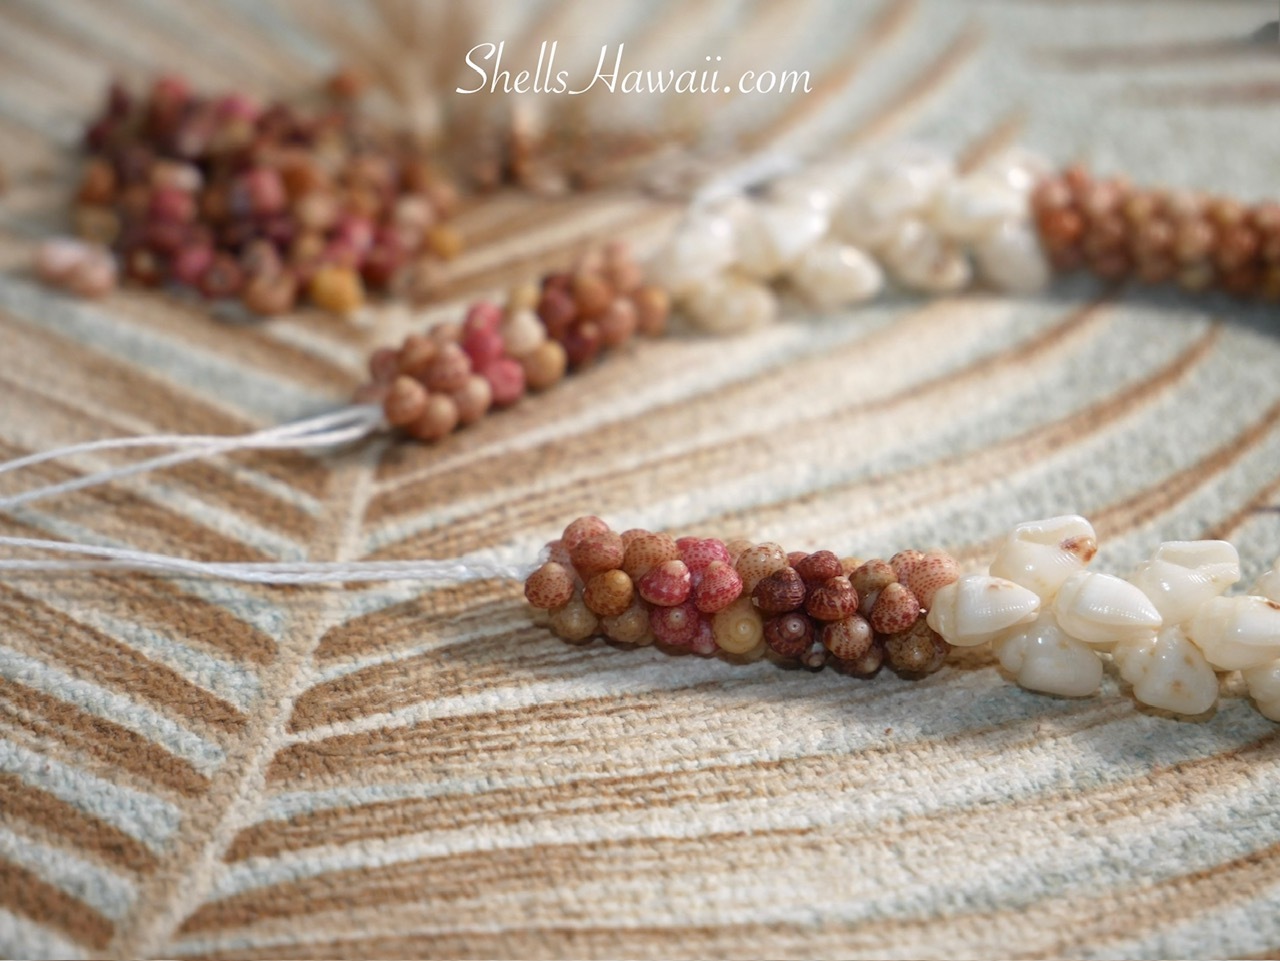
That meant I was constantly removing shells, trying another one, weaving again, and repeating the process until everything looked just right. It could be frustrating at times, but if you want the finished piece to turn out beautifully, these adjustments become a big part of the creation process. In the end, they make all the difference.
After completing that section, I continued adding more Momi shells before creating the final Poepoe section using size 14.5 Kahelelani shells. By this point, things became a little easier because I had more matching shells to work with. Before I knew it, the lei had reached the length I originally planned.
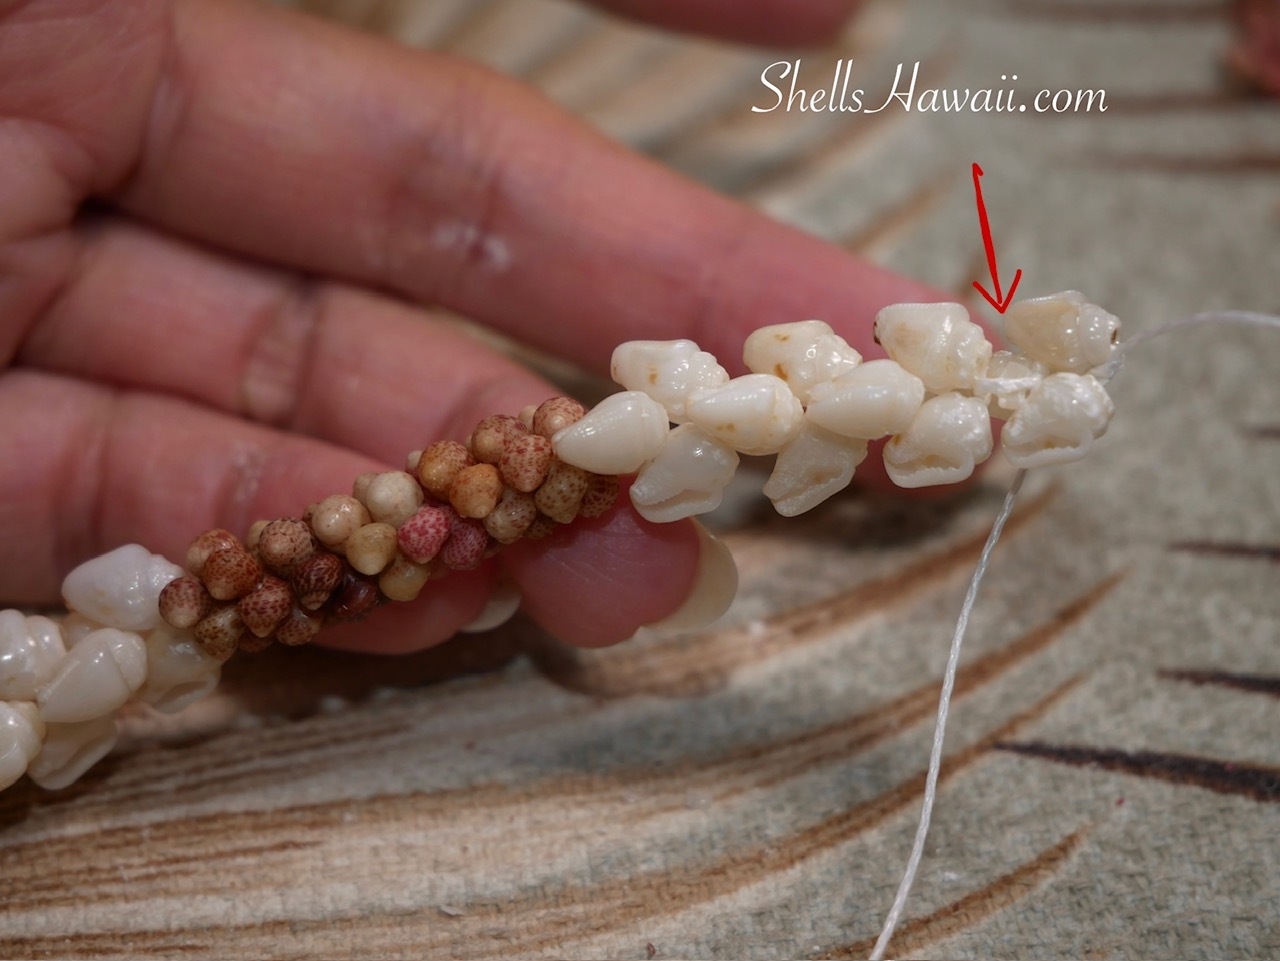
Throughout the weaving process, I occasionally have to stop and replace a shell that breaks. It is simply part of creating a more complicated design. This is why I keep a large supply of Niʻihau shells. I need enough matching shells to choose from, not only for the design itself but also to have matching replacements if one breaks along the way. Having those extra shells allows me to continue creating the lei exactly as I originally envisioned it.
The Challenges Along the Way
Of course, this creation wasn't without its challenges.
As with many shell jewelry projects, a few shells broke during the poking, stringing, and weaving process. Breaking a shell is always disappointing, but it's simply part of working with natural shells. The real challenge wasn't the broken shell itself—it was finding another shell that matched the original in size, color, and shape. Sometimes replacing a broken shell isn't nearly as easy as it sounds, especially when you're trying to maintain the same pattern and overall balance of the design.
The Finished Lei
Looking at the finished lei and everything I had just gone through to create it, I sometimes ask myself why I choose to create something so complicated. Then I realize the answer is simple—I love the challenge. I enjoy pushing myself to see what's possible and discovering how I can transform these tiny natural shells into something beautiful.
For the final touch, I decided to finish the lei with a traditional clasp featuring off-white Granulated Cowrie shells.
If you would like to see the finished lei, please visit my Lei > Two Strand category.
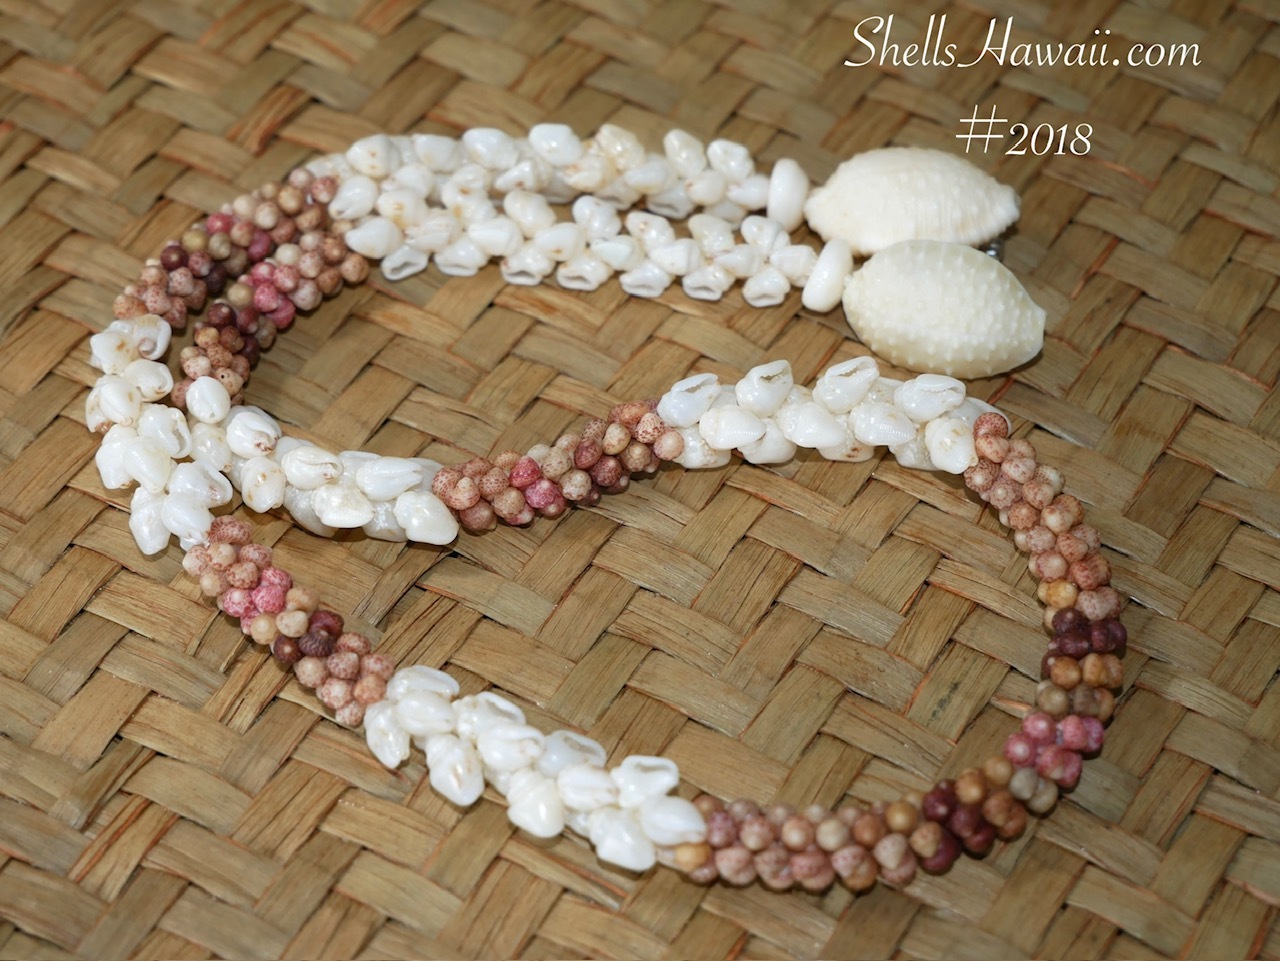
I hope you enjoyed joining me behind the scenes of this #2018 creation and seeing a little of what goes into making one of my handmade Hawaiian shell lei. Thank you for spending time with me at my work table.
Mahalo nui loa for being here, and I hope to see you again next time.
Janjira