 USD
USD

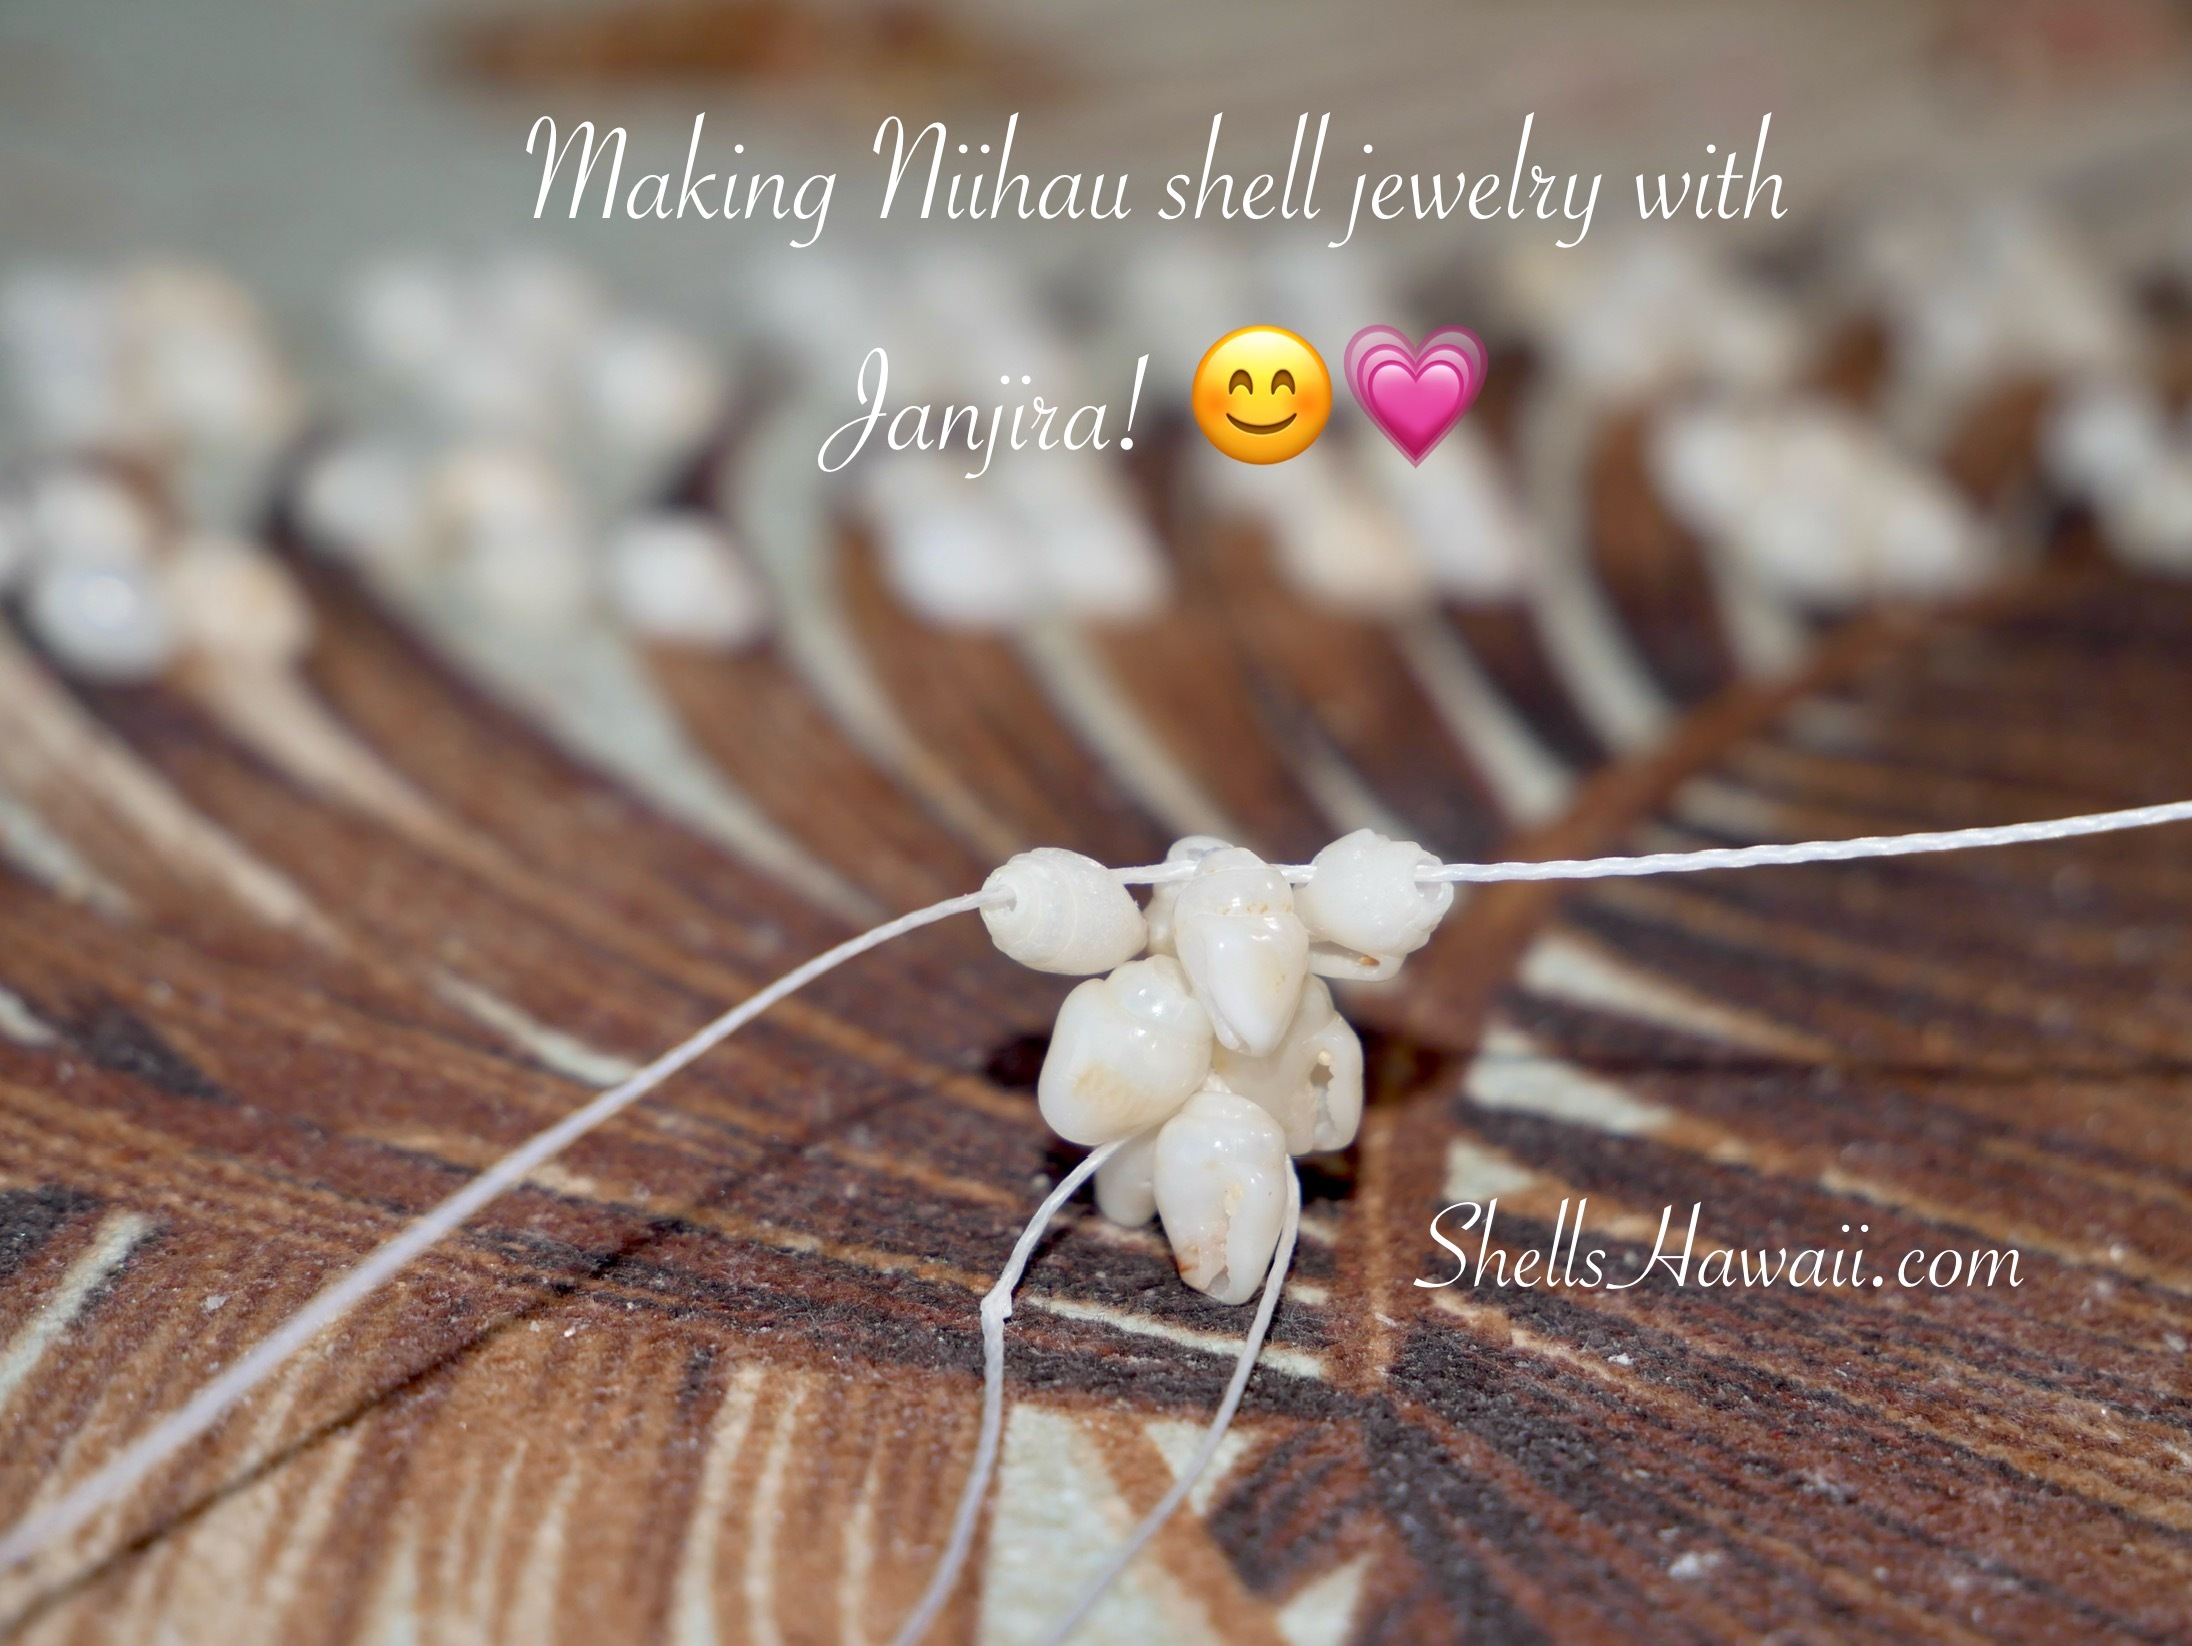
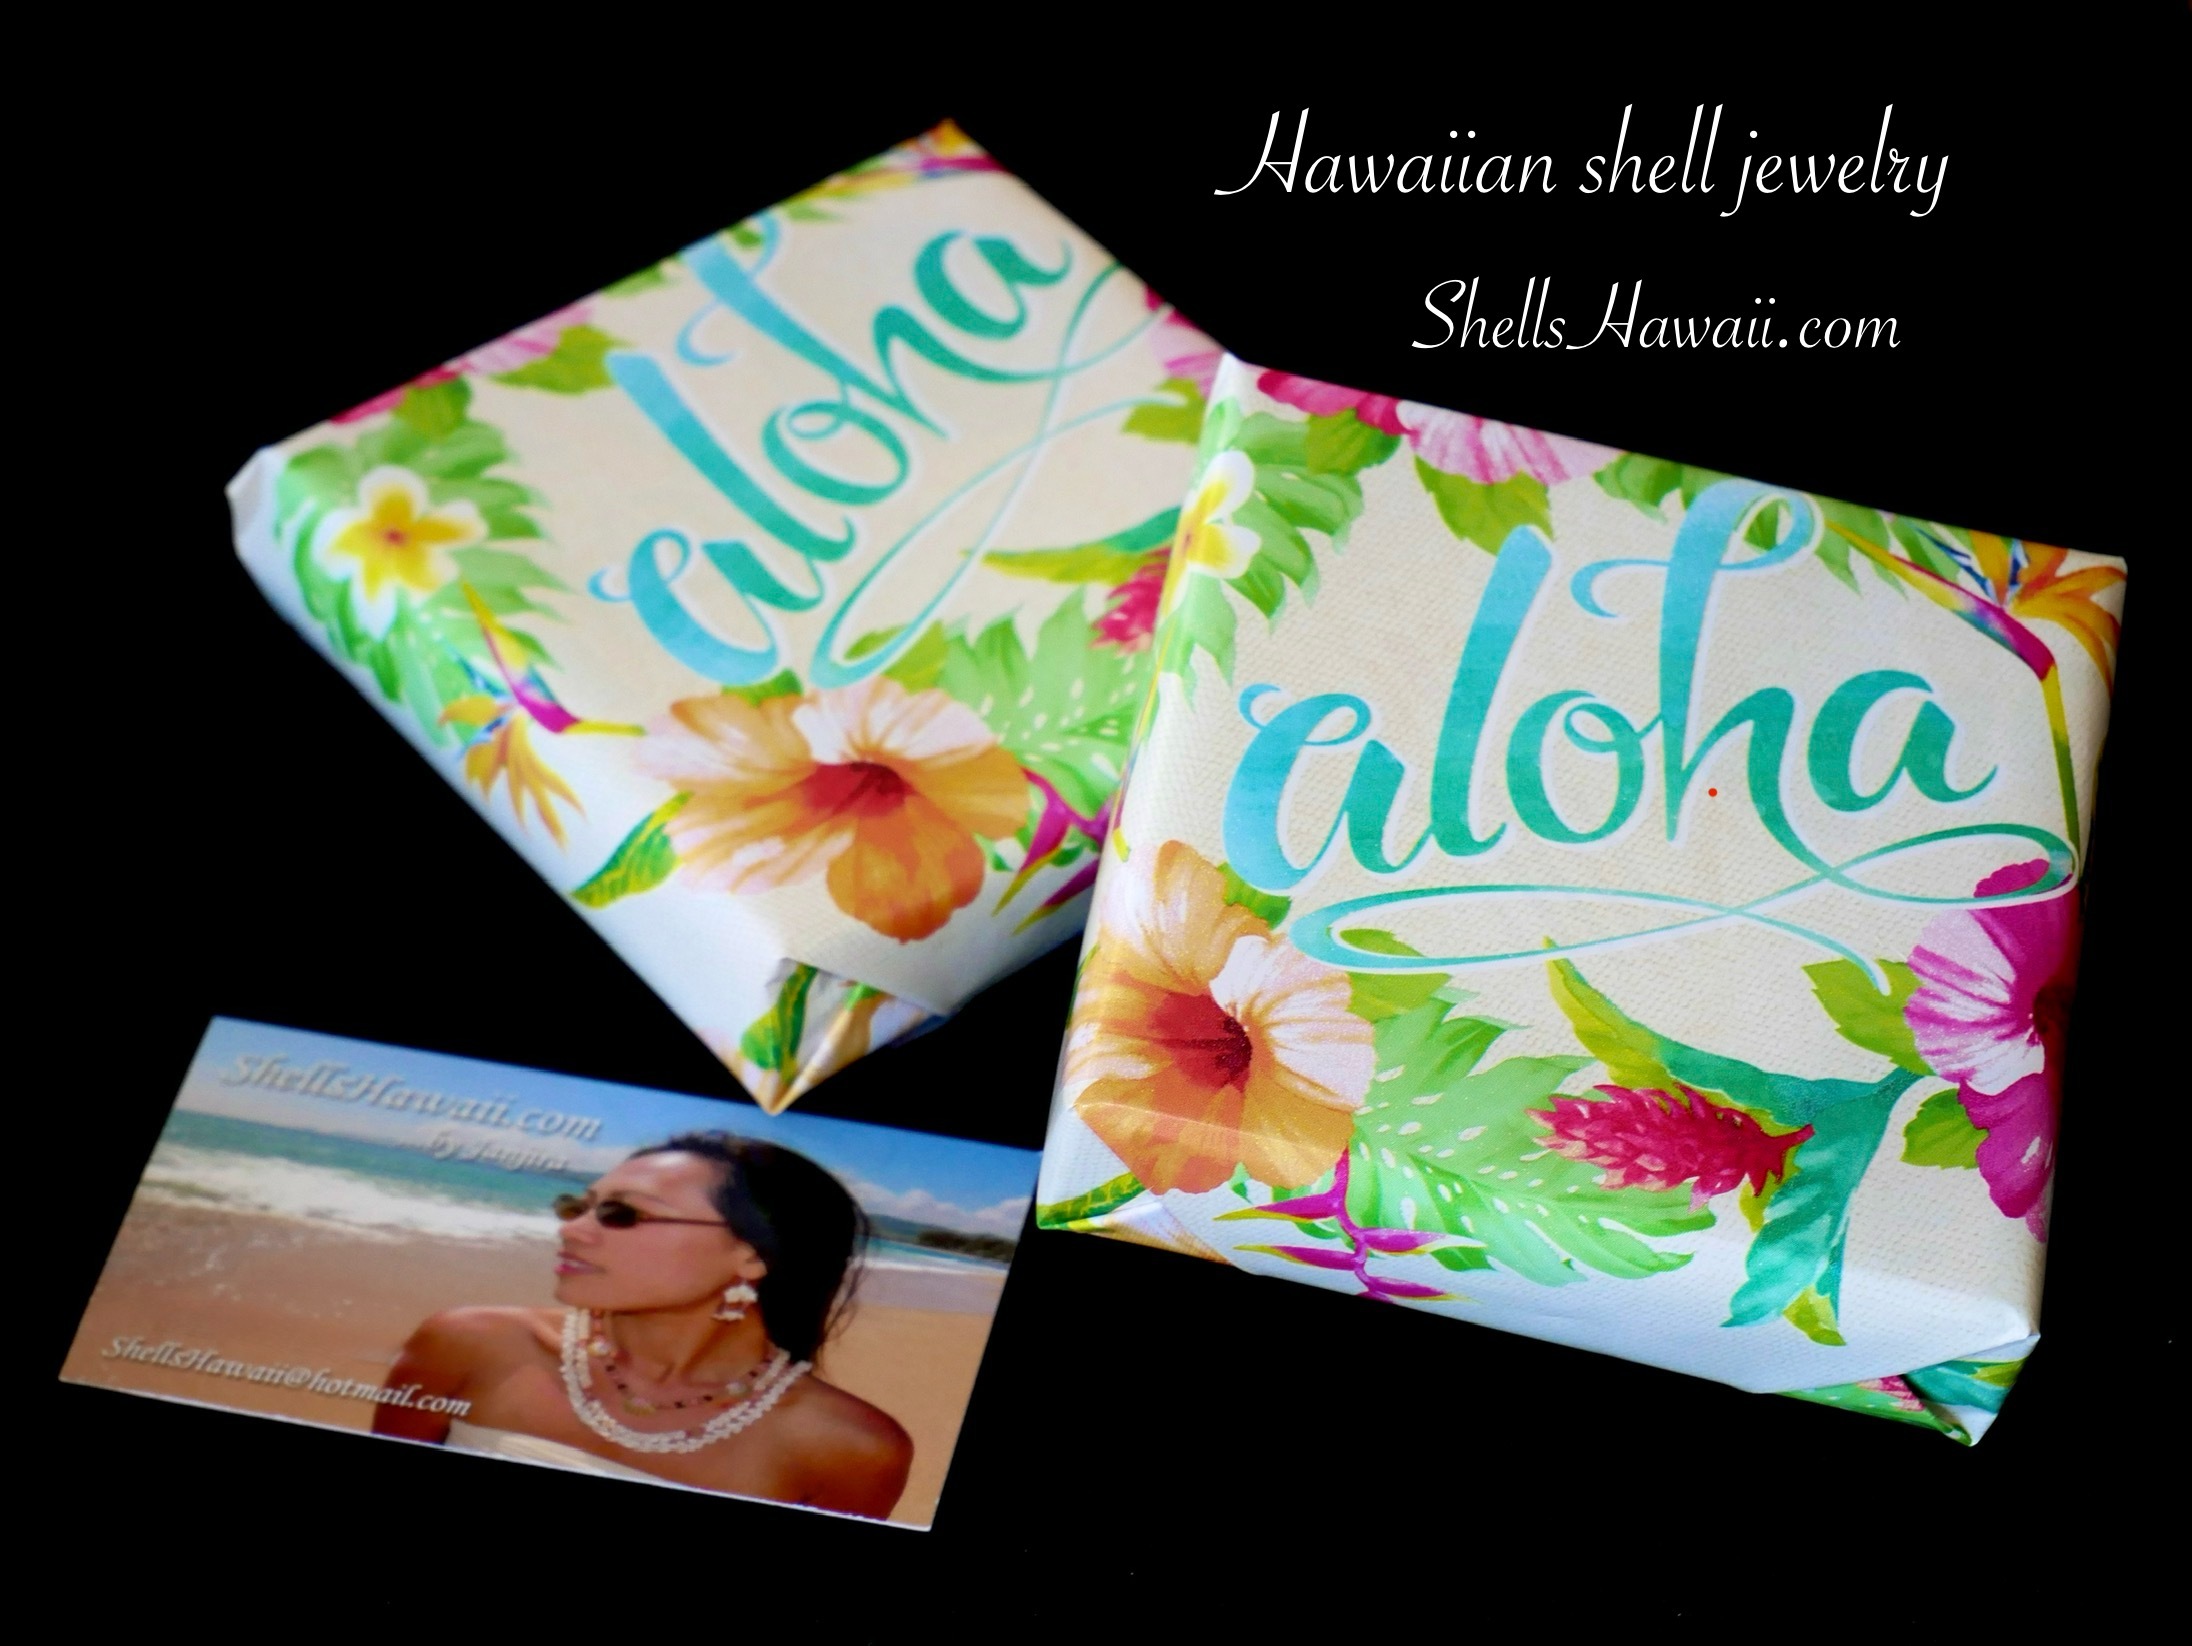
When Curiosity Turns Into Inspiration Niʻihau Shell Jewelry… oh yeah!!!
I’ve heard about it, I know a little, and I’ve always loved Hawaiian seashells—the Hawaiian gems. Of course I want to own a piece. Then a new thought taps my shoulder: maybe I could make one… or at least try. What would I need to get started?
It’s exciting—and a little intimidating. The shells are tiny, the designs are detailed, and I’m not sure my hands are ready. But the idea doesn’t leave. Maybe, just maybe, I could hold those little treasures and create something beautiful. That’s the moment curiosity begins to turn into real inspiration.
A Note About This Series
This post is Part 1 of 3 in my Beginner’s Guide to Niʻihau Shell Jewelry — a friendly series I’ve created to help you begin your own journey with aloha, confidence, and joy.
Each part will guide you step by step — just like how I learned years ago — with real experiences, helpful tips, and a few funny moments along the way.
- Part 1 (this post): Should I Try to Make Niʻihau Shell Jewelry? What I Need and What I Have to Know — where to begin, what tools you’ll need, and how to find true inspiration for your first project.
- Part 2: What You Need to Know Before You Buy the Shells — how to choose the right shells, what to look for, and what to avoid when starting out.
- Part 3: Sorting, Grading, and Preparing Shells for Your First Project — gentle, practical tips for setting up your first real stringing project with confidence.
Each part will be shared separately — mixed in with my other stories and behind-the-scenes posts — so you can come back anytime, read at your own pace, and enjoy the full journey.
Are you ready to get started on your new shell jewelry journey? Let’s begin together.
The Google Search Adventure
When that thought first came to your mind… I’m sure the first thing you did was grab your phone and run straight to Mr. Google! Haha — I don’t blame you. These days, you can find so much information online, way more than when I first started 15–16 years ago.
So what did you find when you Googled it? Maybe some videos on YouTube, maybe tutorials on Instagram, Facebook, or even TikTok. Oh, and yes — probably some shells or starter kits on Etsy too. You might even come across listings for loose Hawaiian seashells (like Momi shells or Kahelelani shells) or Niʻihau shell jewelry kits.
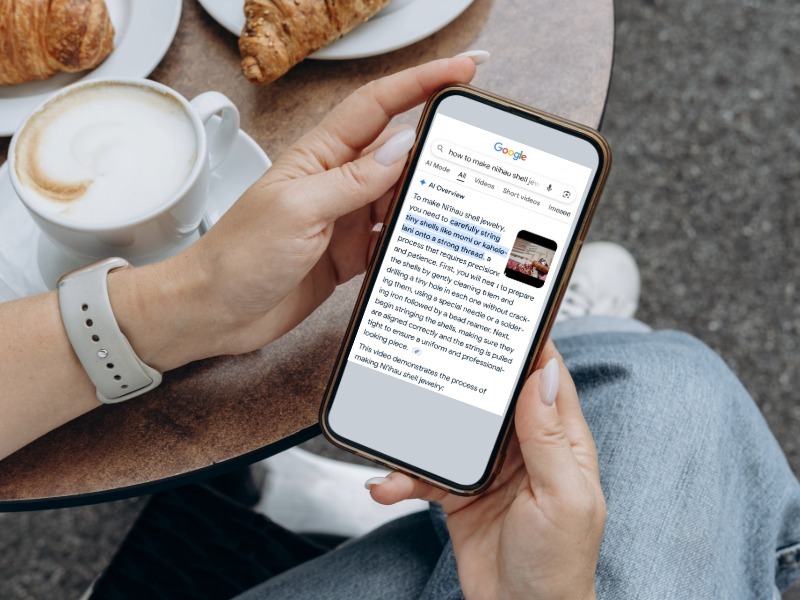
But here’s the thing… as helpful as those videos and posts can be, they don’t always tell you everything you need to know. That’s why so many beginners end up looking for a deeper guide, whether it’s learning about the tools, understanding how to poke shells, or even knowing how to tell if a shell really came from Niʻihau.
Finding a Niʻihau Shell Class
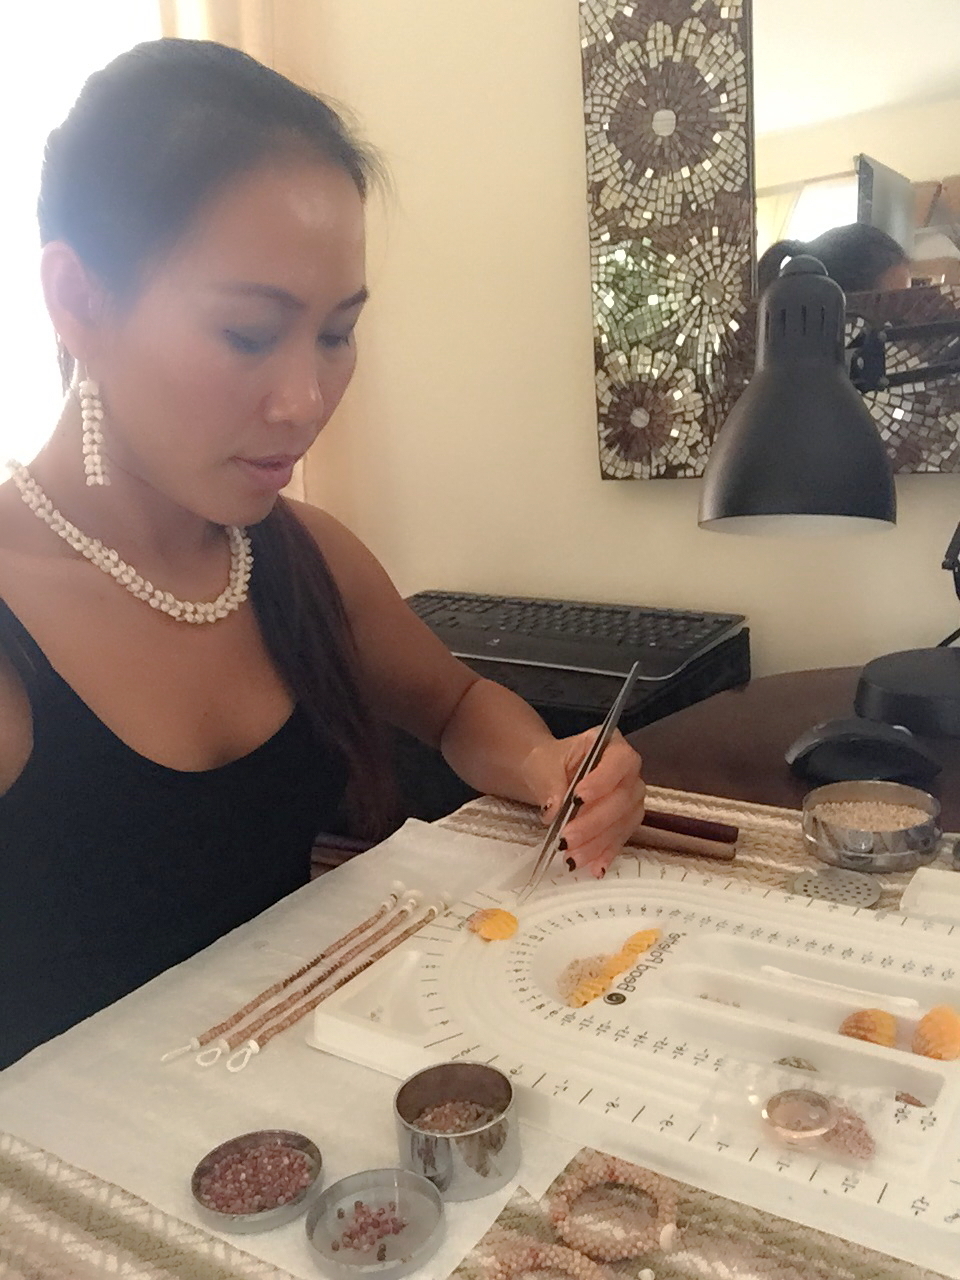
After that late-night Google dive, curiosity turns into action. You don’t just want to watch anymore — you want to try. One of the friendliest places to begin is a Niʻihau shell class. It’s hands-on, welcoming, and a wonderful first step into Hawaiian jewelry.
Most of the time, the first style they learn is the classic Pikake style made with Momi shells. In the class, they’re given a Niʻihau shell kit — the Momi shells are already pre-poked, the thread is ready, plus puka shells and earring hooks. Everything you need is right there. By the end, everyone walks out with their very first piece of Niʻihau shell jewelry. Congratulations everyone!
And here’s the truth — learning to put things together in a class kit is not nearly as hard as starting from the very beginning. Stringing a Niʻihau shell kit is like peeling a banana compared to doing every step yourself: picking, sorting, and the most important part — poking. That’s a whole different story, and not nearly as easy as it looks.
Feeling that little spark? You might try a starter path next to keep the momentum going. I offer pre-poked Momi shells in several styles to help you to start create your first earrings before you are ready to poke your own shells.
Dreaming of Holiday Gifts
Well… a little fast forward. Ummm, the holidays are coming, and you’re thinking — what if I make Niʻihau shell jewelry and give it as a gift? Oh yes, that would be perfect! You nod to yourself, already picturing the happy faces when they open it.
A handmade piece of Niʻihau shell jewelry carries a meaning you can’t buy in a store. Each tiny shell, whether it’s a shimmering Momi or a sparkling Kahelelani, has traveled through the ocean before finding its place in your creation. That story is what makes a necklace, bracelet, or pair of earrings more than just Hawaiian jewelry — it becomes a gift of aloha.
Imagine giving someone a piece made with authentic Hawaiian seashells. It’s not only beautiful to wear, but also deeply personal, showing the time, care, and love put into every detail. For many people, receiving handmade Hawaiian jewelry for the holidays feels like being given a little piece of the islands themselves. That’s why Niʻihau shell jewelry holiday gifts (buyer's guide) are so treasured — they carry both beauty and meaning.
And if you’re looking for even more inspiration on how to choose the right piece, I’ve already shared some ideas in my Niʻihau Shell Jewelry Gift Guide — a perfect place to explore gifting options and find ideas for loved ones.
The Questions Begin
So, of course, you grab your phone and run back to Mr. Google again… and after a little searching, it hits you — there really aren’t many full Niʻihau shell jewelry kits out there. Most places don’t offer pre-poked shells, and even when you find loose Hawaiian seashells, the details about tools or how to actually begin are missing.
That’s when the real questions start swirling: Where do I find the right thread? What kind of needle should I use? Are these shells even truly from Niʻihau? It can feel overwhelming when all you want to do is simply try making something beautiful.
The truth is, so many beginners feel exactly the same way. I hear from people all the time who share these worries with me, and I completely understand because I was once in their shoes too. This is why I always try my best to respond and guide, even if the person has never purchased from me. Helping others is part of the aloha spirit that I believe belongs in this craft.
And if you’re curious where to begin, I’ve shared tips in my blog Why Are Niʻihau Shells So Rare and Expensive?, where you can learn what makes these shells different and why authenticity matters. Soon, I’ll also be writing more about beginner tools, thread choices, and even little “troubleshooting tips” that can save you from early frustrations. Until then, you can explore my loose shell sets — genuine Momi and Kahelelani shells, already sorted and ready for your creative journey.
A Little Advice From My Own Experience
What I share with you here really comes from my own journey — many years of learning through trial and error, lots of patience, and plenty of little moments that made me smile, even when things went wrong. I can still remember sore fingers, shells scattering across the table, and the quiet joy of finally getting it right. Those are the kinds of experiences that taught me the most.
When someone writes to me with questions, the first thing I usually ask is: “Have you ever worked with Niʻihau shells before?”
Some say, “Yes, I went to a Niʻihau shell class.” Others say, “No, but I’d love to give it a try.” My next question is often: “Have you ever seen Niʻihau shells in person before they become a piece of jewelry?” Many will say yes, but then admit they’ve never actually held them in their hands.
And that makes all the difference. Seeing Niʻihau shell jewelry finished and shining is beautiful, but holding the tiny shells and gently stringing them one by one is a completely different experience. That’s usually the moment when people realize just how special — and how meaningful — this art truly is.
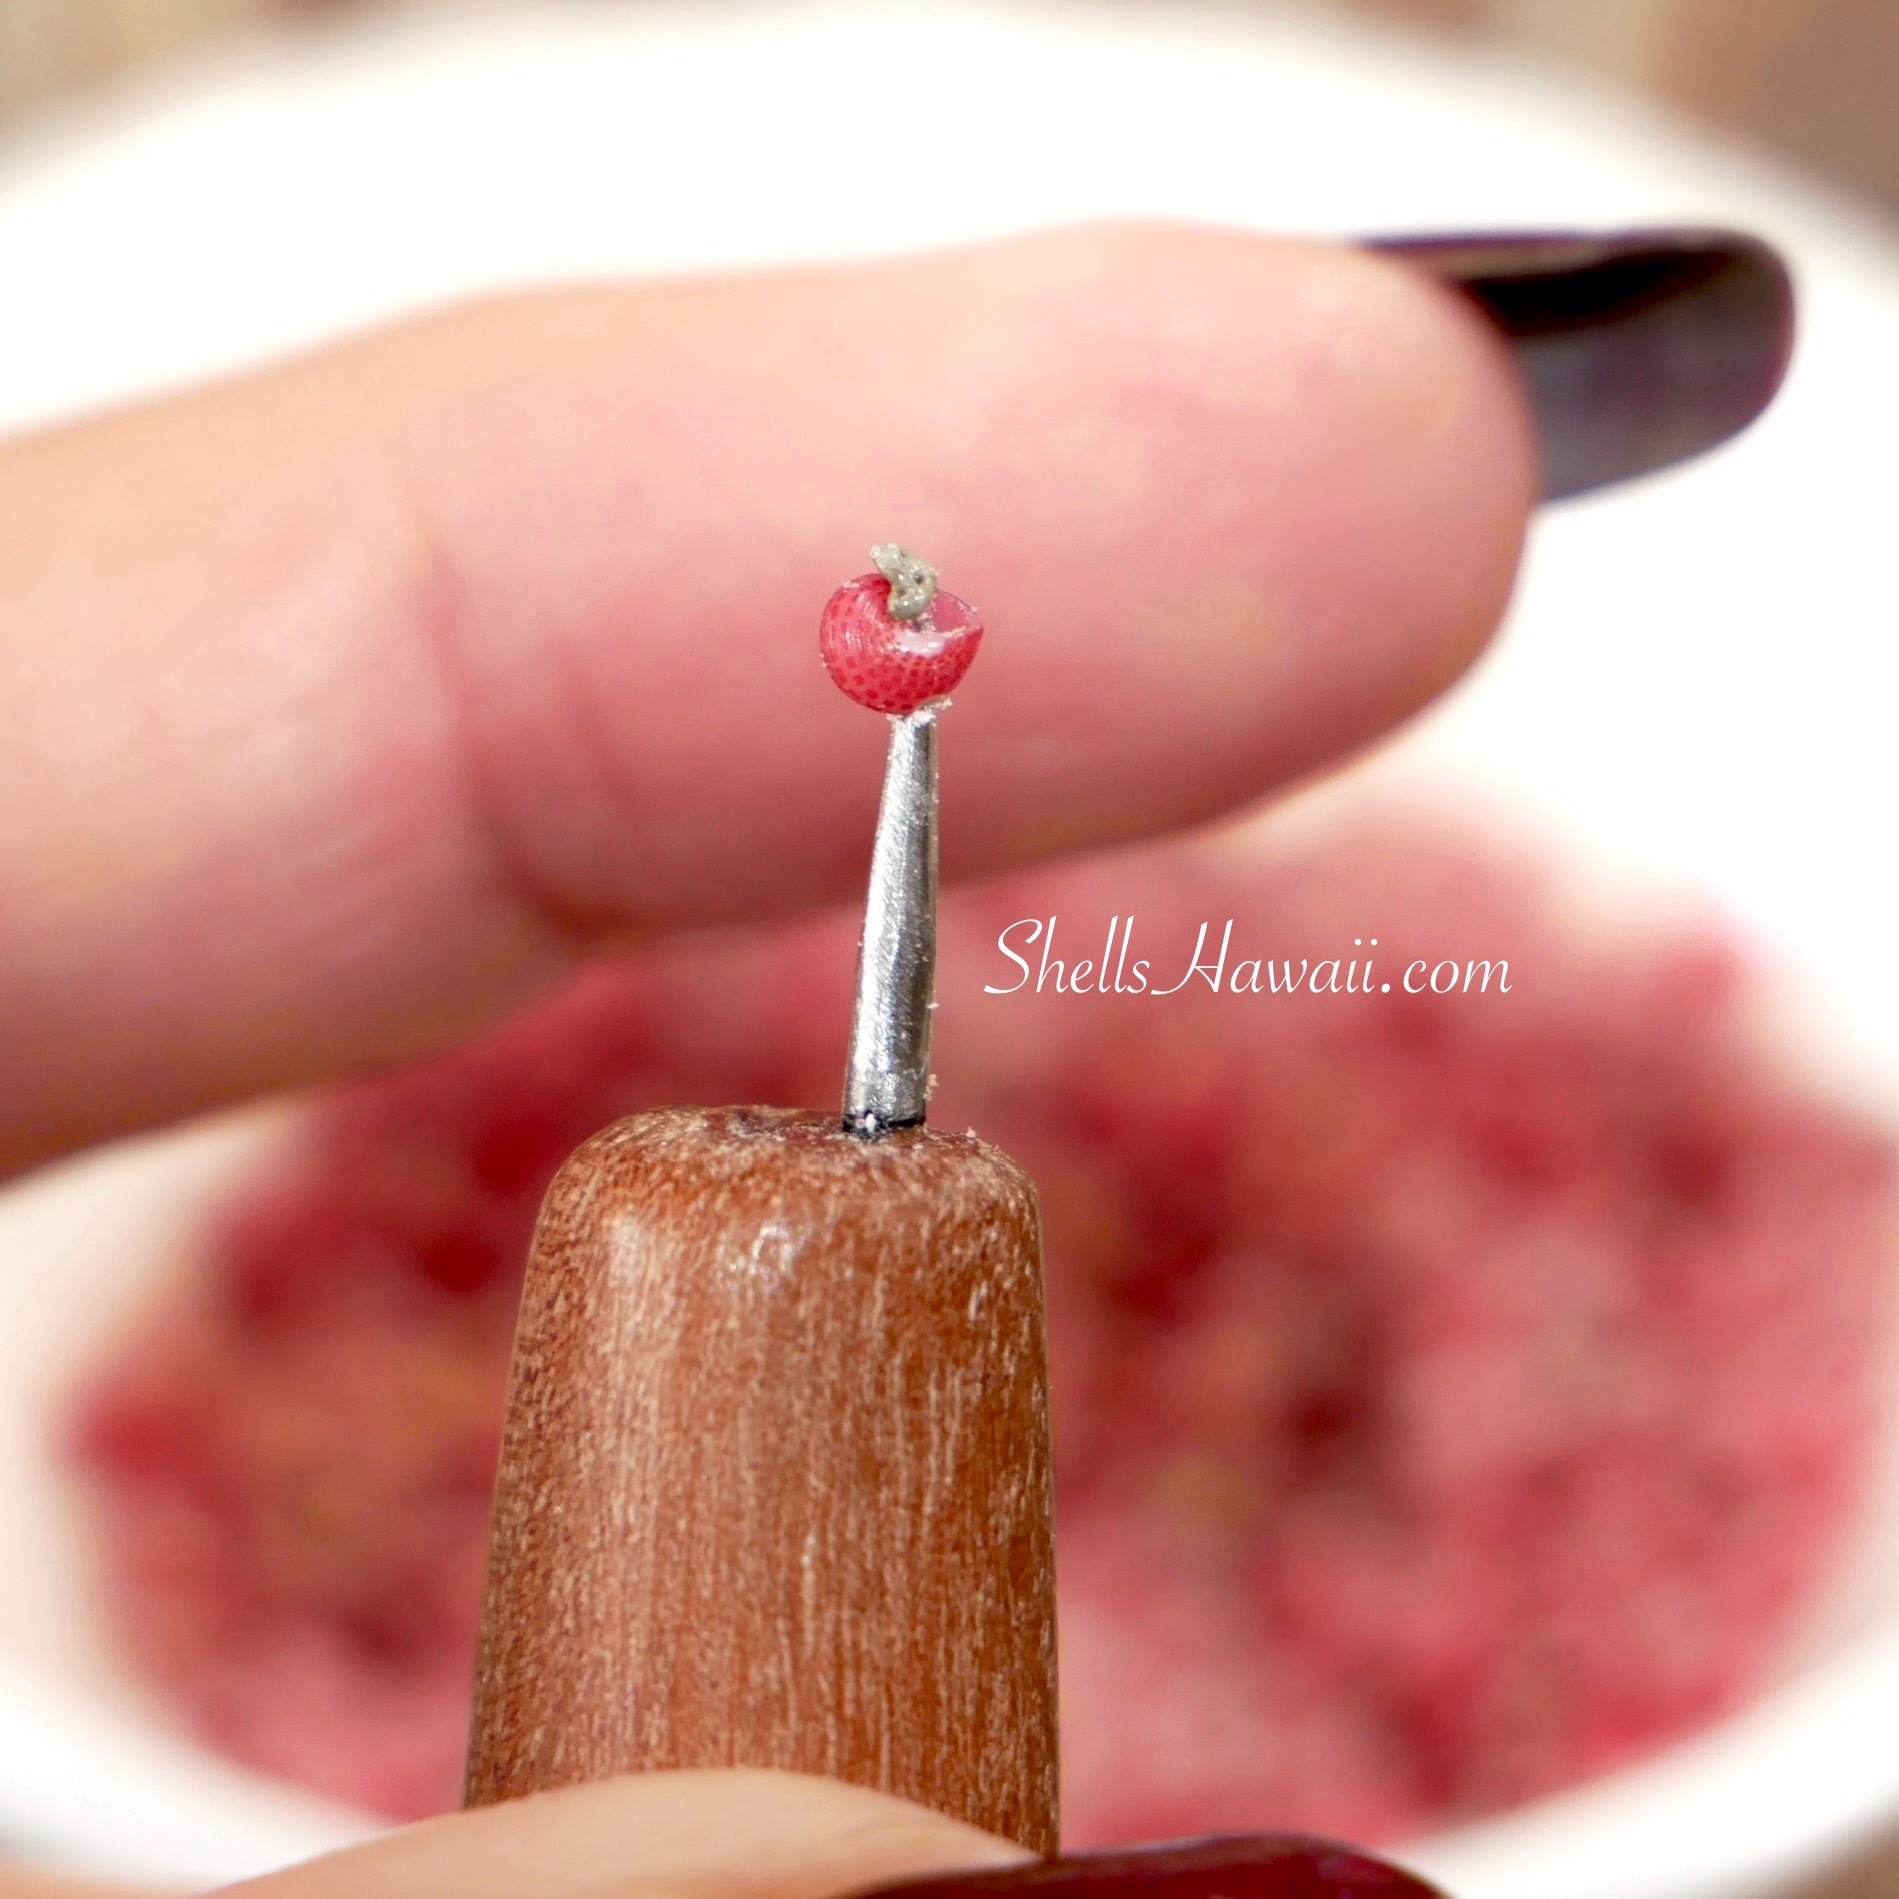
First Rule: Know the Size ➡️ (Very Important for Beginners)
Before you even get started, it’s very important to understand just how small these shells really are. This is not something to overlook — if you don’t fully grasp the size from the beginning, you may already be in trouble before you even start.
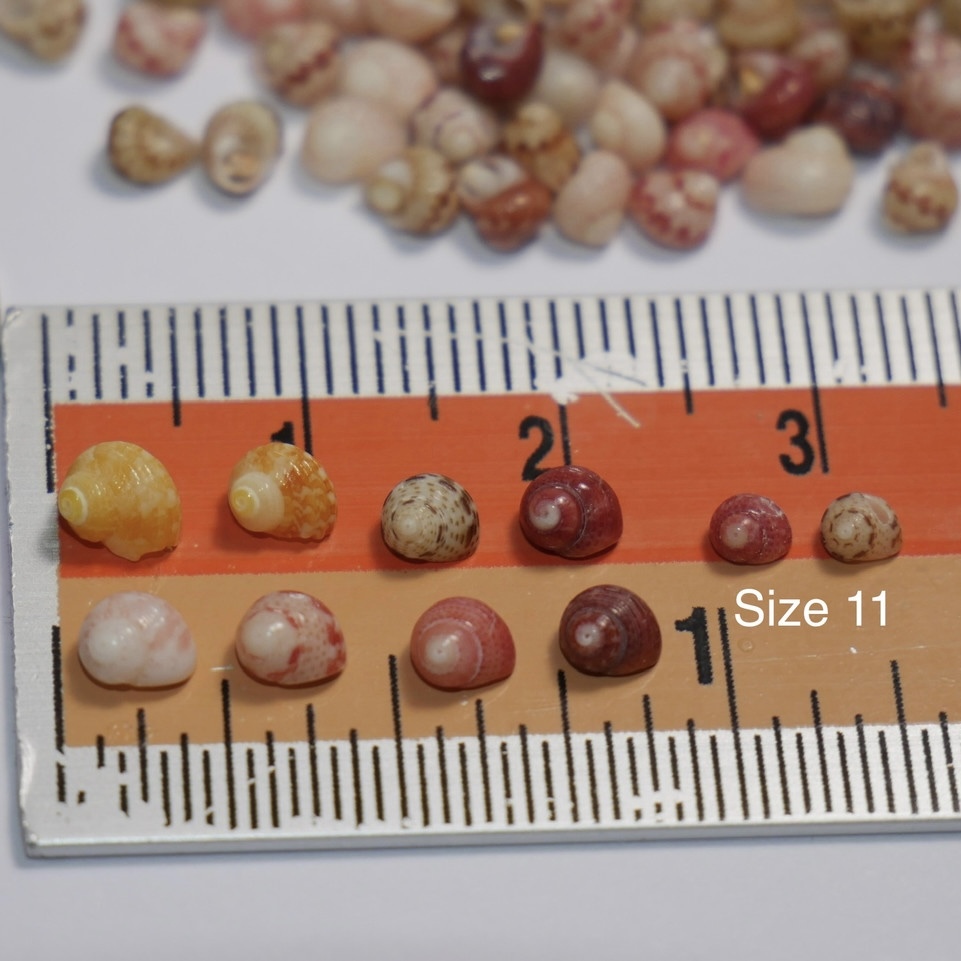
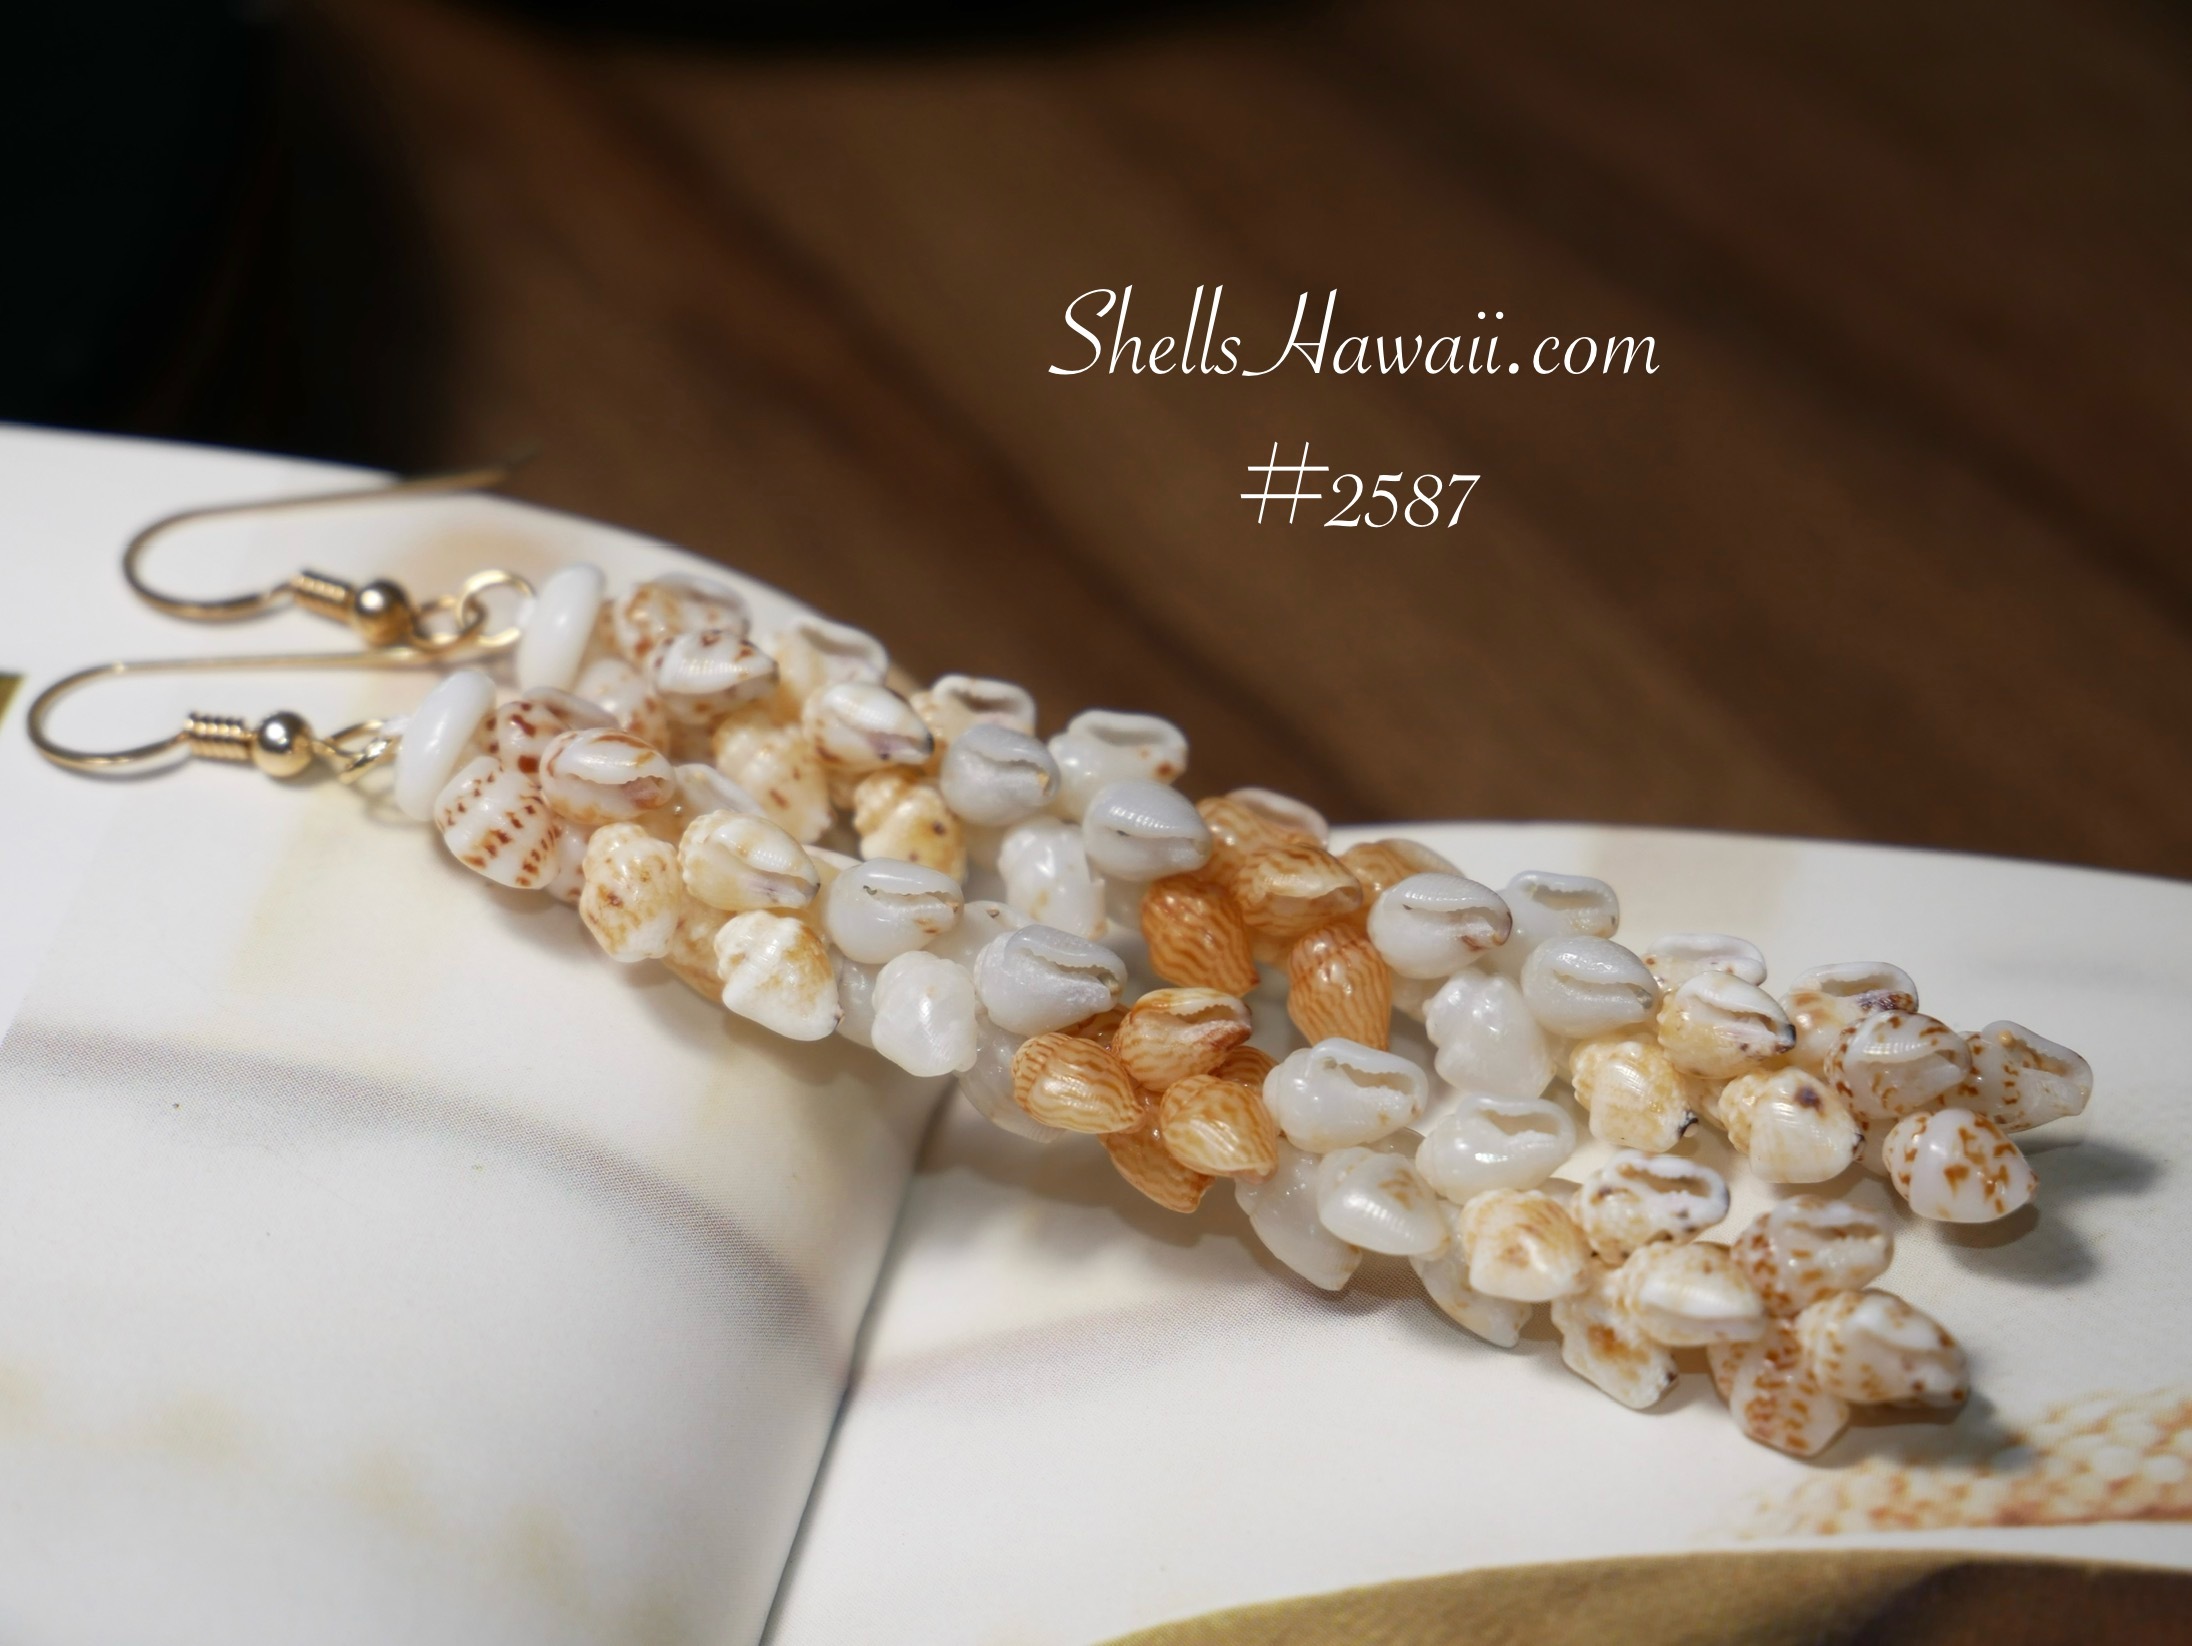
Kahelelani shells especially — they’re among the most precious, but also some of the most challenging to work with. Many people don’t realize how tiny they are until they actually hold them in their hands. The colors are so beautiful and exciting that beginners often jump right in, not prepared for what’s ahead. Even when someone buys the largest Kahelelani shells, they’re often surprised and say, “Wow, these are still so small!”
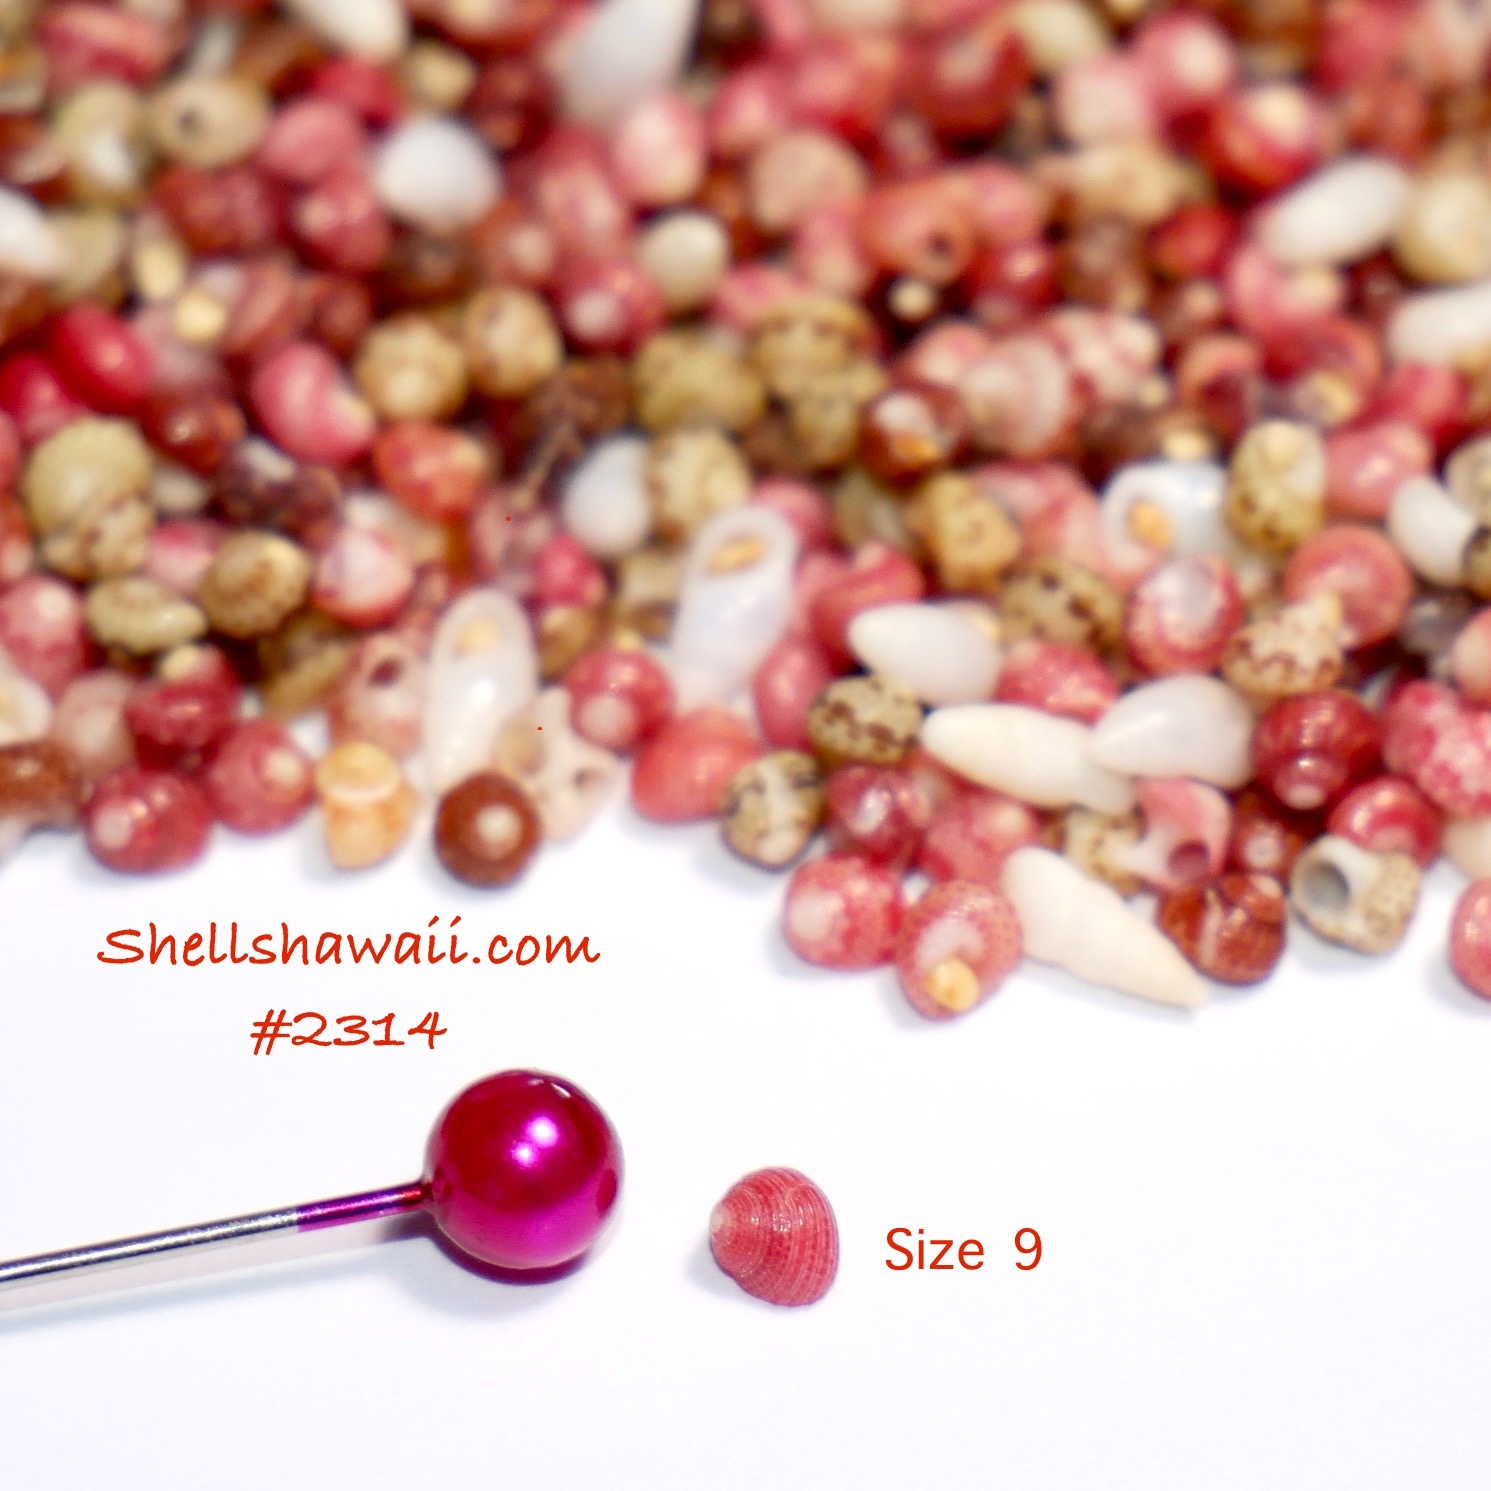
And starting with the tiniest shells? That’s almost guaranteed to leave you frustrated. It’s far better to begin with slightly larger shells, or even Momi shells, so you can enjoy the process, build confidence, and feel proud of what you create.
The Struggles Customers Face
Most of the people who buy loose shells — some are my customers, others buy from different vendors on Etsy or from local collectors — about 85% of them never reach out to me before making their purchase. So naturally, I assume they already know what they’re doing.
But many times, that’s not the case. Later, I hear from them when they’re struggling — maybe they can’t poke the holes, they don’t know what kind of tool to use, or they’re unsure about which thread will actually hold. That’s when they finally reach out, asking for guidance. And of course, I always do my best to help, because I know exactly how overwhelming it feels in the beginning.
Without the right tools, the right thread, or the technique to poke the holes at the proper angle, you’ll face all kinds of troubles when you start stringing the shells together. It’s not as simple as just pushing a needle through a shell, making a hole, and stringing it on. There’s a skill to it — one that takes time, patience, and a lot of practice.
I know this because I’ve been there myself. I’ve struggled, broken shells, and spent years teaching myself how to poke each hole properly. It took me so much longer because when I first started, there was no one I could ask for help and no one offering advice. No videos, no classes, nothing to guide me — everything about Niʻihau shell jewelry felt like a secret that you had to figure out on your own. So I had to learn, experiment, and make all my own mistakes along the way.
I’ve seen so many beginners get discouraged simply because they didn’t realize how challenging it is to start with tiny shells like Kahelelani. Without preparation, it’s easy to feel stuck. That’s why I often suggest starting with Momi shells (モミシェル) — they’re larger, easier to handle, and a wonderful way to practice before moving on to the smaller, more delicate shells.
➡️ Next Blog: What You Need to Know Before You Buy the Shells
This is just the beginning of my three-part Beginner’s Guide series.
In my next blog, I’ll share what you really need to know before you even buy the shells to create your own Niʻihau shell jewelry — how to choose the right ones, what to look for, and a few mistakes to avoid (I’ve made them all, so you don’t have to).
A little knowledge up front can save you from a lot of frustration later and make your shell journey much smoother.
Even if I post other stories in between, you’ll always know that Blog 11 belongs to this Beginner’s Guide series — a place where we learn, laugh, and create together with aloha.