 USD
USD


Aloha and welcome to the ShellsHawaii blog everyone.
Today, I would like to share some of the questions and curiosities that people often have about Niʻihau shell jewelry. Over the years, I have been fortunate to work closely with these beautiful shells, and along the way I have learned many things through hands-on experience, research, reading, and continuing to learn from others who share a love for this Hawaiian art form.
I thought it would be helpful to some people to put some of this information together because many of these topics are things people may not think about when looking at a finished piece of jewelry. My hope is that some of these insights will be helpful whether you are a collector, customer, beginner, or simply someone who loves Hawaiian seashells and Niʻihau shell art.
Some of these details may seem very small, but I personally feel they are worth sharing. Often, it is the little things happening behind the scenes that require the most patience, planning, and attention to detail. I hope this blog helps you see and appreciate this beautiful art form beyond the finished jewelry itself.
Does Niʻihau Shells Already Have Holes?
No, Niʻihau shells do not naturally come with holes already in them. Every shell used in traditional Niʻihau shell jewelry must be carefully pierced before it can be strung into a lei, bracelet, or pair of earrings. Many people are surprised when they learn this because the shells are so tiny. It is easy to assume the holes are already there, but every shell must go through this additional step before it can become jewelry.
What many people may not realize is that where the hole is placed is just as important as making the hole itself. The location of the hole affects how the shell sits on the string, how it aligns with neighboring shells, and ultimately how the finished design will look. Different jewelry styles often require the shell to be pierced in a specific location, so knowing exactly where to place the hole becomes an important part of creating the pattern and achieving the look you are trying to create.
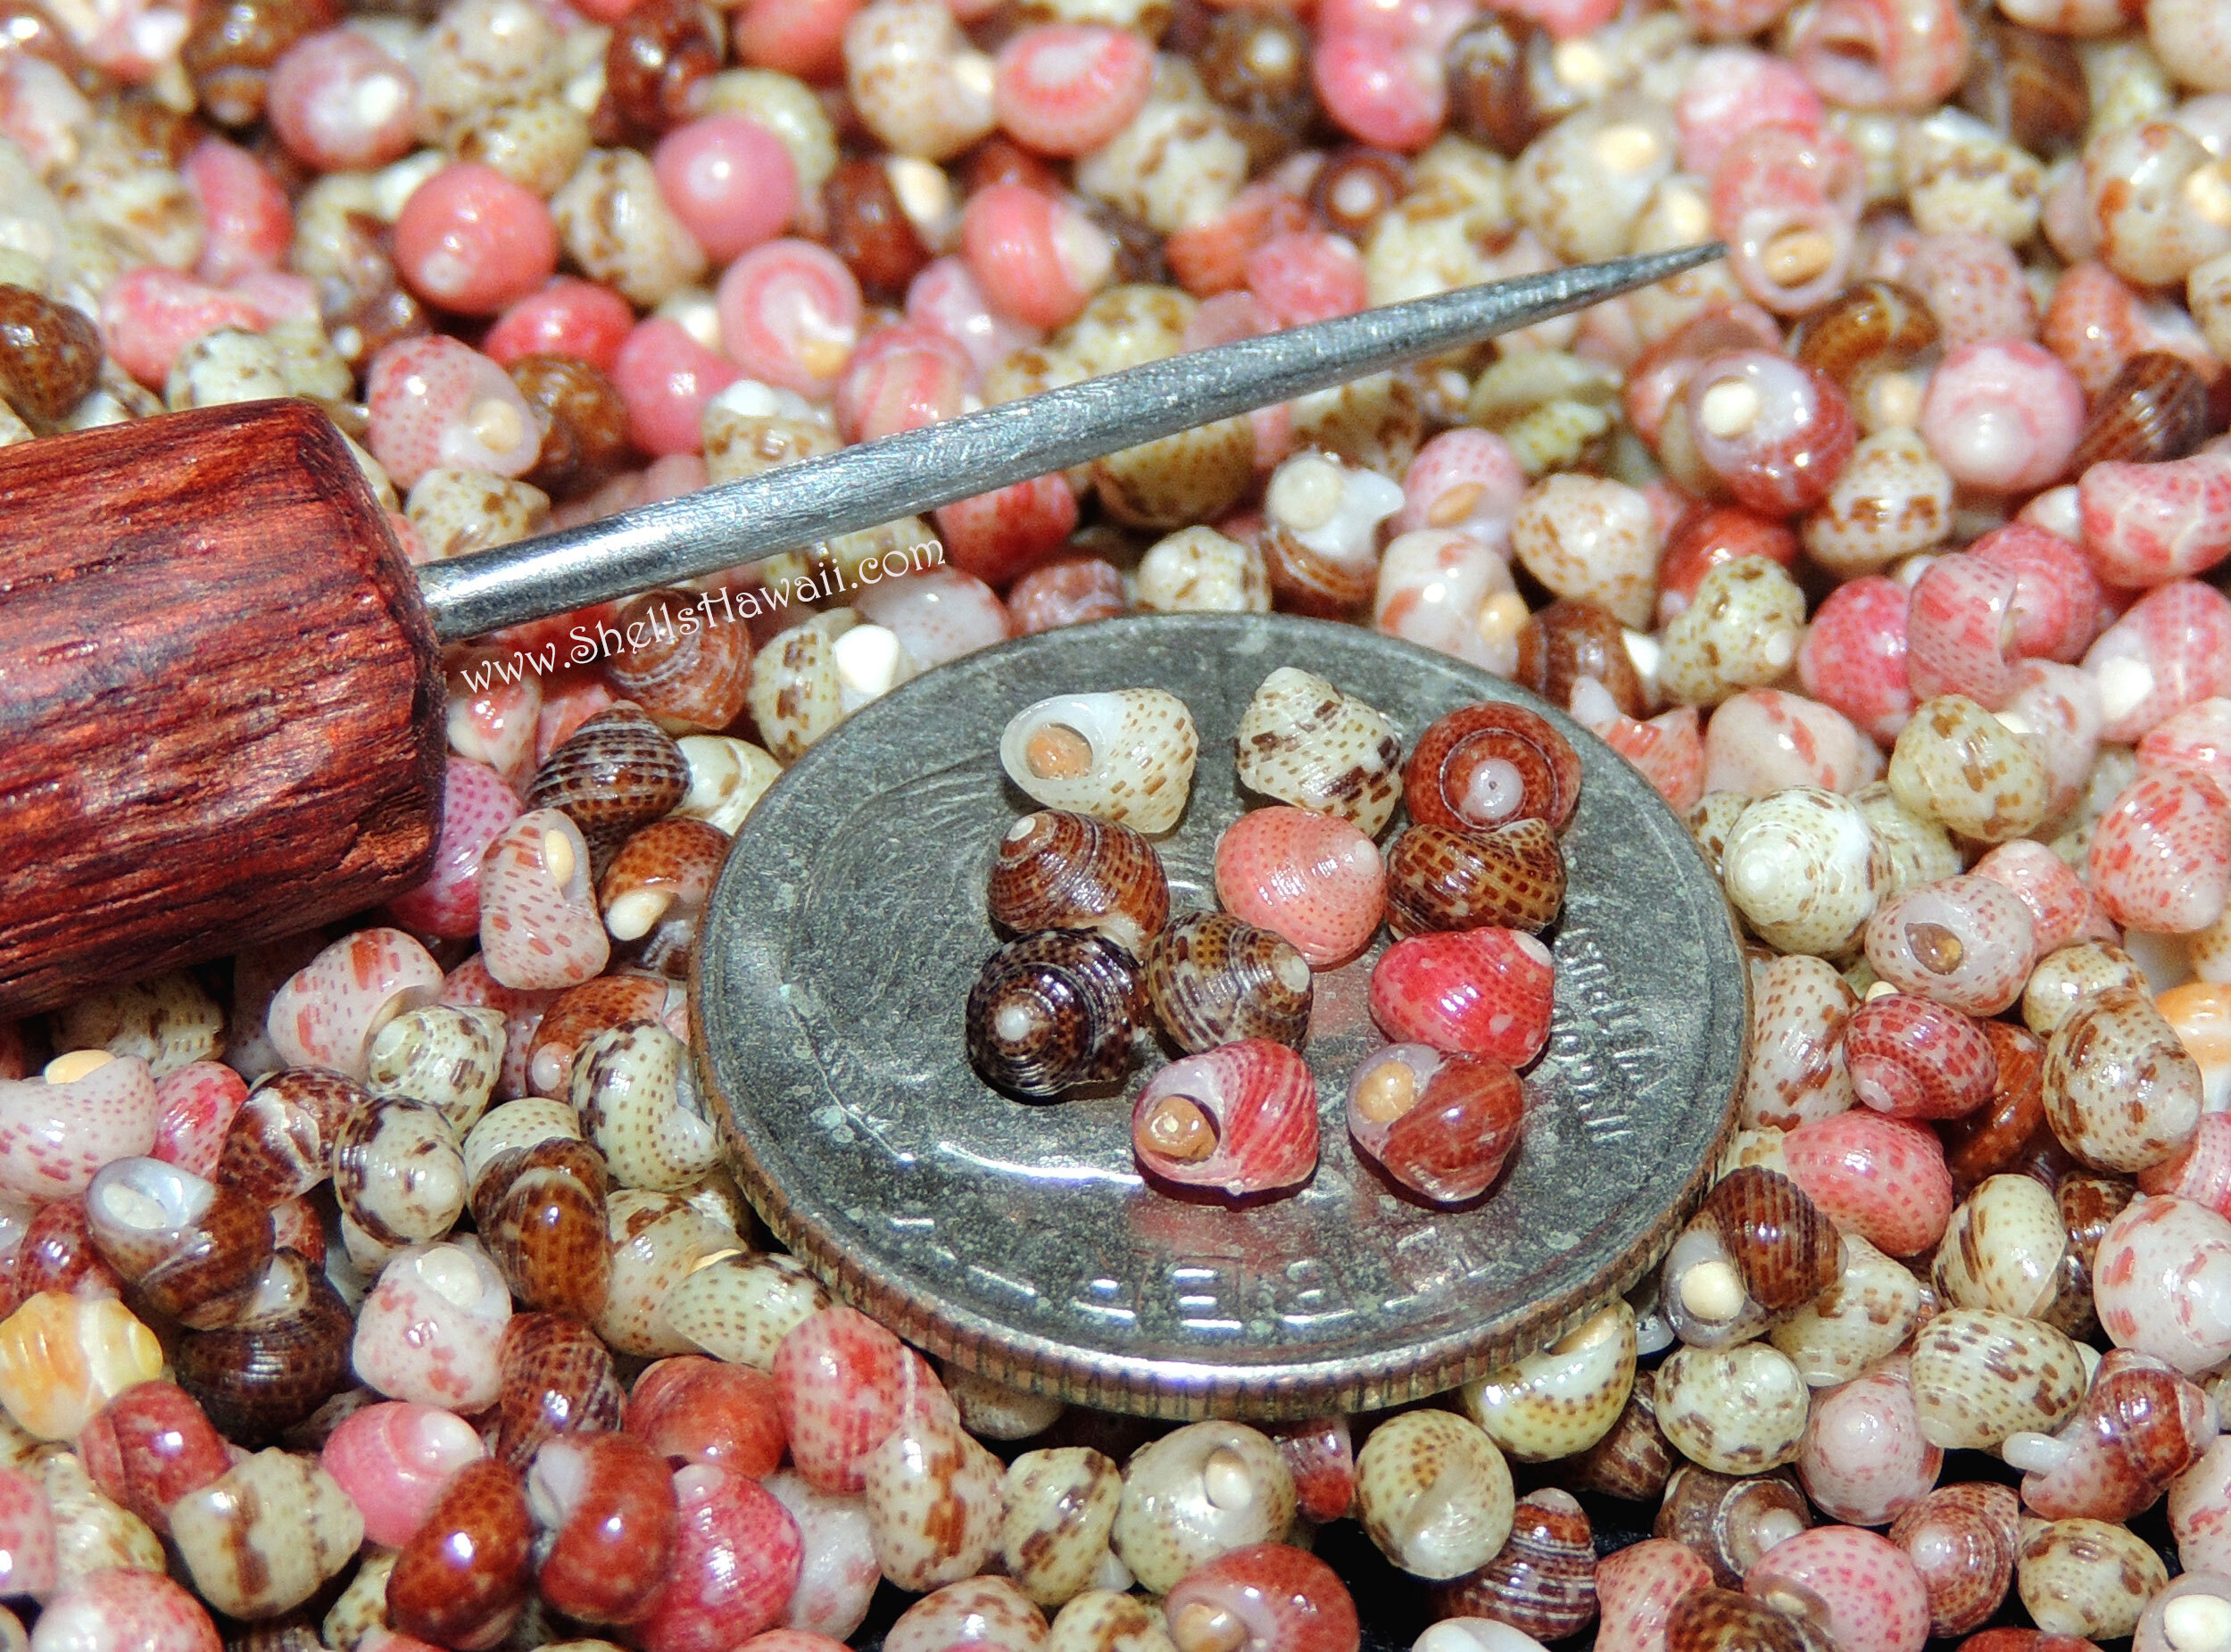
How Difficult Is It to Poke a Hole Through These Tiny Shells?
The honest answer is that it can be very difficult. From my experience, this is one of the most time-consuming parts of creating Niʻihau shell jewelry.
Kahelelani shells are usually some of the most challenging shells to work with because of their tiny size, especially shells collected from very fine sand beaches. Many of them may have tiny grains of sand trapped inside the shell opening. Before a hole can successfully be poked, the sand often needs to be carefully cleaned out first, or sometimes the shell may need to be gently poked from the opposite side to help push the sand out.
Both methods require patience and practice. You need to learn how to hold the shell securely, how much pressure to apply, and how to position the needle so the shell does not break or the tool does not slip into your fingers. Trust me, most people who have worked with Niʻihau shells long enough have probably poked themselves at least once... or a thousand times. It really depends on how many shells they have worked with over the years. I know I certainly have.
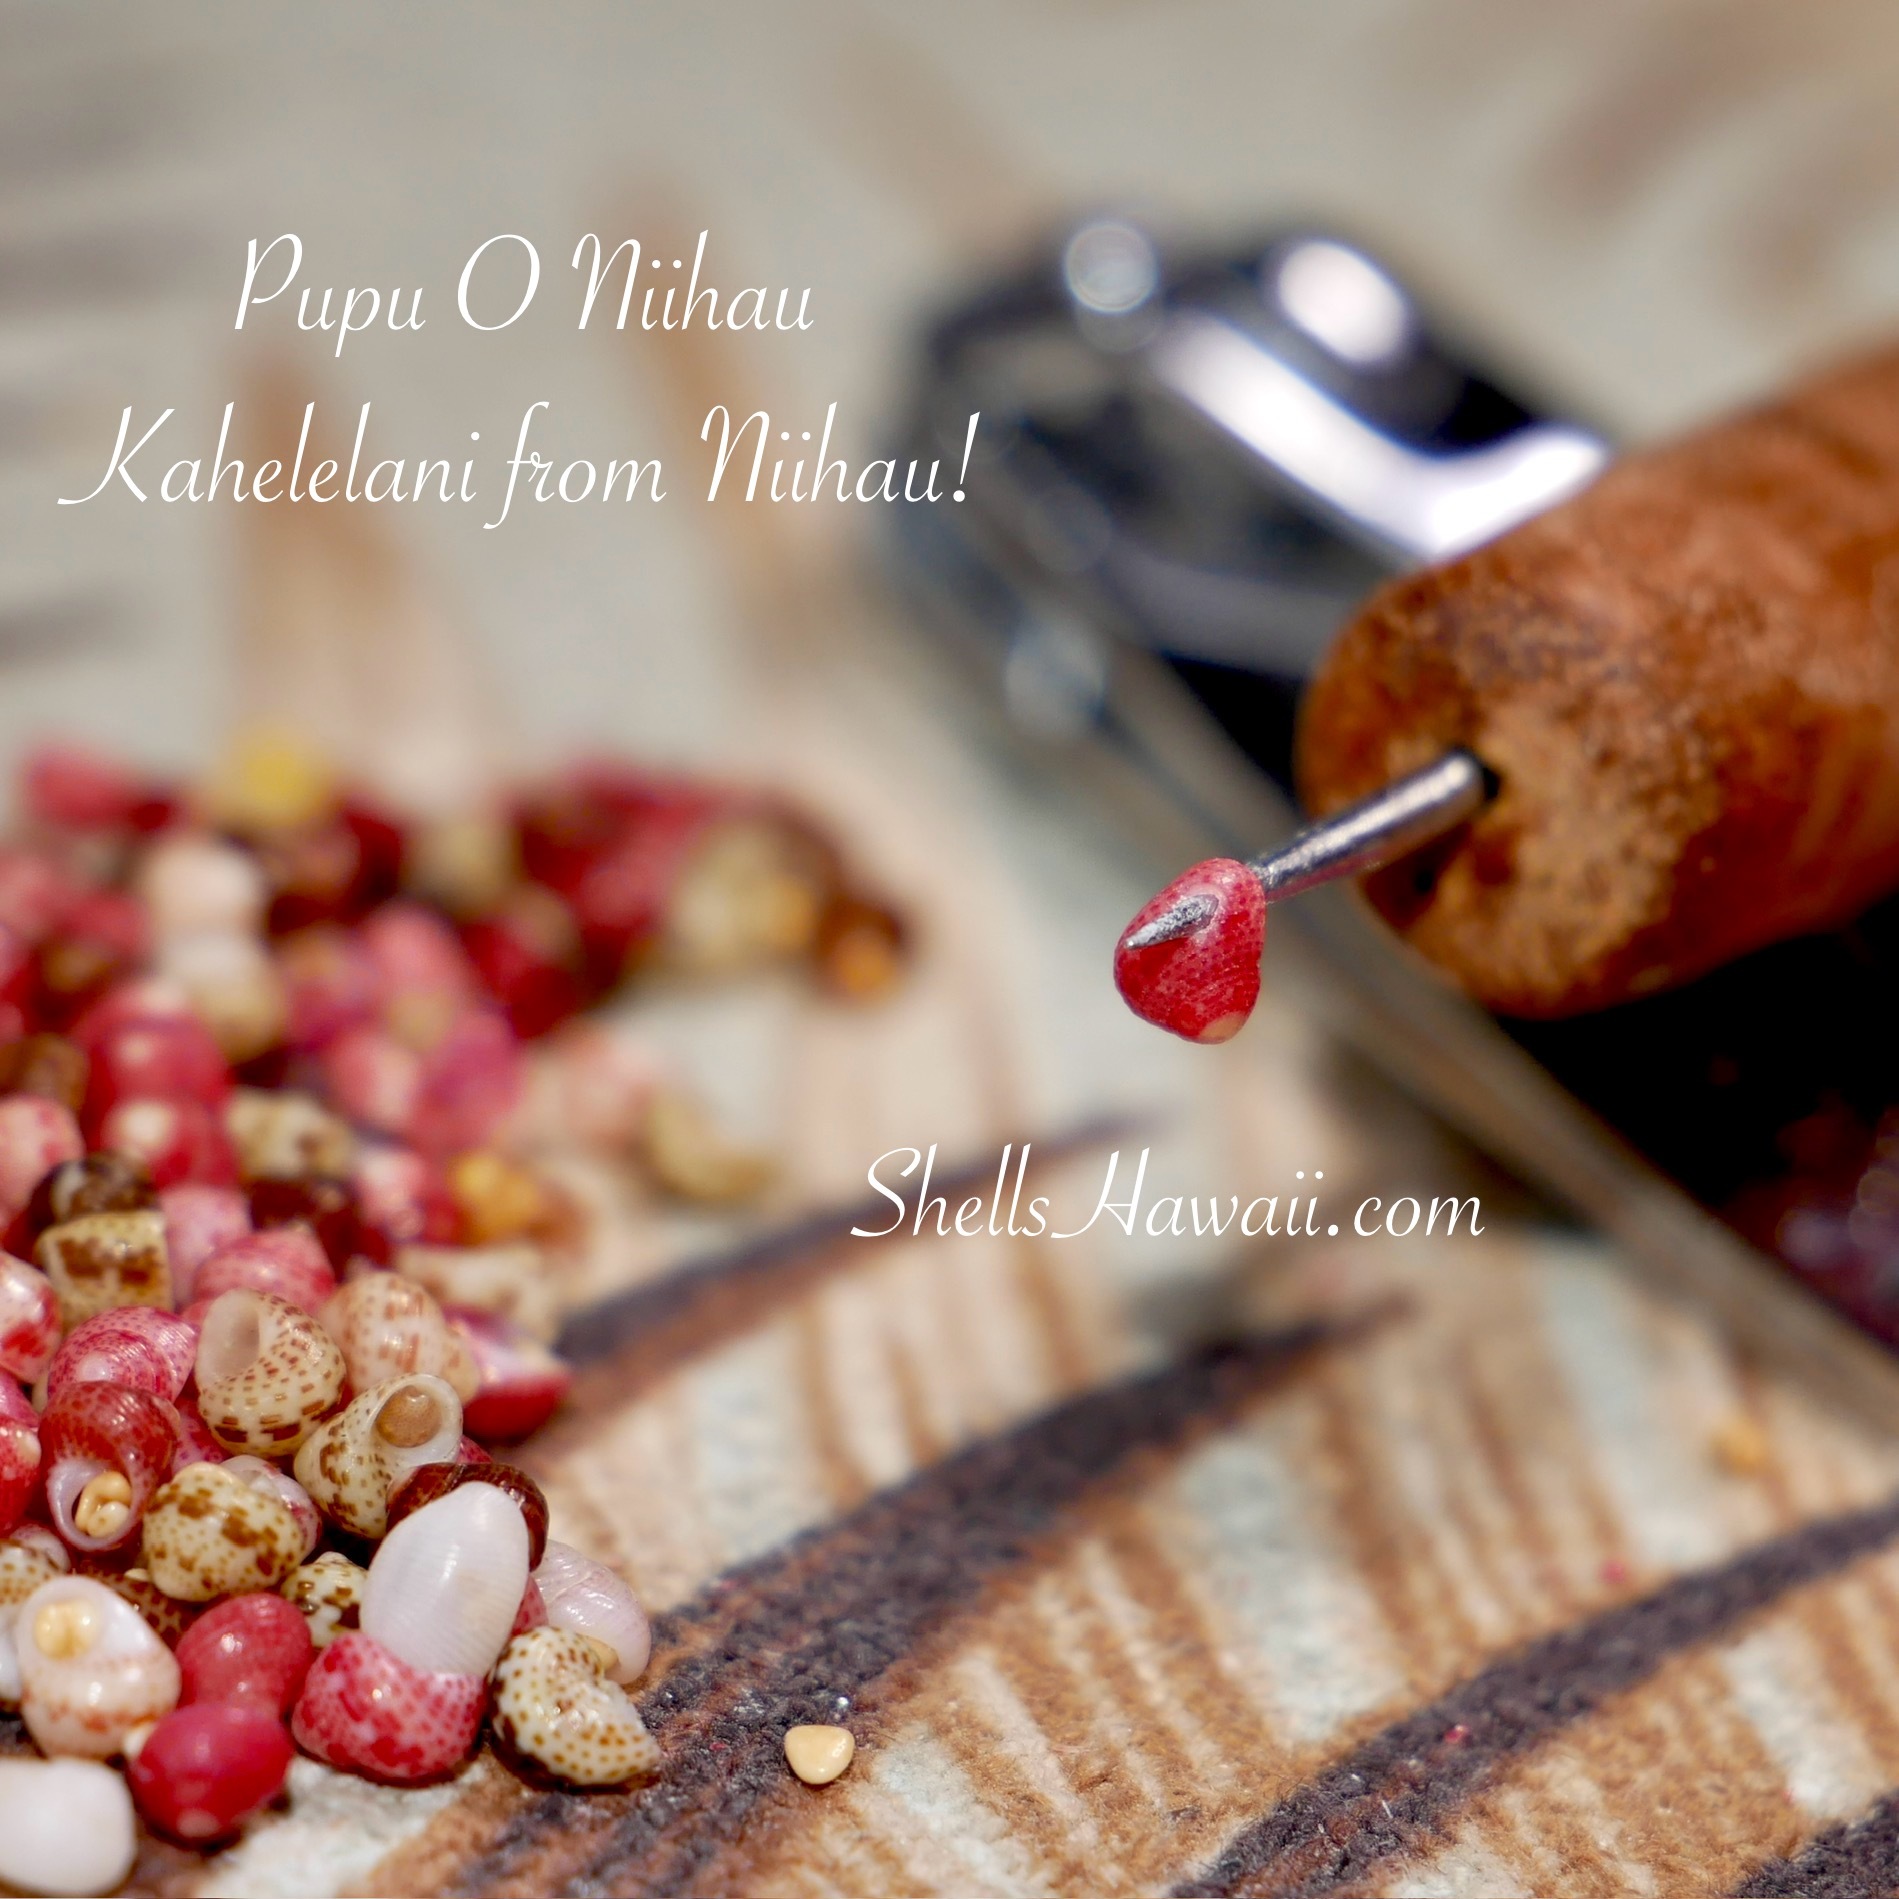
Momi shells are generally a little easier to hold, but they often have stronger shell layers that still require the proper tool to pierce. So even though Momi shells may feel more beginner-friendly, they still require the right tool, steady hands, and patience.
You also need to think ahead about what type of thread you plan to use because that will affect the hole size you need. The hole must be large enough for the thread to pass through comfortably, but not so large that it weakens the shell or affects the finished design.
This is one of the reasons I always say Niʻihau shell jewelry involves much more planning than people realize. In a future blog, I will talk more about thread selection and why it plays such an important role in the finished jewelry. Please stay tuned and check back often, because I still have many little behind-the-scenes details that I would love to share.
Which Type of Niʻihau Shell Is the Easiest to Work With?
Among the three primary types of traditional Niʻihau shells, Momi shells are generally considered the easiest to work with. They are often more forgiving and beginner-friendly than many Kahelelani shells.
That does not mean they are easy, but if someone is interested in learning, Momi shells are usually a good place to start.
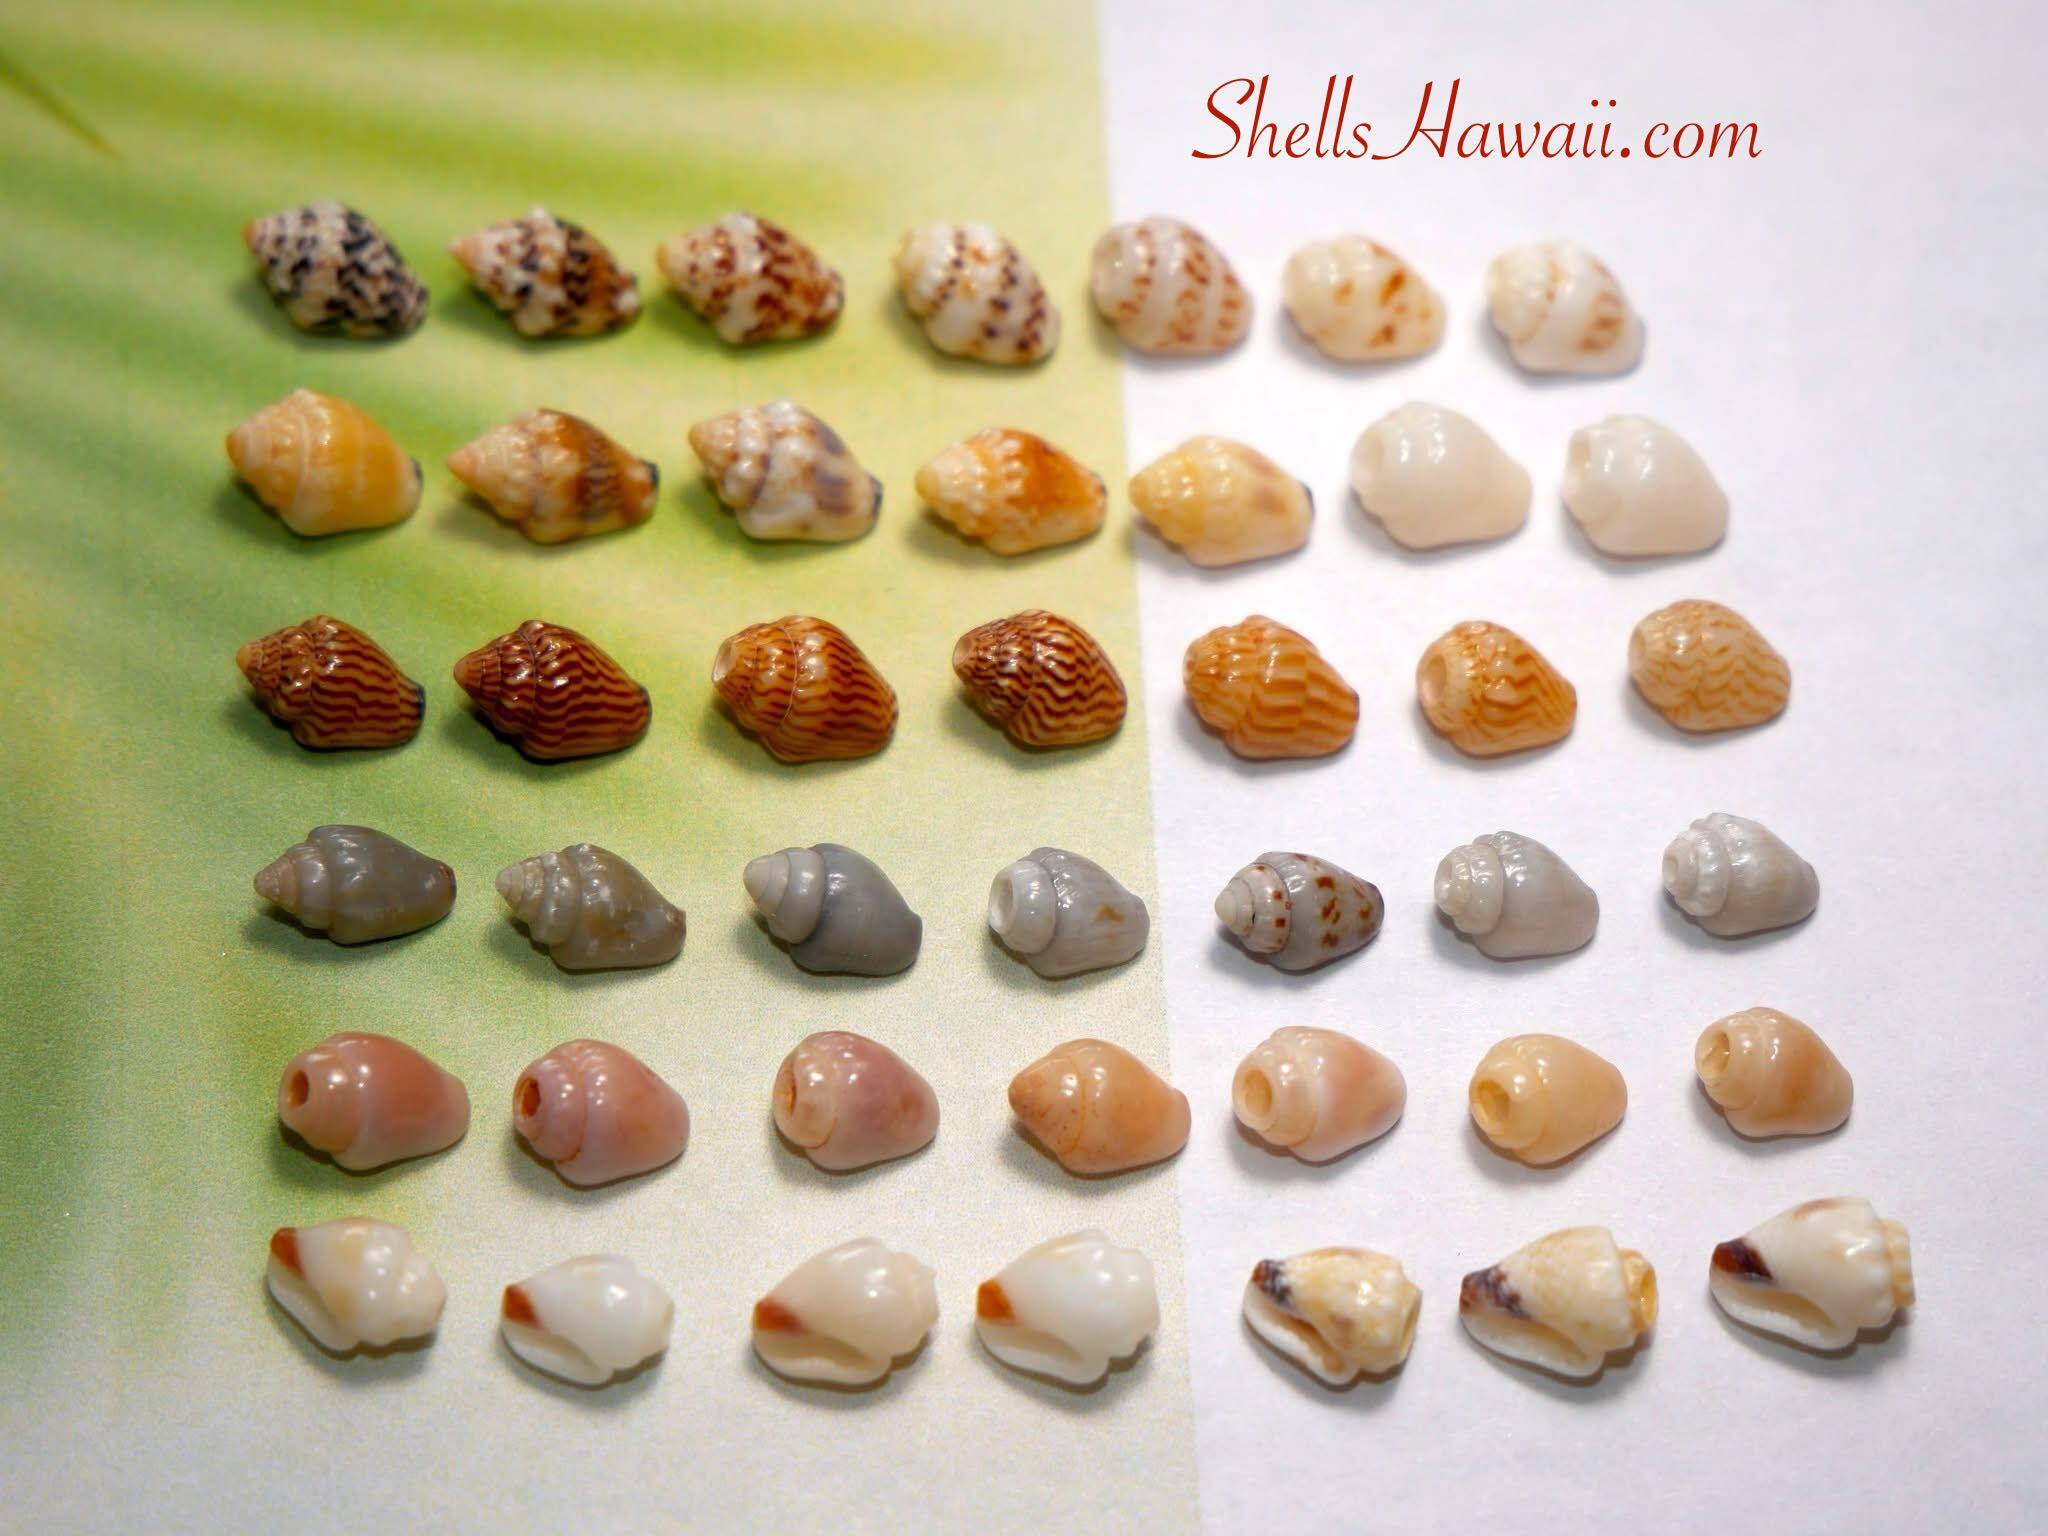
Can a Beginner Buy Loose Shells and Poke Them?
Absolutely. Many artists started exactly that way. However, you do need the proper tools and a little patience.
Some beginners prefer starting with pre-poked shells, especially Momi shells. This can be a great way to learn sorting, pattern planning, color matching, and stringing before moving on to poking your own shells.
You will probably break some shells while learning, and that is completely normal. Every artist who works with Niʻihau shells has broken shells along the way. The important thing is to keep practicing and not become discouraged.
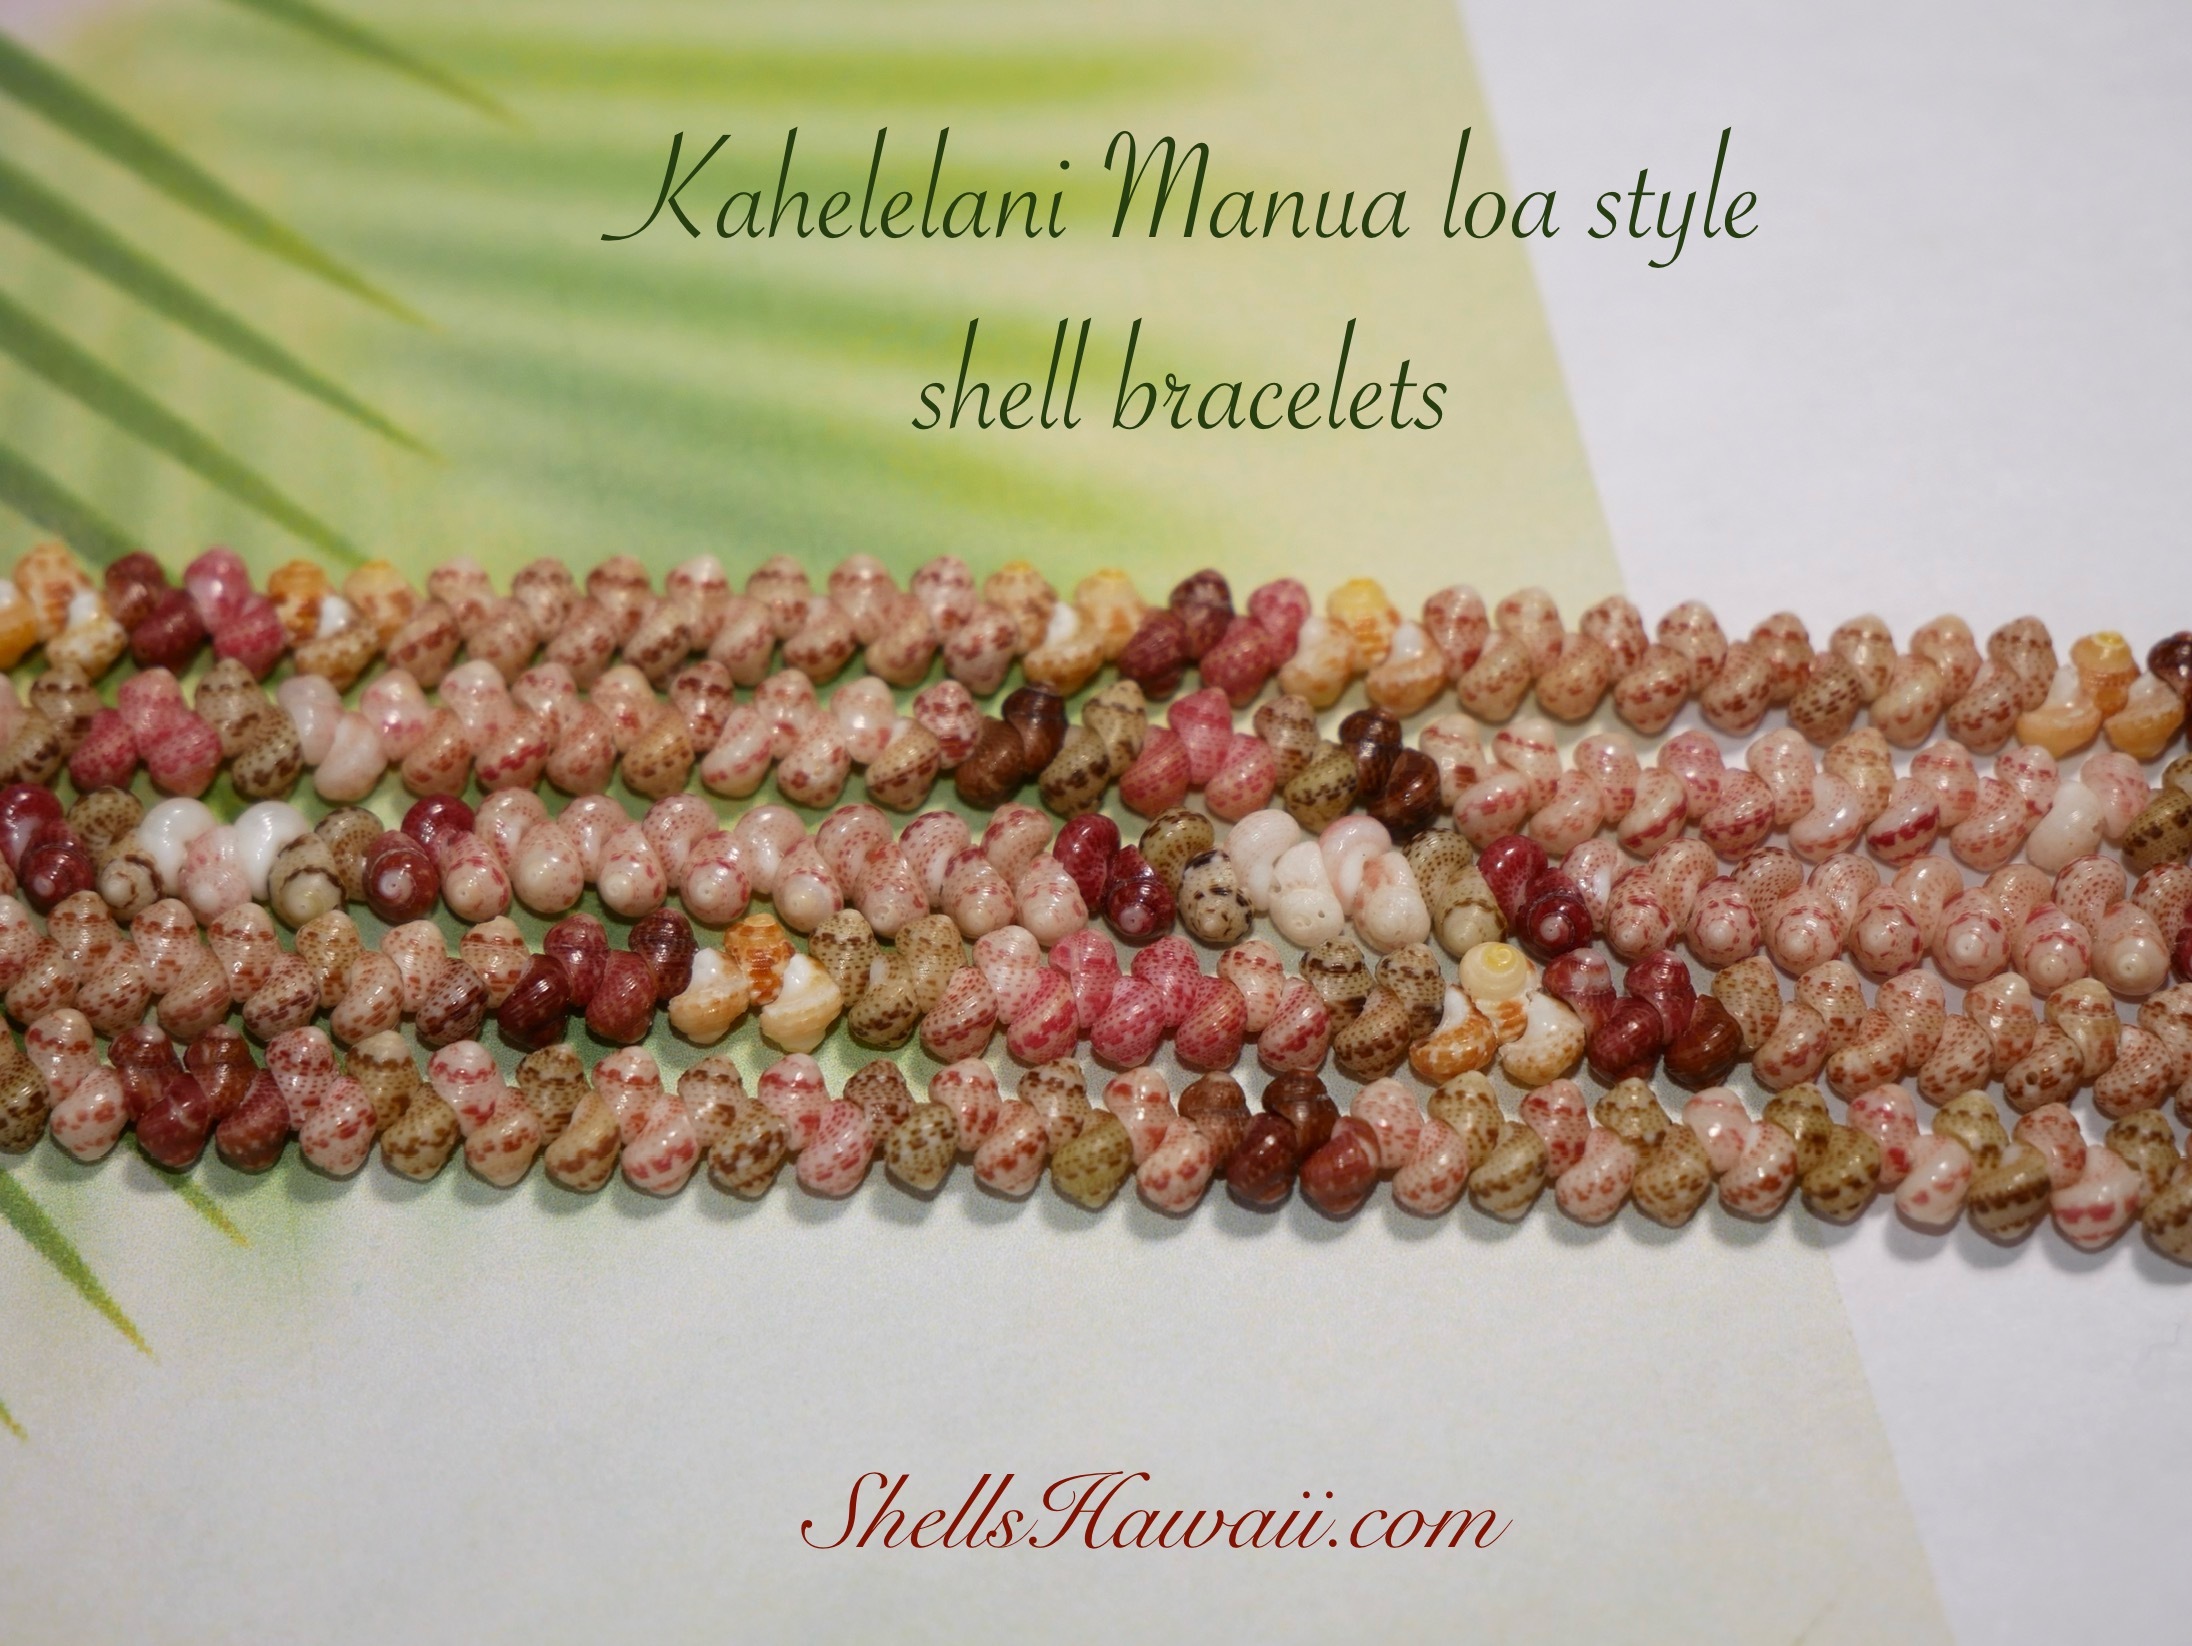
Even when purchasing pre-poked Kahelelani or Momi shells, hole placement should still be considered. As mentioned earlier in this blog, the location of the hole can affect how the shells align, how they sit on the string, and ultimately how the finished design will look. Planning ahead for the style you would like to create can help you choose shells that are better suited for your project.
Examples of traditional Kahelelani Manua Loa style shell bracelets demonstrating proper hole placement. Consistent hole placement is one of the most important steps in creating a smooth, evenly aligned bracelet with a professional finish.
To Answer Your Questions
I hope this blog helped answer some of the questions you may have had, or maybe a few things you have always been curious about when it comes to Niʻihau shell jewelry. There are so many little details that go into working with these tiny shells, and sometimes you may never think about them when you are looking at a beautiful finished piece.
If you are a beginner who would love to create your own Niʻihau shell jewelry, or maybe you have already taken a Niʻihau shell class and simply want to learn a little more, I invite you to visit some of my other blogs. where you may find some of the information I share helpful along your own learning journey.
Some of these are little inside details that many creators may not normally share. But because I truly love this art form, I feel like I would like to share some of my own experiences with you. I hope that by seeing a little more of what happens behind the scenes, those of you who love Hawaiian seashells and Niʻihau shell jewelry can appreciate them even more—not only for how beautiful the finished pieces are, but also for everything that goes into creating them.
I also offer a variety of finished jewelry designs, from cute minimalist earrings and pendants to larger statement pieces such as lei and bracelets. And if you are thinking about purchasing from me for the first time and would like to hear from some of my past customers, you are always welcome to read their experiences by clicking the link.
Thank you for spending a little time here with me today. I hope to see you again here next time.
Much aloha,
Janjira