 USD


Aloha and welcome to ShellsHawaii's workstation today!
As I continue creating new Niʻihau shell bracelets to add to my collection, I thought it would be nice to share some of my ideas and personal experiences with those who are just beginning to learn how to create Niʻihau shell jewelry. If you've ever wondered whether very small shells can be carefully poked, what designs you can create with them, or how to turn these tiny shells into beautiful, wearable pieces of jewelry, I hope you'll find something helpful in what I'm sharing today.
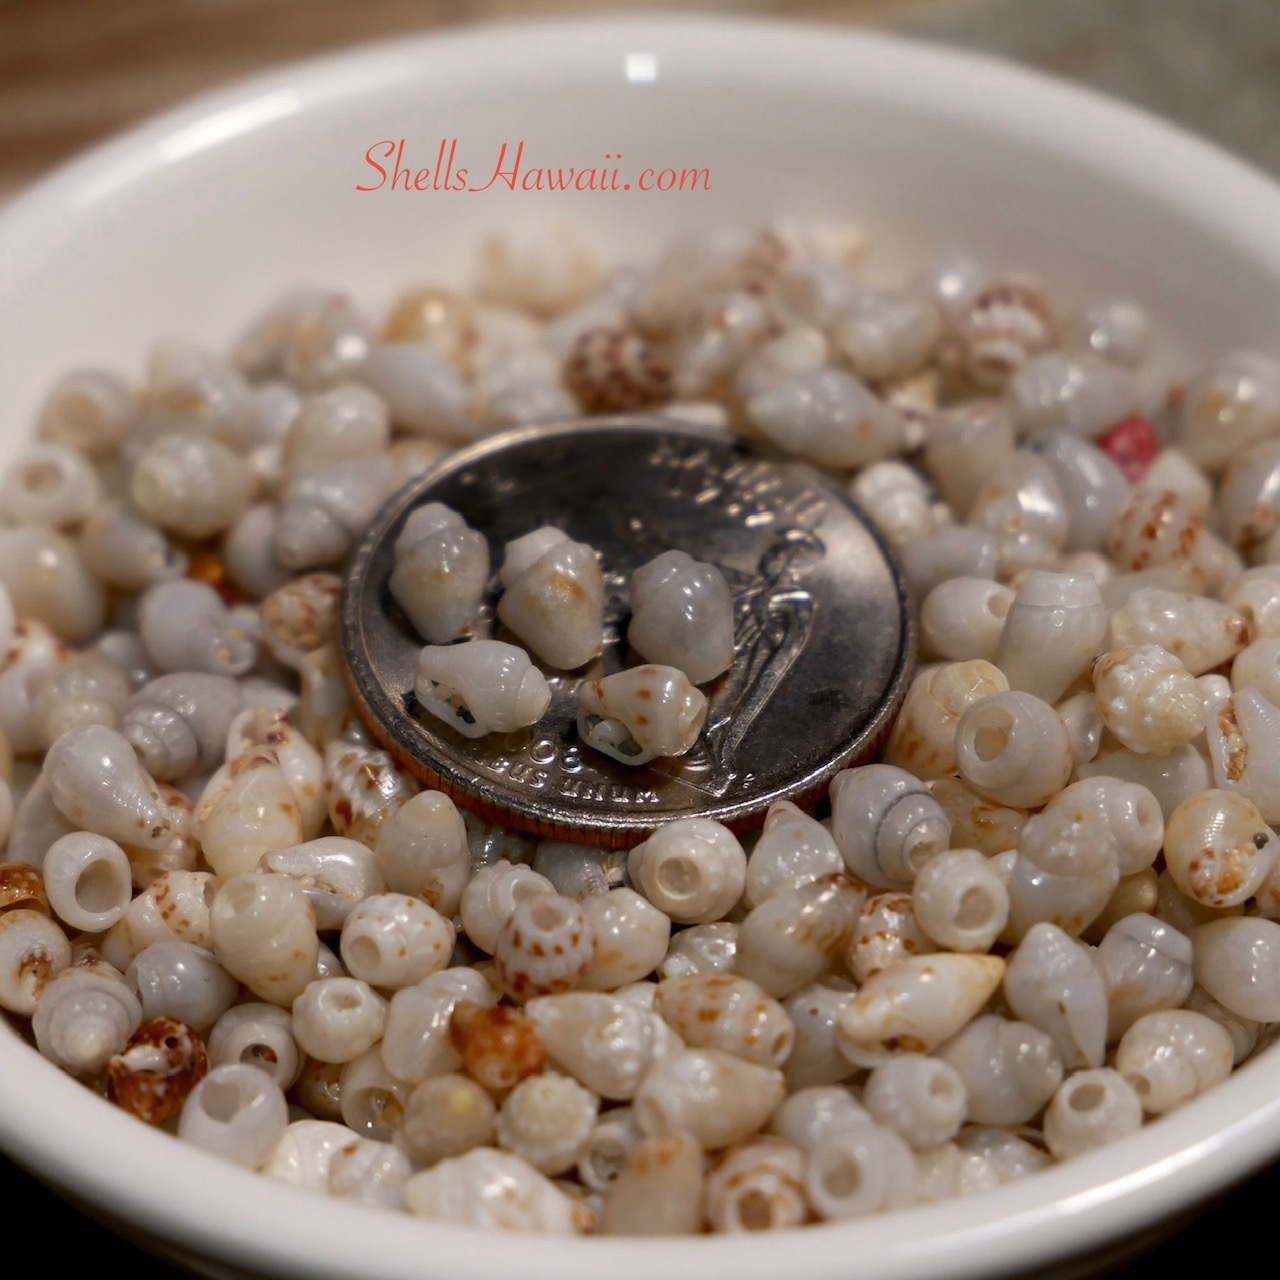
At my workstation, I'll be working with some of the smallest Momi and Kahelelani shells that are still large enough to carefully poke a hole through. I'm curious to see how I can use these tiny shells to create fuller, more detailed Kipona-style bracelets and how the finished pieces will turn out.
What Size Kahelelani Shells Am I Working With Today?
Kahelelani shells are among the smallest shells used in traditional Niʻihau shell jewelry. From my experience, size 9 is about the smallest that can be carefully poked and strung, although working with shells this small requires a great deal of patience, skill, and experience.
Today, I'll be working with size 10 Kahelelani shells, which are just slightly larger than size 9, to explore different designs that can give my finished bracelets a fuller appearance. Besides using these shells in beautiful traditional Niʻihau shell jewelry designs, I also enjoy using them in my modern minimalist Kahelelani shell earrings and bracelets. They're super cute, lightweight, and lovely for everyday wear!
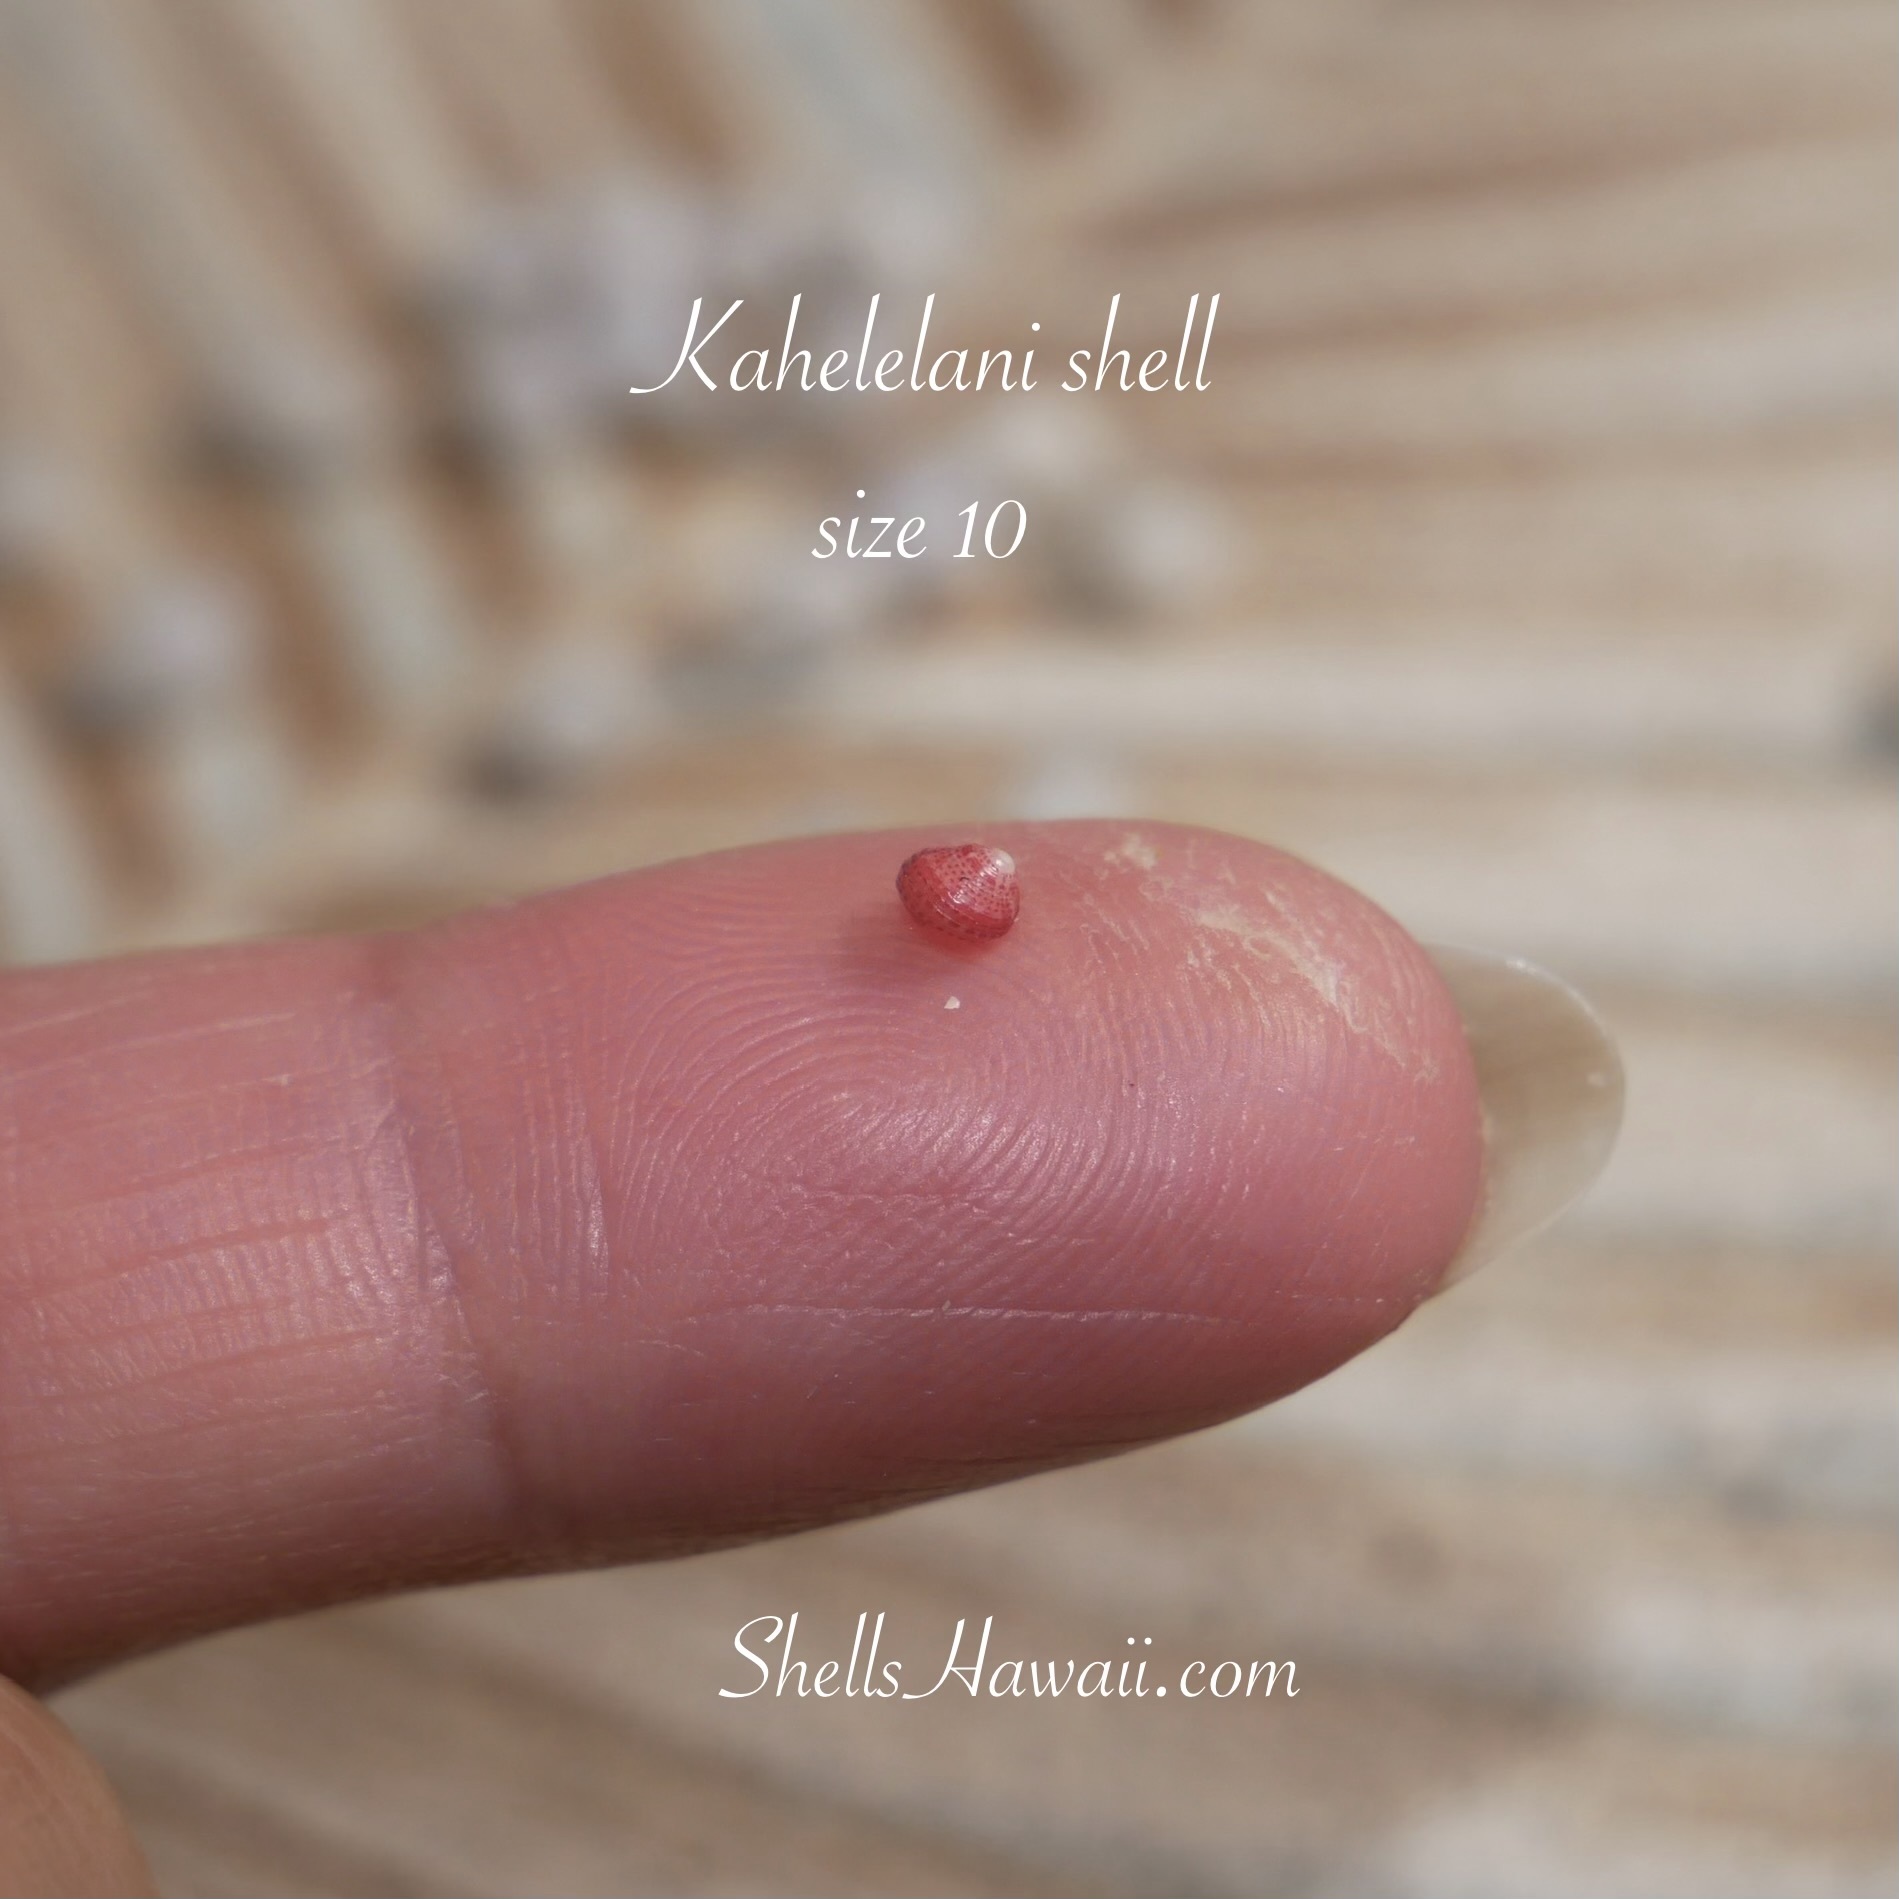
If you're interested in learning more about the preparation and techniques involved, you can visit my earlier blog, Behind the Scenes — Tiny Kahelelani Shells & Modern Minimalist Designs.
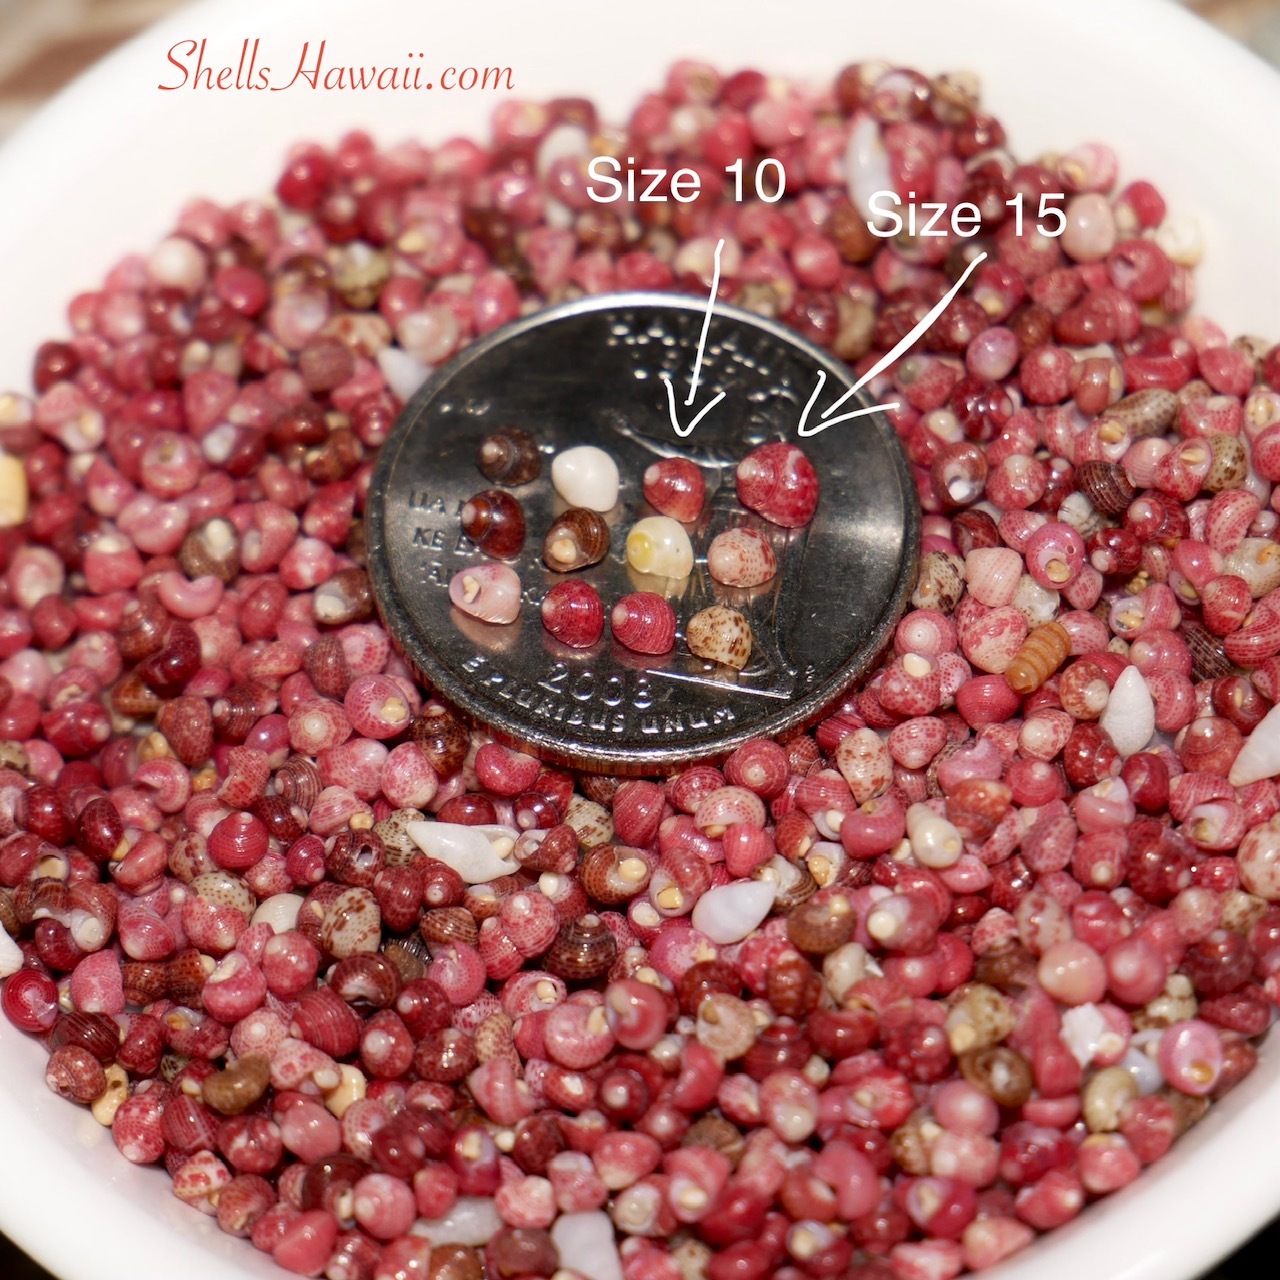
You might also enjoy reading my other blog where I also used size 10 Kahelelani shells to create different designs and see how the finished pieces turned out.
Preparing and Poking Tiny Kahelelani Shells
In the last photo showing a group of loose Kahelelani shells, you'll notice that most of the shells still have sand packed inside their waha (mouth).
To remove the sand, you can either carefully clean it out first or poke the shell from the opposite side to help push the sand out. If you'd like to learn more about this process, I've also written about cleaning sand from Niʻihau shells' waha.
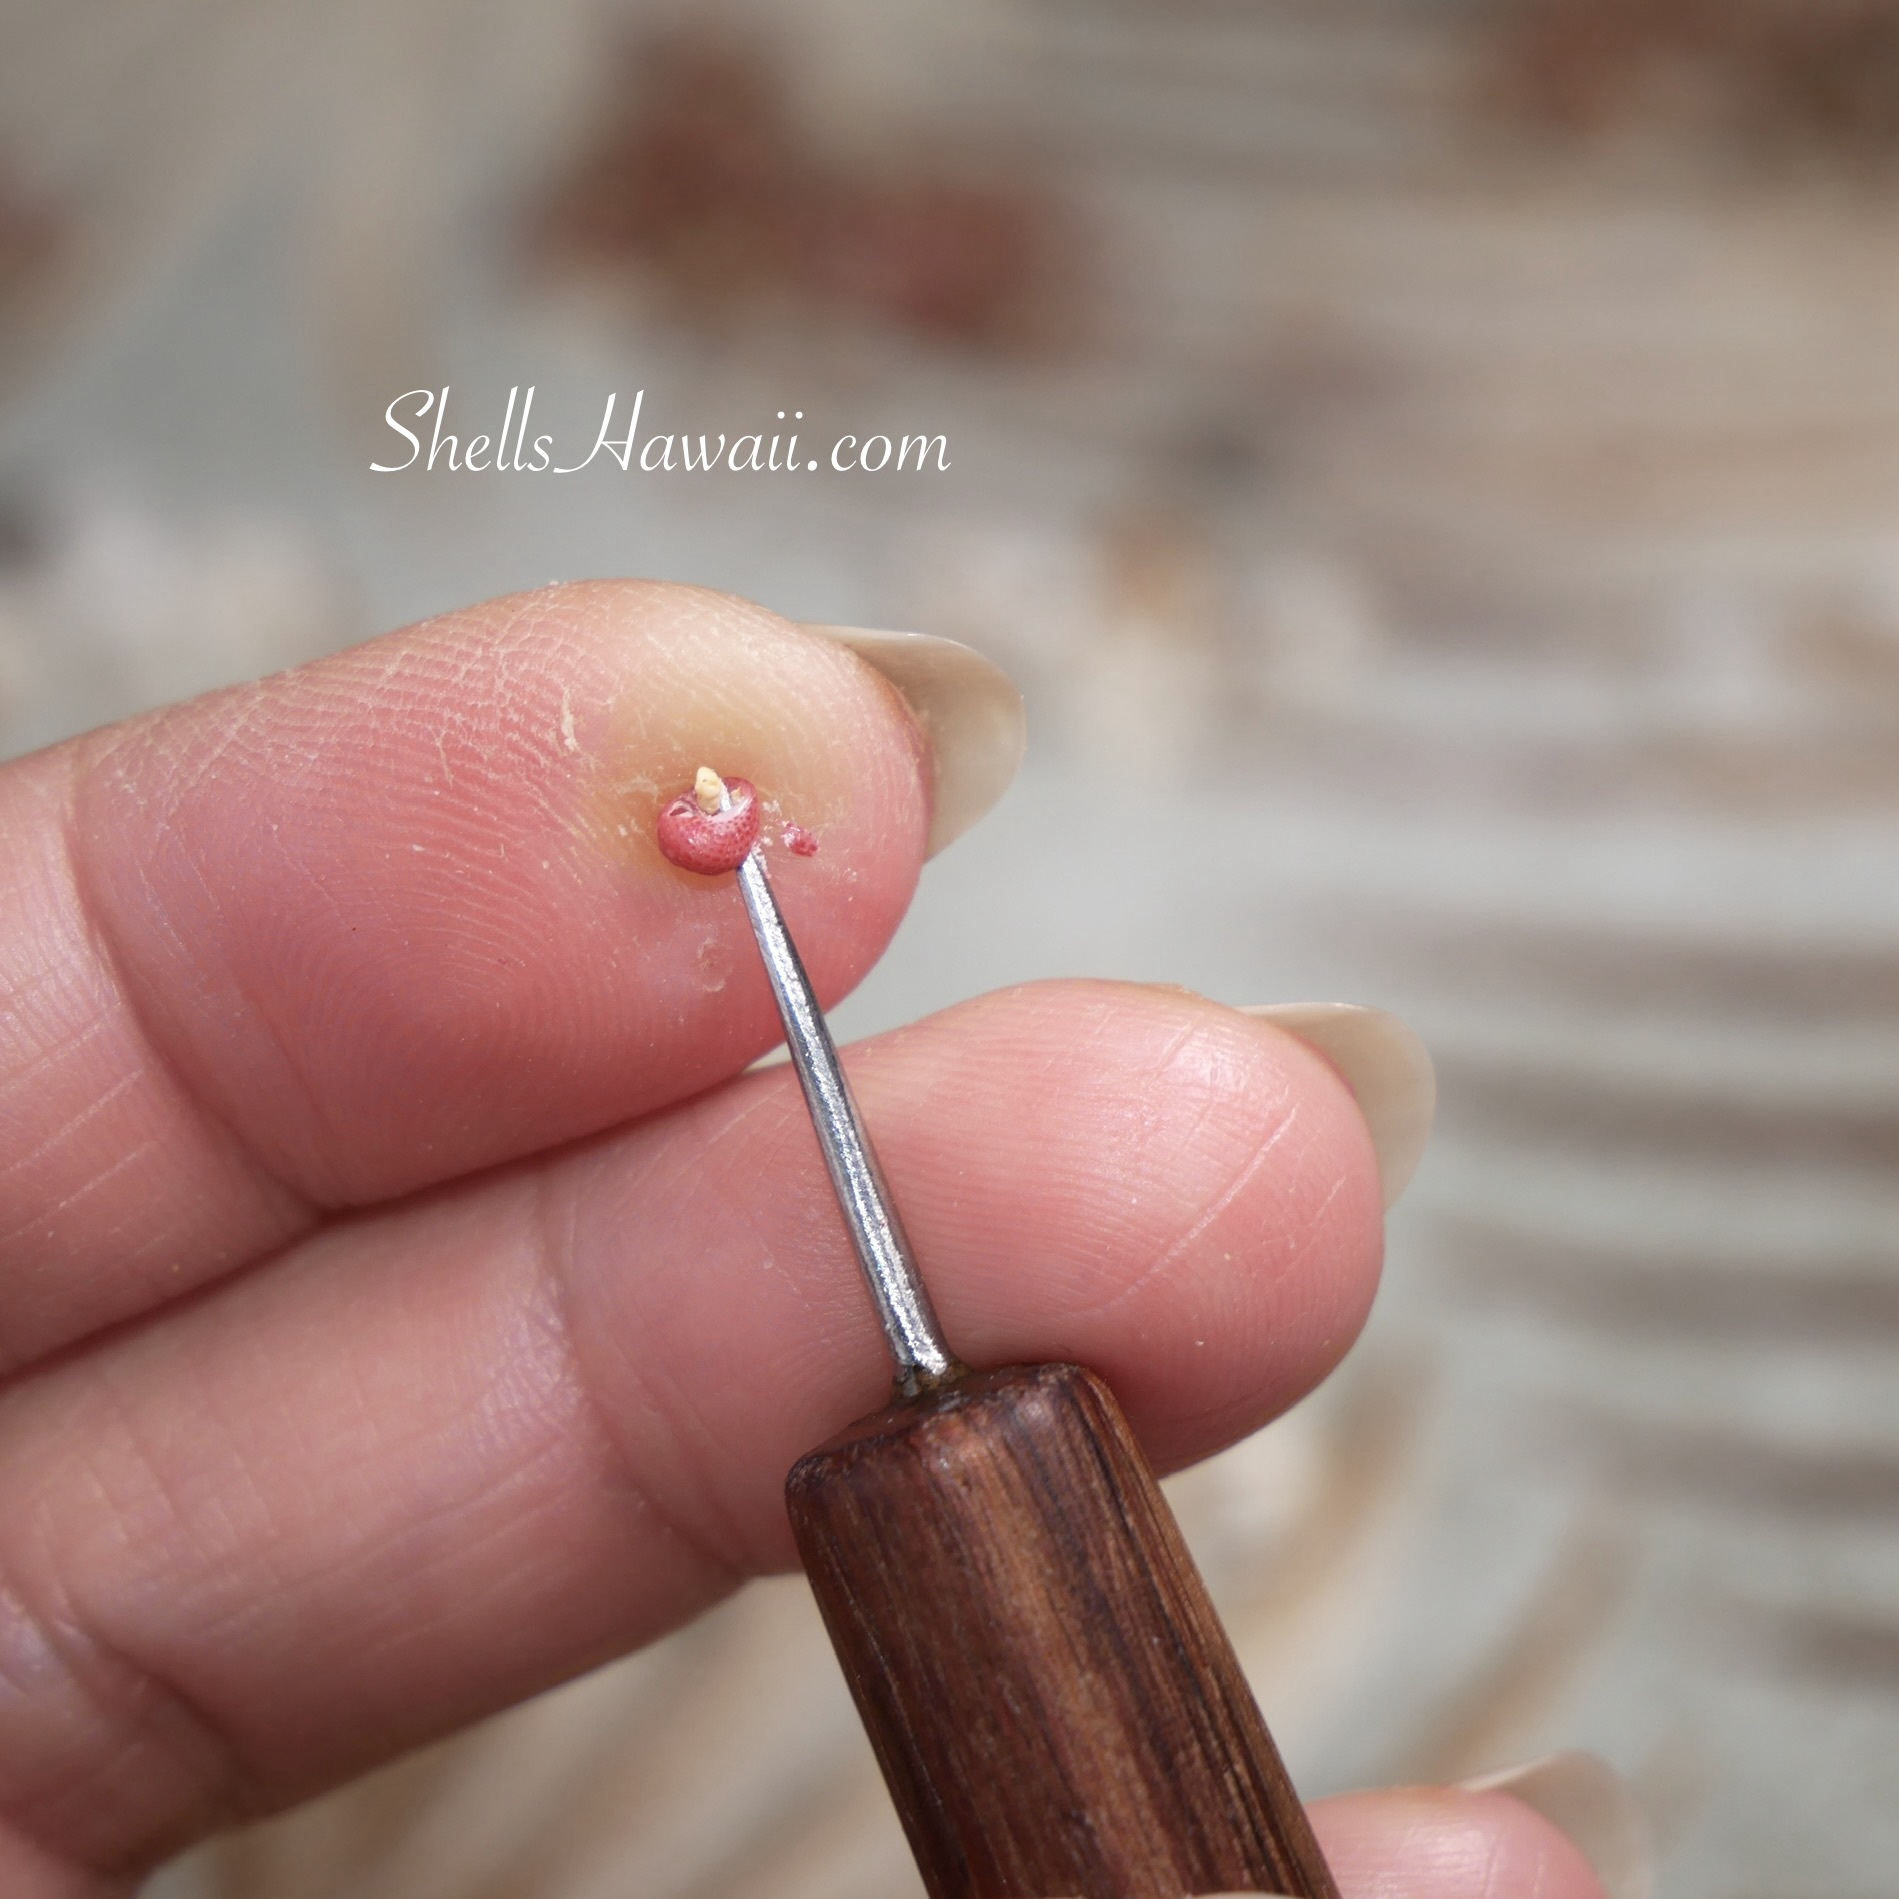
Now, if you're creating a Poepoe-style design, it's very important to poke the hole in the correct position. Otherwise, when you begin stringing the shells together, the thread may show between the shells, or the shells may not lay flat and line up properly.
Poking is one of the most important parts of creating Niʻihau shell jewelry. I've mentioned this in almost every blog I've shared because the placement of each hole can make a big difference in how your finished piece looks.
Working with Tiny Momi Shells
Momi shells are much larger than Kahelelani shells and have a thicker shell layer, even in smaller sizes. Having the right tools to poke the holes is important to avoid breaking or damaging them. As for the smallest Momi shells you can use, I believe that as long as you can carefully poke a hole without breaking the shell, there are many possibilities for what you can create.
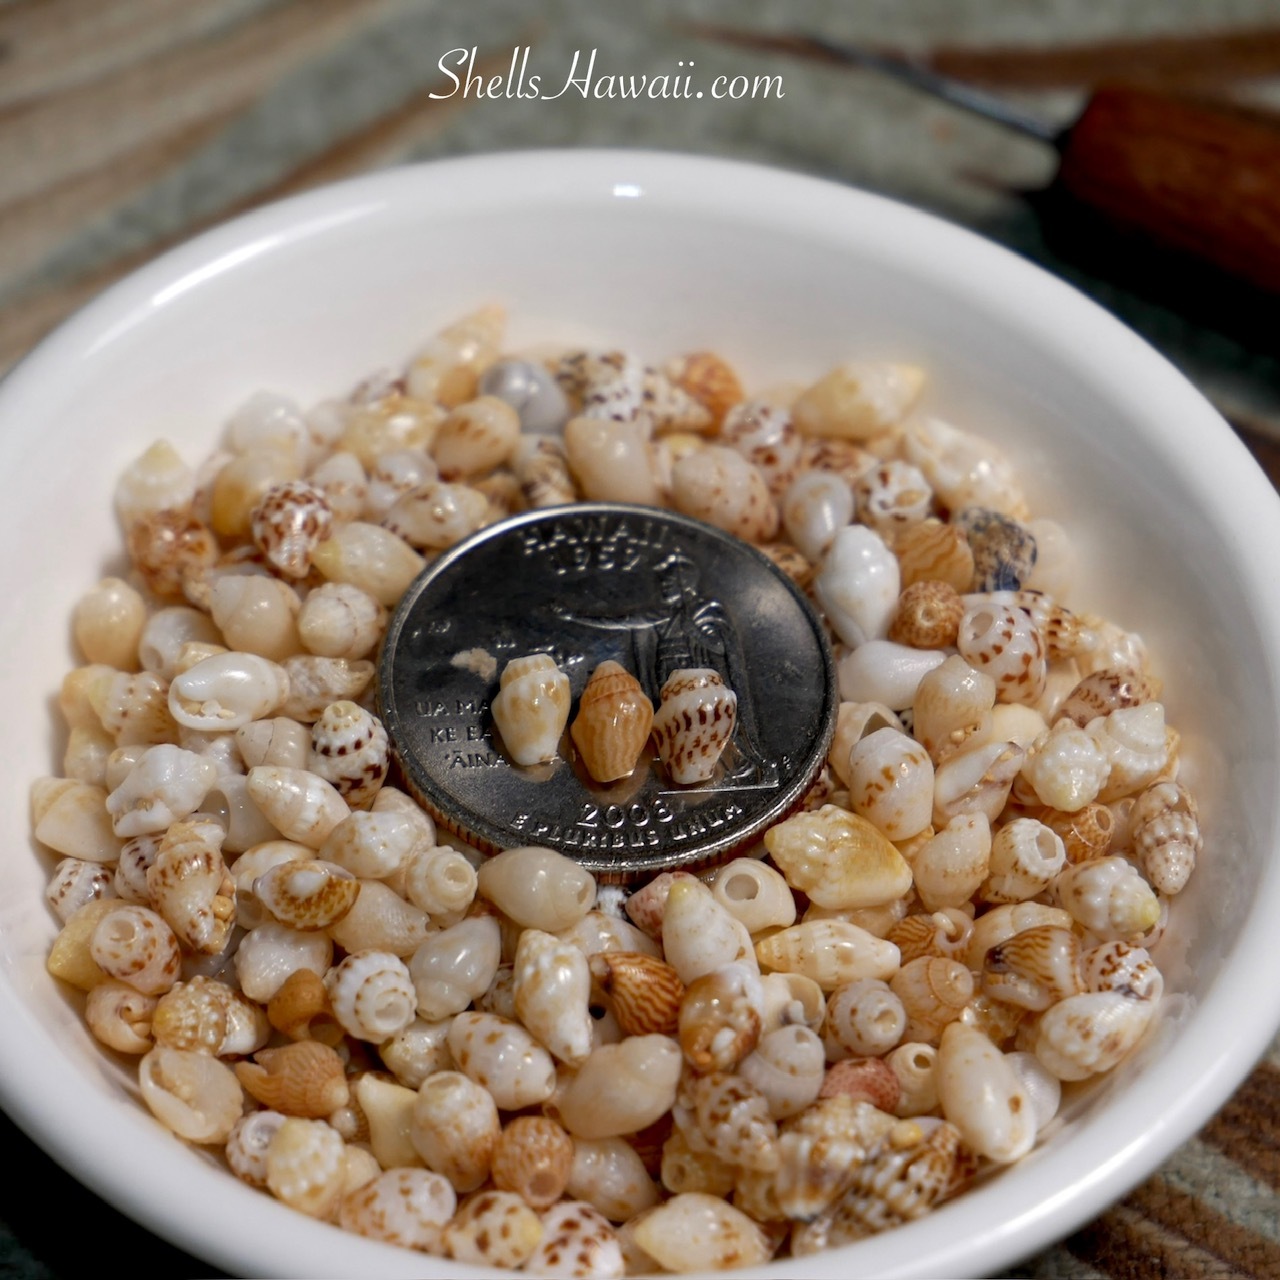
Over the years, I've found that I really enjoy working with smaller Momi shells. When strung together, they tend to overlap more naturally than larger shells, creating a fine, delicate appearance with beautiful details.
I especially love using these smaller shells in four-strand designs, where I can arrange different colors into beautiful patterns such as coconut flowers, which resemble the male flowers of a coconut tree, and crown flowers, which resemble the distinctive shape of the crown flower (Pua Kalaunu), a flower commonly used in traditional Hawaiian flower lei. I also love using these smaller shells to create Kipona-style designs using the double-double technique.
The Momi crown flower style is one of my favorites for creating earrings and bracelets, and sometimes I combine these shell designs with a gold chain for a simple, elegant look that's lovely for everyday wear.
You can also take a look behind the scenes of my Hawaiian pineapple earrings creation to see another example of how I use Momi shells to create different designs.
How to Make Jewelry with Tiny Shells Look Fuller and Thicker
When working with such tiny shells, there are a couple of ways to make your finished jewelry look fuller and thicker. You can string the shells into several individual strands and then bring them together to create one finished piece, or you can use a multi-strand technique to give your design more fullness.
From my experience, when choosing shell sizes for a design, it is important to consider the overall appearance of the piece you plan to create. For example, when working with small pearls, I prefer to use shells that are smaller than the pearls to give the finished piece dimension, balance, and a natural flow.
These smaller Momi shells can also work beautifully in a Pikake-style lei or bracelet, where you can gradually transition from larger shells at the center to smaller shells toward the ends. This creates a graceful, flowing appearance while allowing the different shell sizes to complement one another.
When creating earrings, however, I personally prefer a more uniform and structured appearance rather than an organic look created by combining shells of different sizes. For this reason, I usually select shells that are as close in size as possible to achieve a smooth, consistent, well-balanced, and refined appearance in most of my earring designs.
Of course, these are not strict rules for creating Niʻihau shell jewelry. They are simply suggestions based on my personal experience. The shell sizes you choose and how you arrange them ultimately depend on your personal preference and how you envision your finished piece.
Since I'm working with some of the smallest Momi shells today, I've decided to use a four-strand technique. This will allow me to create a fuller design while still keeping the fine, delicate details that make these tiny shells so beautiful.
The Patterns and Designs
After selecting my shell colors, laying out the patterns, and preparing the holes, it's time to begin stringing everything together. One important tip is to always start with plenty of string, as you'll need to trim the ends from time to time while working.
Most of my designs begin as a vision in my mind. As the shells come together, I often adjust the colors and patterns along the way, depending on how the design is taking shape.
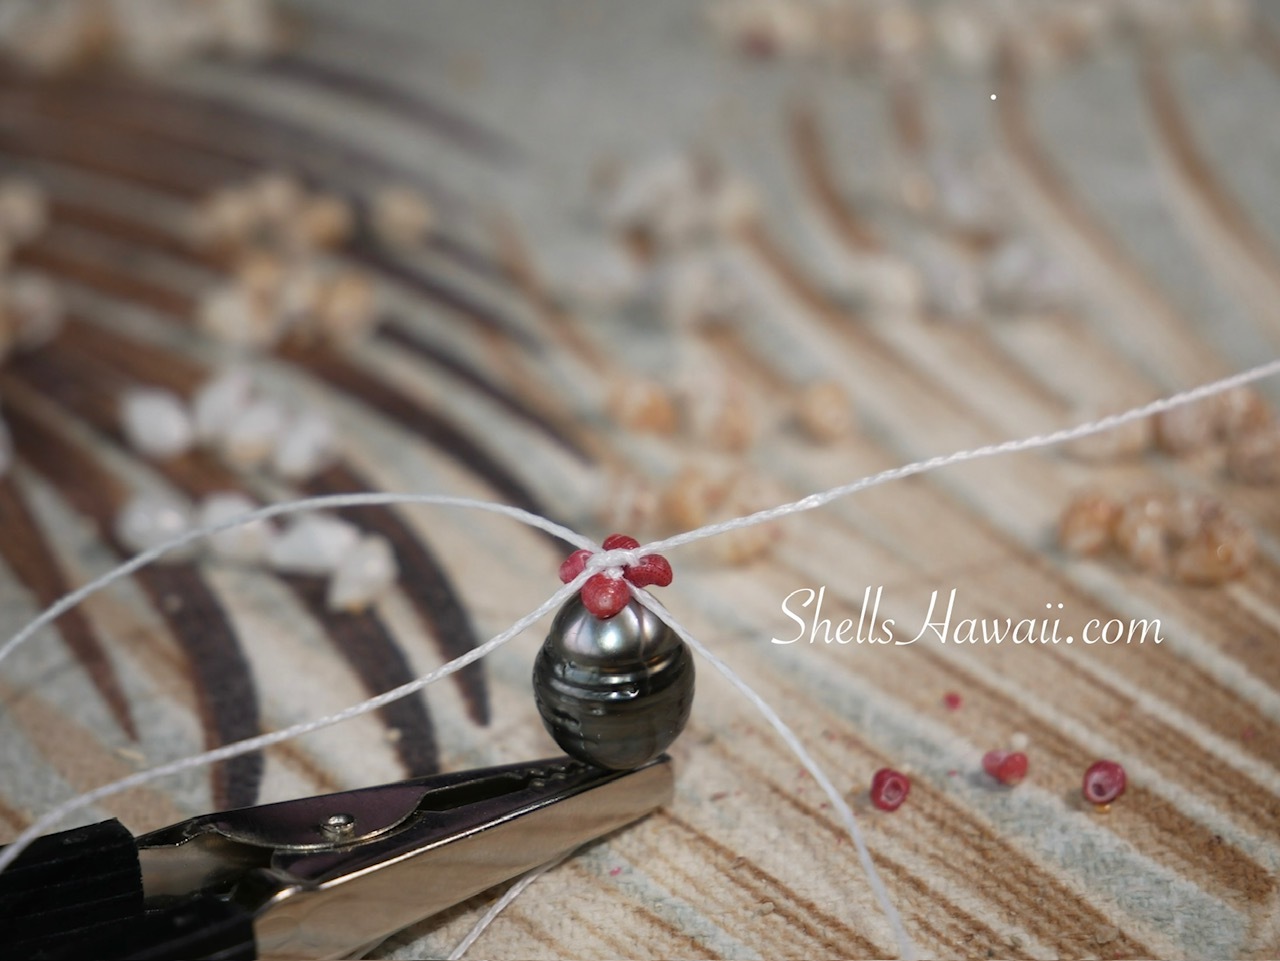
While stringing, I always check to make sure the shells line up properly, laying side by side in a beautiful spiral pattern. If too much thread is showing between the shells, it could be due to uneven shell sizes or incorrect hole placement. This applies to both Momi and Kahelelani shells.
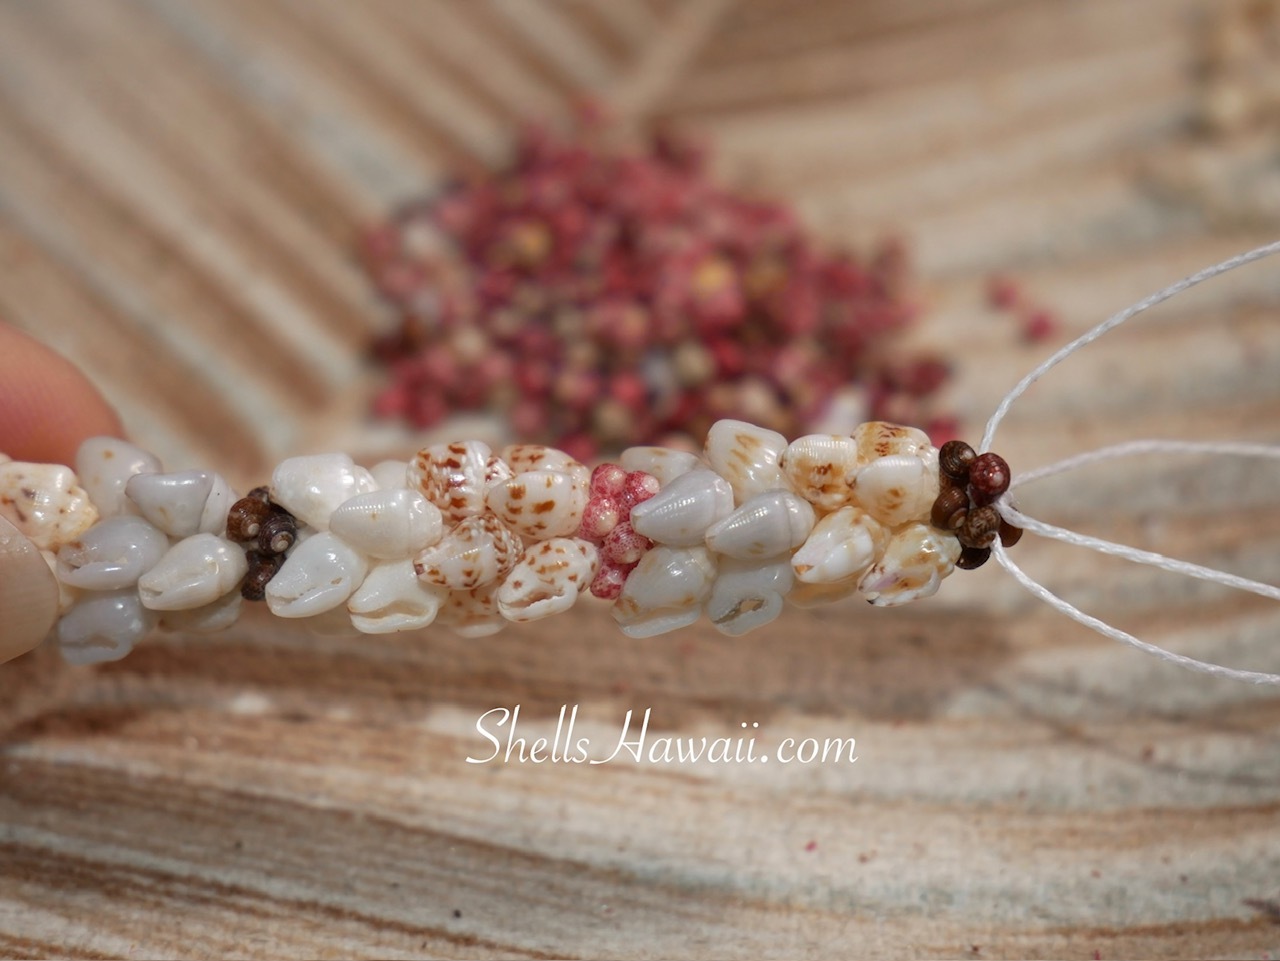
Sometimes, replacing just one shell with a better match can make all the difference. Continue checking and making adjustments as needed until you reach your desired length.
Choosing the Right Clasp for Your Niʻihau Shell Bracelet
When it comes to finishing your Niʻihau shell bracelet, there are several clasp options to choose from, depending on the look you prefer.
You can use a Puka shell clasp, which gives your finished piece a beautiful, natural appearance. Another option is a pair of cowrie shells, which also complements the natural beauty of Niʻihau shell jewelry.
In most cases, I personally prefer using a safety clasp. I find that it gives the finished piece a more elegant appearance while also providing a secure closure. It can be a little tricky to fasten a safety clasp by yourself, especially when wearing a bracelet, but once it's properly hooked, it's less likely to come loose accidentally.
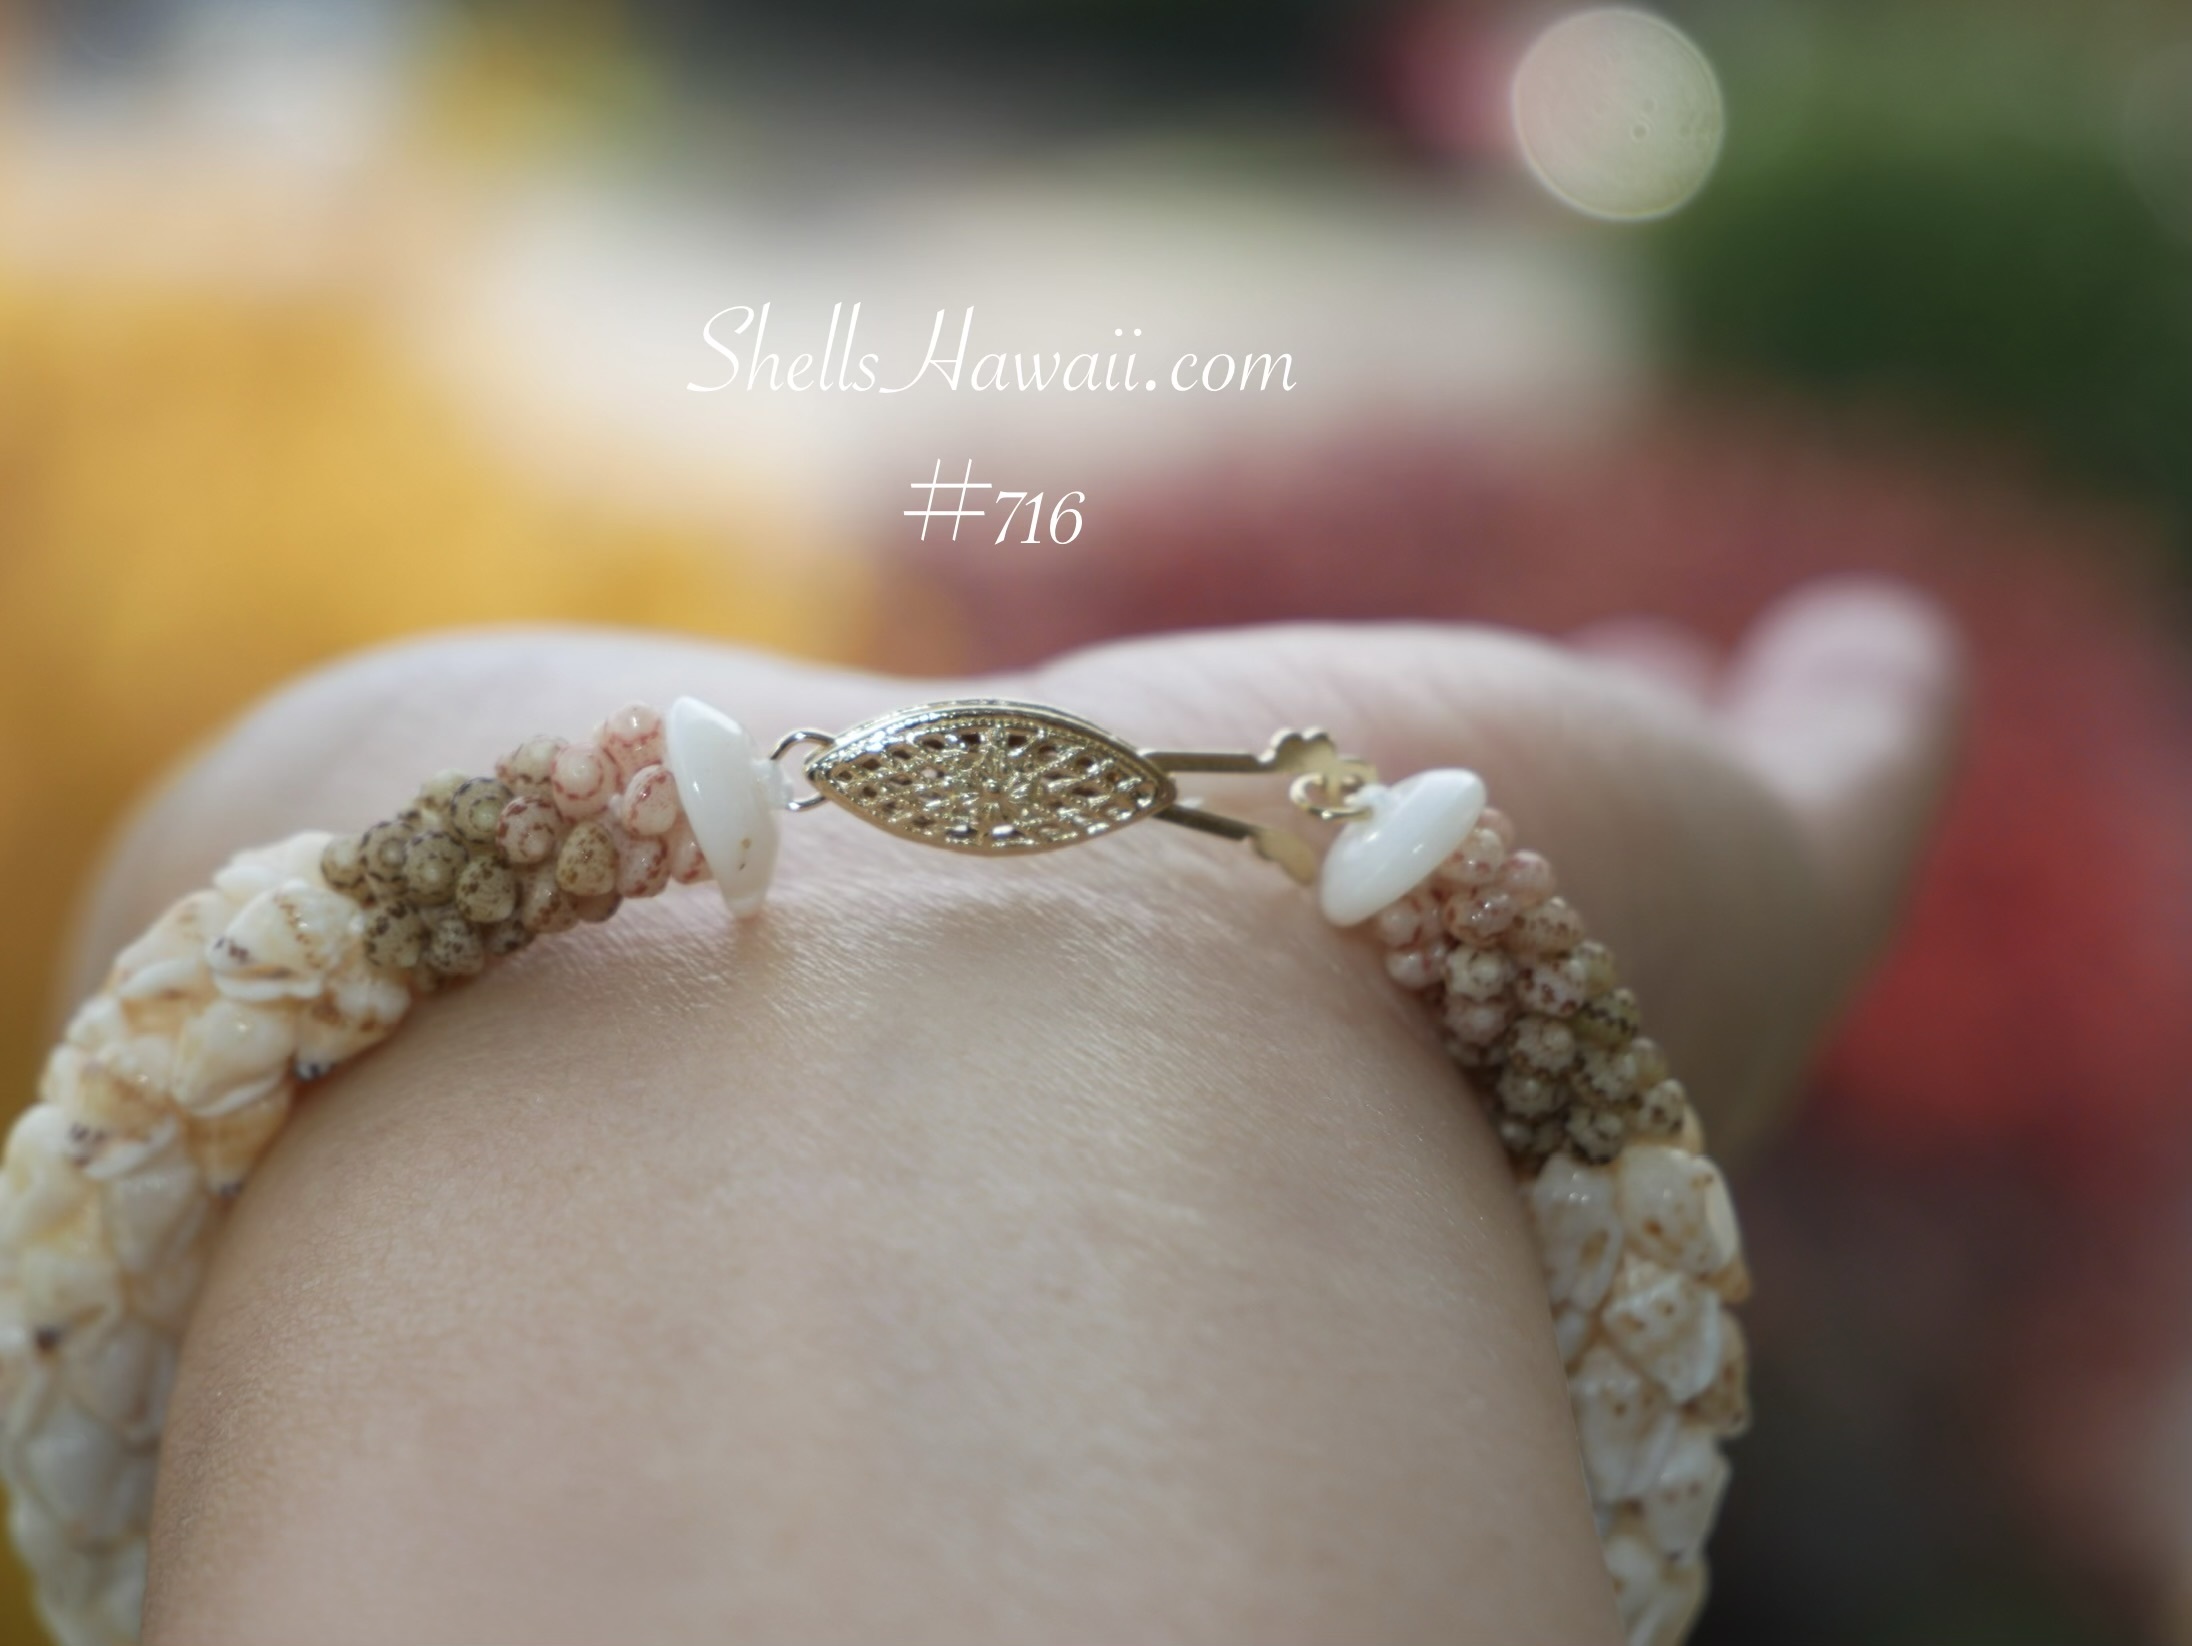
Here's a little tip if you have trouble fastening your bracelet by yourself.
Find a small piece of string and thread it through the part of the clasp where the hook will attach.
For example, if you're wearing your bracelet on your left wrist, place the bracelet around your wrist and hold the extra string in the palm of your left hand. This will help keep the bracelet in place while you use your right hand to fasten the hook.
Once the clasp is securely fastened, simply pull the string out.
I hope this little trick helps make putting on your bracelet a bit easier!
For more helpful information about choosing the right bracelet for you, I invite you to read my blog, Niʻihau Shell Jewelry Guide: Sizing, Materials, and Measurements
My Finished Niʻihau Shell Bracelet Creations
And here is how my newest creations turned out!
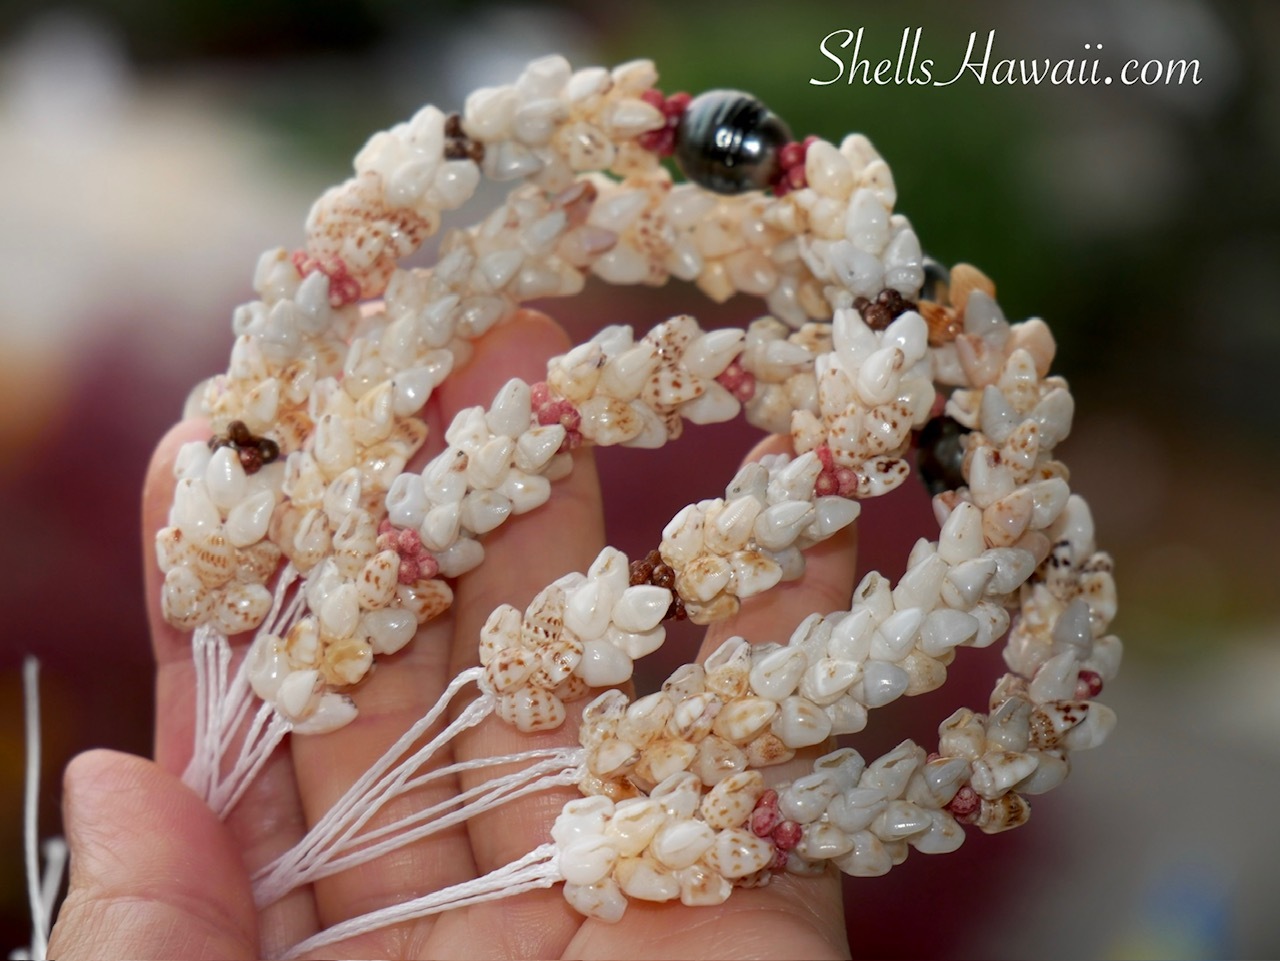
As you can see, the Momi shell sections look much fuller and thicker, measuring almost three-eighths of an inch thick! With the right selection of Kahelelani shell colors and how you arrange them together, each color still stands out beautifully while creating a lovely, natural flow throughout the design.
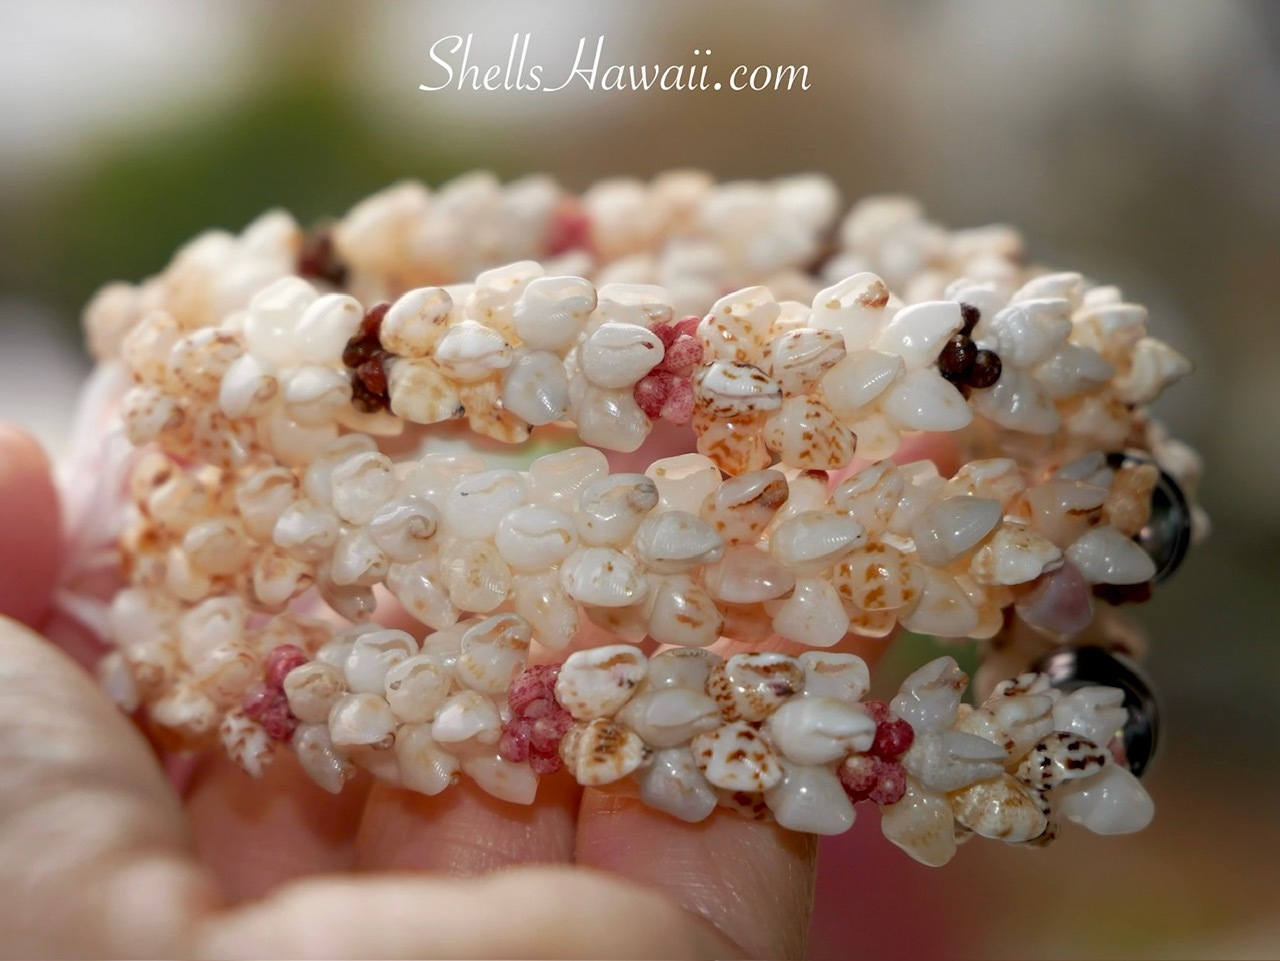
I'm so happy with how these bracelets turned out. They're super cute, colorful, and full of beautiful little details, even though I used some of the smallest Momi and Kahelelani shells.
I hope you enjoyed learning something new from what I've shared in this blog. Most of all, I hope it inspires you to try working with smaller shells and discover how these tiny, delicate shells can be turned into beautiful pieces of wearable art.
I will be gradually adding my new bracelets to the Four-Strand Bracelet category at ShellsHawaii.com throughout this week. I hope you enjoy exploring my new creations!
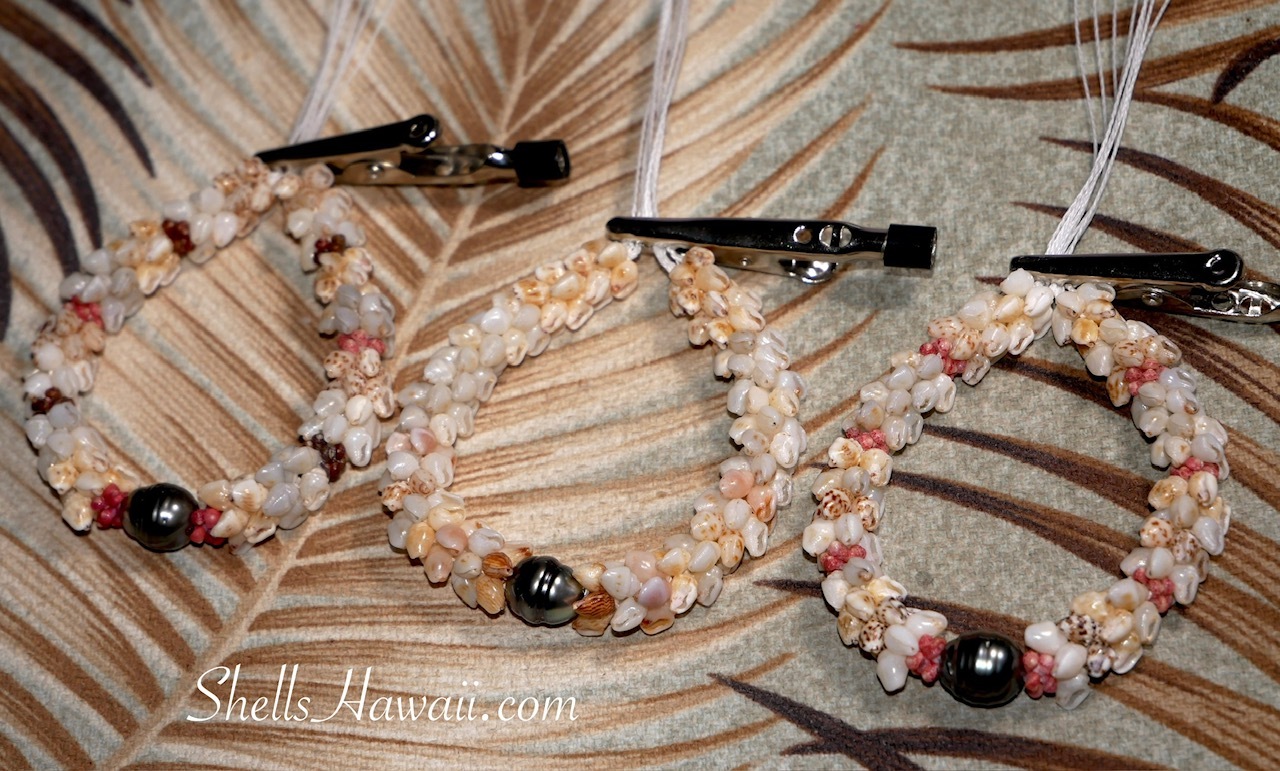
Thank you so much for taking the time to read my blog, visit my website, and support my handmade Niʻihau shell jewelry creations. I truly appreciate each and every one of you.
Wishing you all a wonderful and happy holiday season! I hope to see you again next time as I share more of my creations from my workstation.
Much aloha,
Janjira