JPY
JPY


Aloha and welcome back to the ShellsHawaii blog, everyone!
Over the past few weeks, since I sharing my blog, Upcoming Hawaiian Shell Jewelry Creations at ShellsHawaii, I've also shared several Behind the Scenes blogs following the creation of lei #2017, #2018, and #2019. I'm happy to say that all three handmade Hawaiian shell lei are now available in the Lei category of my website.
If this is your first time visiting one of my Behind the Scenes blogs, welcome! Throughout this blog, you'll find links to related blog posts and product pages. Whenever you see highlighted text, simply click on it to learn more about the techniques, shells, or finished jewelry designs featured along the way.
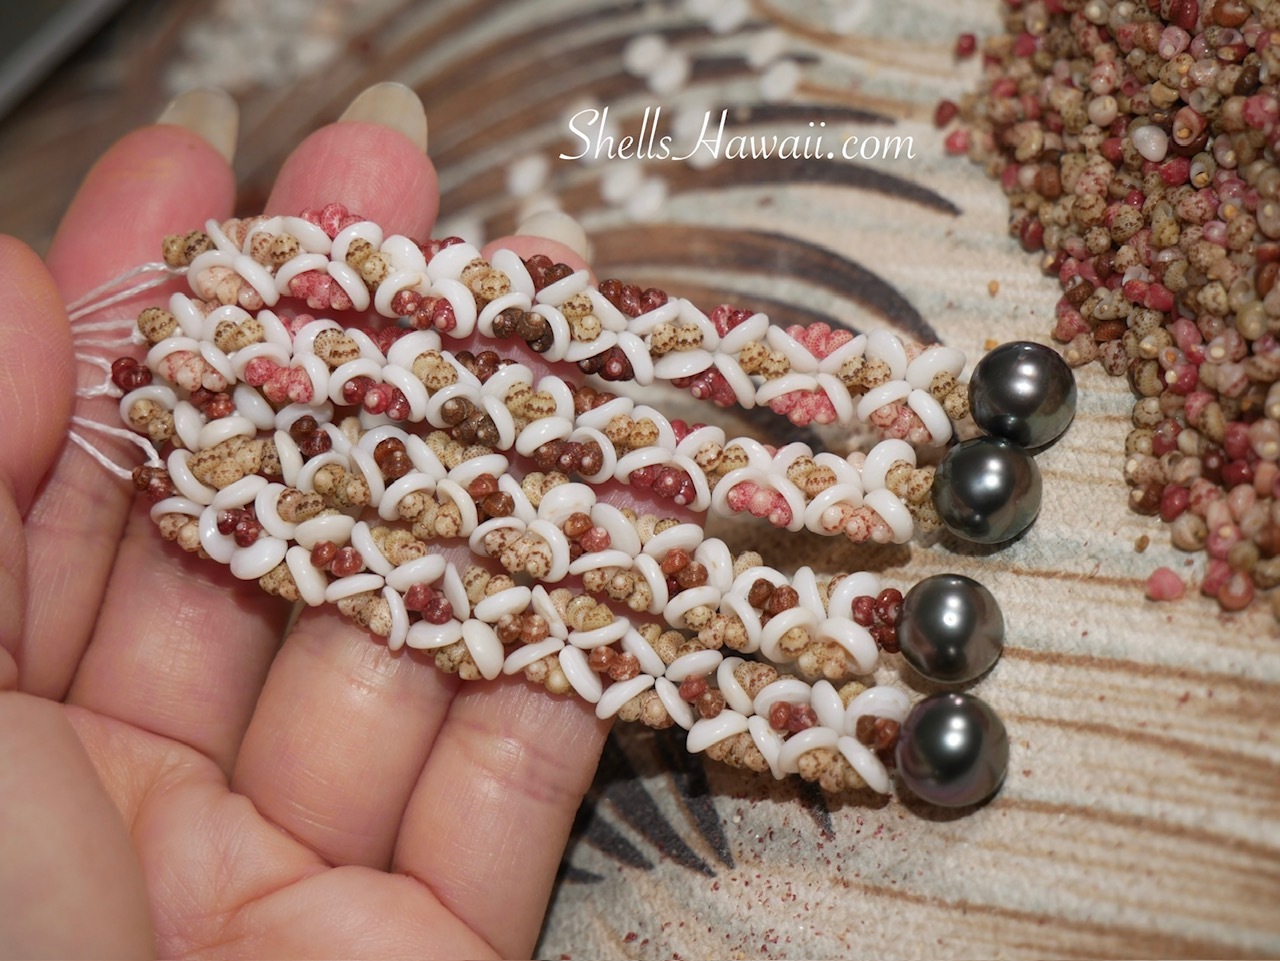
Today, I'd like to invite you back to my work table as I create something a little different. Instead of a lei, I'll be sharing the process of creating Kahelelani and Puka shell flower-inspired earrings. From selecting and matching the shells to assembling each flower one piece at a time, I'll take you behind the scenes and show you how this new creation came together.
Along with this new blog, I've also added a few new pairs of earrings featuring beautiful Tahitian pearls paired with colorful Kahelelani shells from Niʻihau and Kauaʻi. They are now available in the Two-Strand Earrings category. If you have a few extra minutes, I warmly invite you to take a look. I hope you enjoy seeing these beautiful shell and pearl combinations and perhaps even find a favorite along the way.
Now, I'd like to invite you behind the scenes to see how these flower-inspired earrings came to life. So, let's get started.
Planning the Design
This flower-inspired design is one of my most popular creations. Almost every time I create a new pair, they find a new home very quickly. I think many people enjoy their cute yet elegant appearance, making them easy to wear for both everyday occasions and special events.
Although the finished earrings have a delicate and elegant look, creating them requires a lot of preparation before I can even begin. One of the most important parts is having a large selection of small Puka shells to choose from so I can find shells with the closest possible size and shape. This helps keep the flower design as consistent and balanced as possible.
These are genuine Hawaiian Puka shells collected from the beaches of Niʻihau before the natural sand is removed and after each shell is drilled by hand.
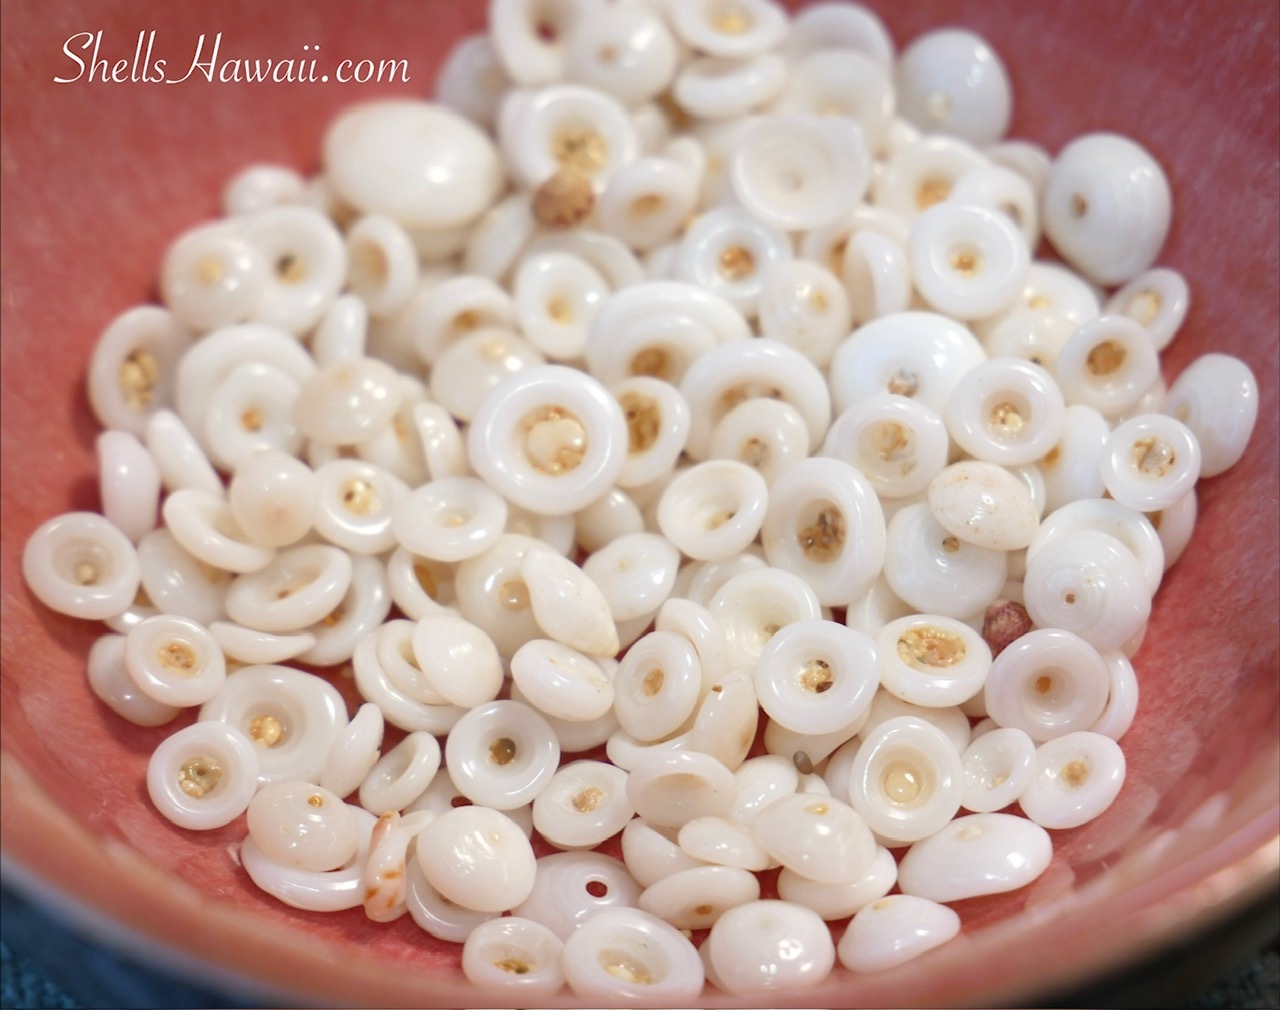
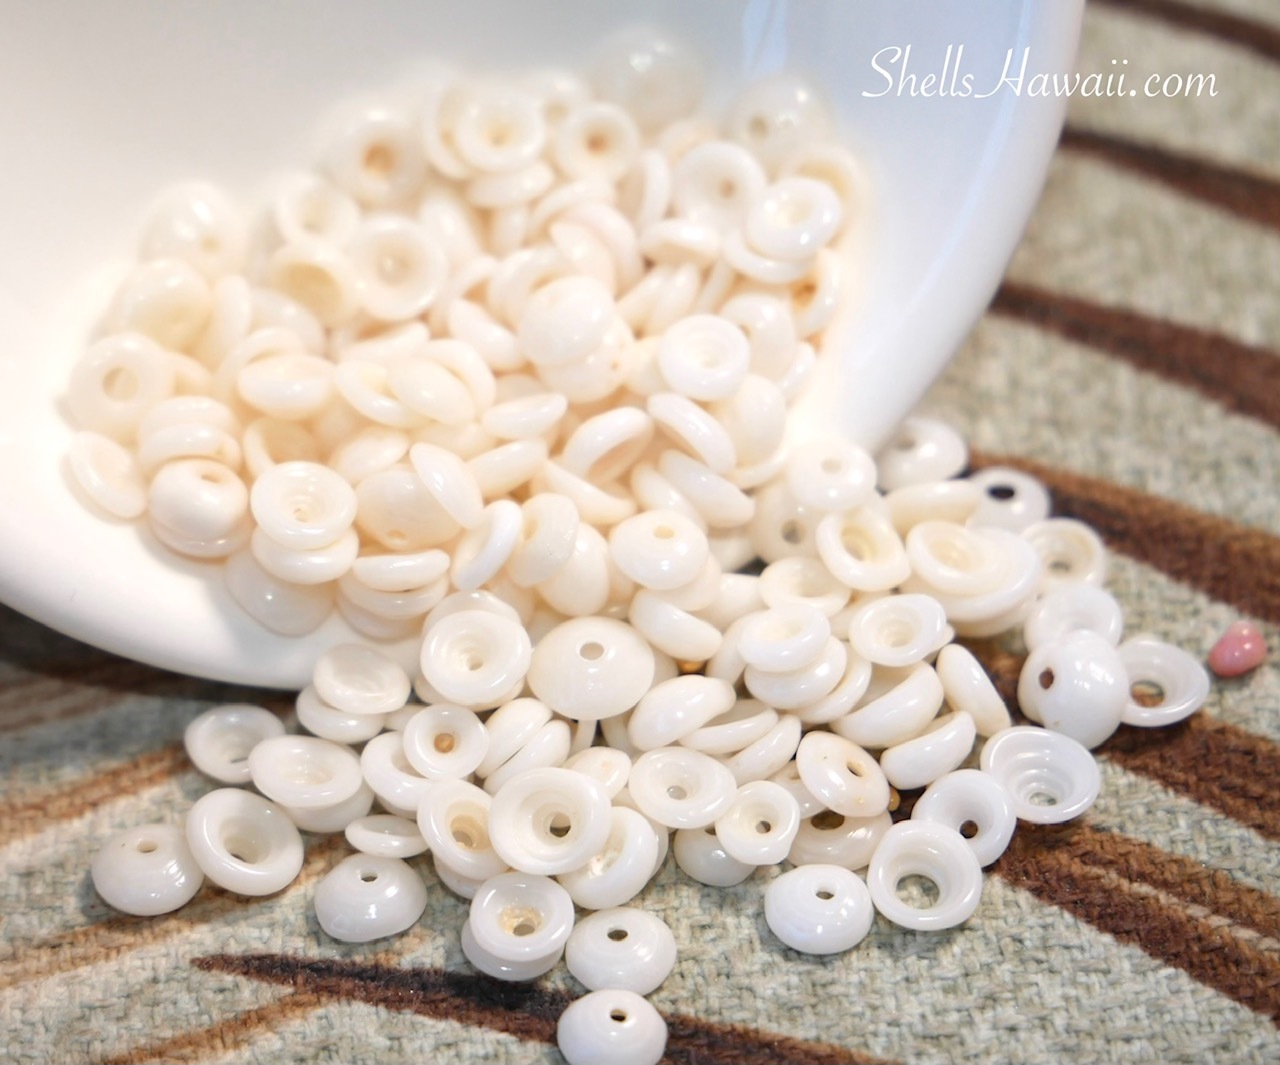
For this creation, I'll be using Puka shells collected from the beaches of Niʻihau, as well as the neighboring islands of Kauaʻi and Oʻahu. The Puka shells from the neighboring islands are still beautiful and have a nice natural luster. However, when I compare them side by side, the Puka shells from Niʻihau always win me over. They are often a brighter white and have a beautiful luster that I really enjoy working with.
Of course, they come with one big challenge. Many of the small Puka shells collected from Niʻihau beaches still have fine sand trapped inside them. Because of that, cleaning the shells can be a slow and very time-consuming process that requires a lot of patience.
Some of the Puka shells already have a natural hole, but many others still need to be carefully drilled or poked before they can be used. Between cleaning out the sand, sorting the shells, and preparing each one individually, this part of the process takes much longer than most people might expect. However, I believe taking the extra time is well worth it because it helps create a cleaner and more beautiful finished design.
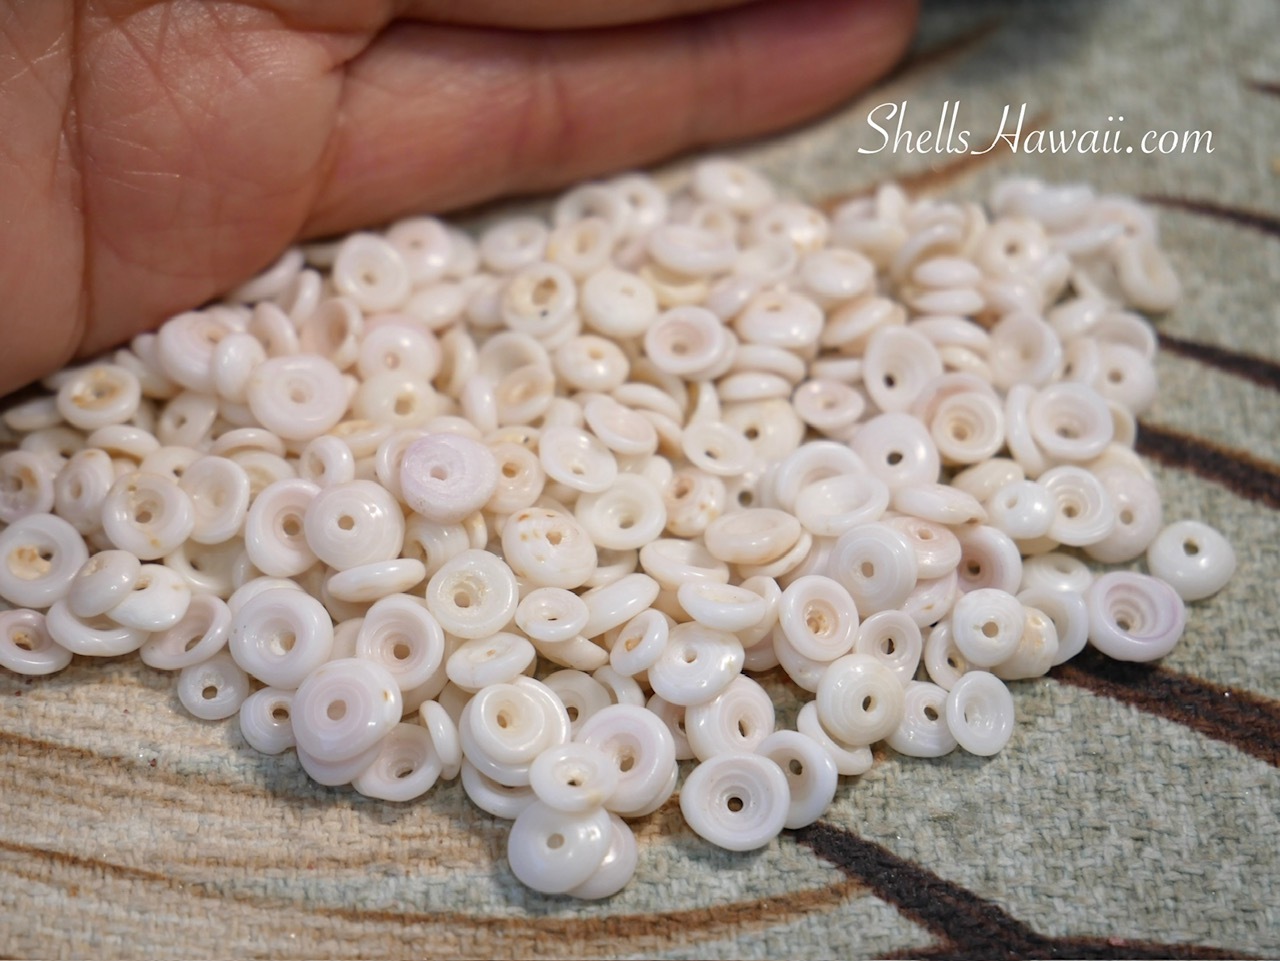
Here are small Hawaiian Puka shells collected from the beaches of Oʻahu and Kauaʻi before being used in my jewelry designs.
Pairing the Shells
After preparing the Puka shells, the next step is pairing them together. In my opinion, this is one of the most important parts of the entire process. This is where the overall design really begins to take shape.
Fortunately, this time I managed to avoid drilling into my fingers while cleaning the sand out of the Puka shells, I am truly grateful for that. Now I could focus on selecting the best shell combinations for each flower.
Small genuine Puka shells arranged by hand into closely matched sizes before being used in handmade Hawaiian shell jewelry.
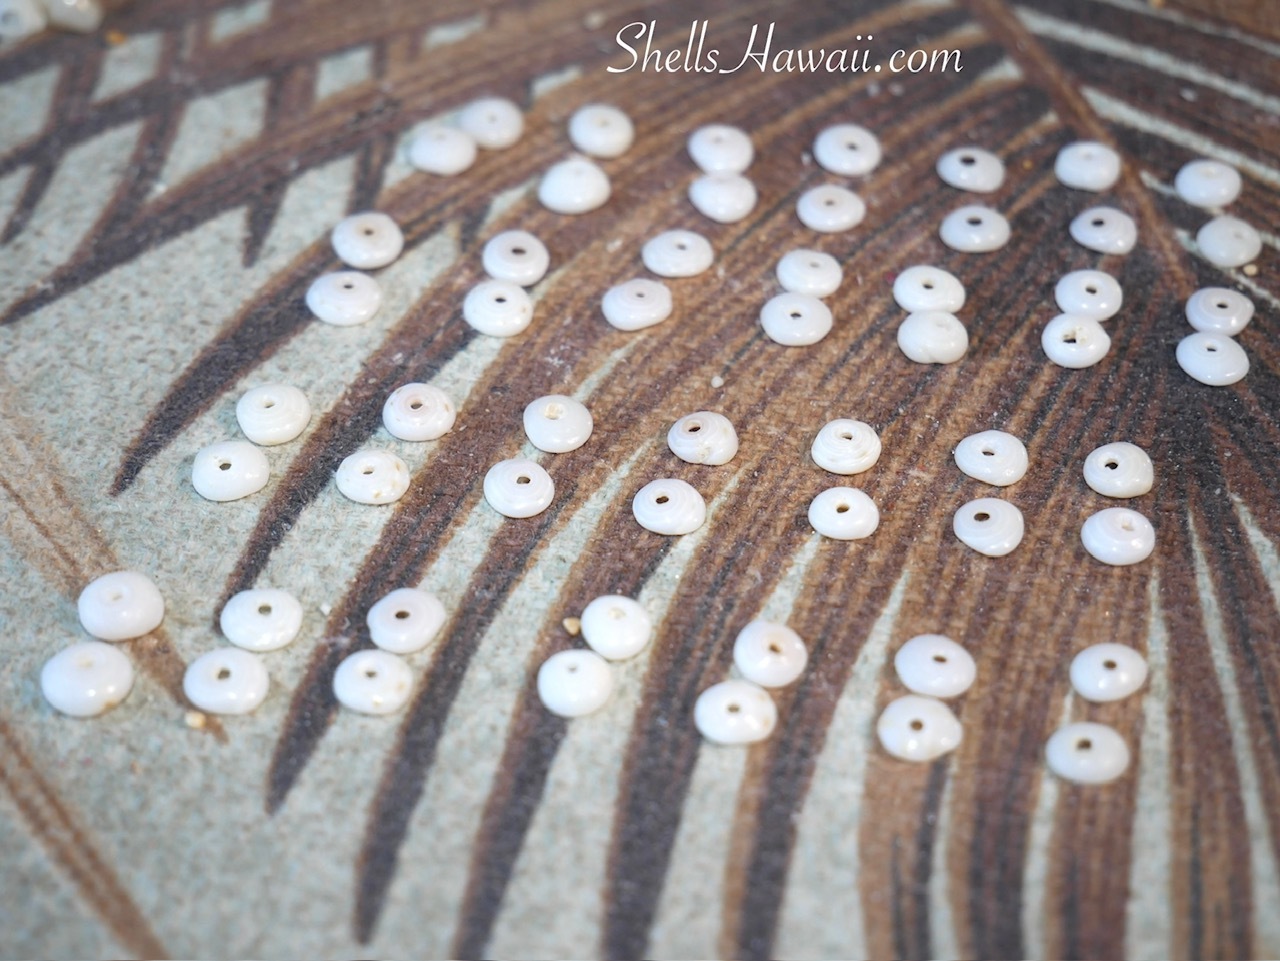
This is one of the reasons authentic Niʻihau shell jewelry can be so expensive. Fine jewelry begins with fine shells, but every step I've shared throughout this blog also plays an important role before those tiny shells become a finished piece of wearable art.
Whether I'm creating a simple design or one of the more advanced styles, taking the time to match the shells is always an important part of the process. More advanced designs, such as the traditional Poepoe style, simply require an even greater level of precision and experience.
For these flower-inspired earrings, my goal was to create flowers that looked as balanced and consistent as possible by selecting Puka shells that closely matched one another. Once I was happy with the combinations, I was ready for the next step.
Selecting the Kahelelani Shells
With the Puka shells paired and ready to go, the next step was selecting the Kahelelani shells for the center of each flower-inspired design.
Kahelelani shells are the smallest shells commonly used in Niʻihau shell jewelry. Because I chose to use very small Puka shells for this design, the Kahelelani shells also needed to be very small to keep the finished earrings looking delicate and elegant.
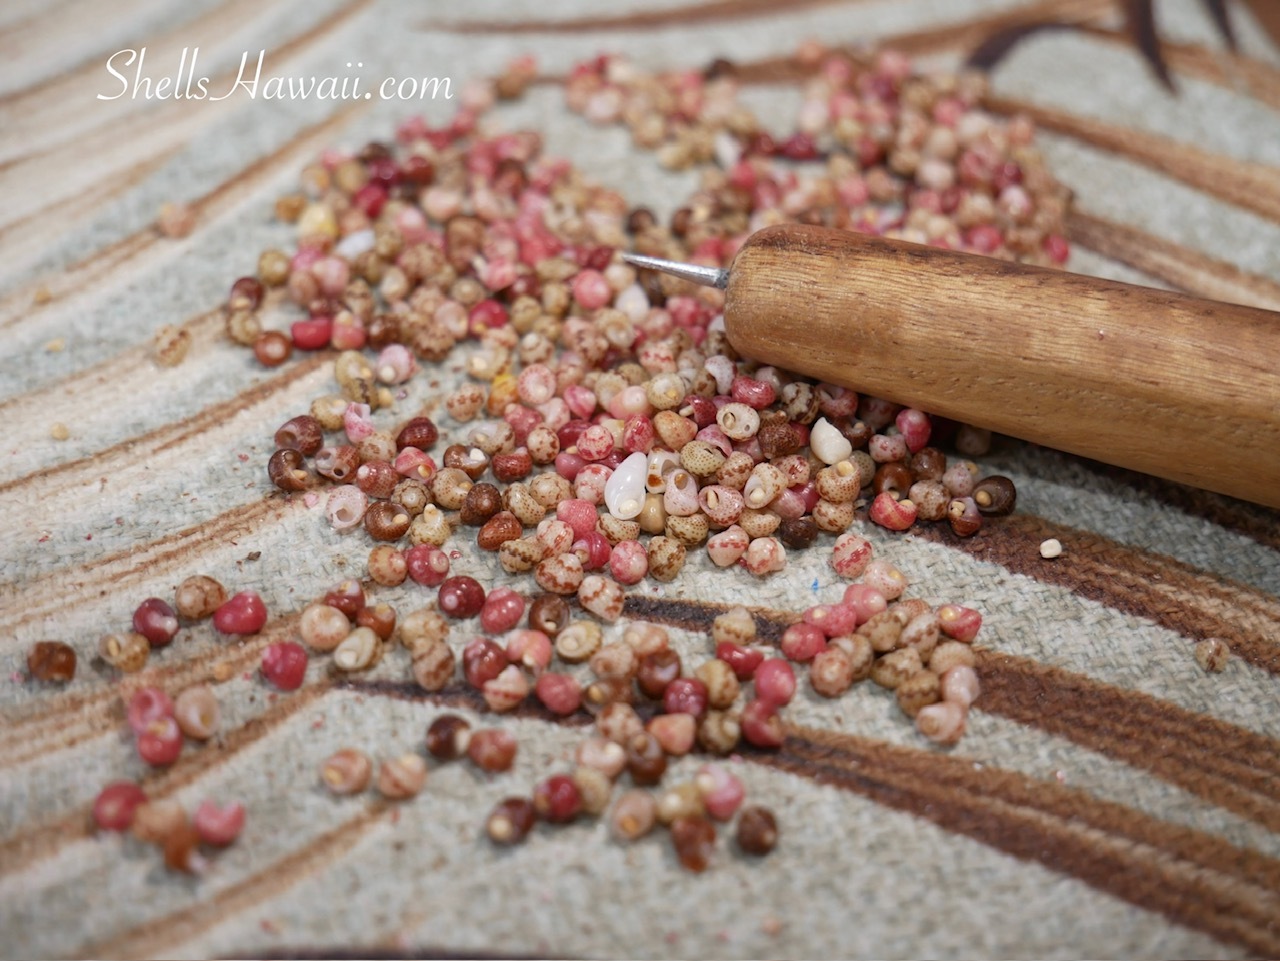
For this creation, I decided to use size 11 Kahelelani shells. In the past, I've also created similar designs using size 10 Kahelelani shells. When paired with small Puka shells, the finished jewelry has an especially fine and delicate appearance that I really enjoy.
I chose size 11 for these earrings because I planned to pair them with beautiful semi-round Tahitian pearls measuring over 9 mm. The slightly larger shells helped create a balanced design, allowing each element to complement the others without overpowering the earrings.
One of the things I enjoy most about working with Kahelelani shells is their incredible variety of natural colors. For this design, I selected a mix of colors because I felt they paired beautifully with the bright white Puka shells.
Once I was happy with the shell size and color combination, it was time to begin preparing the shells.
Poking the Kahelelani Shells
After sorting the shells by size and planning the color pattern, it was finally time to poke the Kahelelani shells.. This is one of the most important steps in the entire process, and it's definitely not an easy one—especially when trying to poke each hole without breaking too many shells.
Poking a hole in a Kahelelani shell isn't as simple as picking up any tool and making a hole. You also need to think about the size of the needle tip you're using. If the needle is too small and you plan to use a thicker thread, you'll have to go back and enlarge the hole later so the thread can pass through. That creates an extra step and adds more time to the process.
It may be tempting to simply switch to a thinner thread instead, but the thread should be chosen based on the type of shells, the jewelry style, the finished length, and the overall weight of the piece—not just the size of the hole. A thinner thread may work well for a small pair of earrings, while a long, multi-strand shell lei may require a much stronger thread. For that reason, I prefer to make the hole fit the thread rather than choose the thread to fit the hole. I try to make each hole only as large as necessary, and finding that balance is one of the many small details that comes with experience.
On the other hand, if you poke the hole too large, the thread may become visible in the finished jewelry, taking away from the clean appearance of the design. A larger hole also removes more shell material, leaving less support around the opening.
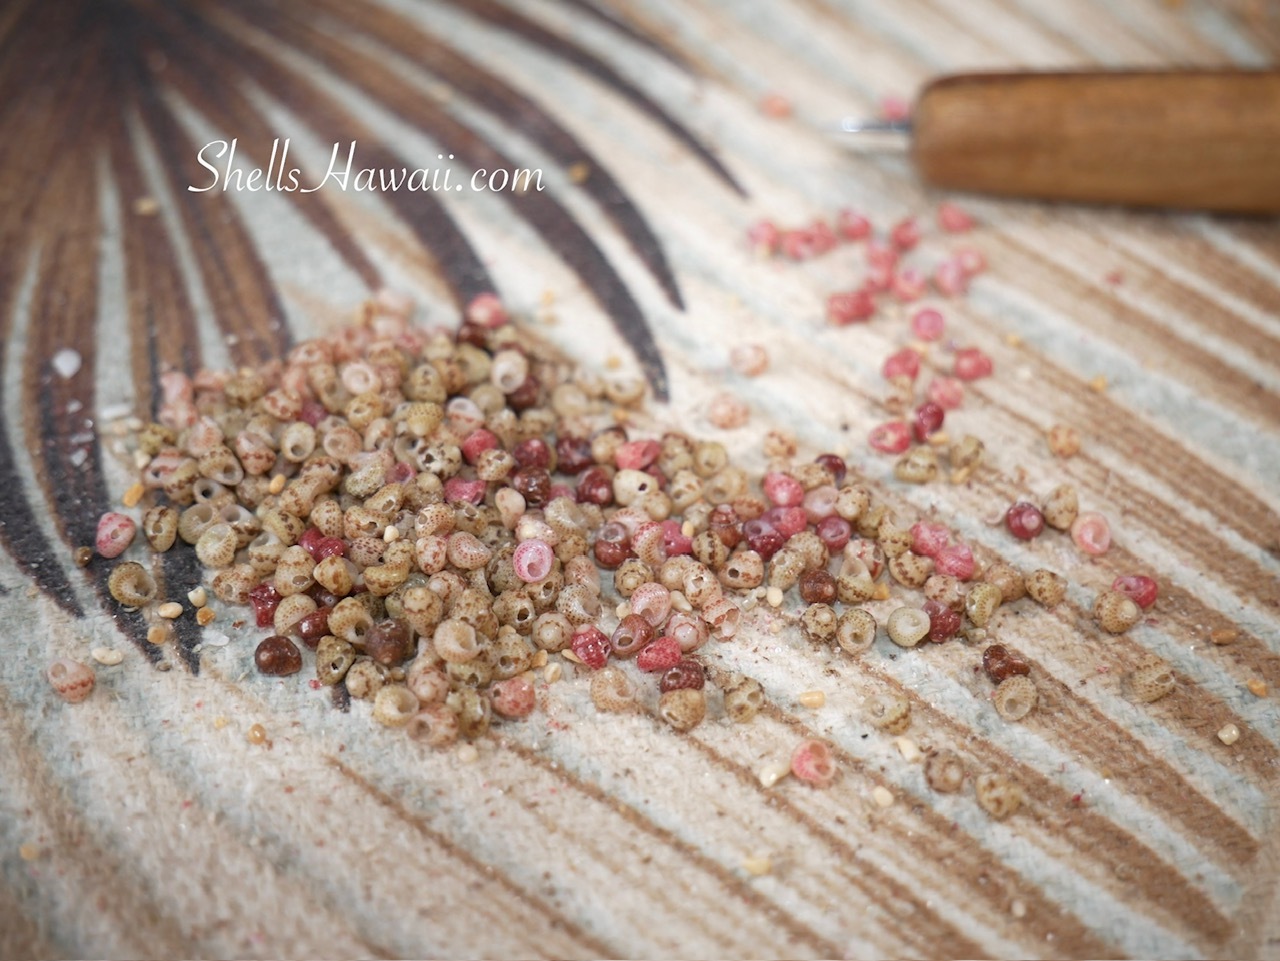
Since Kahelelani shells are already extremely small, every tiny fraction of a millimeter matters. The more shell material that is removed, the thinner and weaker the area around the hole becomes. That increases the chance the shell may crack or break while you're stringing it, tightening the thread, or even years later with normal wear.
Of course, this is also the stage where I broke quite a few shells. That's simply part of working with Niʻihau shells. Because many of these tiny shells still have fine sand trapped inside the waha (opening), the needle doesn't always pass through smoothly. Sometimes it hits the sand instead, causing the shell to crack or break.
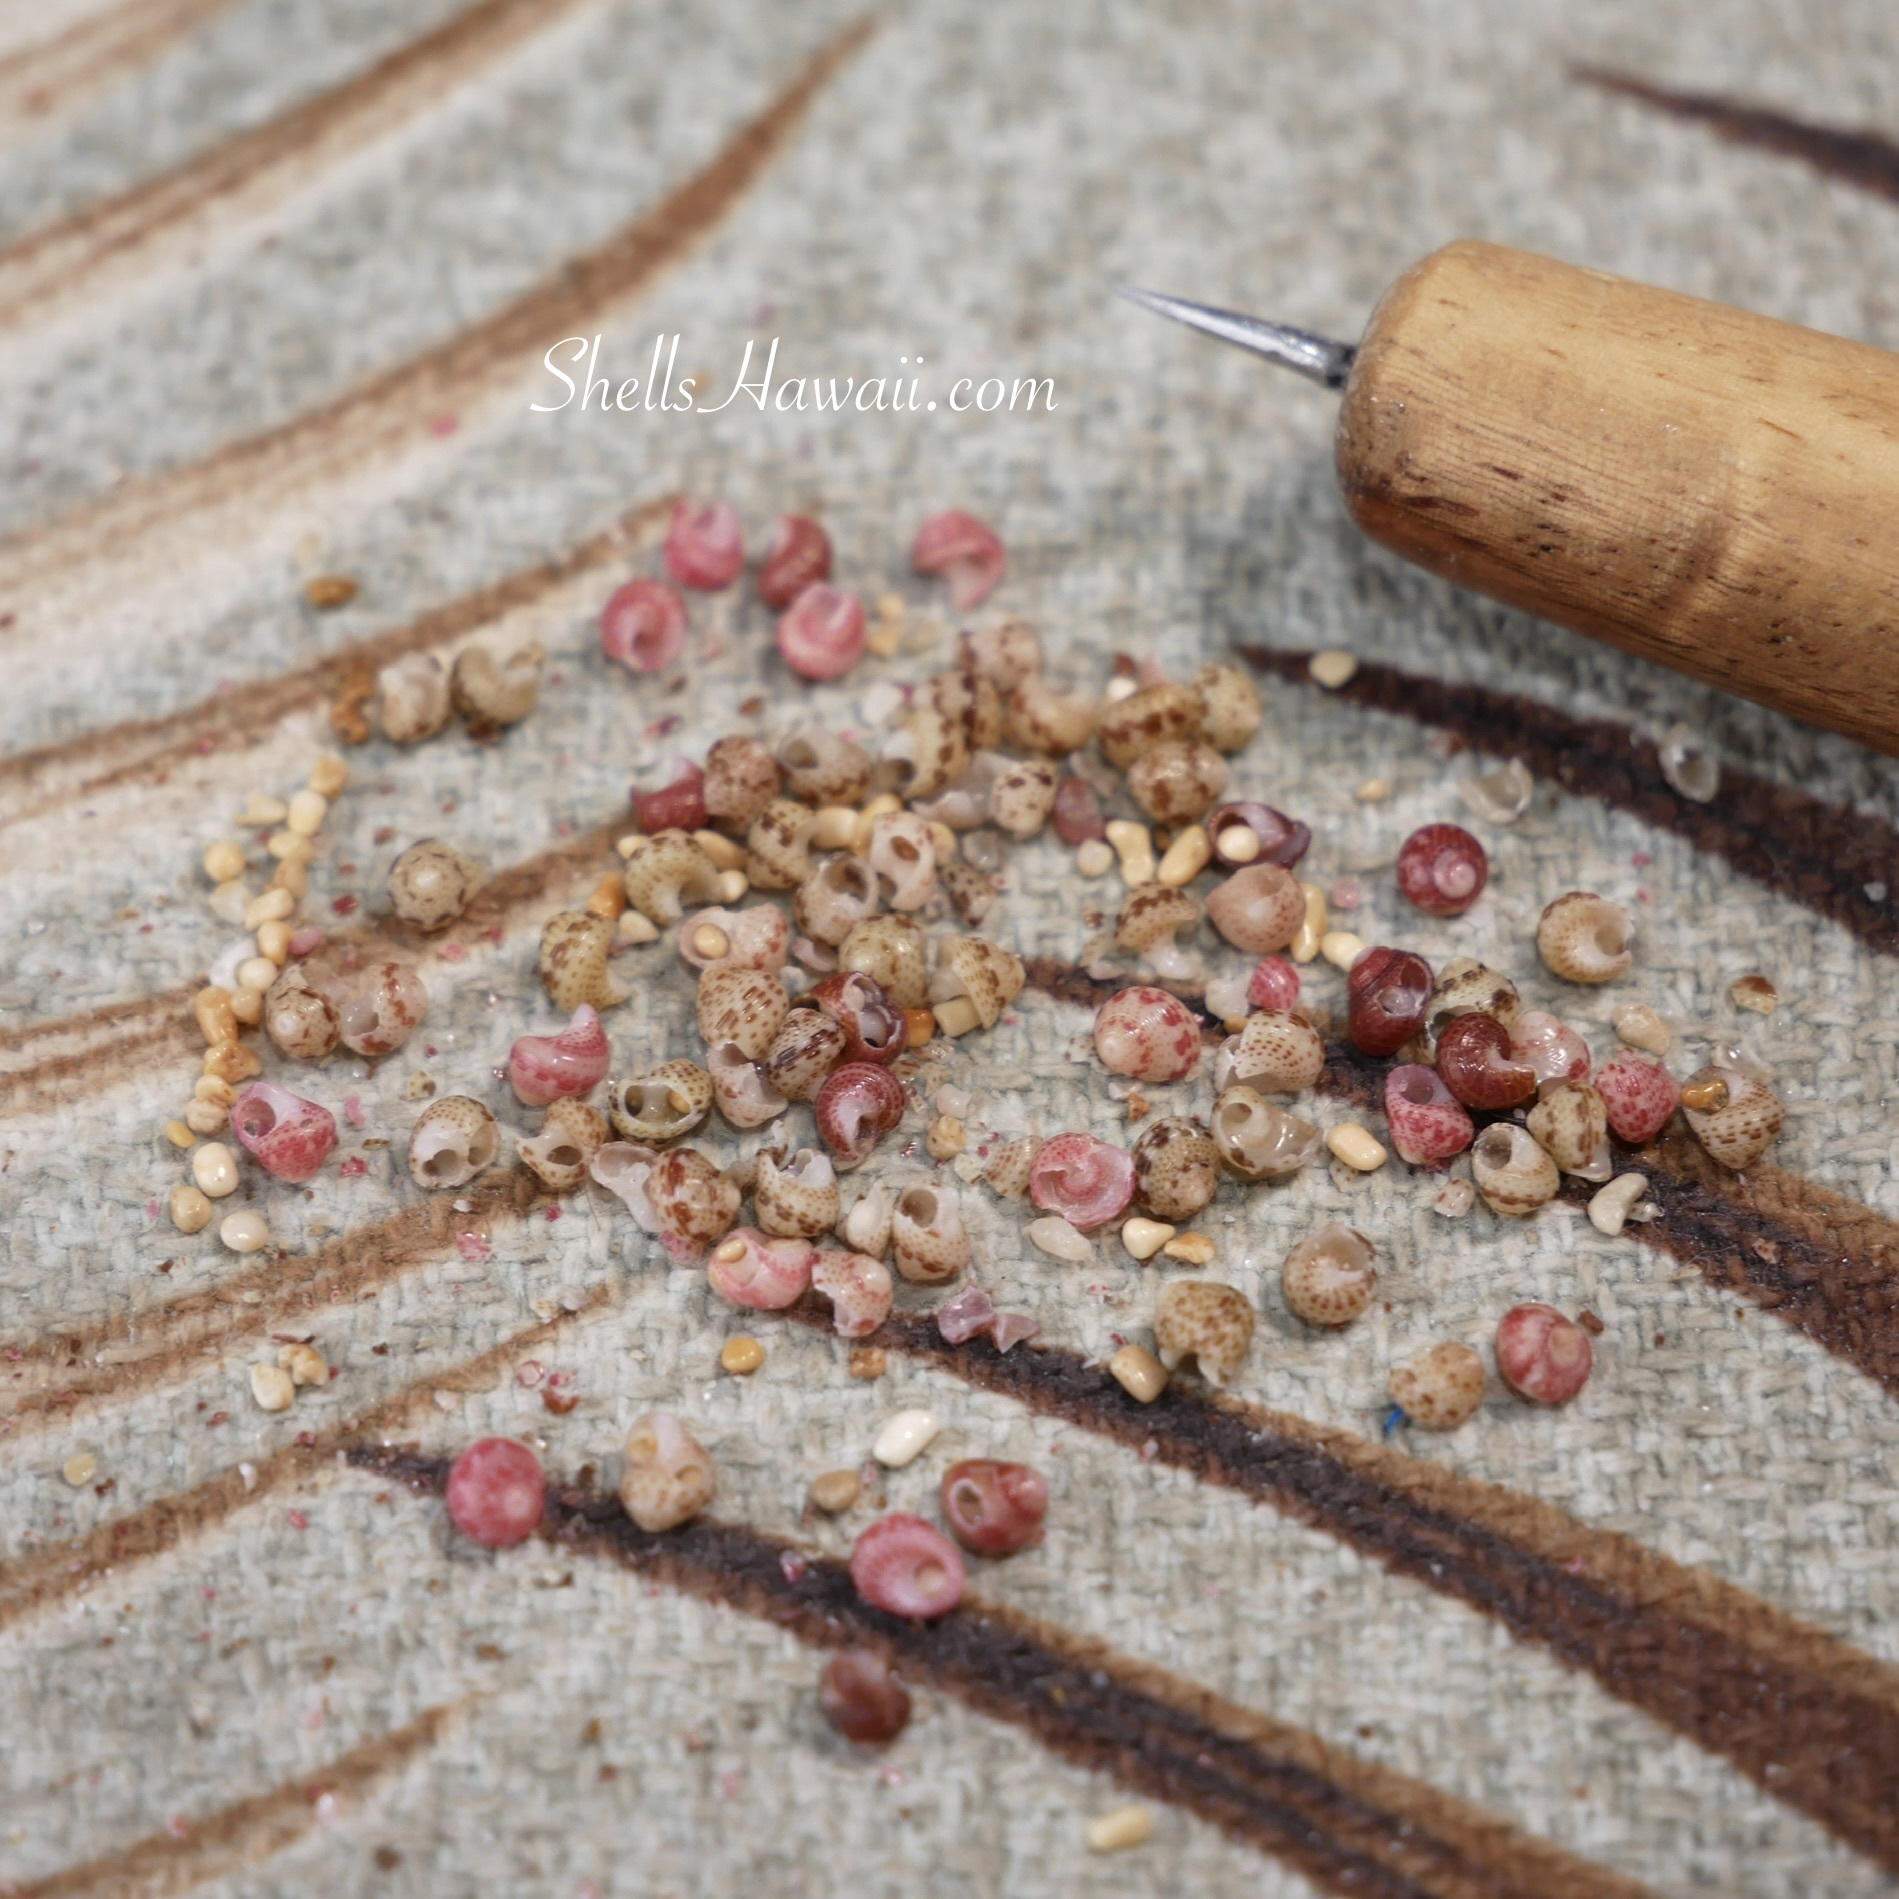
Even after working with these shells for nearly 16 years, I still break shells during the poking process. It's something that happens to every shell artist from time to time. Rather than getting frustrated, I simply set the broken shell aside and continue working.
Over the years, I've learned to look for the "sweet spot" on each shell before poking it. Finding the right location helps reduce the chance of breakage while keeping the finished design looking balanced. Consistent hole placement is also very important because it helps create a uniform appearance throughout the finished jewelry. However, there are times when I intentionally adjust the position or angle of the hole to achieve a specific look. Different jewelry styles often require different hole placement. For example, the traditional Manuʻa Loa style requires the hole to be positioned at a different angle than many other designs.
Little by little, each shell was carefully prepared, bringing me one step closer to assembling the flower-inspired design. Fortunately, I survived cleaning the sand out of the Puka shells without accidentally drilling into my fingers. I wasn't quite as lucky while preparing the Kahelelani shells. A few times the needle slipped off the shell and into my finger. It definitely hurt, but I kept going. By the time all of the shells were ready, my fingers were bruised and missing a few layers of skin. Creating Niʻihau shell jewelry definitely comes with a few sacrifices. I think my fingerprints have slowly disappeared along with a few layers of skin, but it has all been worth it to see my vision come to life.
Bringing the Design to Life
With all of the shells finally cleaned, paired, and carefully prepared, I could at last begin assembling the flower-inspired design. This is always one of my favorite parts of the entire process because it's the moment when all of those hours of preparation finally begin to pay off. One by one, the shells slowly come together, and the design I had imagined starts becoming a reality.
If only creating Niʻihau shell jewelry were as simple as sitting down and stringing shells together! That would certainly make each new creation much easier, much more enjoyable, and far less demanding on my eyes, wrists, hands, shoulders, and back.
In reality, the stringing itself is only a small part of creating Niʻihau shell jewelry. While many beginners would love to skip straight to this stage, the truth is that all of the preparation beforehand simply can't be avoided.
If you've ever searched online for pre-poked Niʻihau shells, you've probably noticed they're quite difficult to find. After following along with this blog, I hope you have a better understanding of why. Preparing shells requires a tremendous amount of time, patience, and experience, and because every shell is different, there's simply no way to predict how many will survive the poking process. When you also consider the rarity of certain shell colors, offering pre-poked shells at a fair and consistent price becomes much more challenging than most people realize.
The Finished Earrings
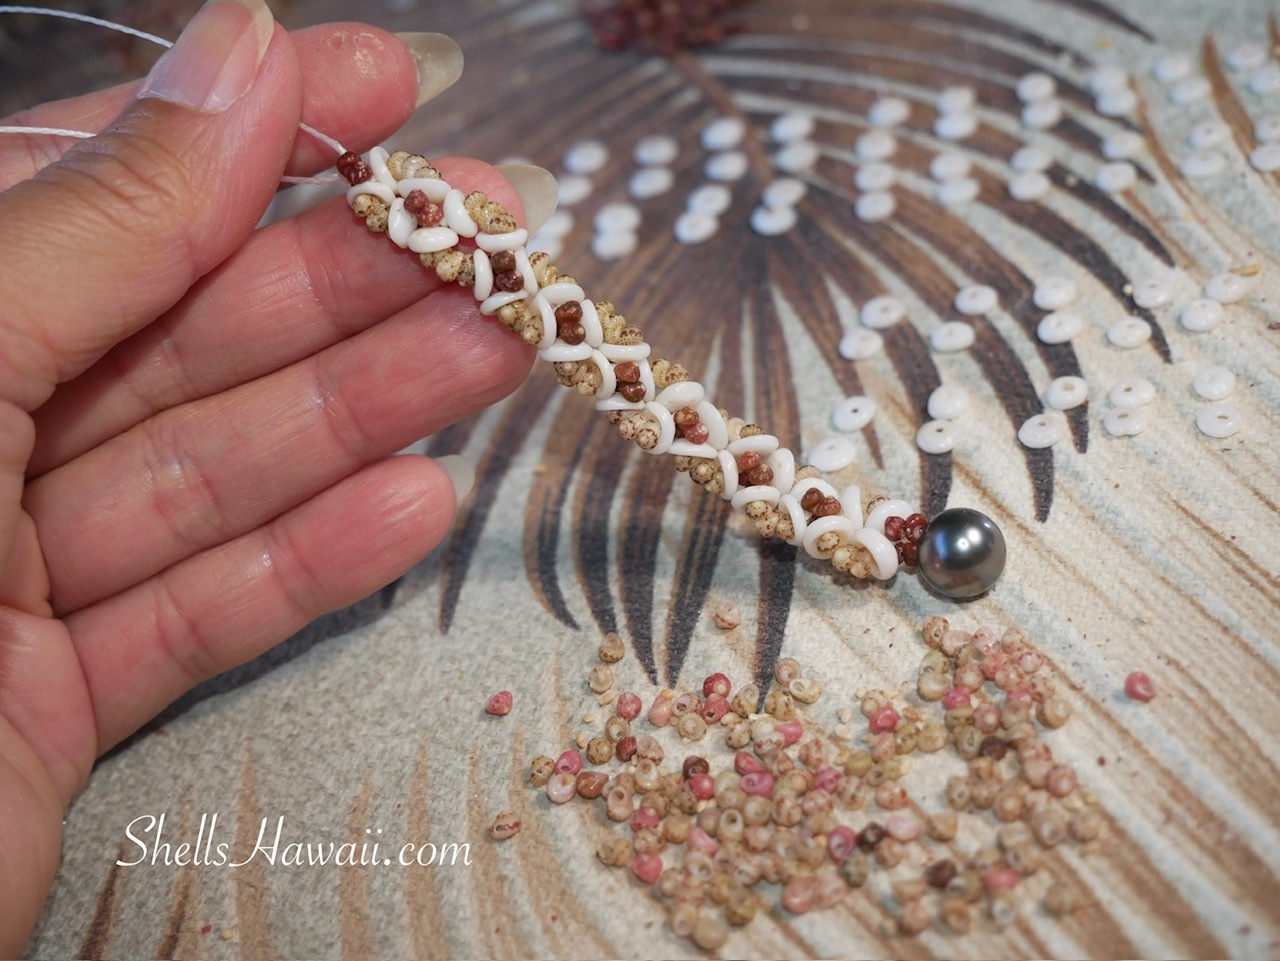
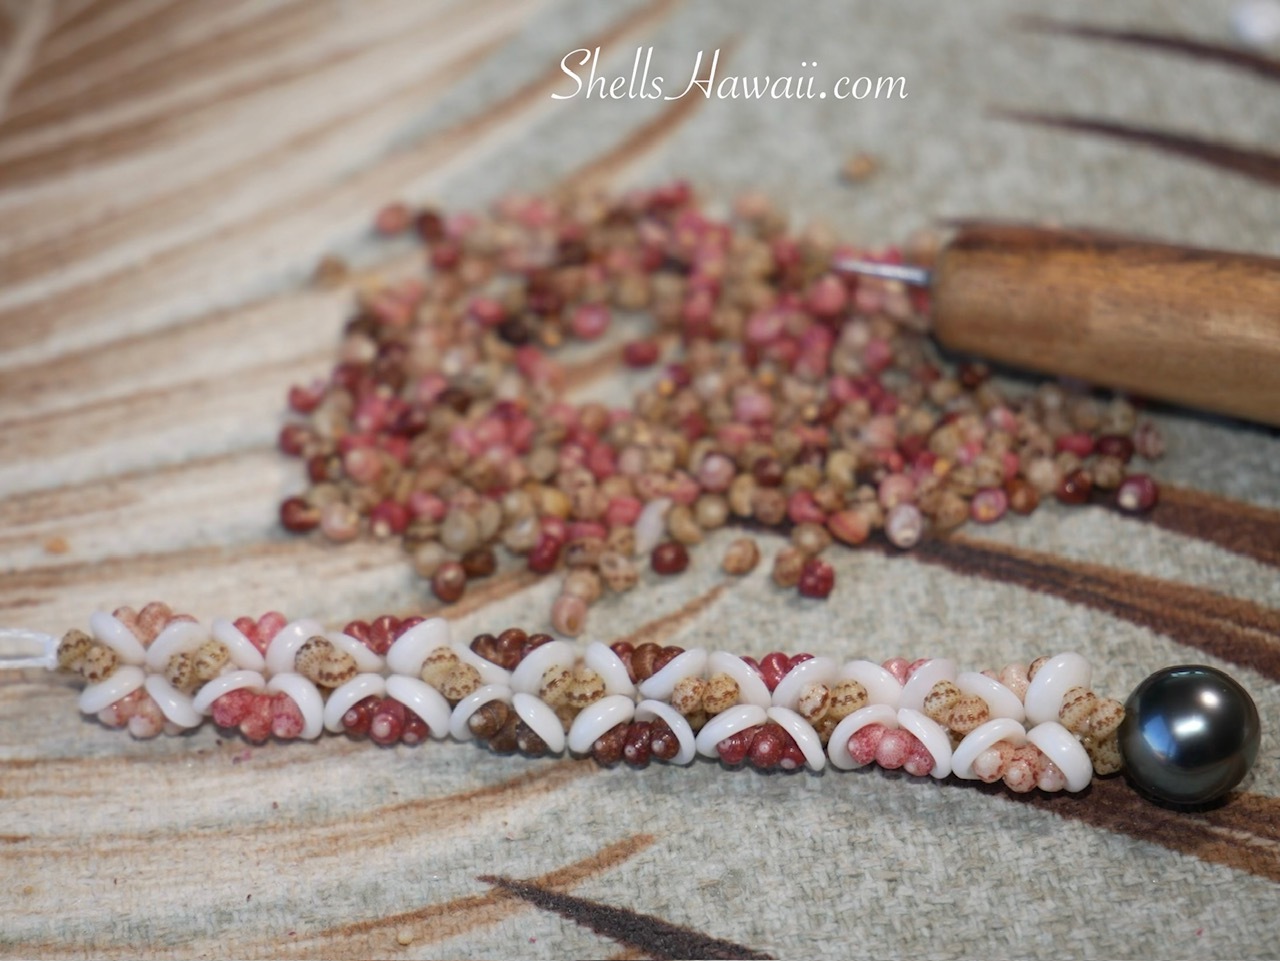
Thankfully, all of the hard work was finally behind me, and here's how the finished earrings turned out.
At the moment, I was only able to create two pairs using the small Puka shells I had available. Both pairs feature beautiful semi-round Tahitian pearls measuring over 9 mm. One pair was created entirely with Puka and Kahelelani shells from Niʻihau, while the other features Puka shells from Kauaʻi and Oʻahu paired with Kahelelani shells from Niʻihau. Although the shell combinations are different, I think each pair has its own unique beauty and character.
If you'd like to see the finished pieces, they are now available in my Two-Strand Earrings category.
I hope you enjoyed following along with me as I created these flower-inspired earrings. Thank you for spending a little time with me at my work table and allowing me to share a small glimpse into my creative process.
I hope to see you here again next time as I share another Behind the Scenes journey.
Much aloha, and thank you so much for being here.
Janjira