 JPY
JPY


Aloha and welcome to the ShellsHawaii work station today.
My last few creations have been a little different and so much fun to work on. I combined Niʻihau shells with beautiful Edison pearls, creating one lei inspired by the Crown Flower and another inspired by the Coconut Male Flower. I really enjoyed seeing how the pearls and shells came together in their own unique way, but after finishing those designs, I found myself wanting to come back to something a little more traditional again.
So today, I am working on a Kipona style design using only Momi and Kahelelani shells.
If you would like to learn a little more along the way, or would like to see some related designs, styles, and products, please feel free to click on the highlighted words and links throughout the blog. They will take you to related blogs and product pages where you can explore a little more.
And as always, if you have any questions along the way, please feel free to contact me anytime. I am always more than happy to help.
Ready to get started? Let’s see how our beautiful lei comes together!
Selecting Momi Shell Colors and Sizes
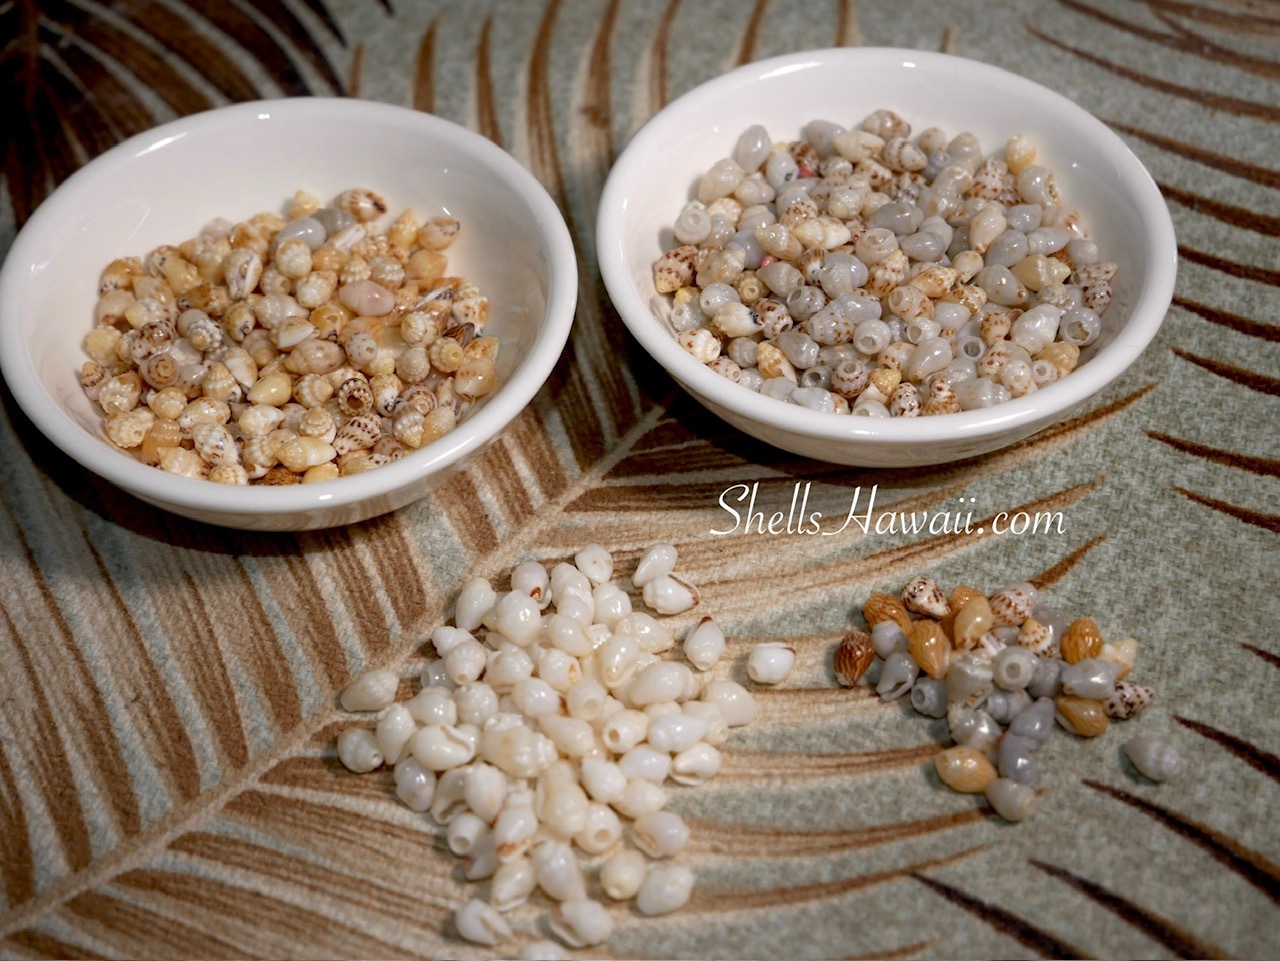
First, let’s choose the Momi colors and make sure I have enough in all the sizes I will need.
I am planning for this lei to be approximately 18 inches overall, so as I choose my Momi shells, I also need to think about how I want the sizes to flow from the center of the lei toward the ends.
I want a beautiful natural flow, starting with larger Momi shells in the middle, then gradually moving into medium and smaller shells toward the ends. This little change in size will give the lei more dimension while keeping the design soft and balanced.
For this double-double Kipona shell lei, each section will need four matching Momi shells, and because we are creating the same design on both sides of the lei, we need to make sure we have enough shells that match in both color and size. This will help keep the design consistent and balanced from one side to the other.
Now, let’s see what colors we can find.
The beautiful variety of natural Momi shell colors, each with its own beautiful high luster.
Finding the Right Kahelelani Shells
After we find all the Momi shell colors we need, we’ll set them aside and get them ready for the next steps—cleaning out the sand, cutting the tips, and poking the holes in the positions needed for this lei design.
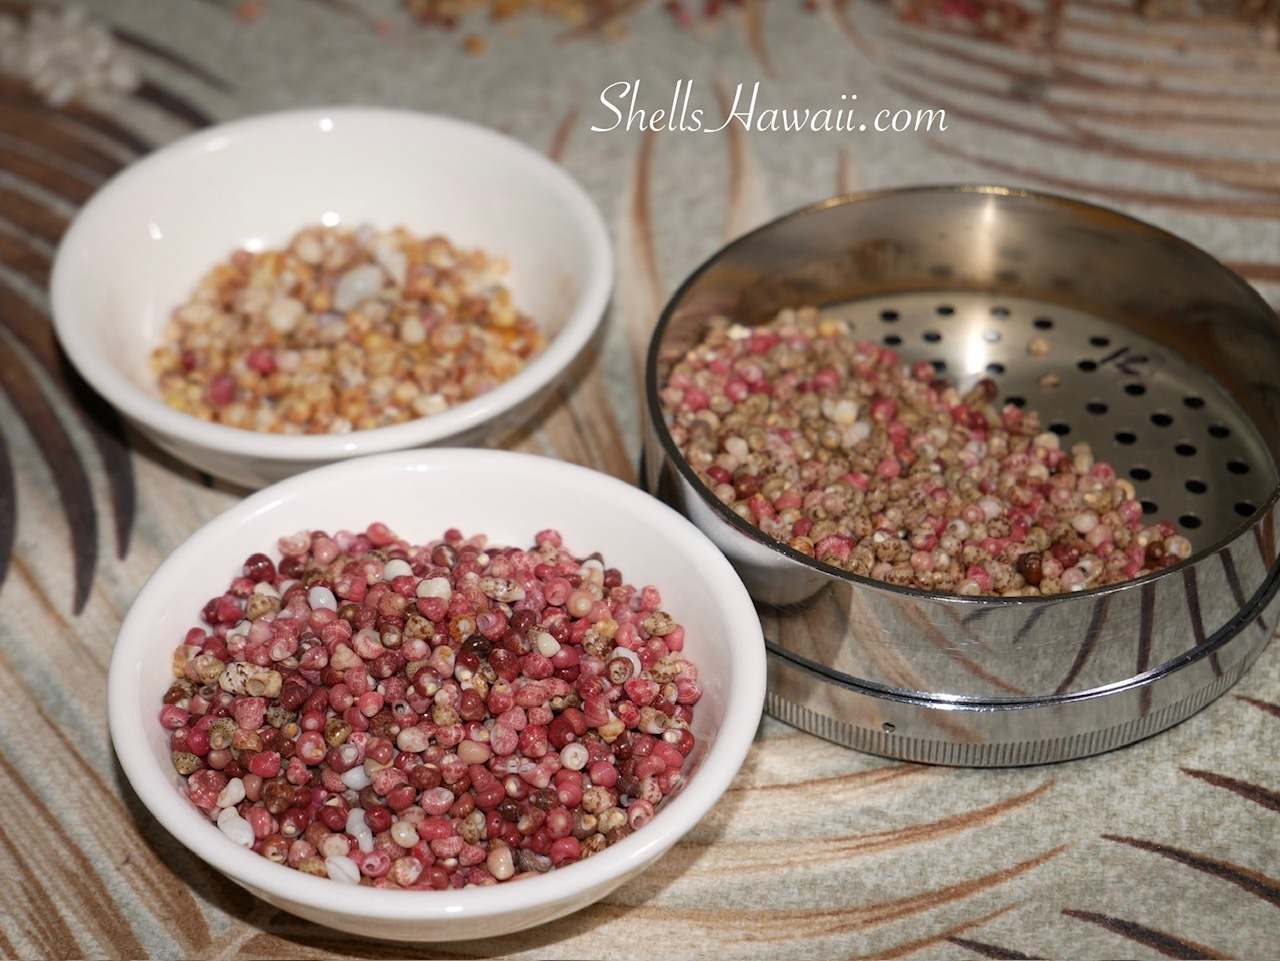
For now, let’s take a little break from the Momi shells and find the right Kahelelani colors. I plan to use size 12 throughout the lei to give the design a bolder look while still keeping it elegant. The challenge will be finding enough that match beautifully in both color and size.
For this lei design, I will add two rows of Kahelelani shells in each section between the Momi shells, so we will need eight Kahelelani shells for each section. And don’t forget, we are creating two sides of the lei, so we need to double that quantity, right?
Let’s see what we can find.
The variety of mixed colors and sizes of Kahelelani shells before sorting for size 12.
Preparing the Shells Before the Design
Now that we have all our Momi and Kahelelani colors set aside, I will poke the shells before I start pairing them and lining everything up in the pattern I plan to create.
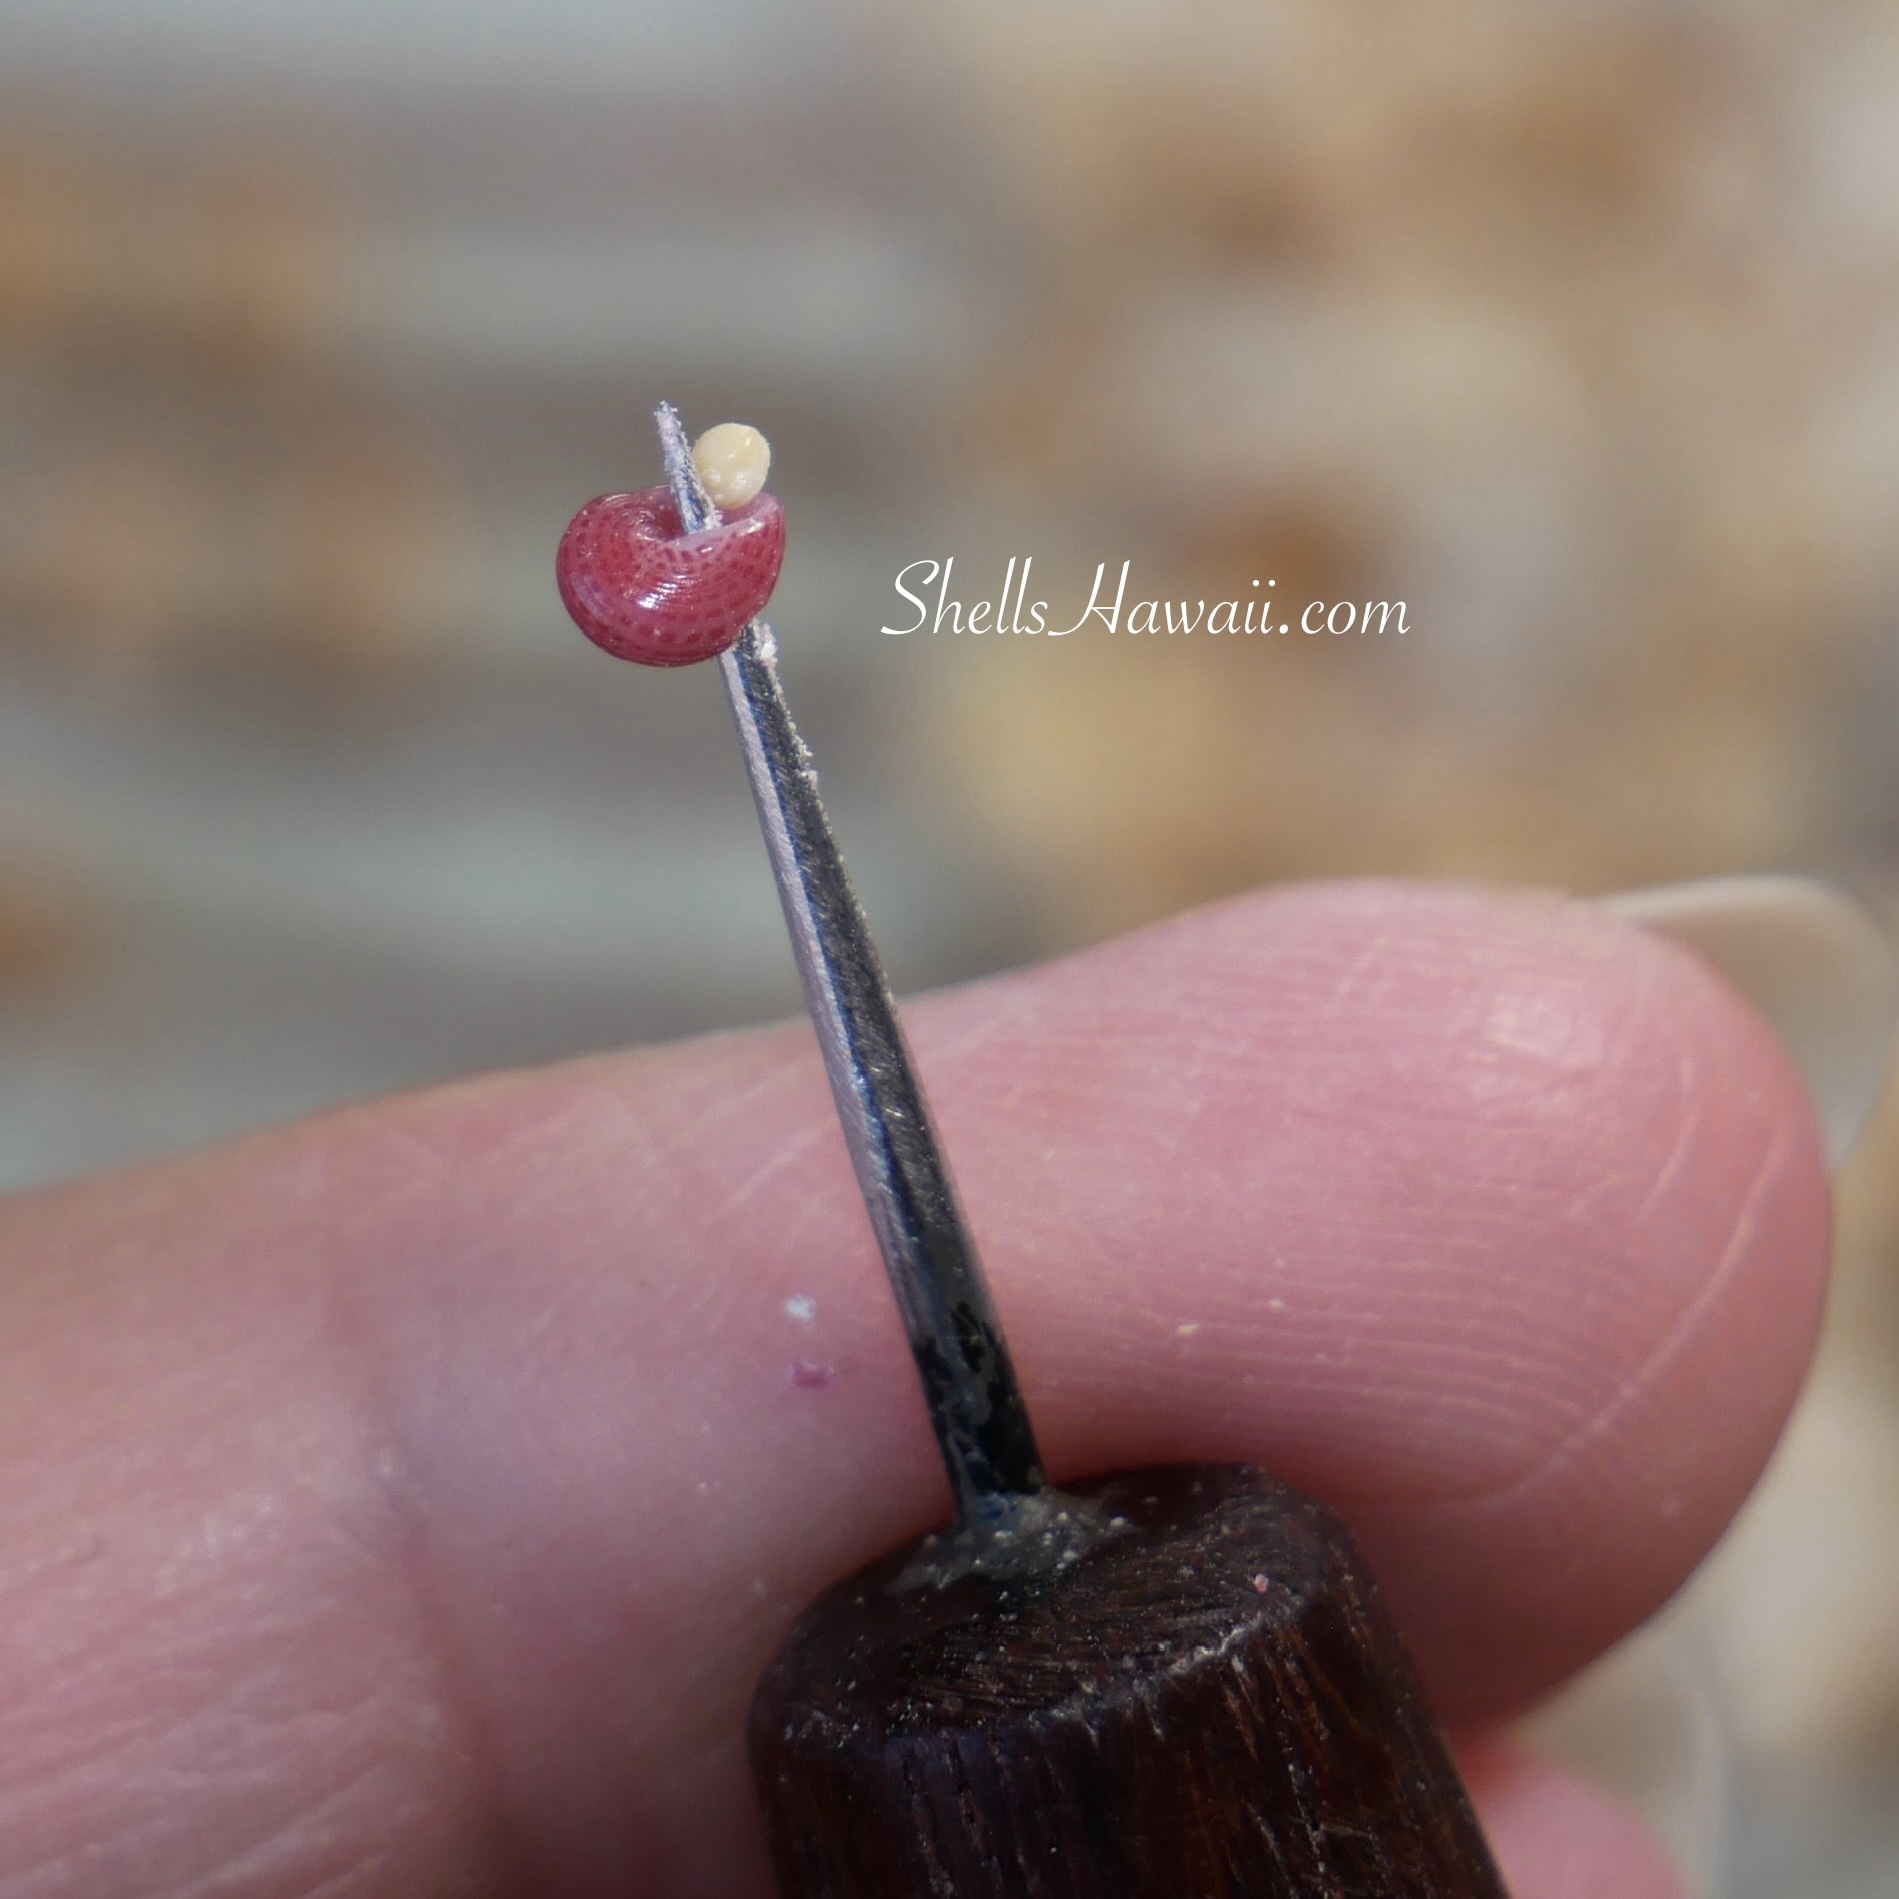
To poke the holes, it is important to use the right tool. The tool you see in the photo is my handmade shell poking tool that I use for poking both Momi and Kahelelani shells. If you are looking for one to use for your own shell work, it is also available on my website.
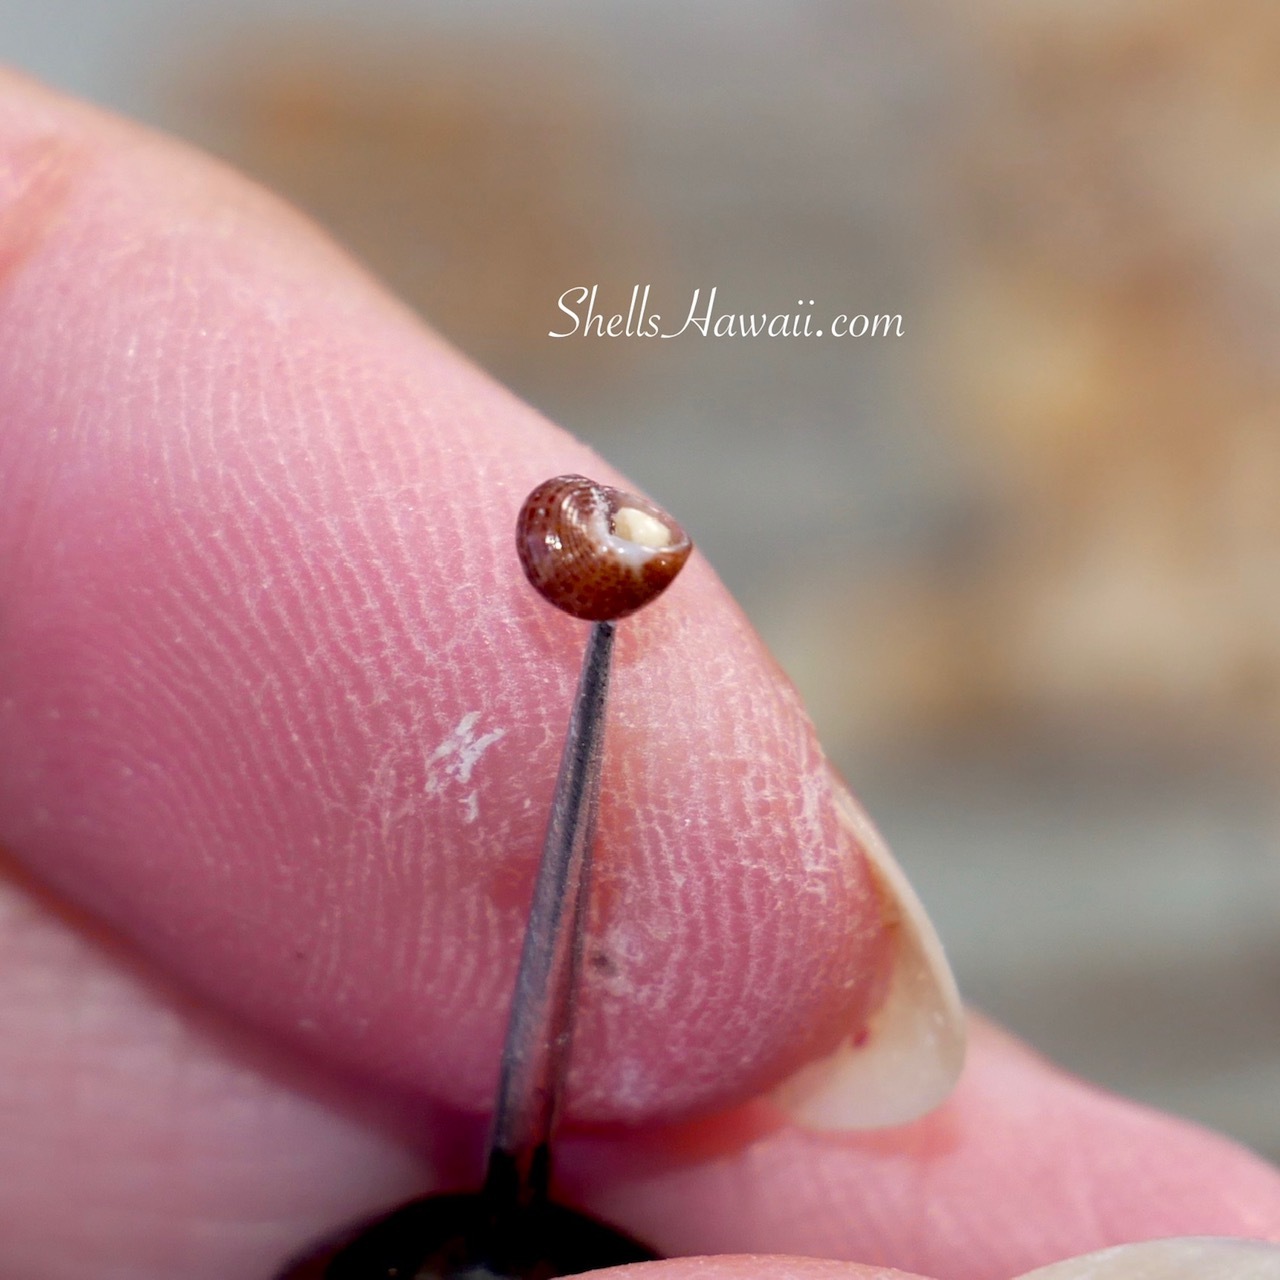
This step is important because during poking, some shells will break. If I cannot find a replacement in the same color or size, I may need to make an adjustment to the design.
This is one of the challenges many people may not realize if they have never created Niʻihau shell jewelry themselves. We are working with rare natural materials, so I don’t always have extra shells in every color and size waiting in stock. It is not as simple as going online and searching for the exact shell I need.
Most of the time, I have to work with the shells I have right in front of me and find a way to make them work beautifully with the design I have planned.
Getting Our String Ready
After all the prepping is complete, the next thing we need to figure out is how much string we will need. As I mentioned in the blog I shared earlier, I always recommend adding an extra 10–15 inches, or even a little more if you are comfortable working with the extra length. Trust me, that extra string can save you a lot of stress later.
For this lei, I measured four strands of thread at ninety inches each, and then folded them in half. That is a lot of string, isn’t it!
You may be surprised how often you need to trim the end of your string while you are working. Keeping the tip nice and sharp makes it much easier to pass through those tiny holes.
The size of the hole you poke is also very important. Too small, and your string may have a hard time passing through. Too large, and you leave a very thin area of shell around the hole that may break more easily. The string may also show, or the hole itself may become noticeable.
Try to poke each hole as close as possible to the size needed for the string you plan to use. I would not recommend poking the holes too small and then changing to a thinner thread just to make it fit. Prepare the shells for the string you actually want to use, and stringing will be much easier once we get started.
Bringing the Kipona Pattern Together
Now comes the part where everything we prepared starts coming together. The Kipona pattern uses some of the same basic techniques you may recognize from creating Pikake, but working with multiple strands adds another level to the process. Shell placement, hole position, and keeping the right tension all play a part in creating the final shape of the pattern.
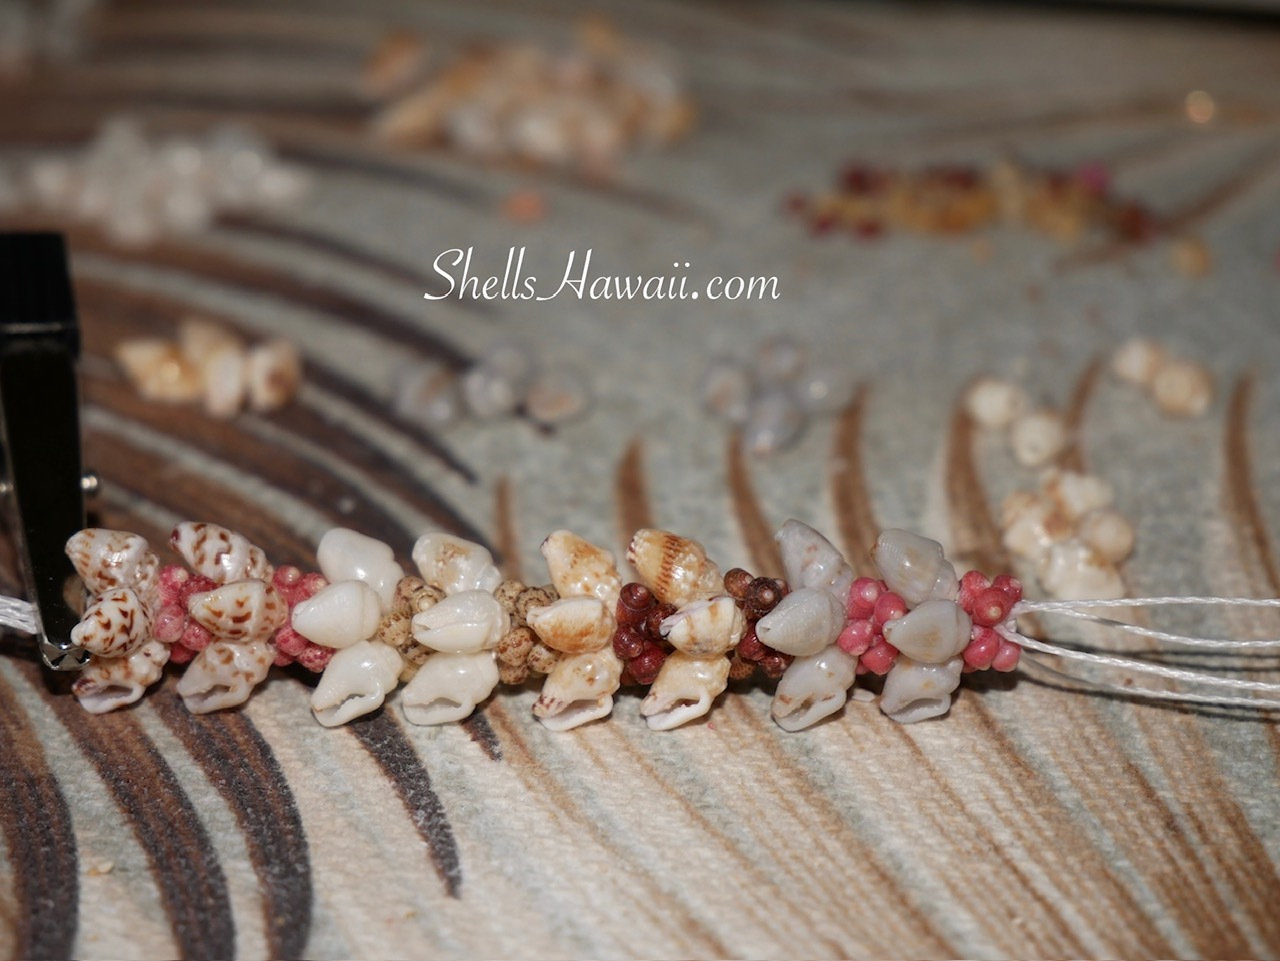
As we start stringing, pay close attention to the shell sizes and placement, making little adjustments as you add each shell and bring the pattern together. Even after all that careful preparation, things can still happen along the way. While tightening my shells, I broke a few. Good thing we prepared some extras so I had matching shells ready to replace them.
And here is how our lei turned out...
What do you think?
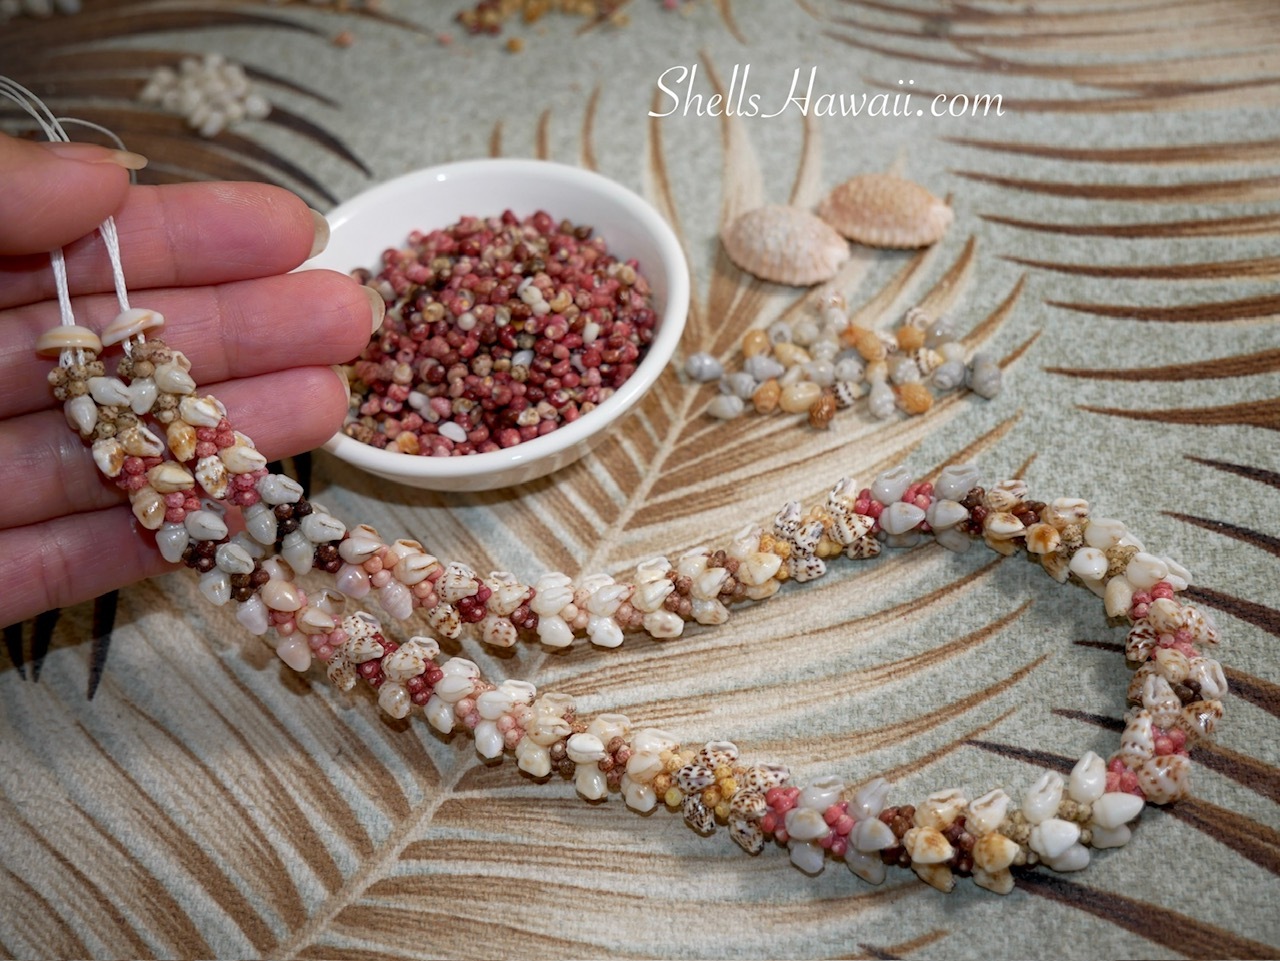
Finishing Our Niʻihau Kipona Style Shell Lei
For this lei, I plan to add brown Granulate cowrie shells for the clasp to keep the traditional look. But I also know some of my customers may prefer a 14K solid gold clasp or even a 14K gold-filled safety clasp. Either of these options can add a little more of a classy, elegant touch to the lei while still keeping the beauty of the traditional design.
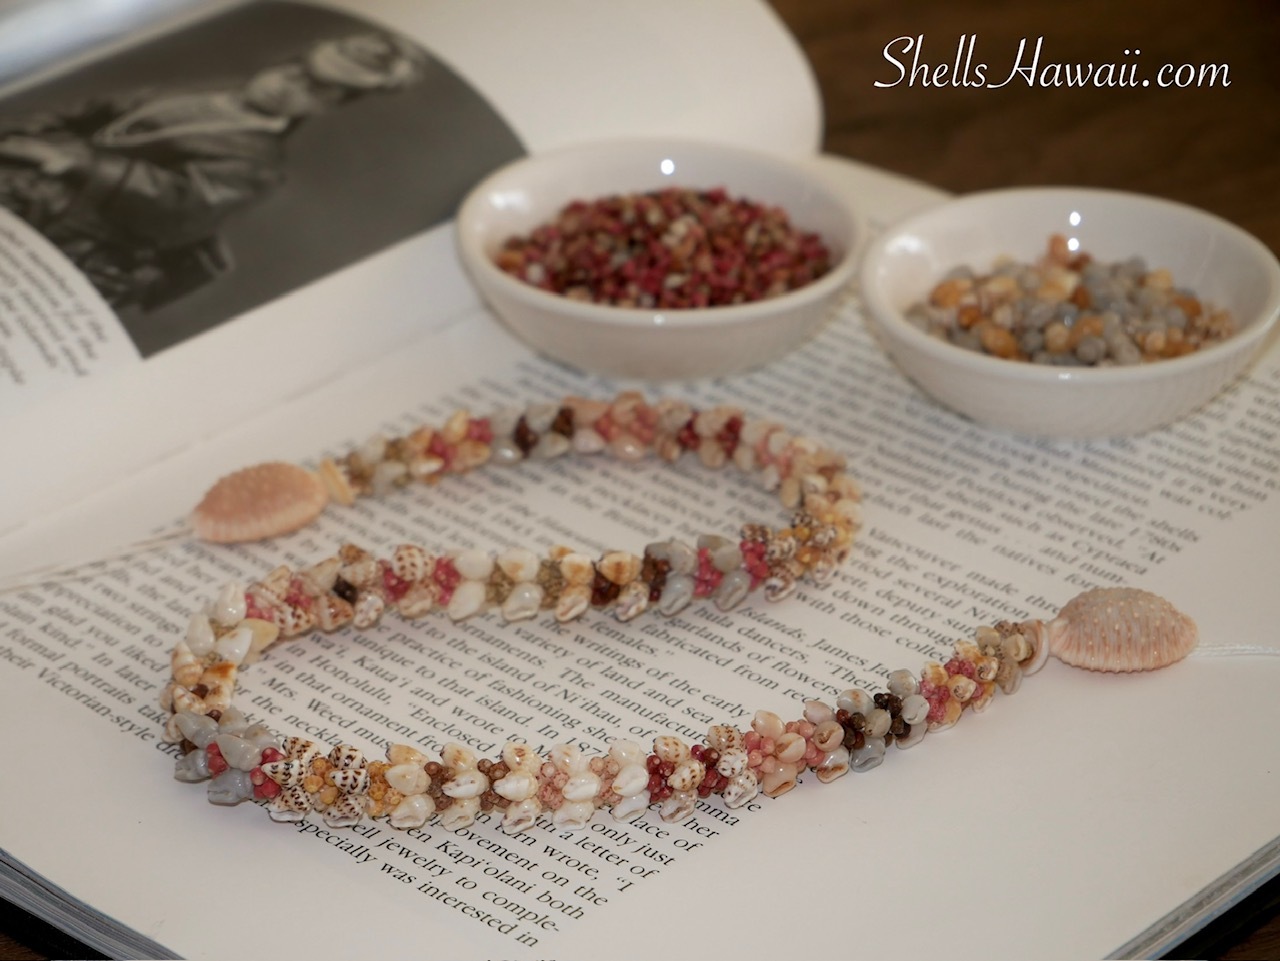
I hope you enjoyed reading my blog and walking along with me as we created this beautiful Niʻihau Kipona style shell lei today.
If you would like to learn more or would like to purchase this lei, it will be available in the Lei / Four Strand category on my website. Please feel free to click on the highlighted link, and it will take you directly there.
Mahalo nui loa for being here with me today. I hope to see you again next time.
Janjira