 USD
USD

Aloha and welcome, everyone,
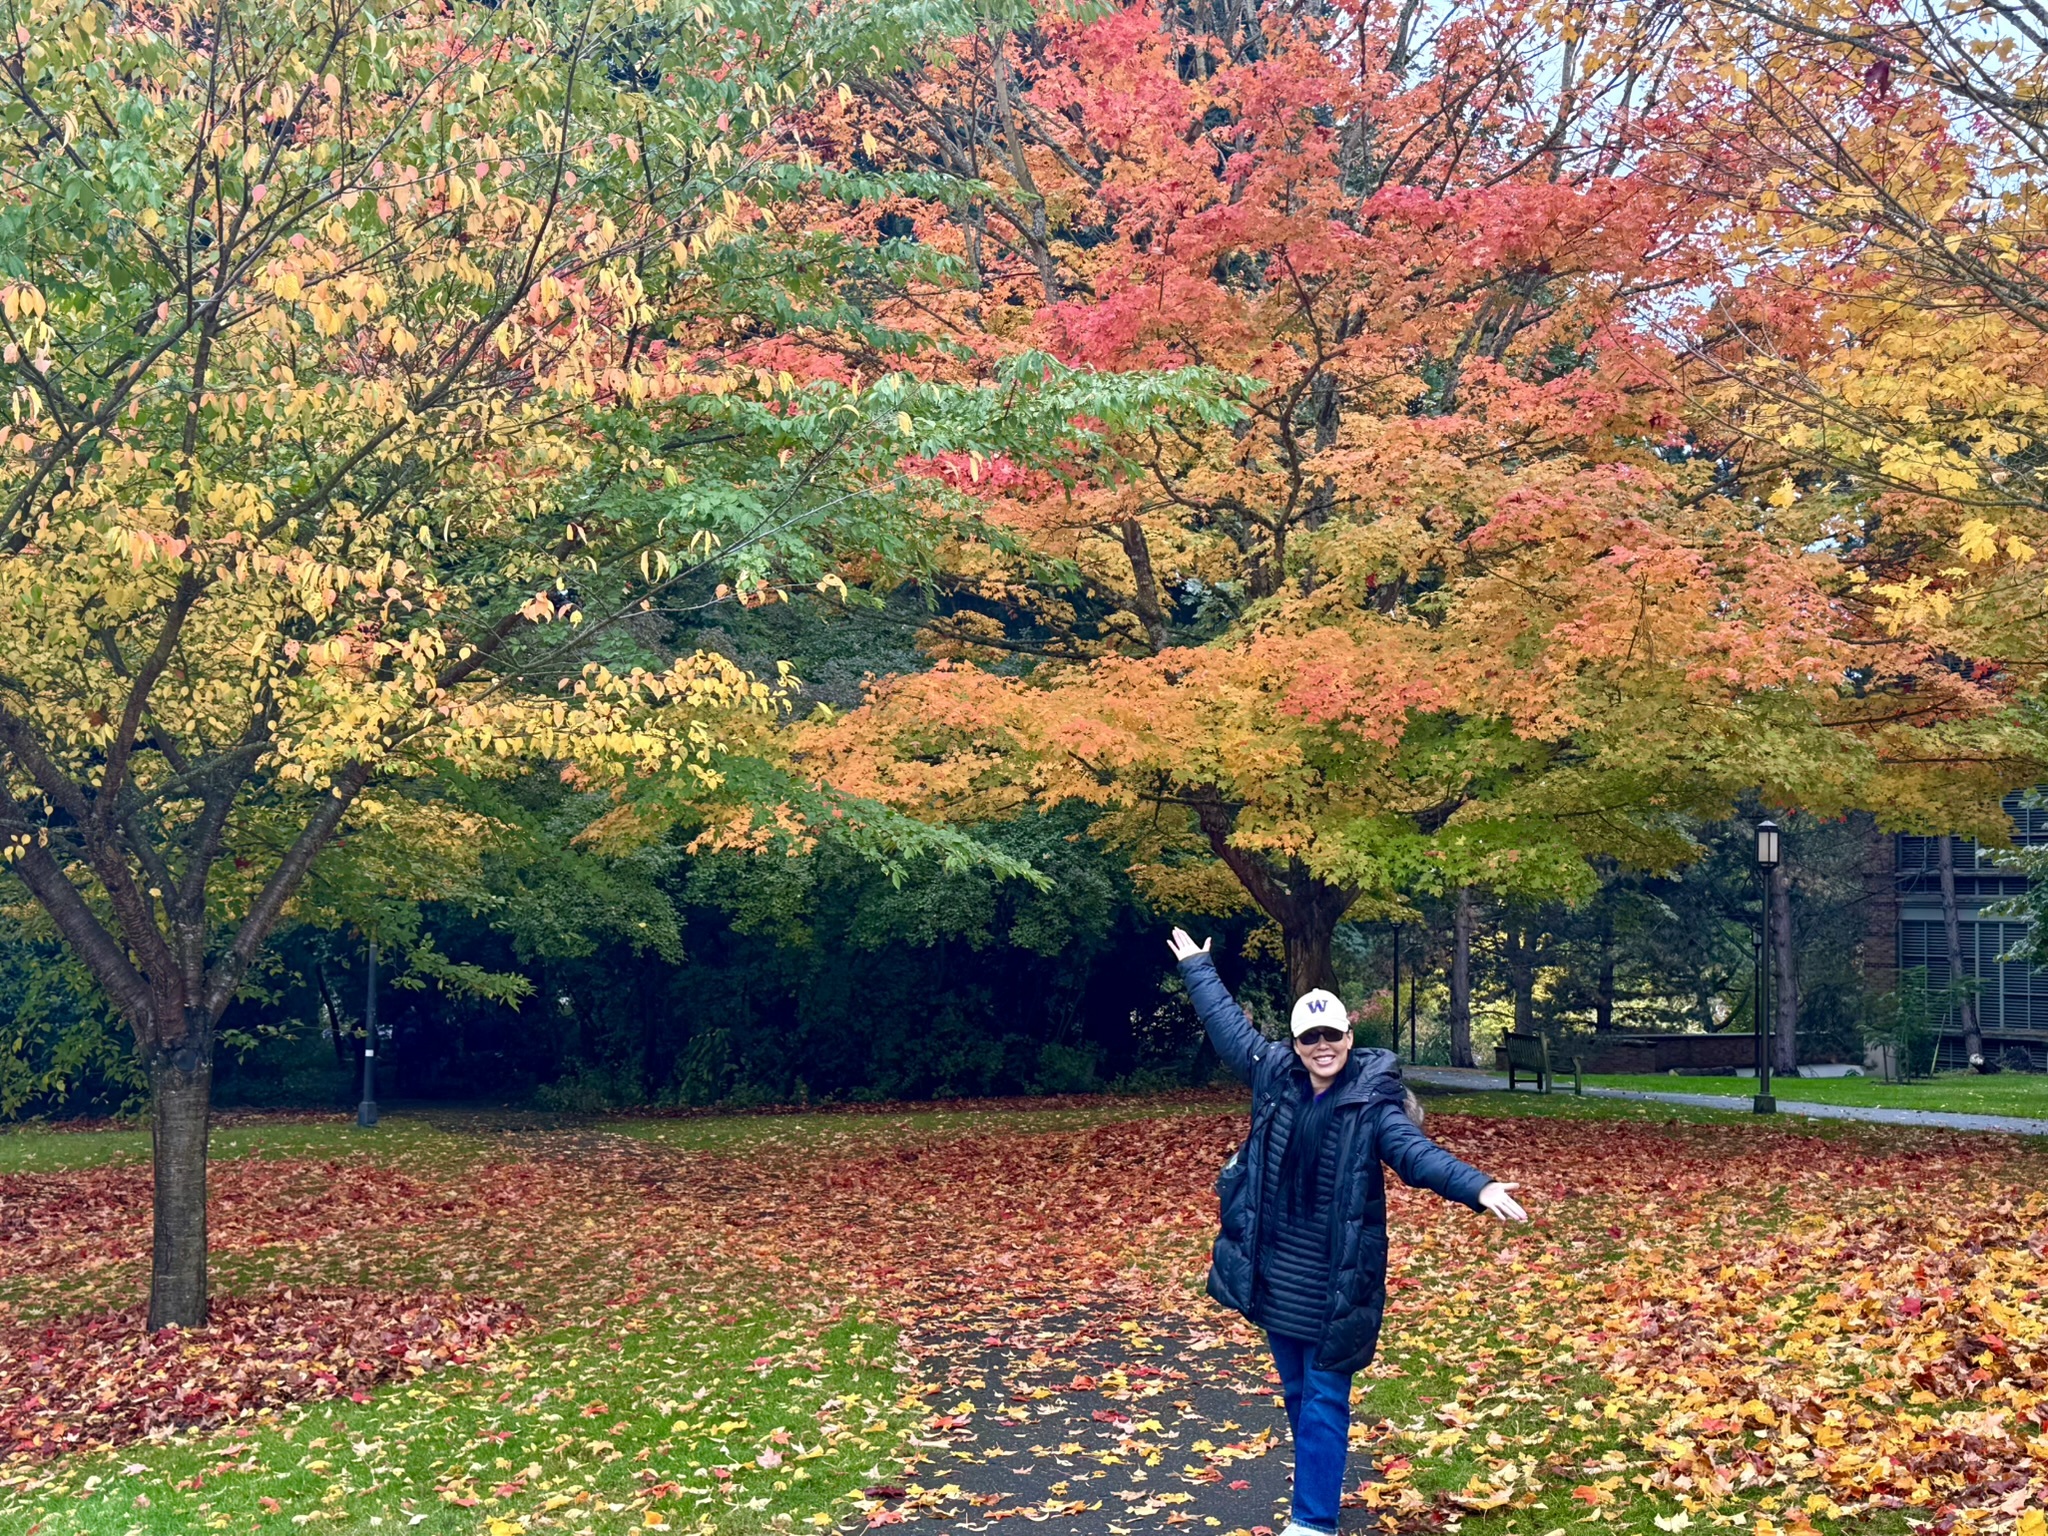
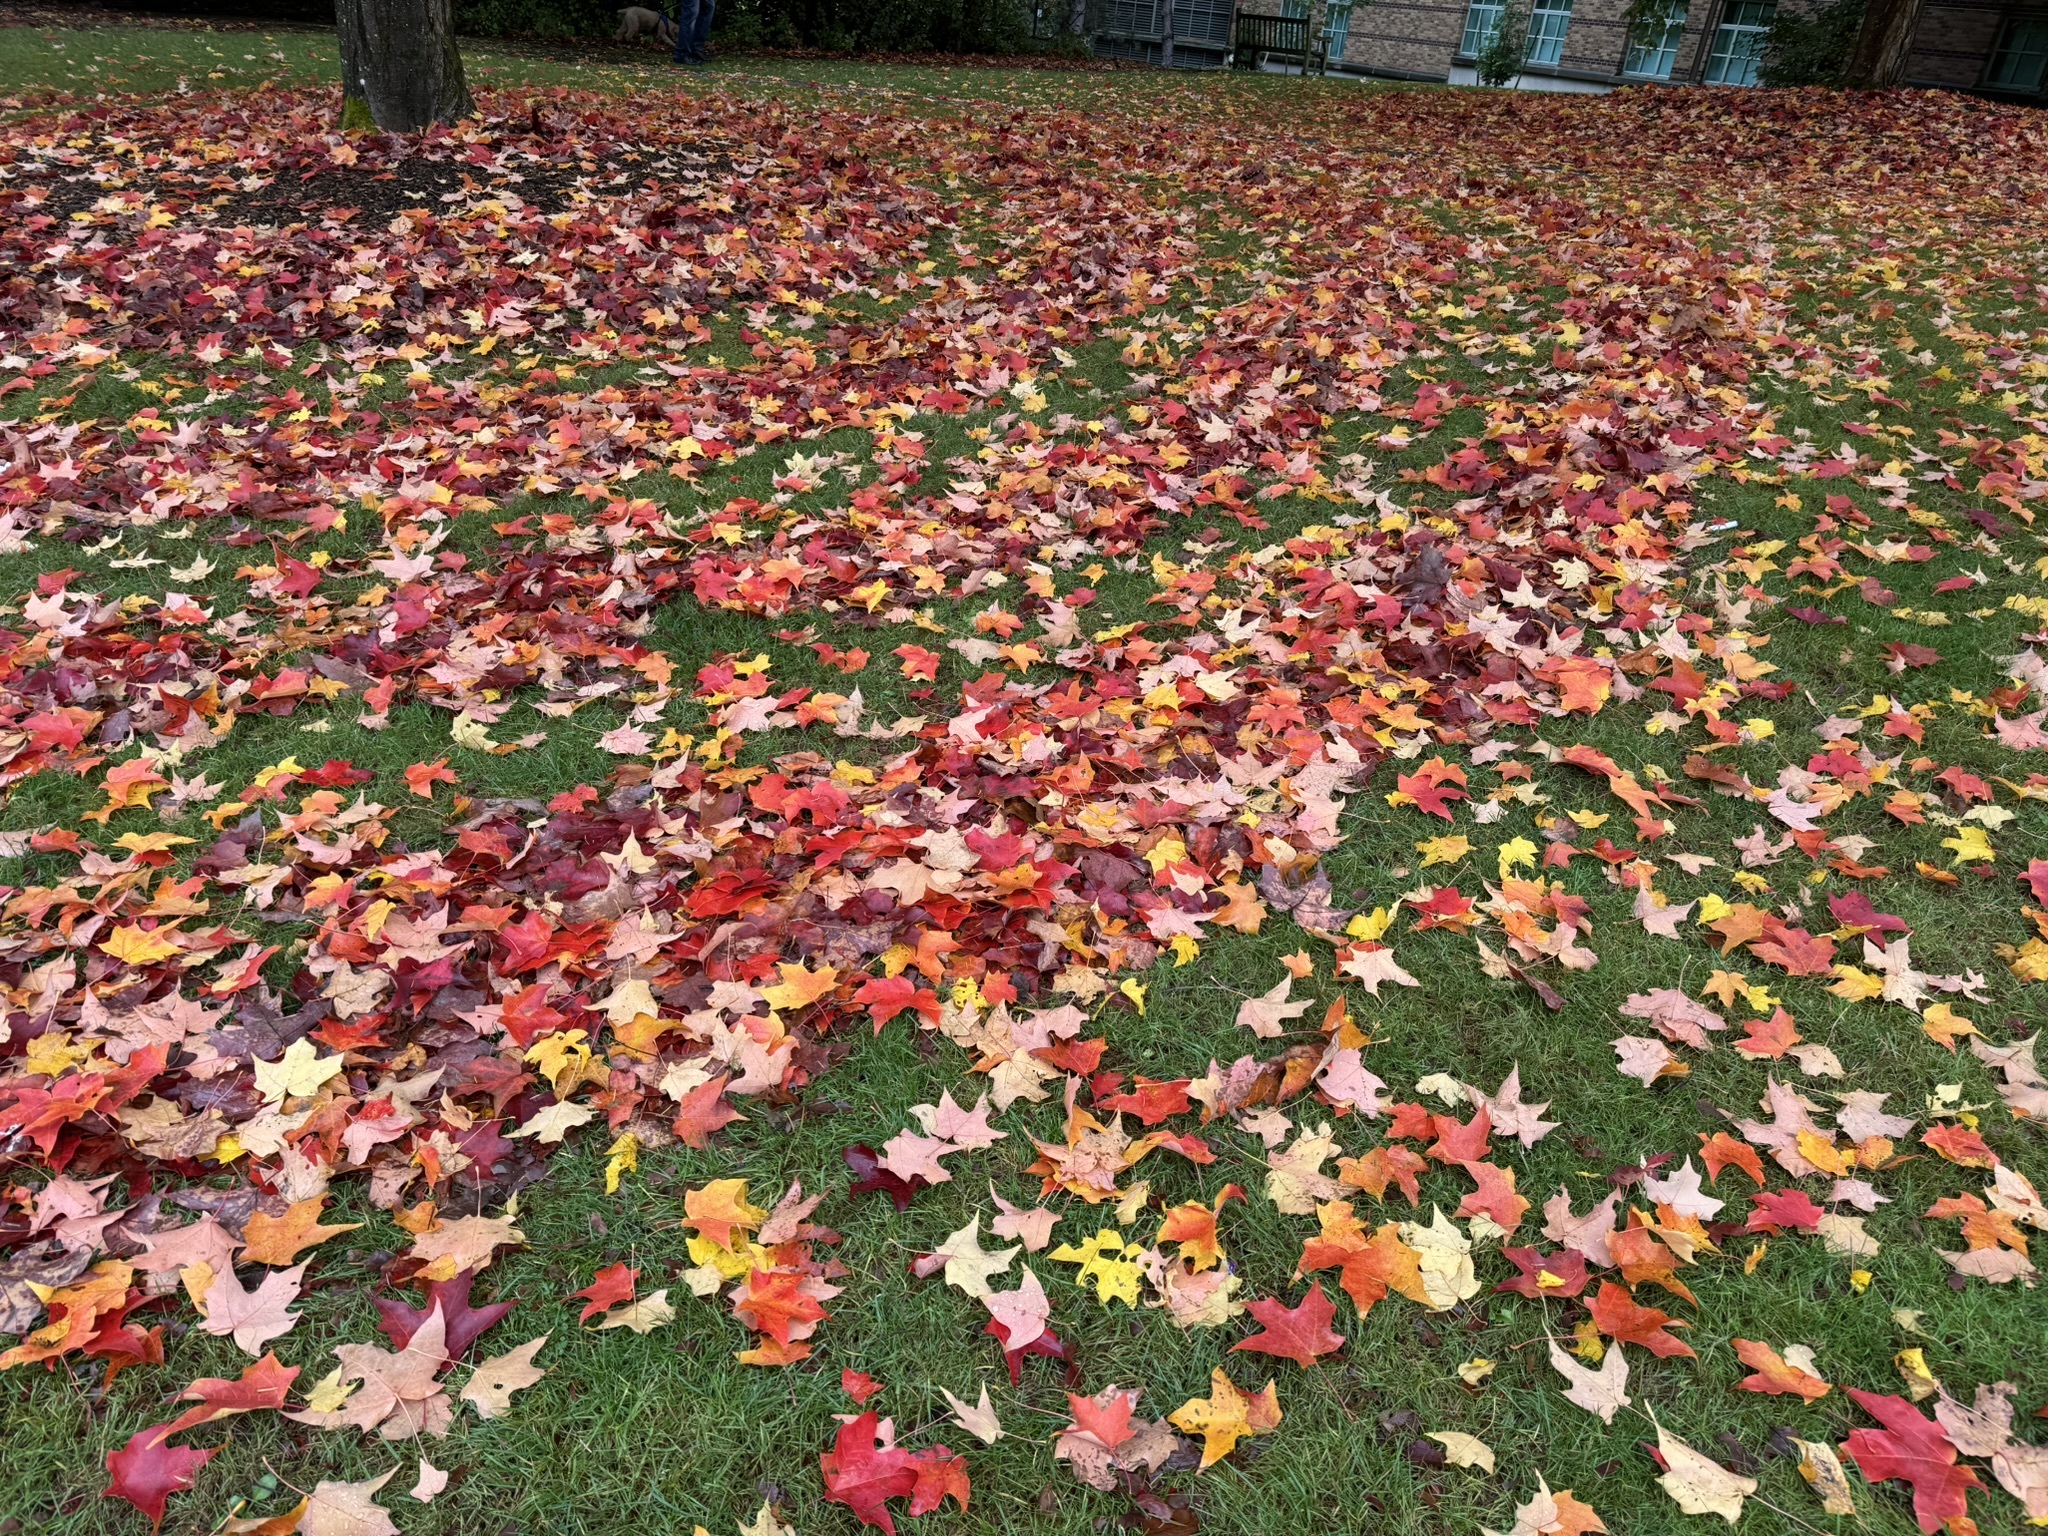
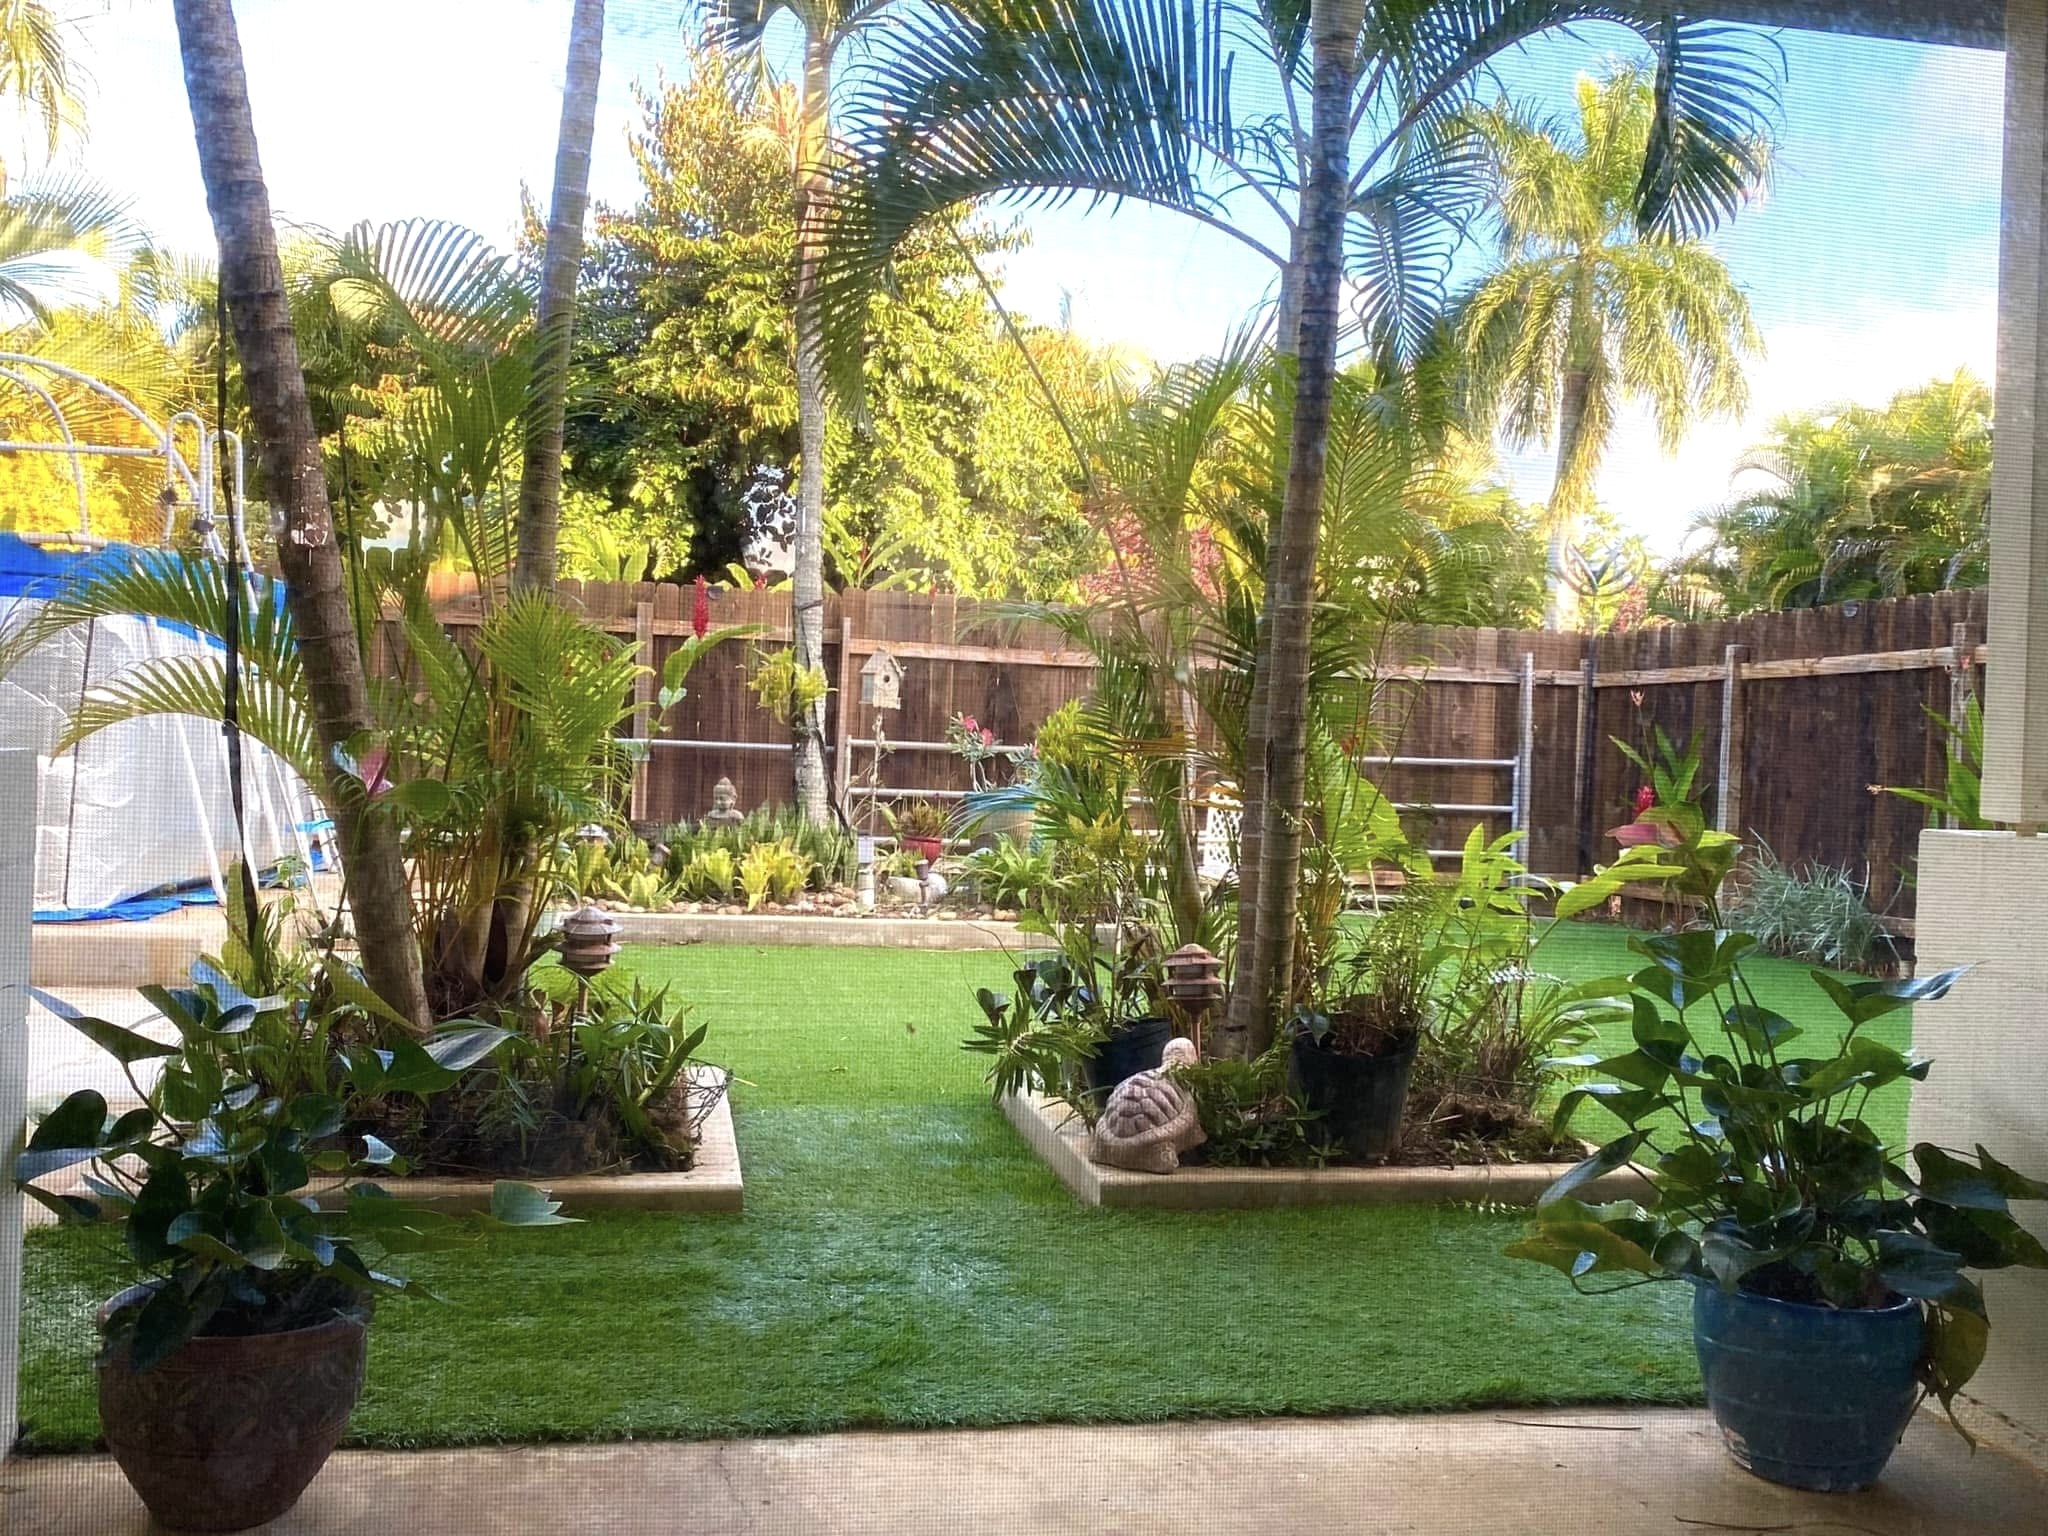
When you live somewhere with real seasons — instead of the always-sunny beauty of Hawaiʻi — the view outside your window changes in ways you can really feel. Today is one of those cozy, rainy autumn days here, with trees slowly shifting into gold, deep red, and warm orange. I still miss the blue sky, the mountains, and the palm trees I used to see every morning on Kauaʻi… but even these quiet fall colors have their own kind of inspiration.
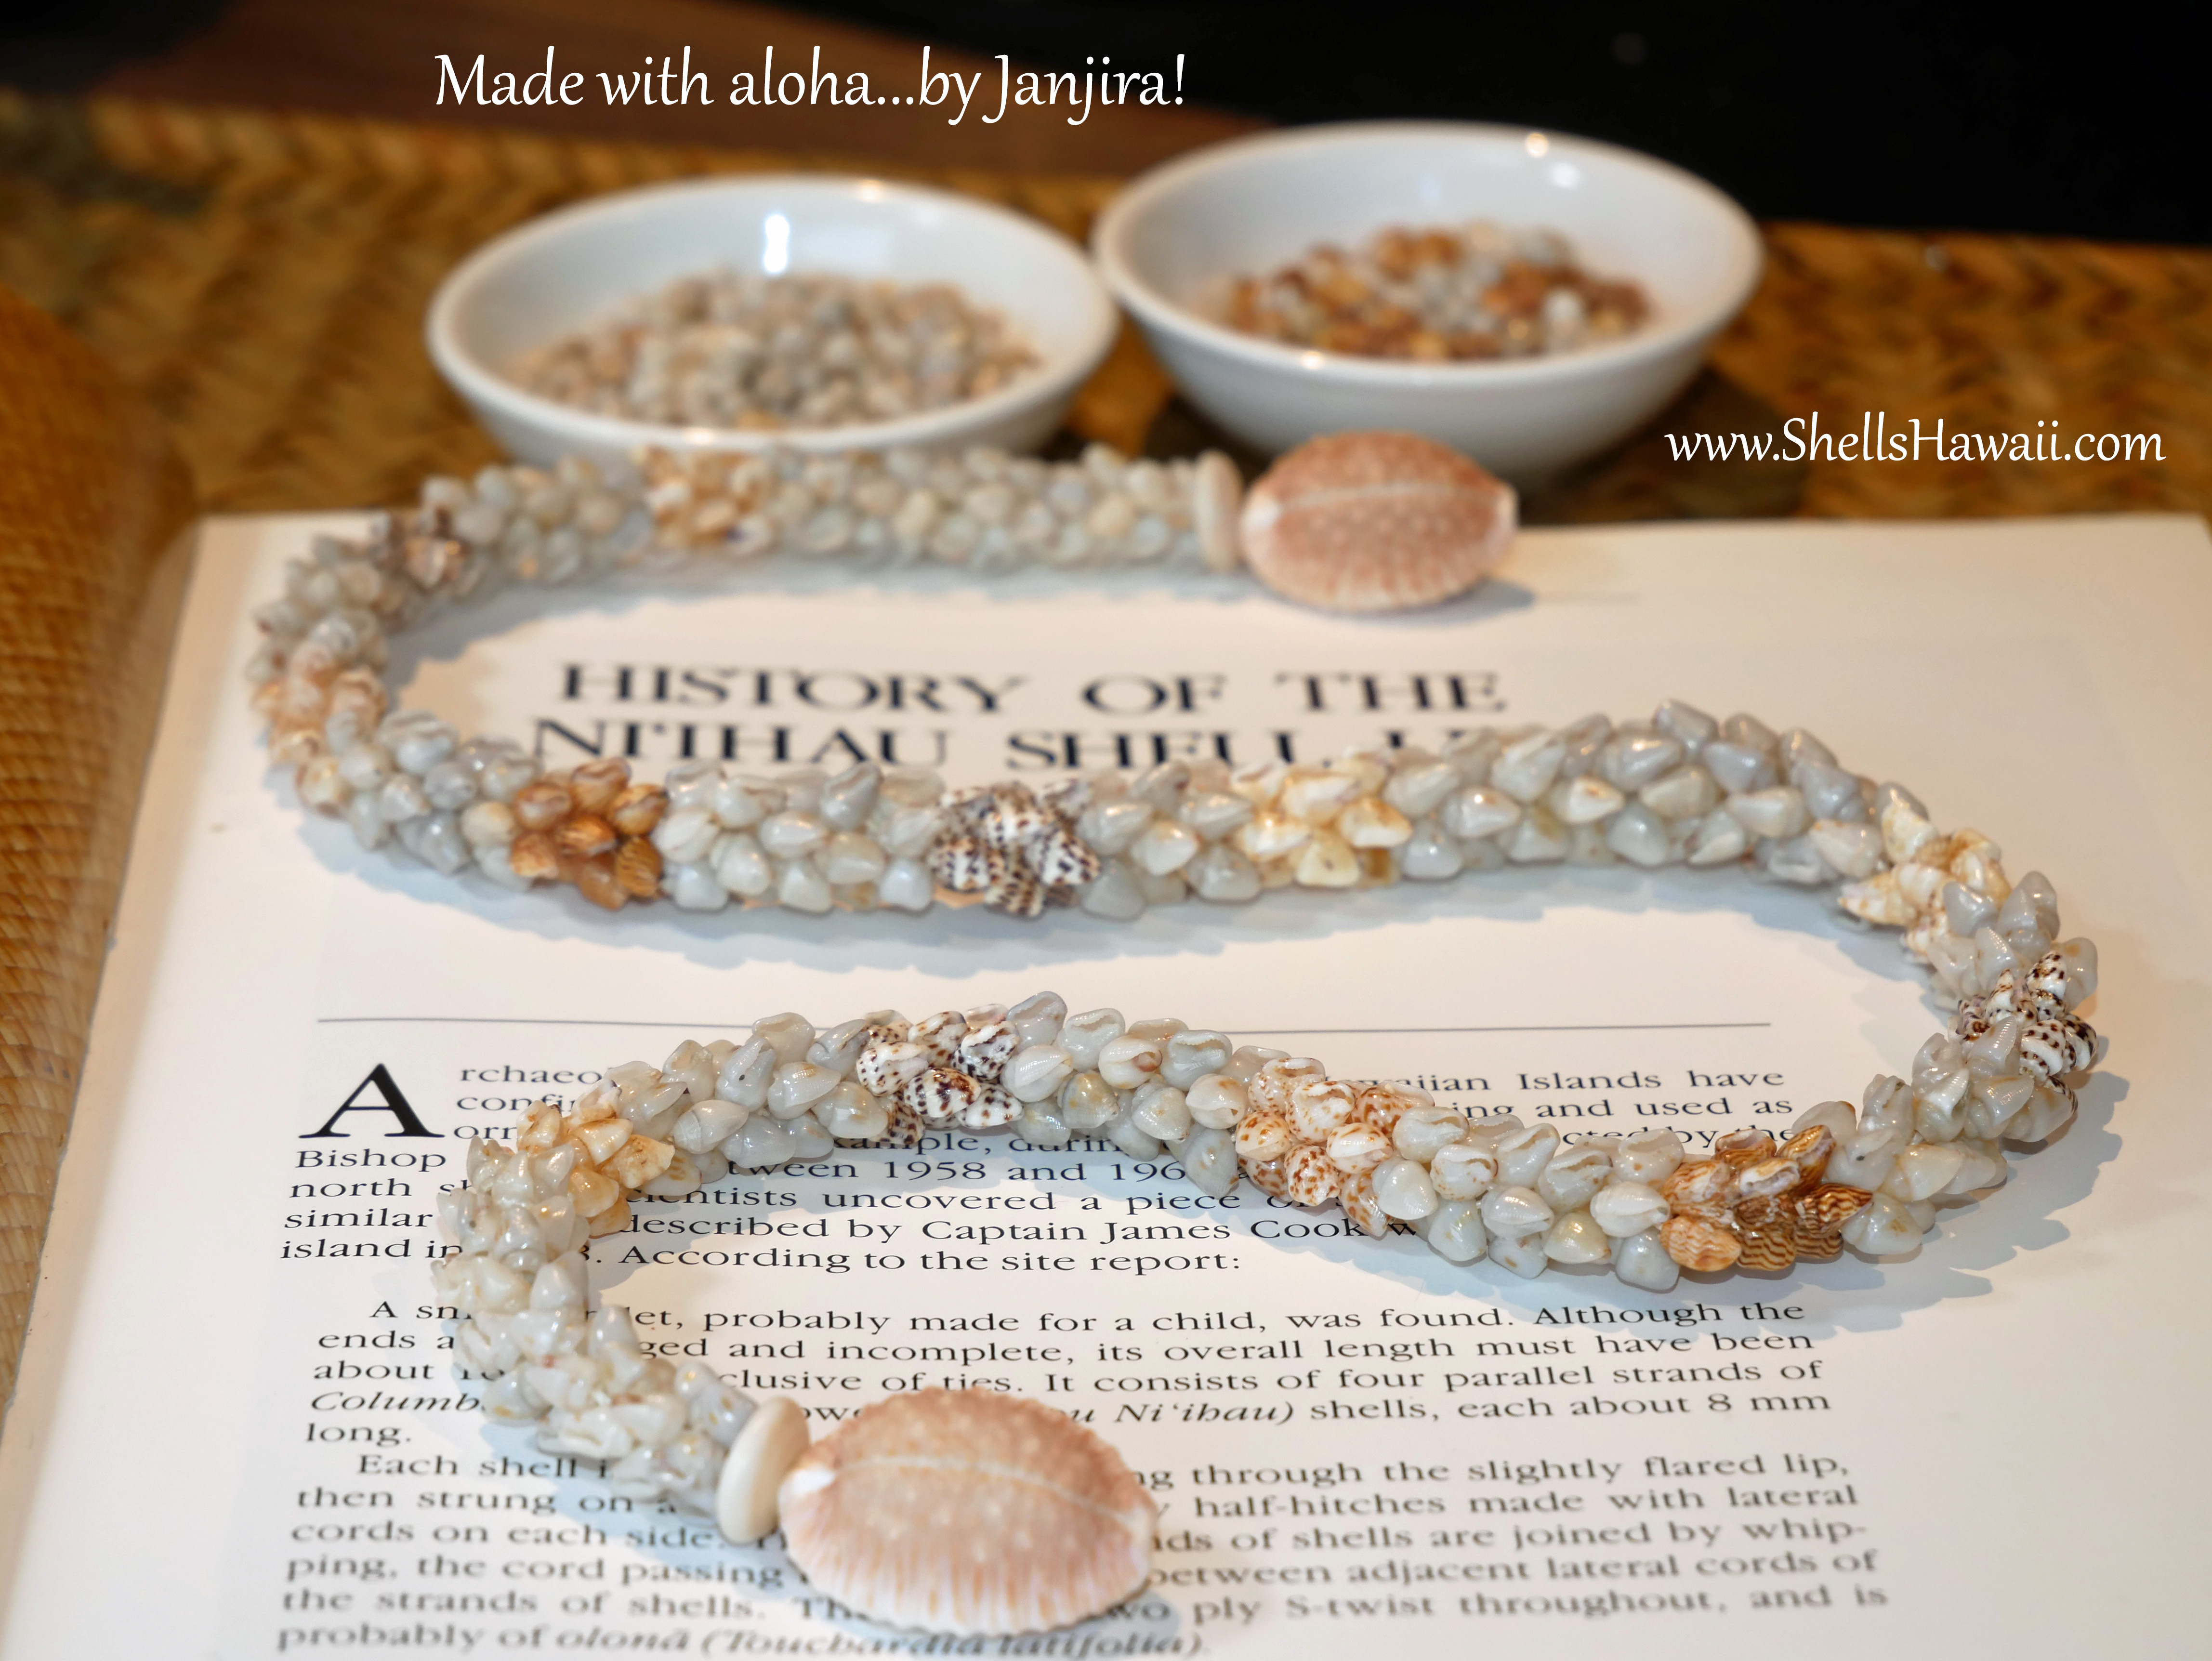
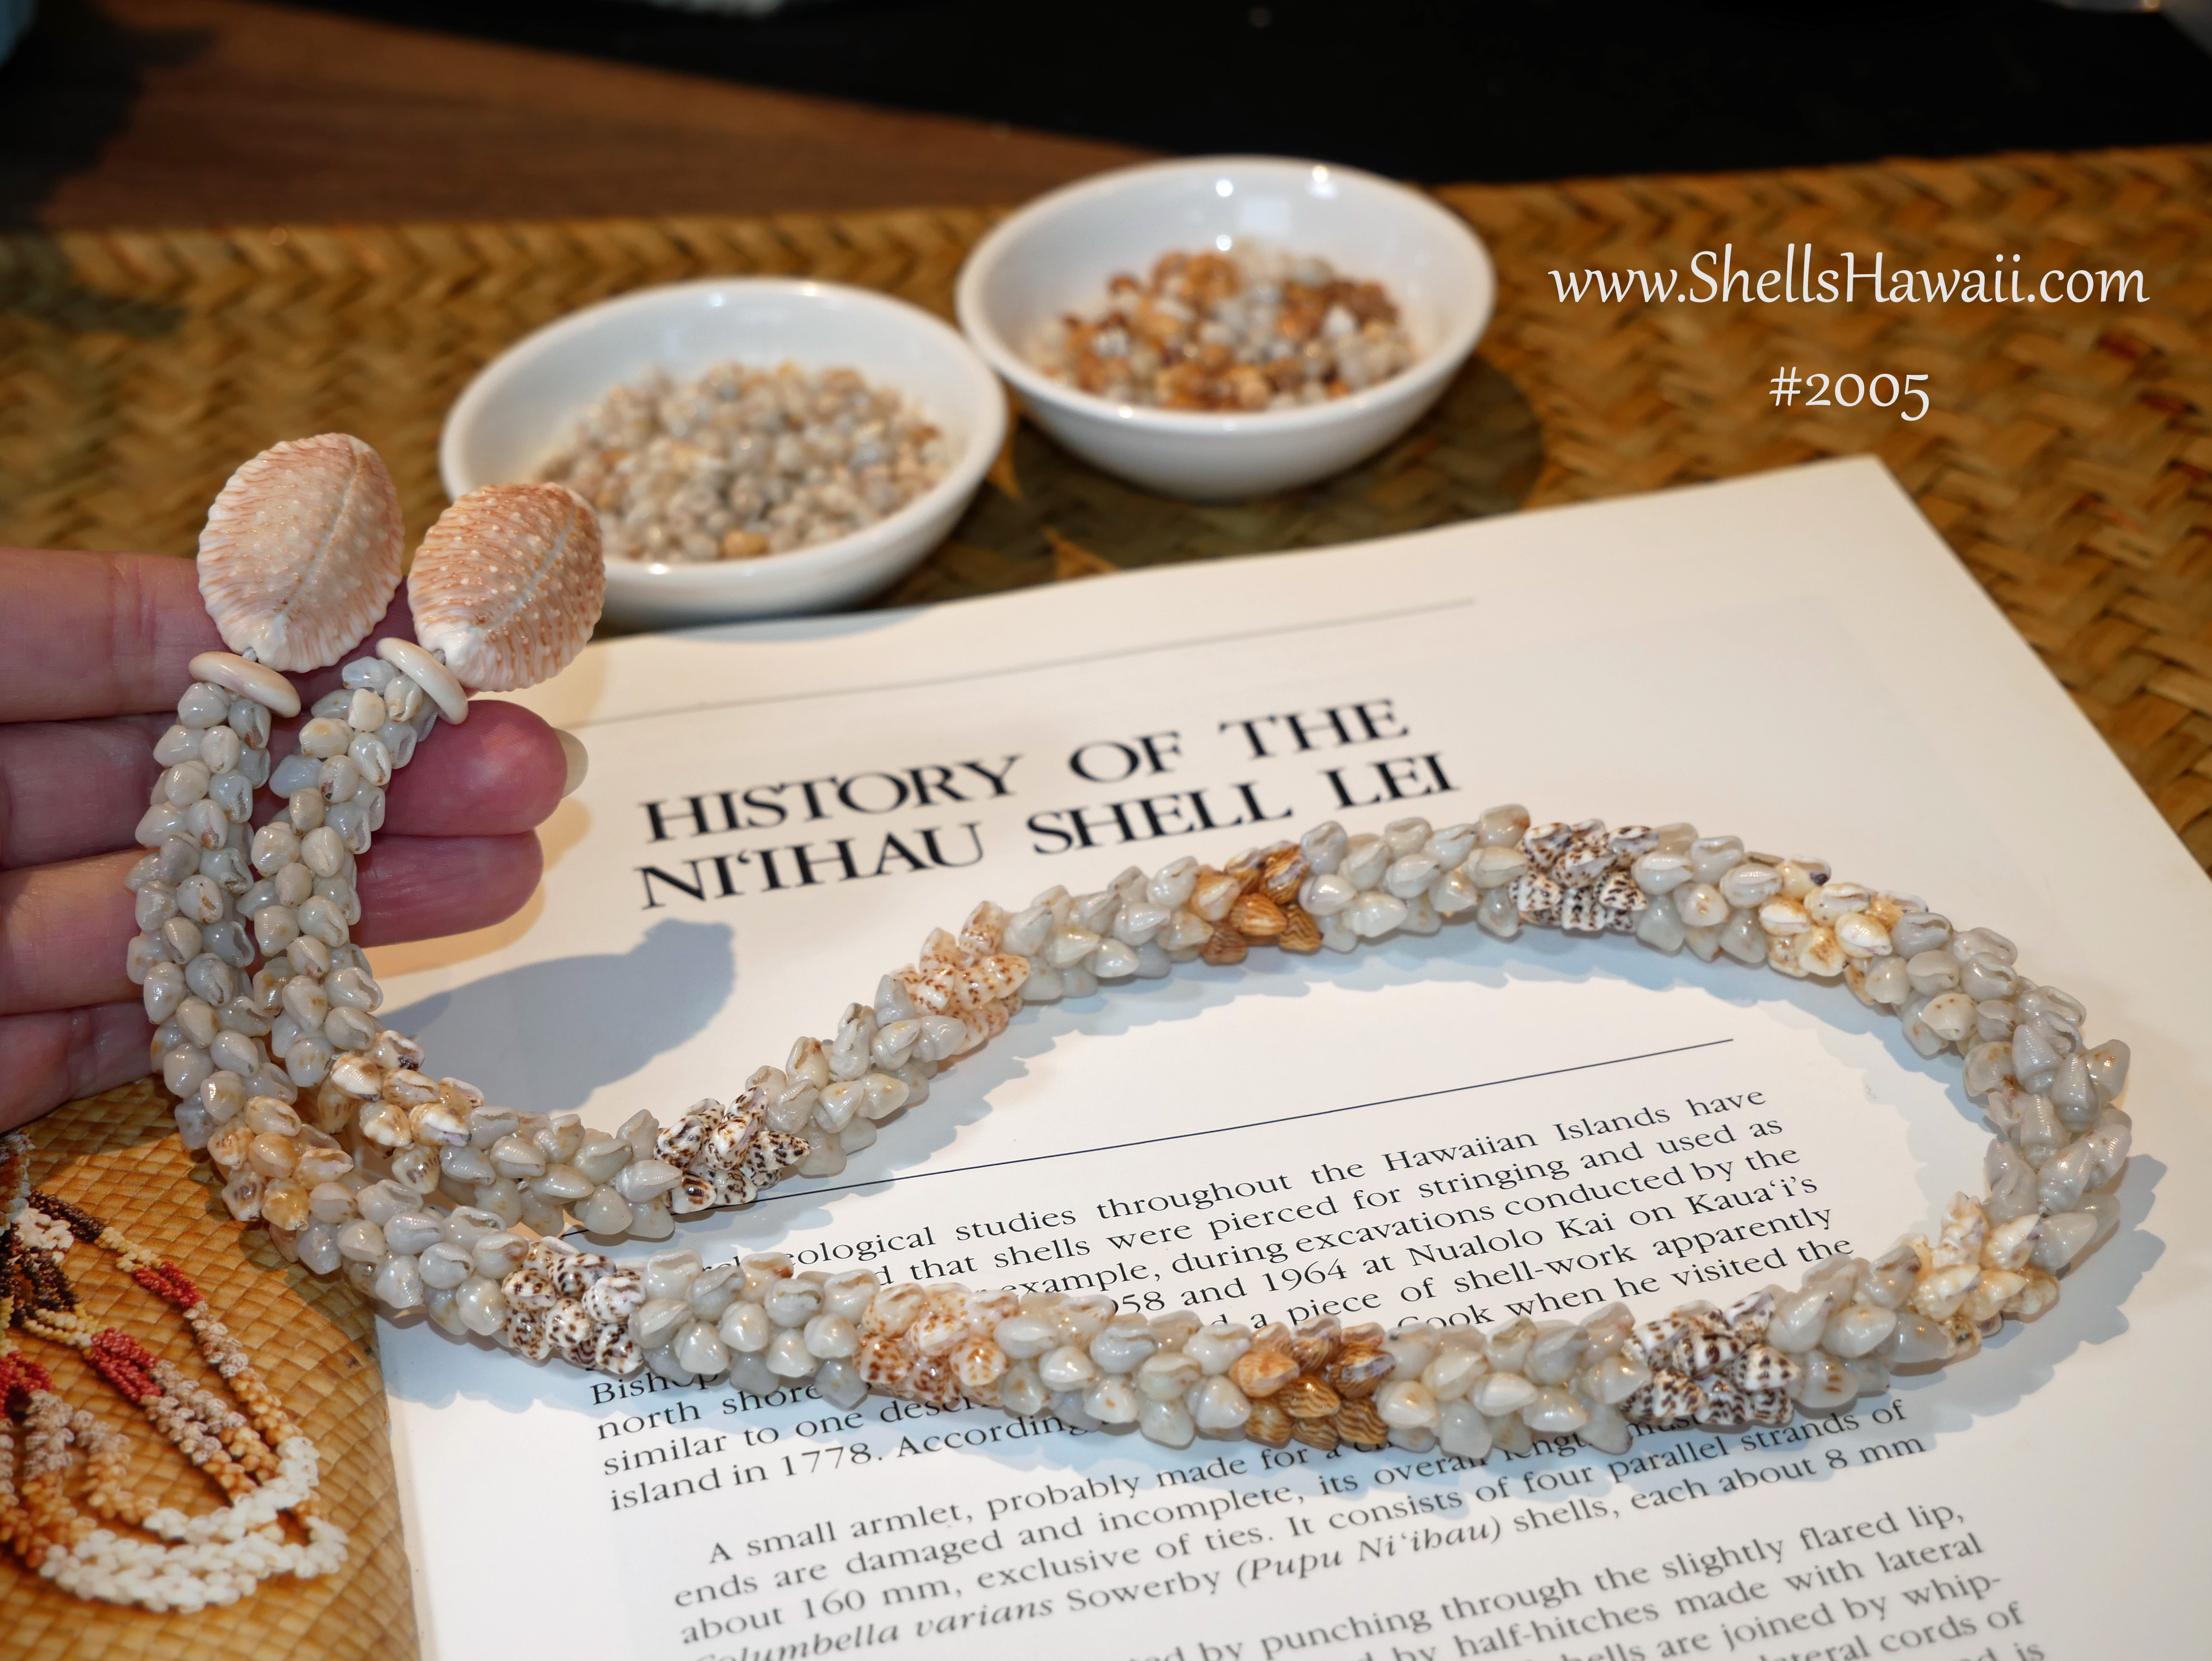
Since I’ve been writing a blog about what a Double-double Pikake looks like when it’s created with Momi shells (モミシェル), today felt like the right moment to finally sit down and begin Lei 2005. The colors, the calm, the soft rhythm of the rain — everything aligned. Sometimes inspiration doesn’t come loudly; it just settles in gently, inviting you to create.
Selecting the Colors of Momi Shells — Beginning With the Vision
The very first step in creating this Double-double Pikake (ダブルダブル・ピカケ) lei is choosing the right Momi shell colors. Before the vision even begins, the colors have to feel right in your heart — that’s where the creativity truly starts.
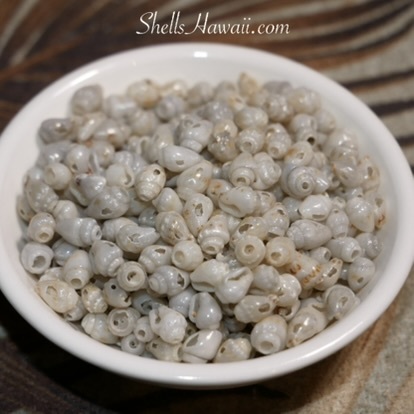
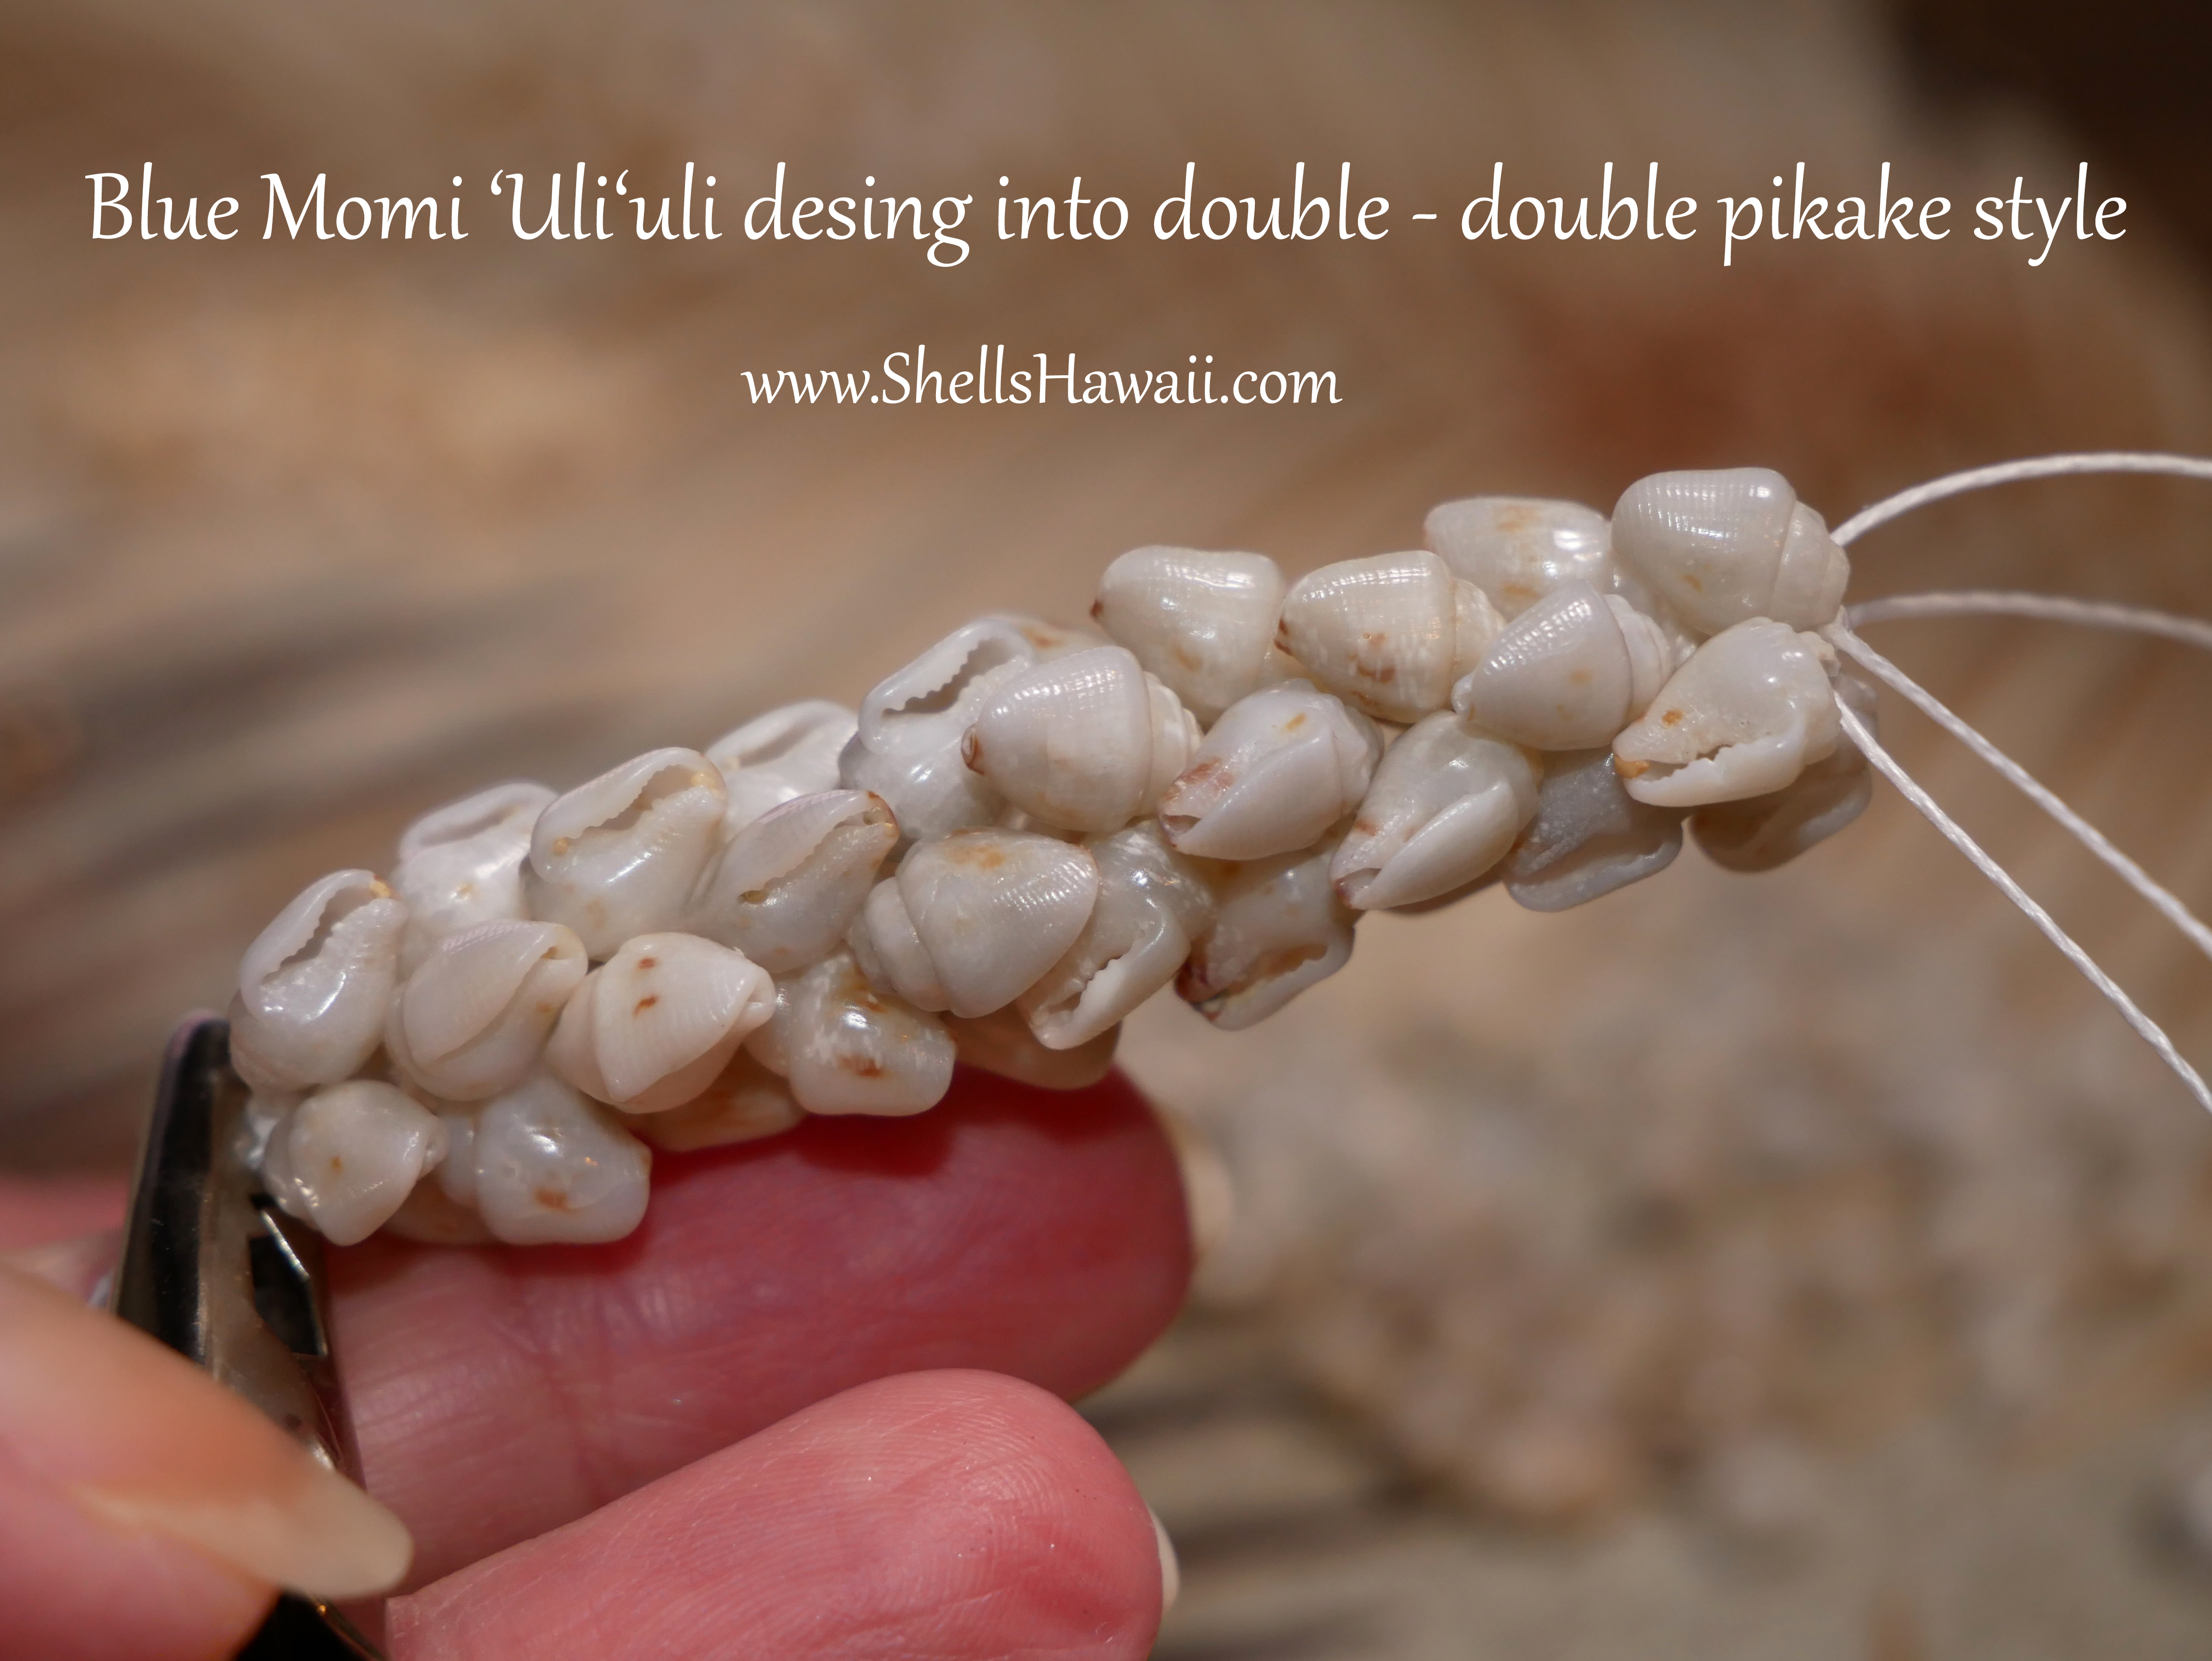
For Lei 2005, I began with the rare and very special Momi ʻŪliʻuli (blue Momi shells). I would describe this particular shade as a medium blue. There are Momi shells that come in an even darker, deeper blue, but those are extremely rare and very difficult to find in matching sizes. This medium shade is still beautifully special, and it creates a lovely foundation for the lei.
If you are still learning about Hawaiian shells used in Niʻihau shell jewelry (ニイハウ シェル ジュエリー), you can ➡️ click here to read What Are Momi Shells, and to explore my newest blog about Momi ʻŌnikiniki, the spotted varieties.
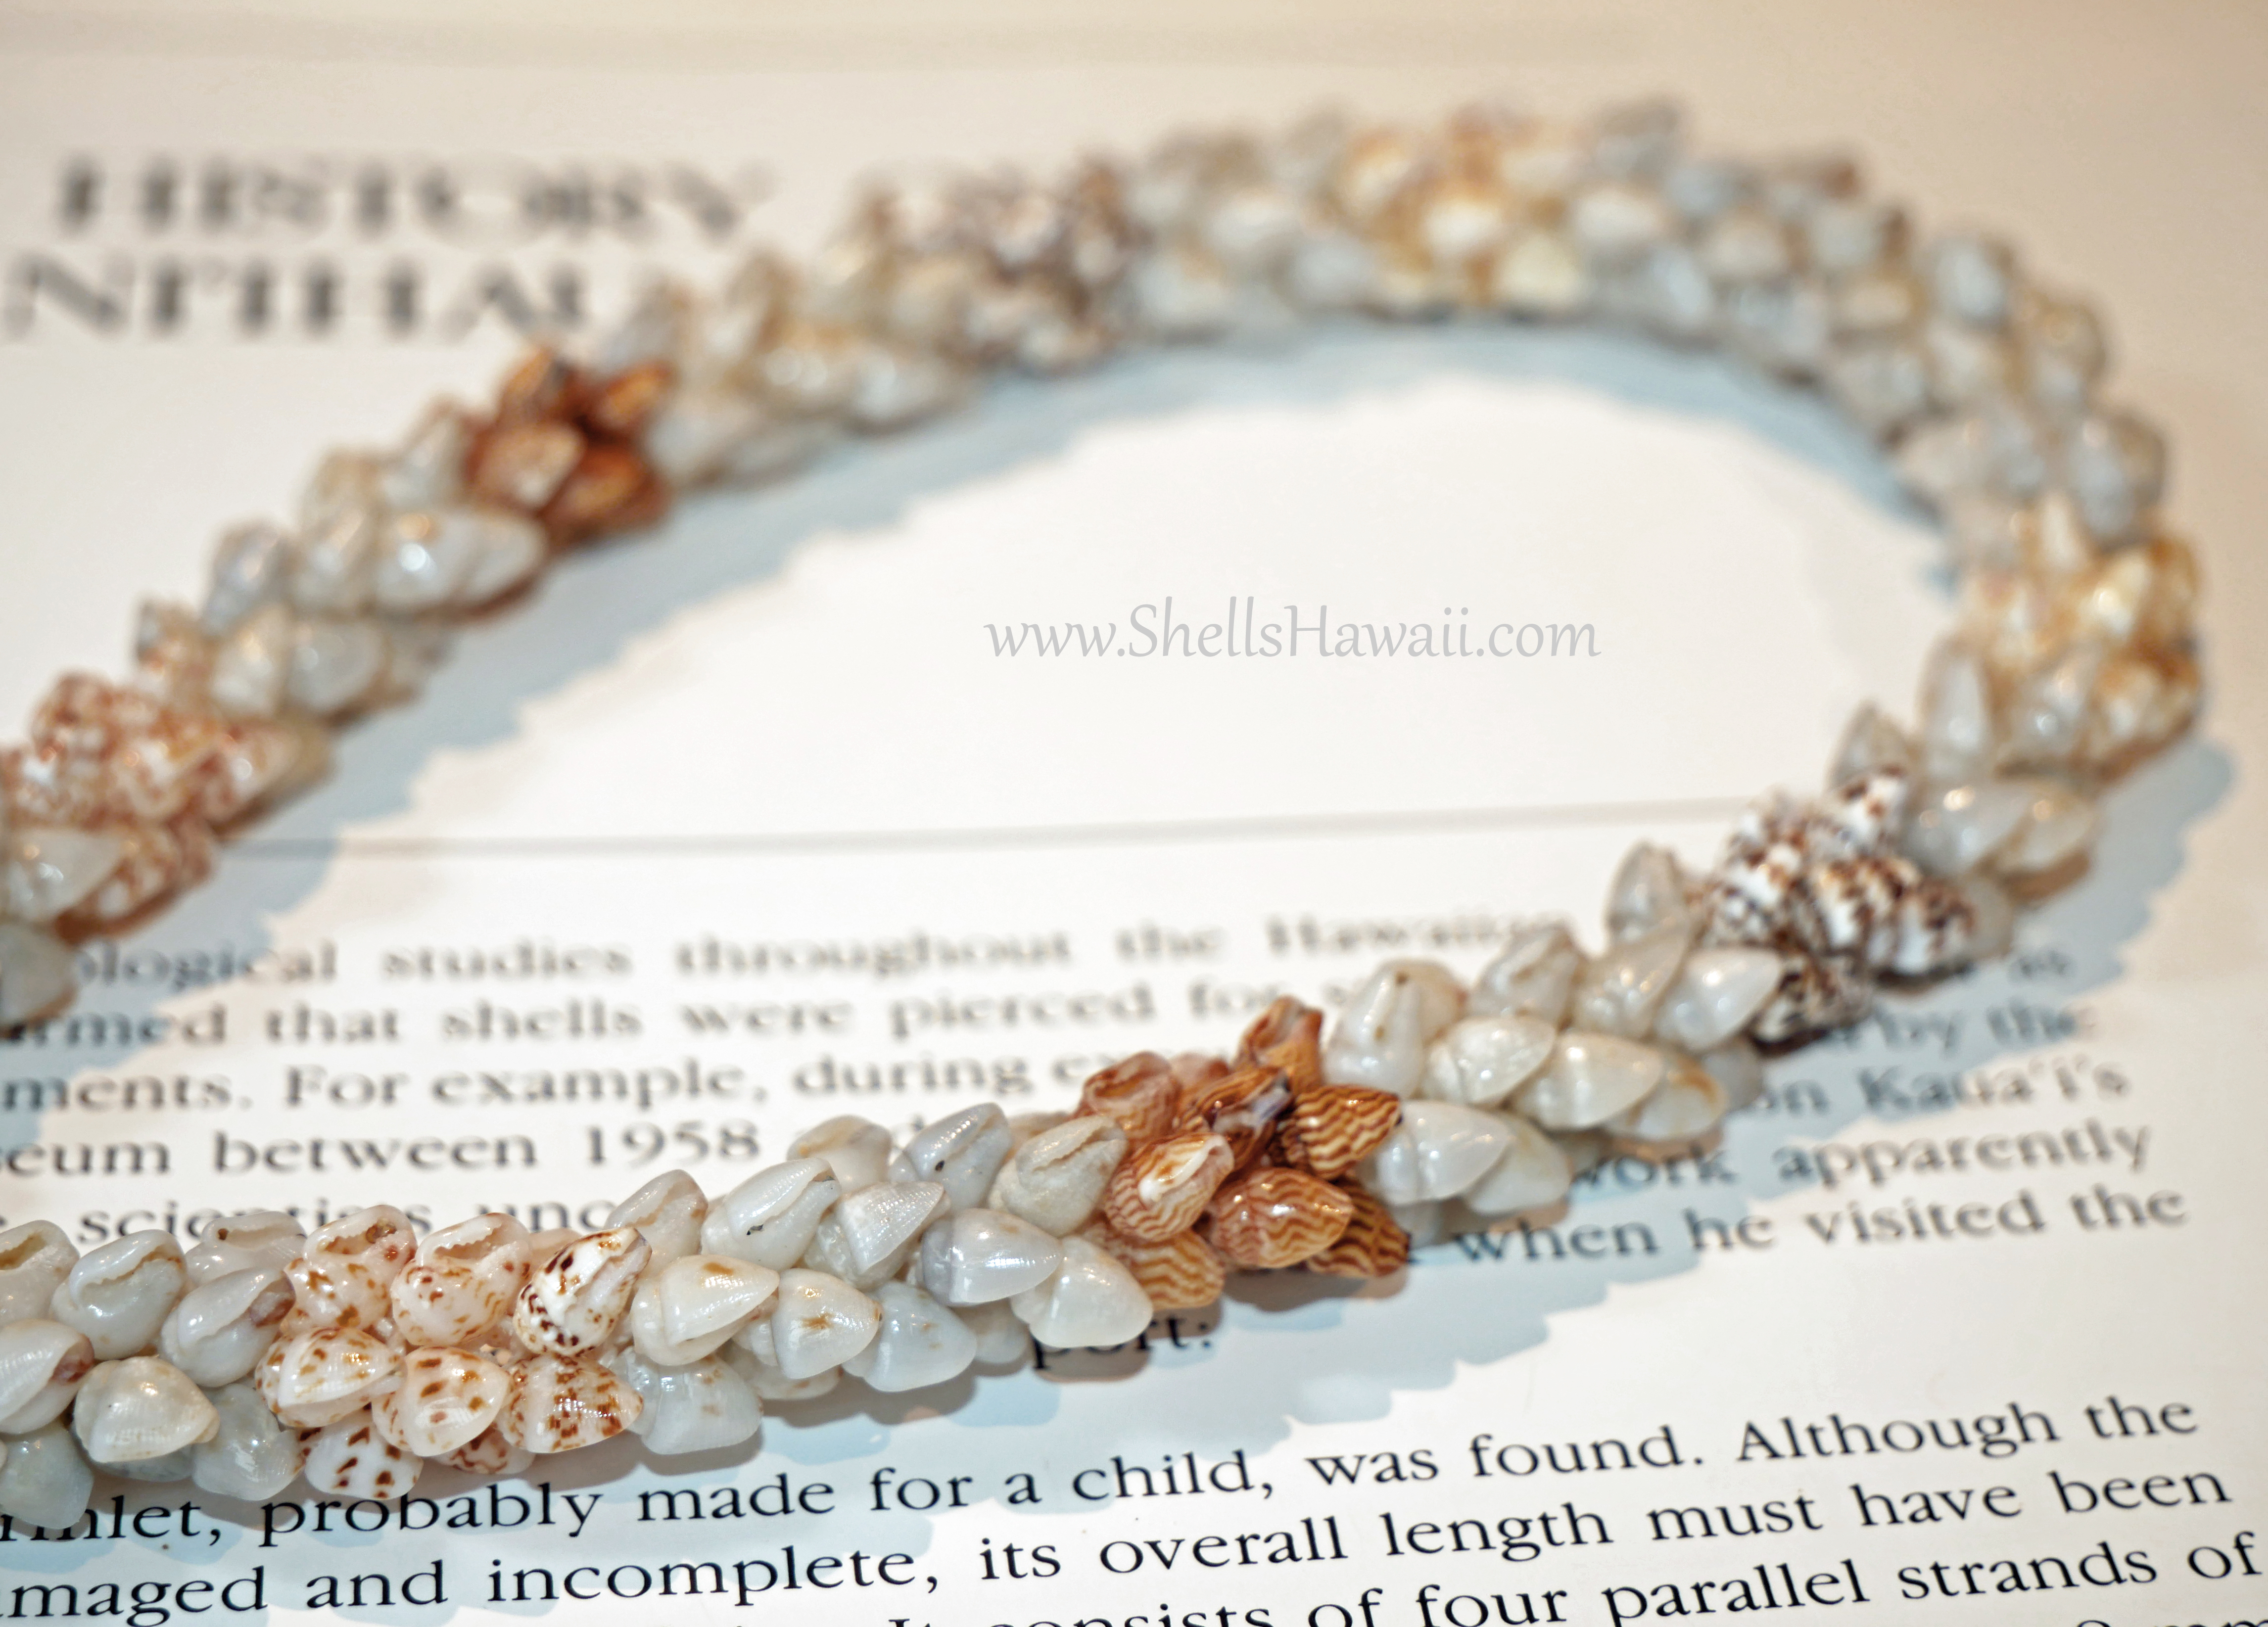
For this lei, I selected a combination you rarely see all together:
• blue Momi ʻŪliʻuli
• golden Momi Lenalena
• black-spotted Momi ʻŌnikiniki ʻEleʻele
• light-spotted Momi ʻŌnikiniki ʻĀhiehie
• strong-striped Momi Kahakaha Ikaika
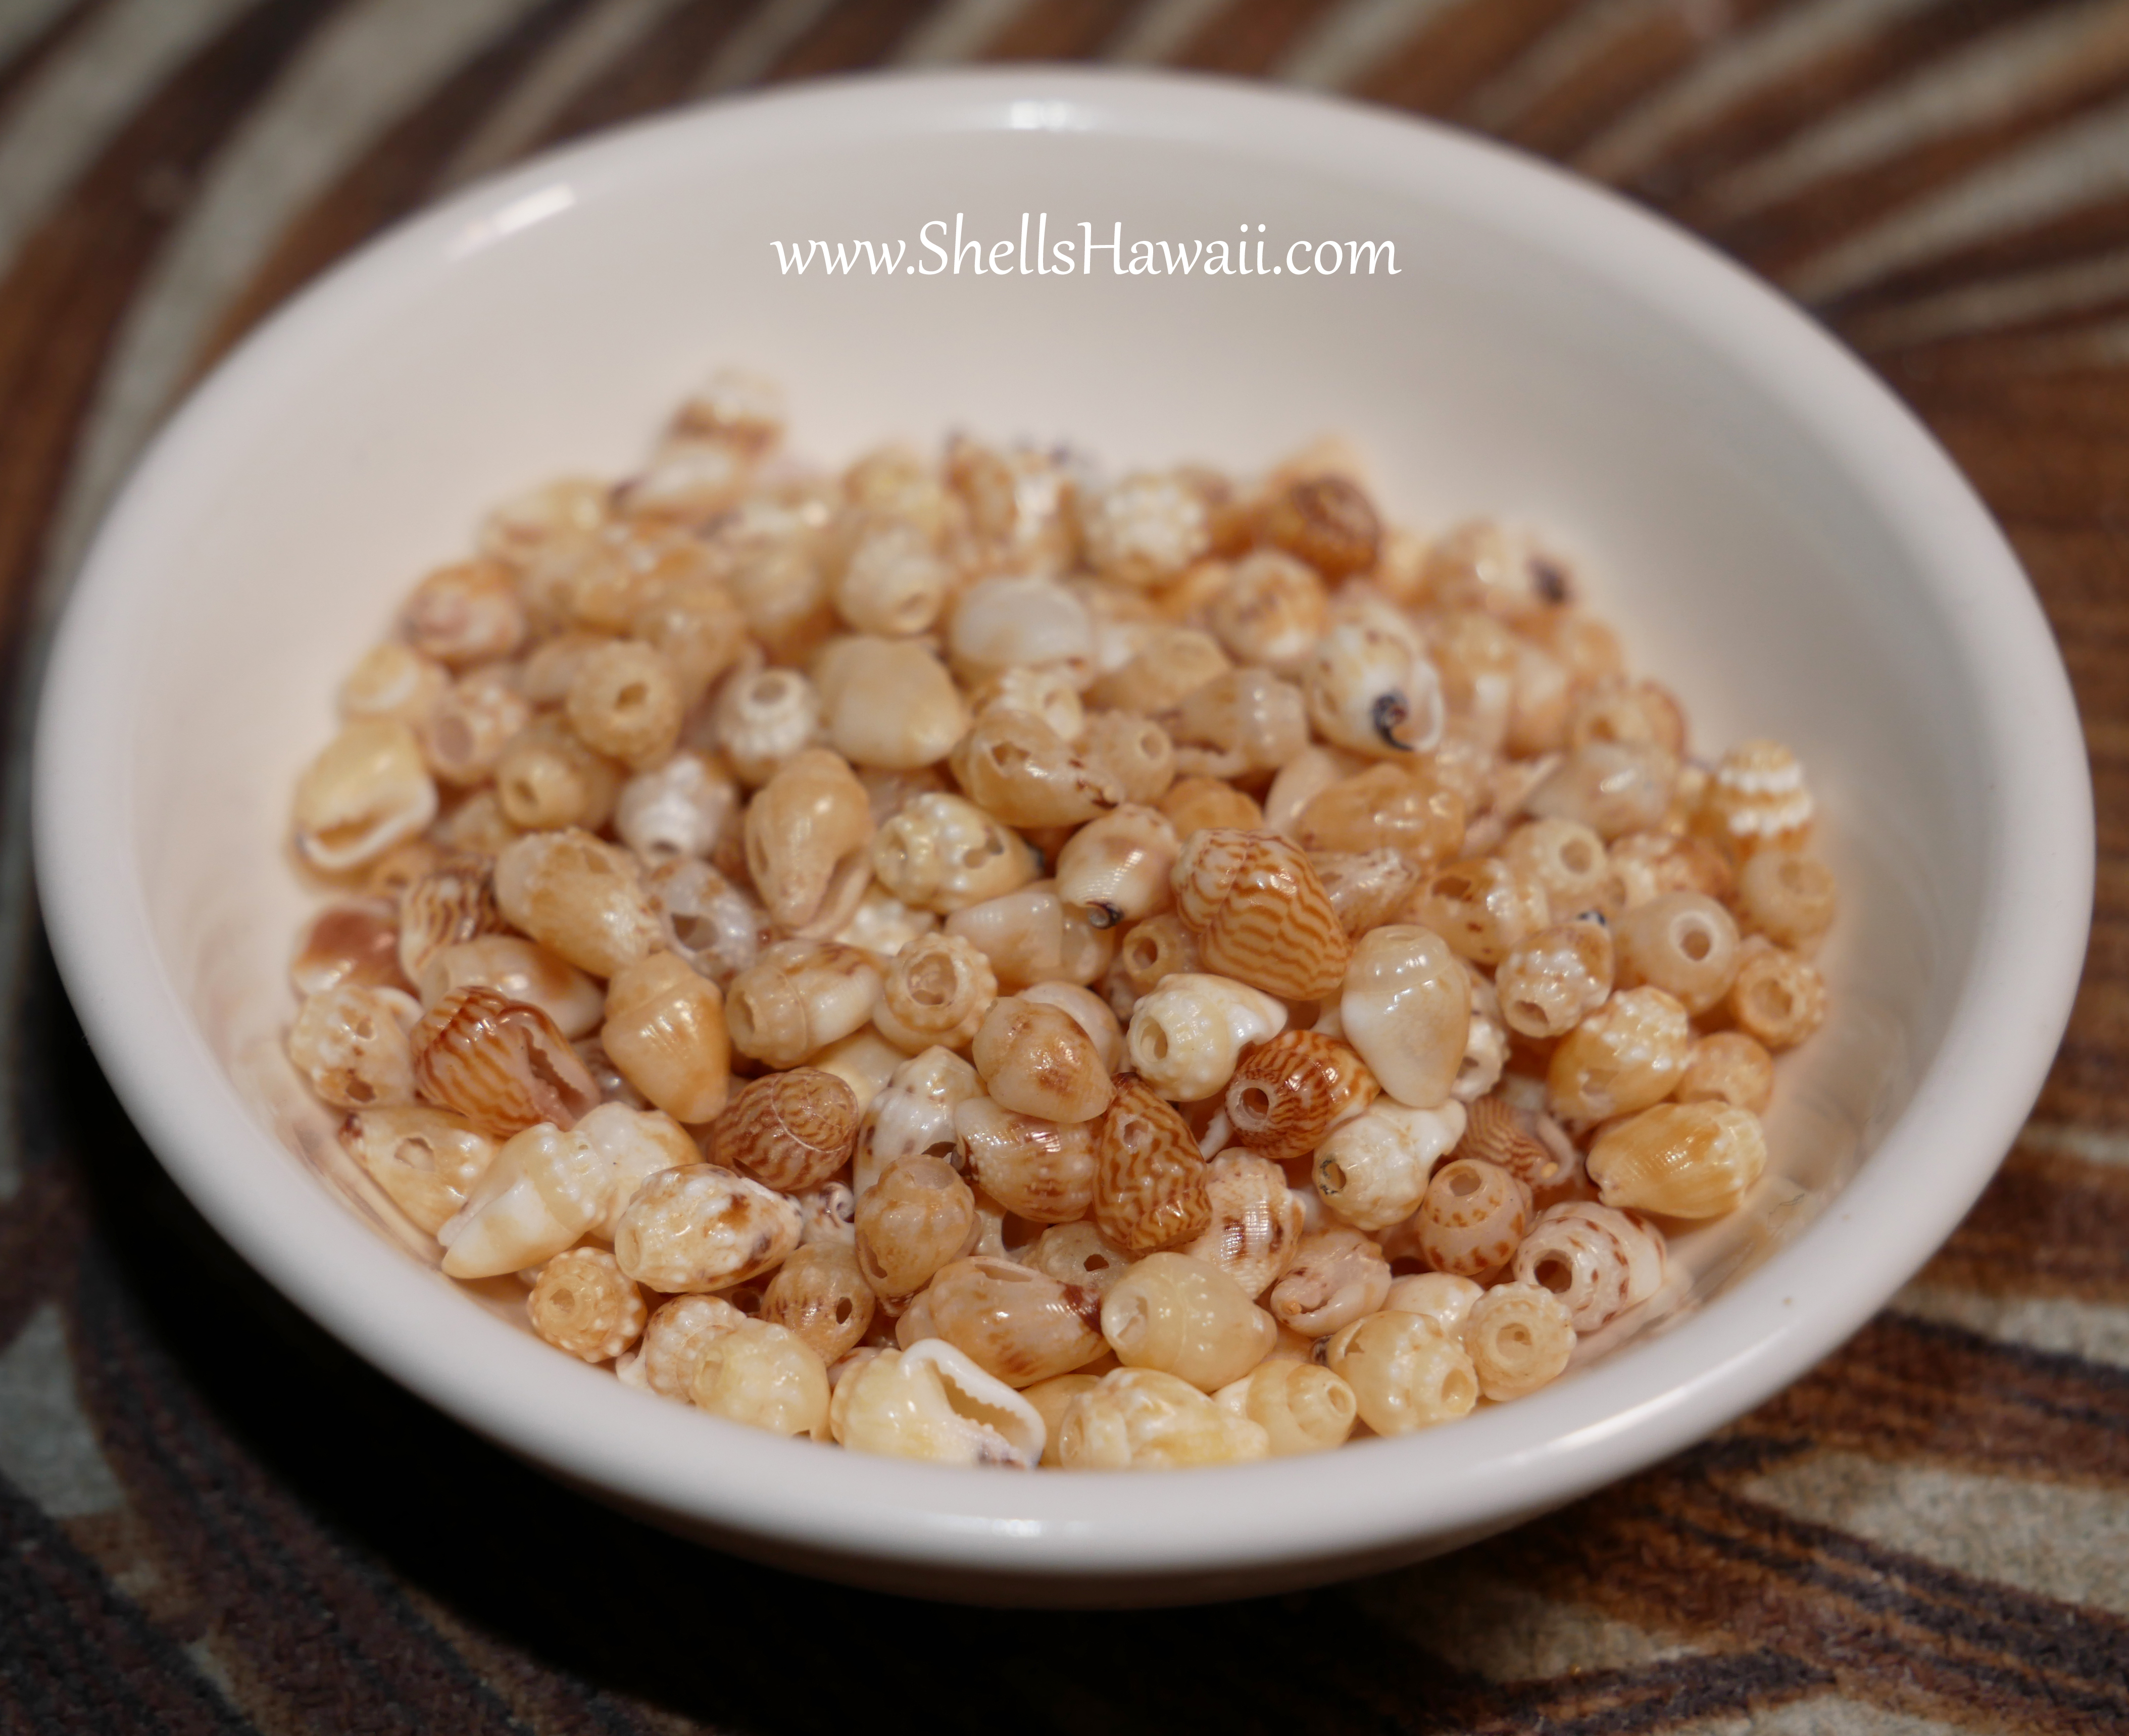
These shells took years to collect. When they finally come together, their colors create a deep, lively, meaningful palette — the kind that makes a lei truly one of a kind.
And because this blog series will be exploring the full Momi color family, we’ll be learning more about ʻŪliʻuli (blue Momi) in an upcoming post. There is so much to appreciate about this unique color, so please stay tuned❤️.
Only after all the shells are prepped do I begin sorting them.
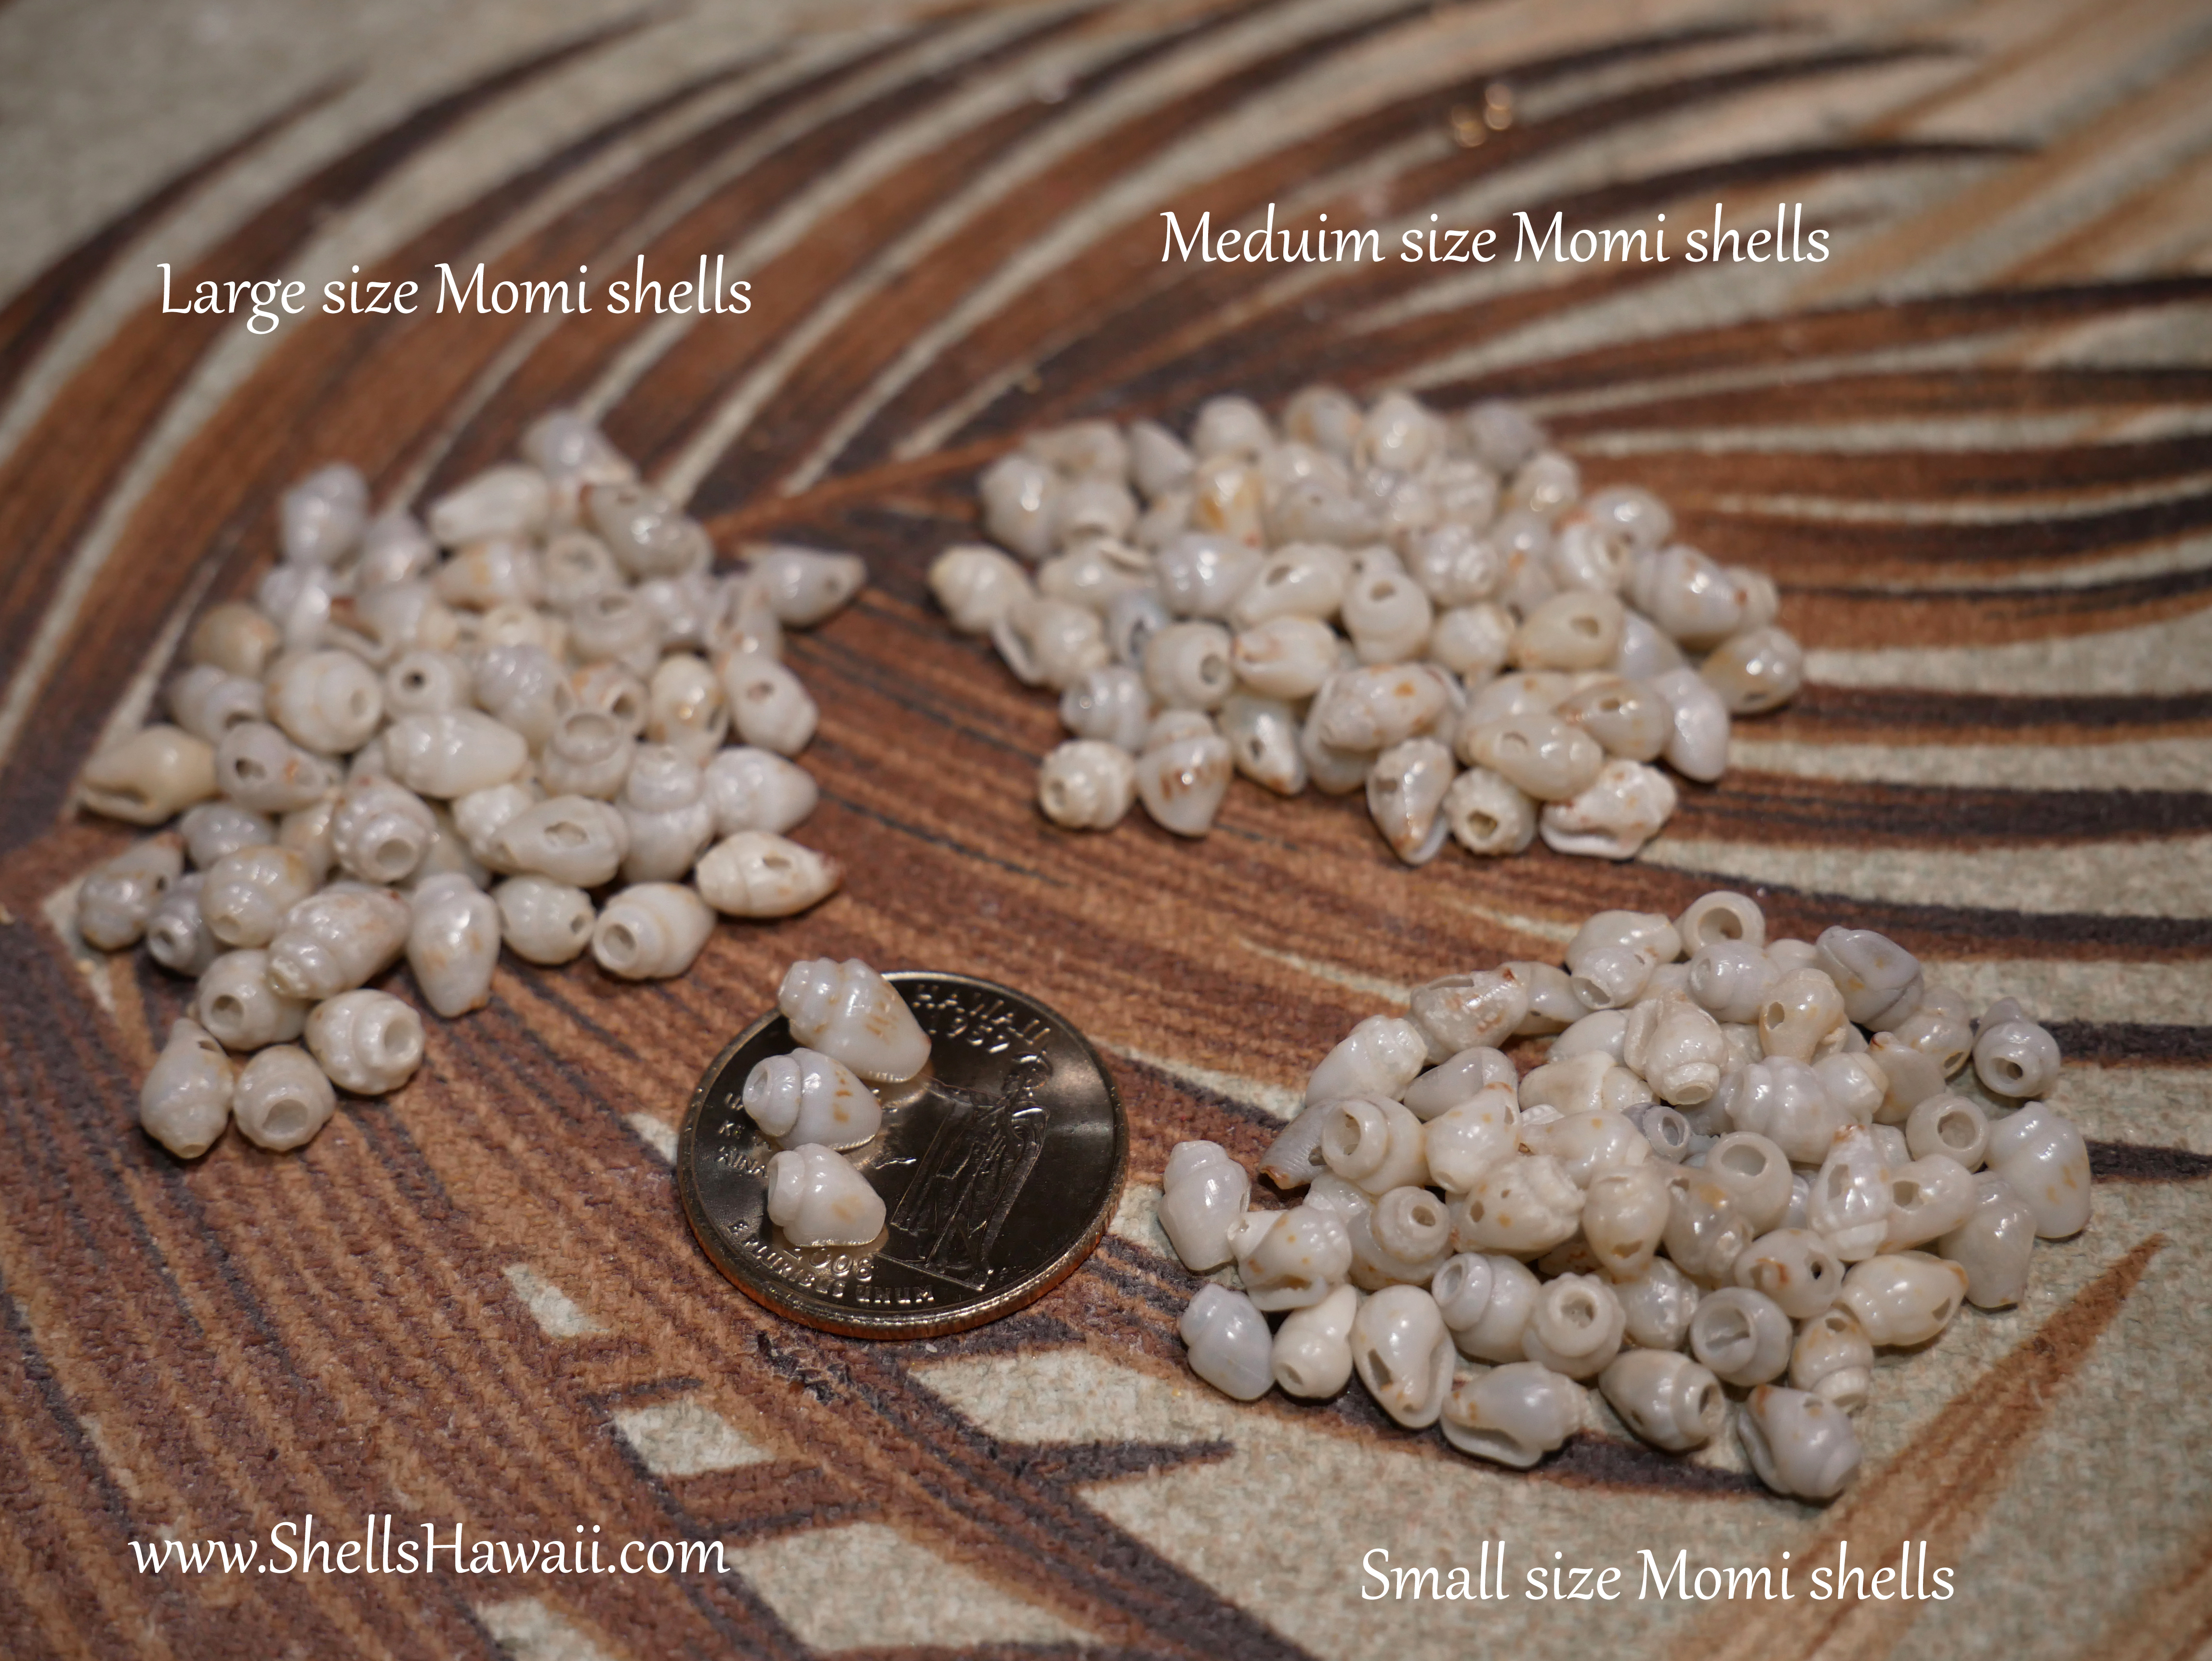
Sorting the Momi Shells by Size — Finding a Natural Rhythm
Once your Momi shells are cleaned and poked, you’ll probably notice that the sizes are all mixed together. That’s completely normal. Before moving on, it helps to pause and get a feel for the shells you’re working with. There isn’t really a special tool for sorting Momi shell sizes (モミシェルのサイズ分け) — it’s more about observation and familiarity.
Taking a moment to bring a sense of order to this stage creates a smoother flow as you move forward. It’s a small pause that saves effort later — and helps you stay present and connected to the shells and the work ahead.


Pairing the Momi Shells — Size, Shape, and Length (Why This Step Is Essential)
After your shells are sorted, this is the stage where you begin to truly understand them. When Momi shells are seen side by side, their individual personalities start to show — subtle differences in size, length, shape, curve, and thickness that aren’t always obvious at first glance. These small details play a big role in how a lei will look and feel once it comes together.
Taking time at this stage helps create balance and harmony in the finished piece. When shells naturally complement one another, the work ahead flows more smoothly. The clusters sit evenly, the spiral forms cleanly, and the lei feels consistent from beginning to end. This quiet preparation is what allows the design to come together with grace — less correction later, more confidence as you move forward.
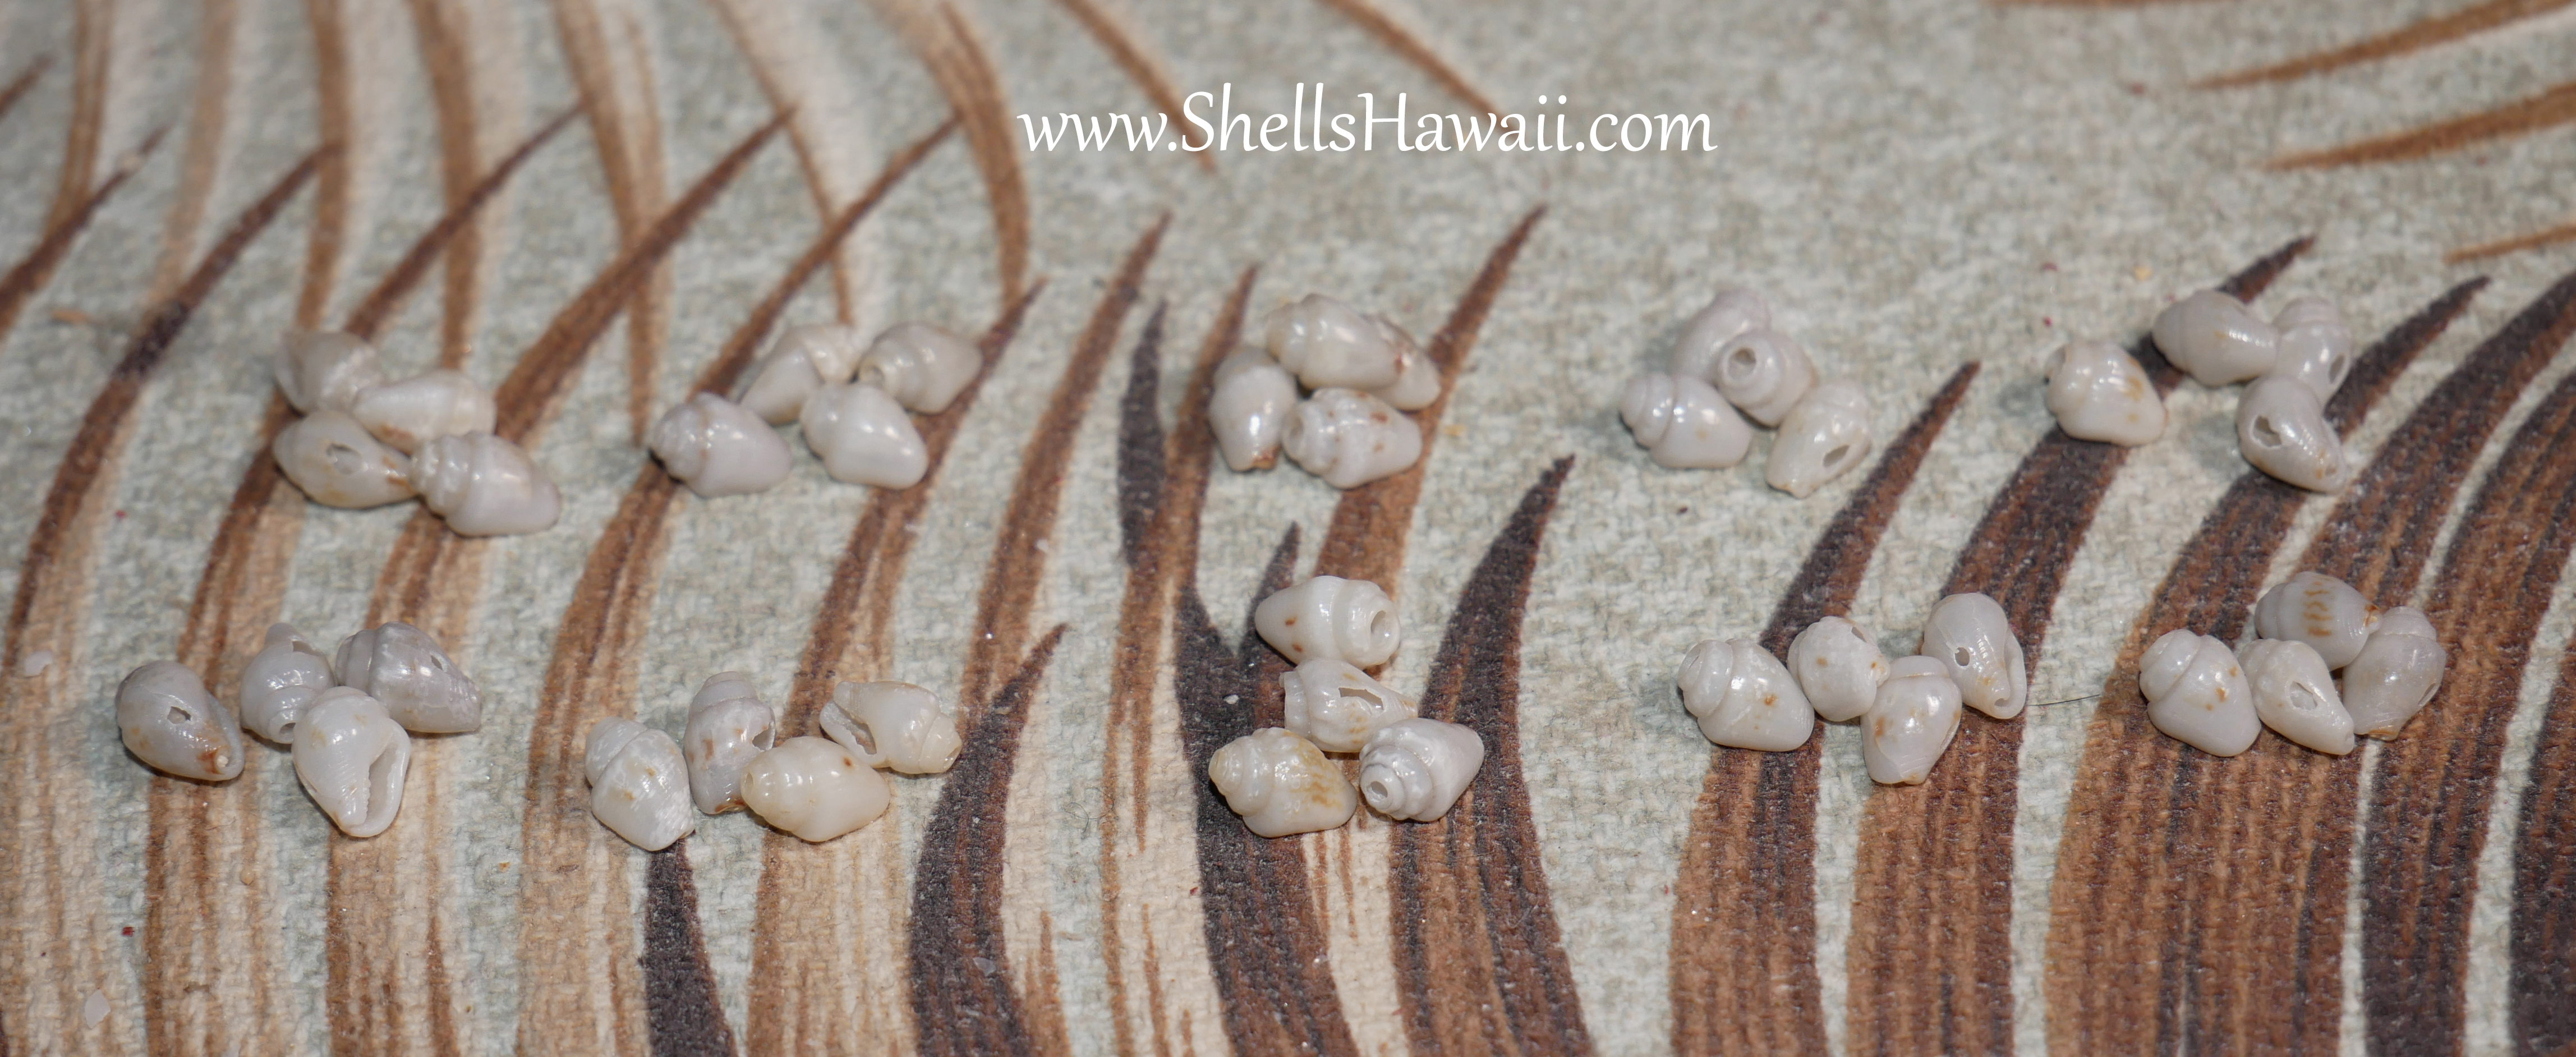
If you find shells that don’t have a match, simply set them aside and move to the next size down. This helps you maintain a balanced and uniform look throughout your lei.
✨ I always double check for size, color, and any cracks during this step. It prevents breakage later and saves you from undoing your work.
➡️ Why pairing identical-size Momi shells is so important in Niʻihau shell jewelry
Matching shells to identical size is one of the foundations of making any Niʻihau shell jewelry. Proper pairing creates balanced clusters, keeps the lei, earrings, or bracelets looking uniform, and minimizes loose spots or visible string.
If you want to understand Pikake structure more clearly, you may enjoy my blog What Is the Single Pikake Style, Doube Pikake style where I explain how these clusters are formed and how the traditional style is built.
And for any beginners who dream of creating this Pikake-style shell lei one day, I hope this part of the blog helps you feel more confident and excited about your journey.
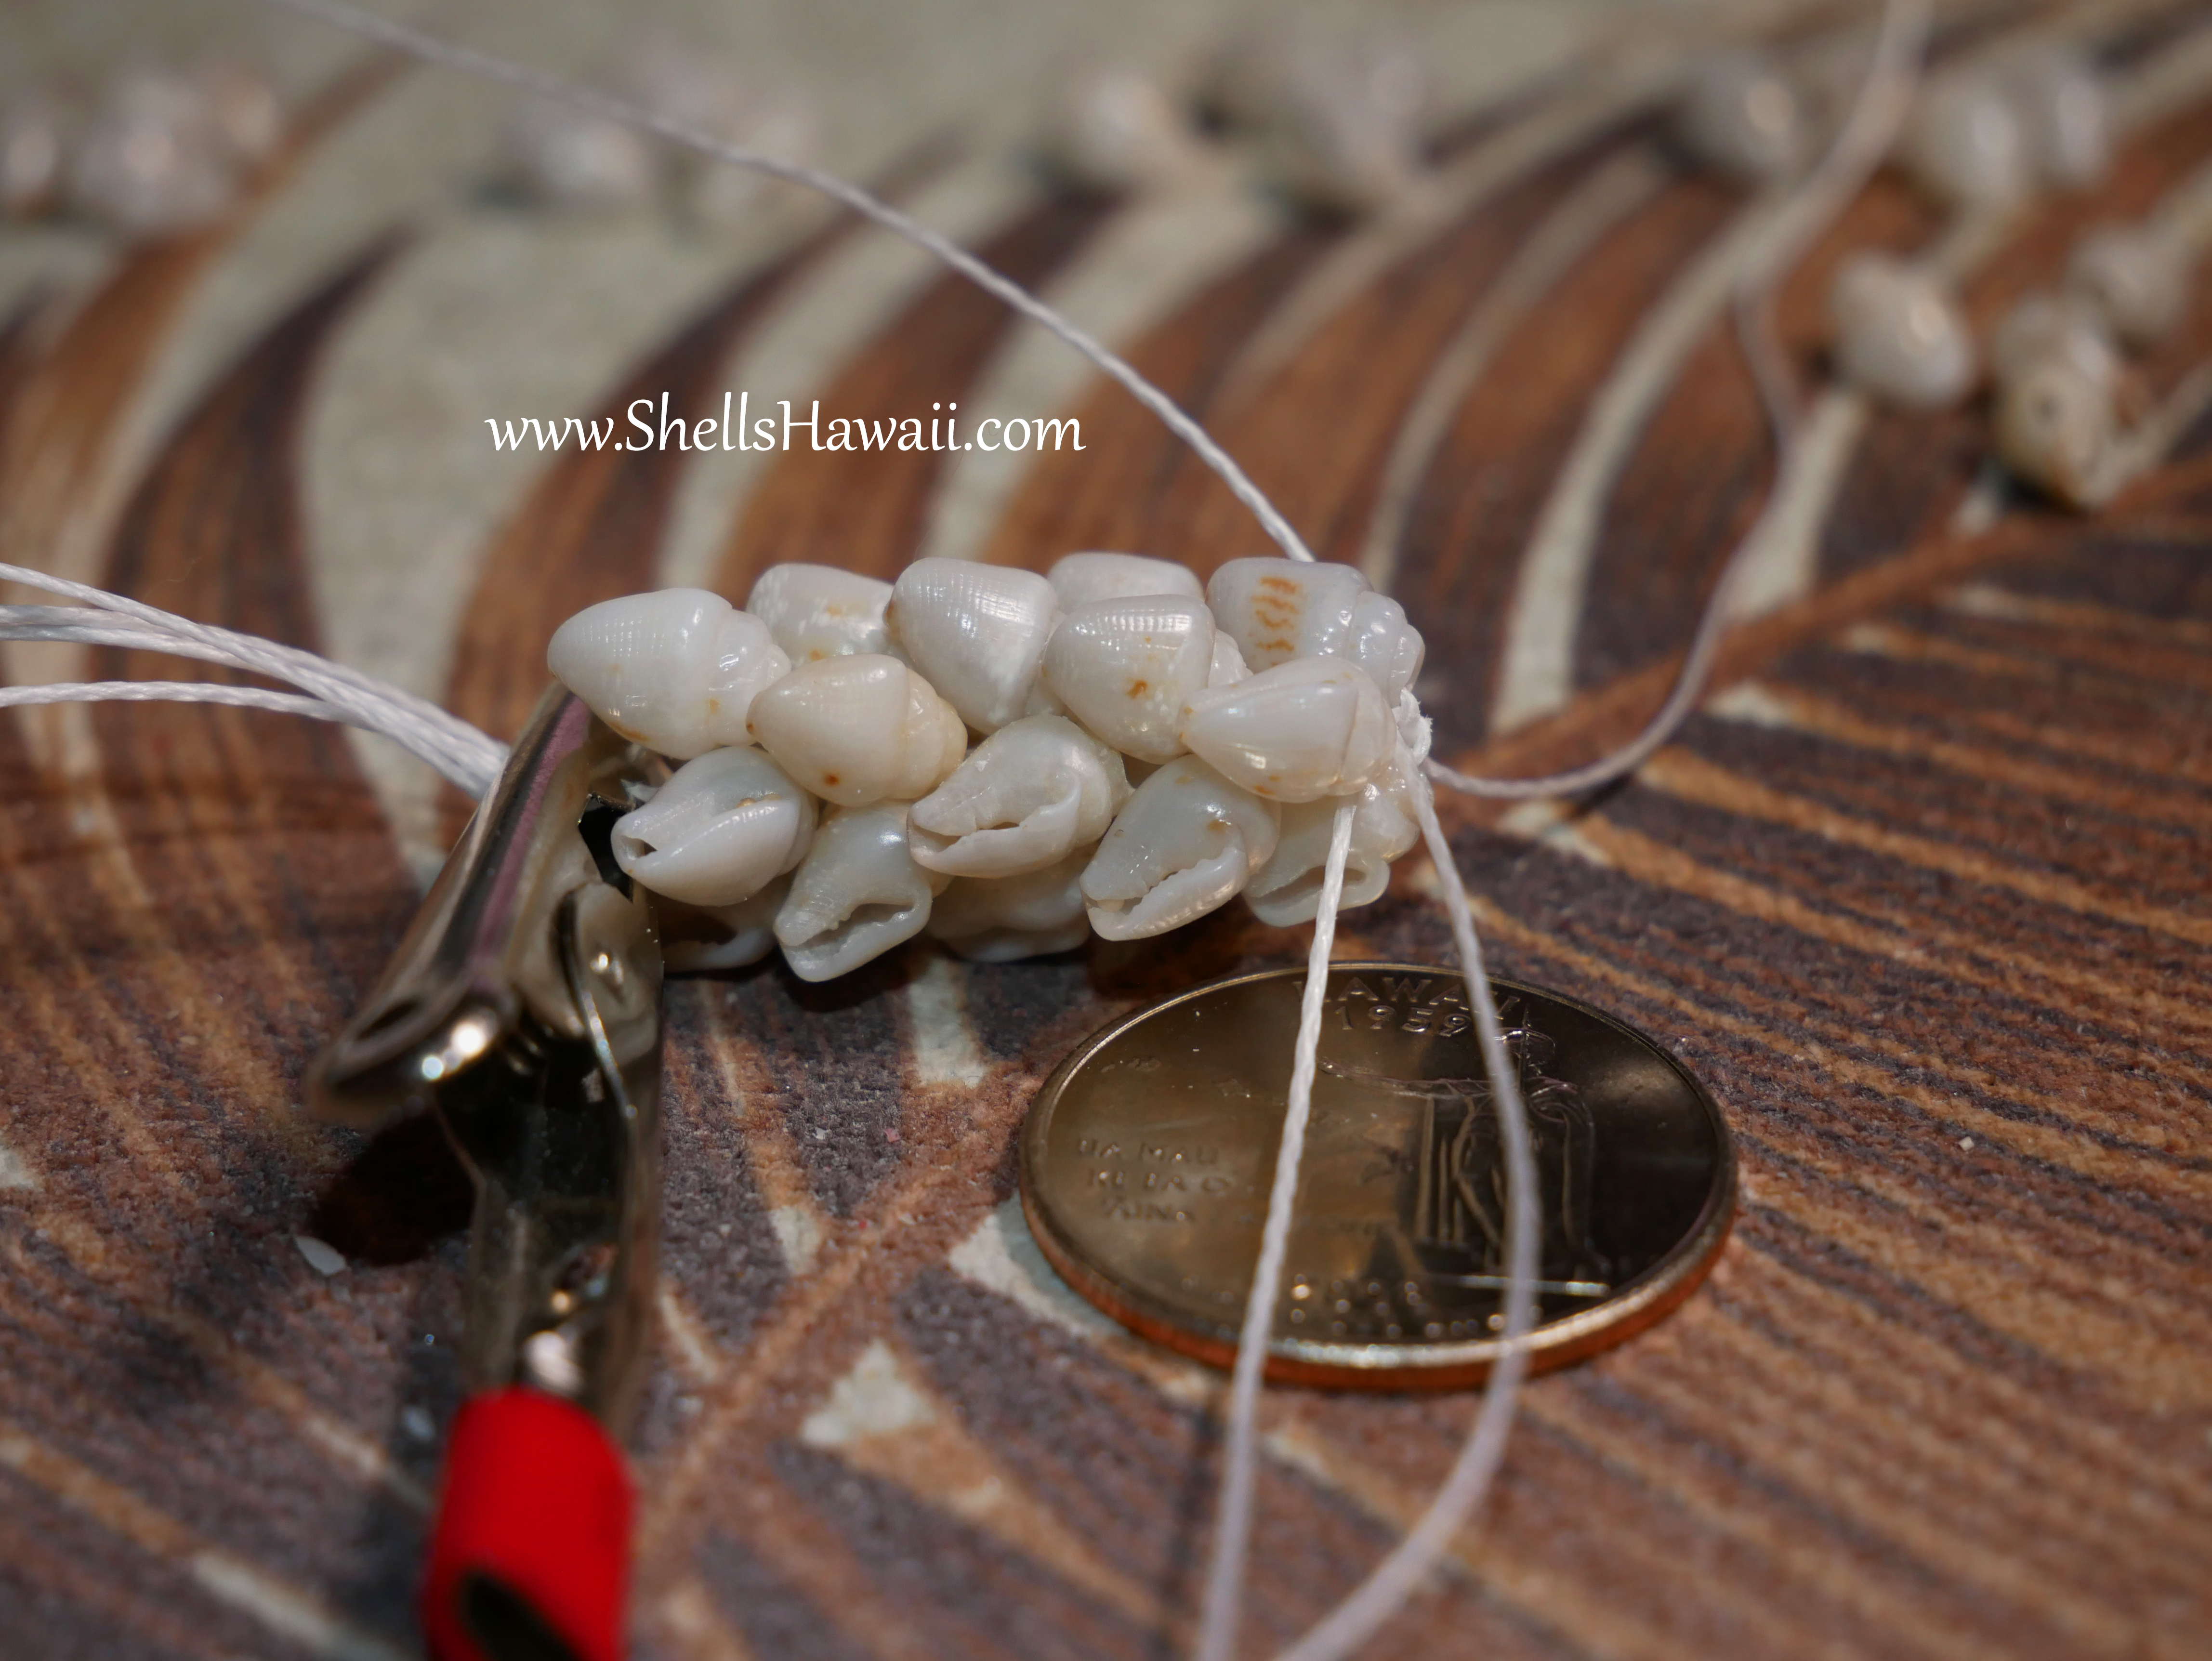
Beginning the Double-Double Pikake
Once the Momi shells are prepared and ready, this is where the stringing truly begins. Before moving forward, I take a moment to make sure everything feels right — the shells, the string, and the overall vision for the lei. Experience has taught me that giving yourself enough room to work makes a big difference, especially with a fuller style like Double-Double Pikake.
Working from a balanced starting point helps the lei grow evenly as it takes shape. The spirals stay consistent, the clusters flow smoothly, and the piece develops with a sense of calm and intention from start to finish.
Most of my designs begin with a vision based on the shells I have on hand. I need to see how the pattern forms as I go. If the idea in my mind doesn’t match what the shells are showing me, I adjust right away — changing the size, the flow, or the rhythm while I string.
✨ This is one of the most important parts of my creative process:
I string, I look, I adjust, and I continue.✨
Between each step, I stop to check — and then double check — that the shells are sitting correctly, the spiral is clean, and no string is showing before I add the next cluster.

Working this way allows me to watch the lei take shape right in front of me, and that feeling means everything. It inspires me, motivates me, and fills me with happiness as the design grows — like a small reward for all the patience and love poured into each piece. When the vision in my heart starts to appear one shell at a time, it reminds me why I cherish this art so deeply.
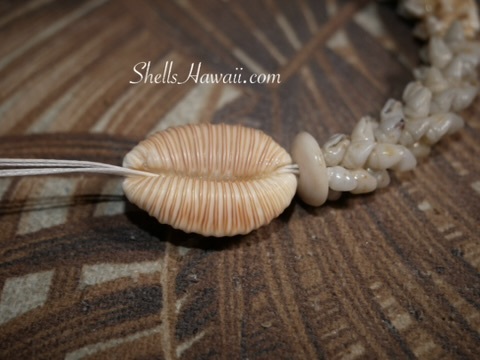
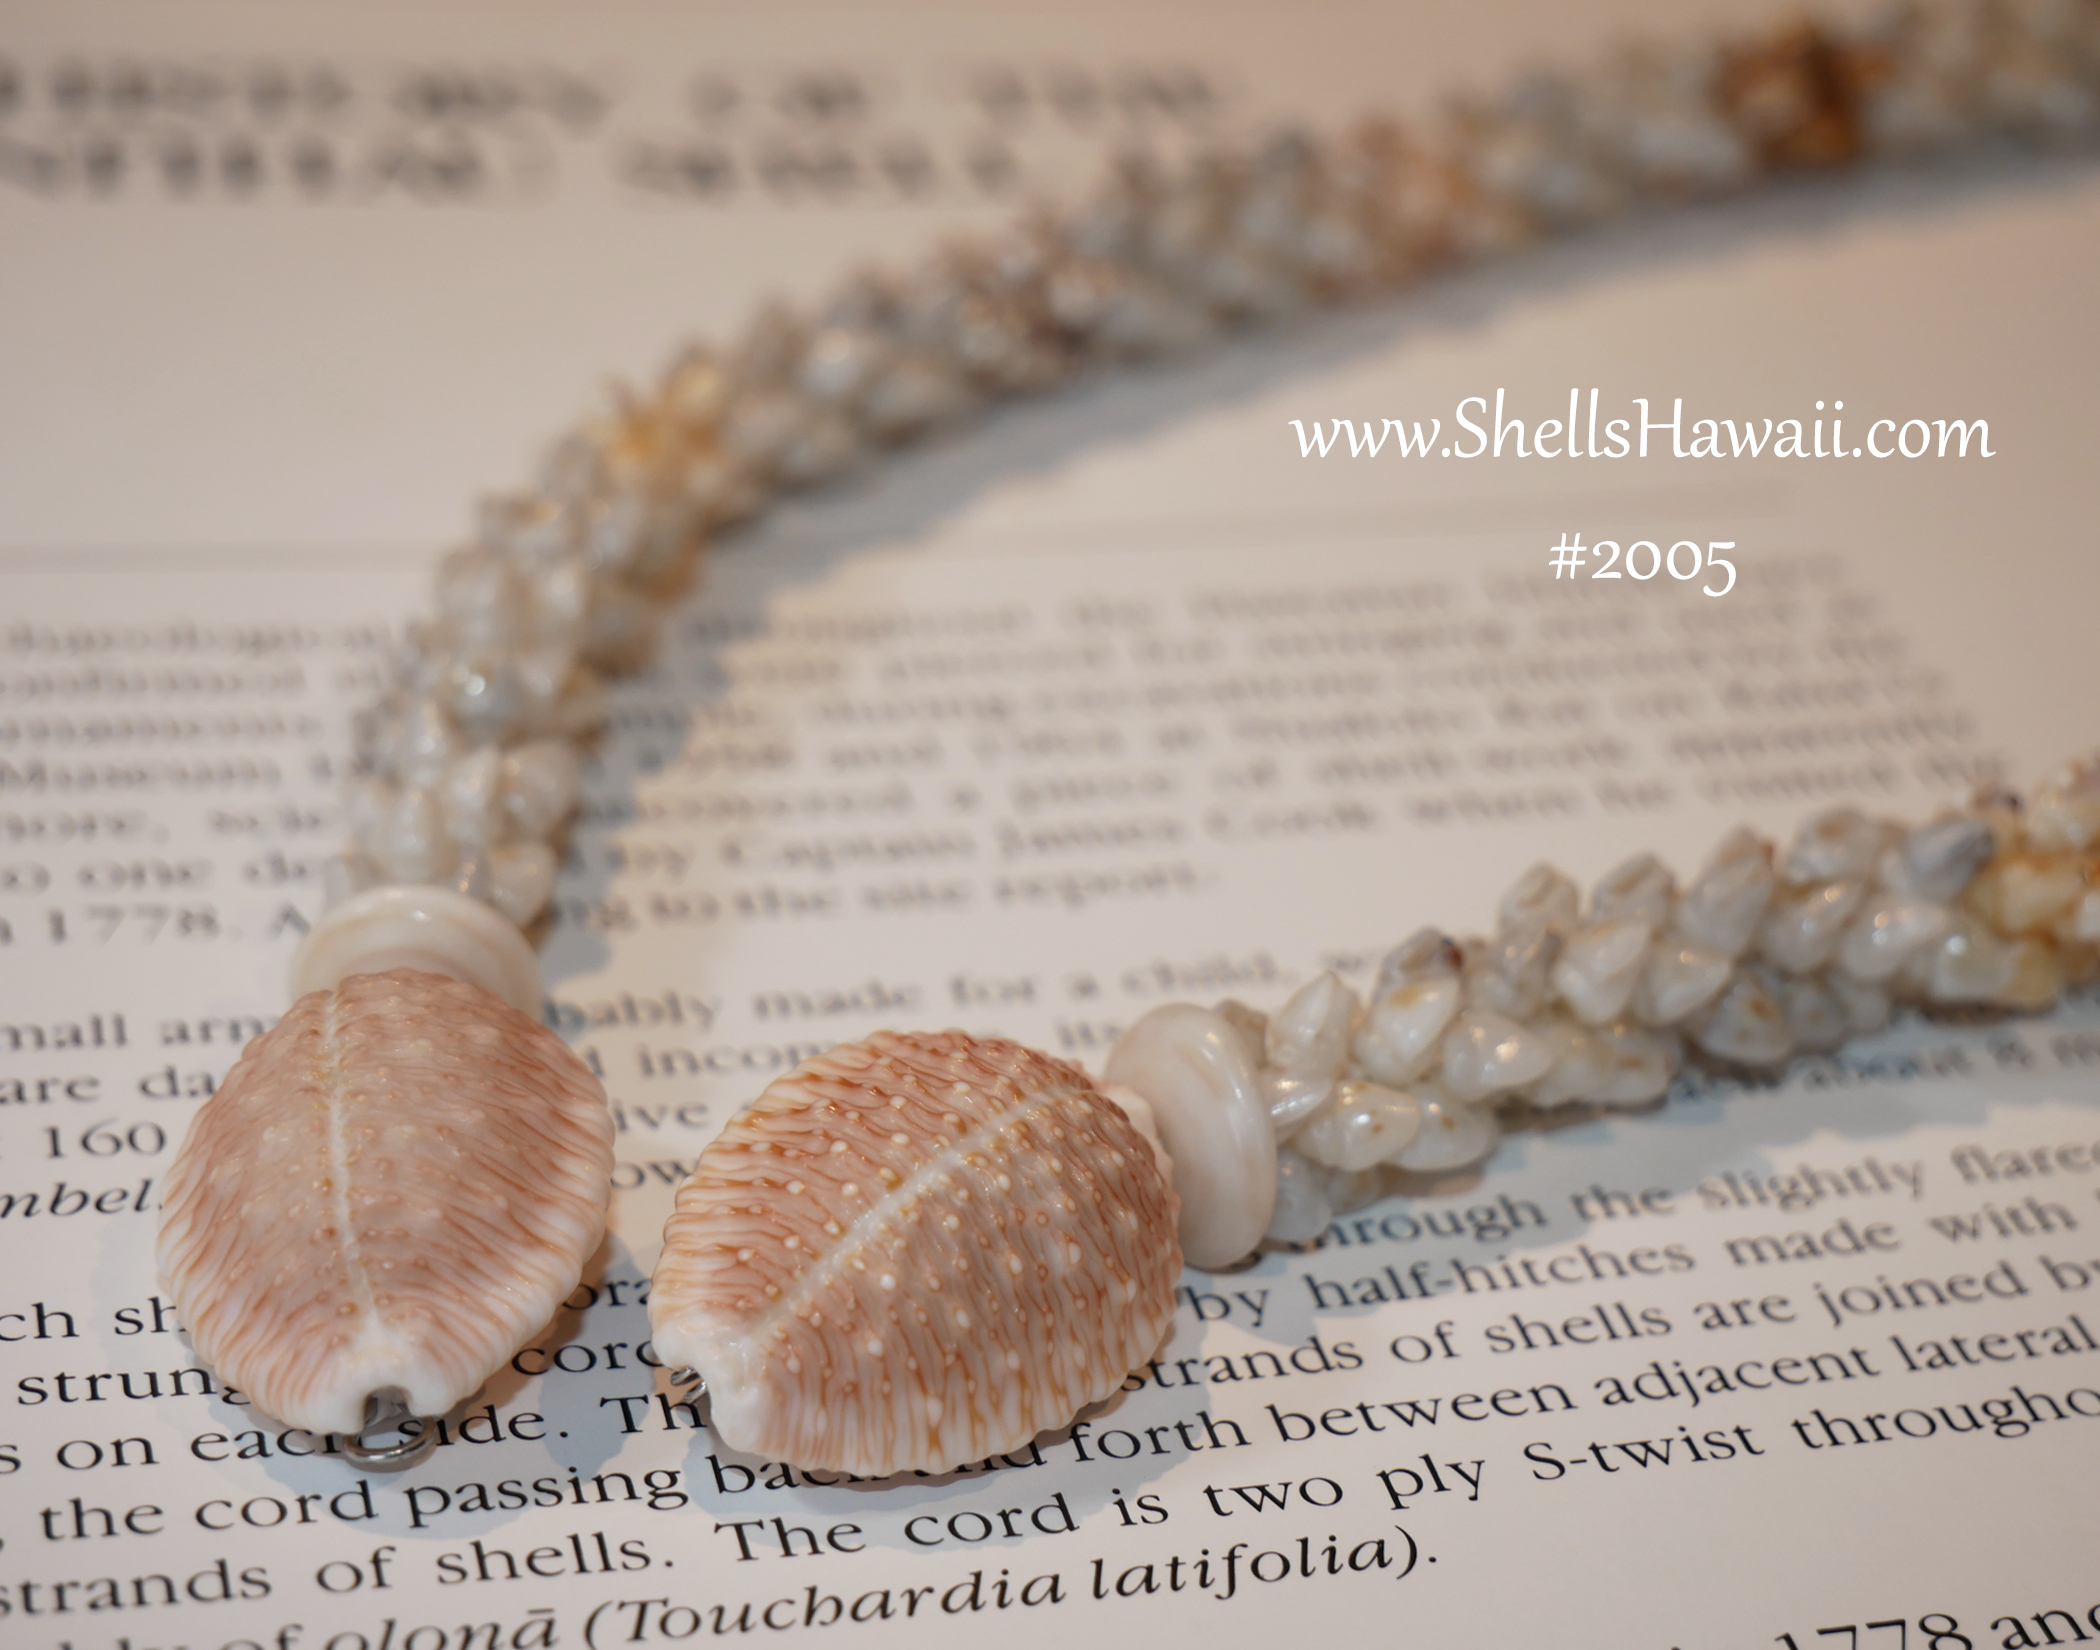
Adding the Clasp
After all the detailed work — selecting colors, sorting sizes, pairing shells, stringing from the middle, and checking every cluster — I finally reached one of my favorite steps: choosing the clasp. For this lei, I decided on beautiful brown granulate cowrie shells. Once they were cleaned, prepped, and set with epoxy, everything came together even better than I imagined.
Originally, I planned to keep this lei around 18–20 inches. But as I continued stringing and seeing how the rhythm was forming, I felt it needed to be just a little longer. So I added a few more sets — and honestly, I think it was meant to be this way. The extra length made the lei look even more balanced and elegant.
The moment I added the clasp and saw the lei fully completed… it made me truly happy. The shape, the balance, the color pattern — everything felt right. Sometimes the final result becomes even more beautiful than what you imagined at the beginning, and this was one of those times.
✨ If you would like to see this lei ⤵️ in my shop, Please click here:
Thank you so much for spending this time with me behind the scenes. I hope this inspires you to keep creating, keep learning, and keep enjoying this beautiful Niʻihau shell art from your heart. If you have any questions or need guidance, you can always contact me — I’m happy to help.
➡️ Learn how a Niʻihau Double-double Pikake lei is made with authentic Momi shells. A detailed guide for Hawaiian jewelry lovers, beginners, and creators (ニイハウシェル).