 USD
USD

Aloha and welcome, everyone,
If this is your first time visiting my website and reading one of my blogs, I’m truly glad you’re here. If you would like to explore more, you can click here to see my other posts — and I hope you’ll take a moment to look through some of my creations made with shells collected from the beautiful beaches of Niʻihau and Kauaʻi. These pieces are part of a long tradition of Niʻihau shell jewelry and Hawaiian jewelry.
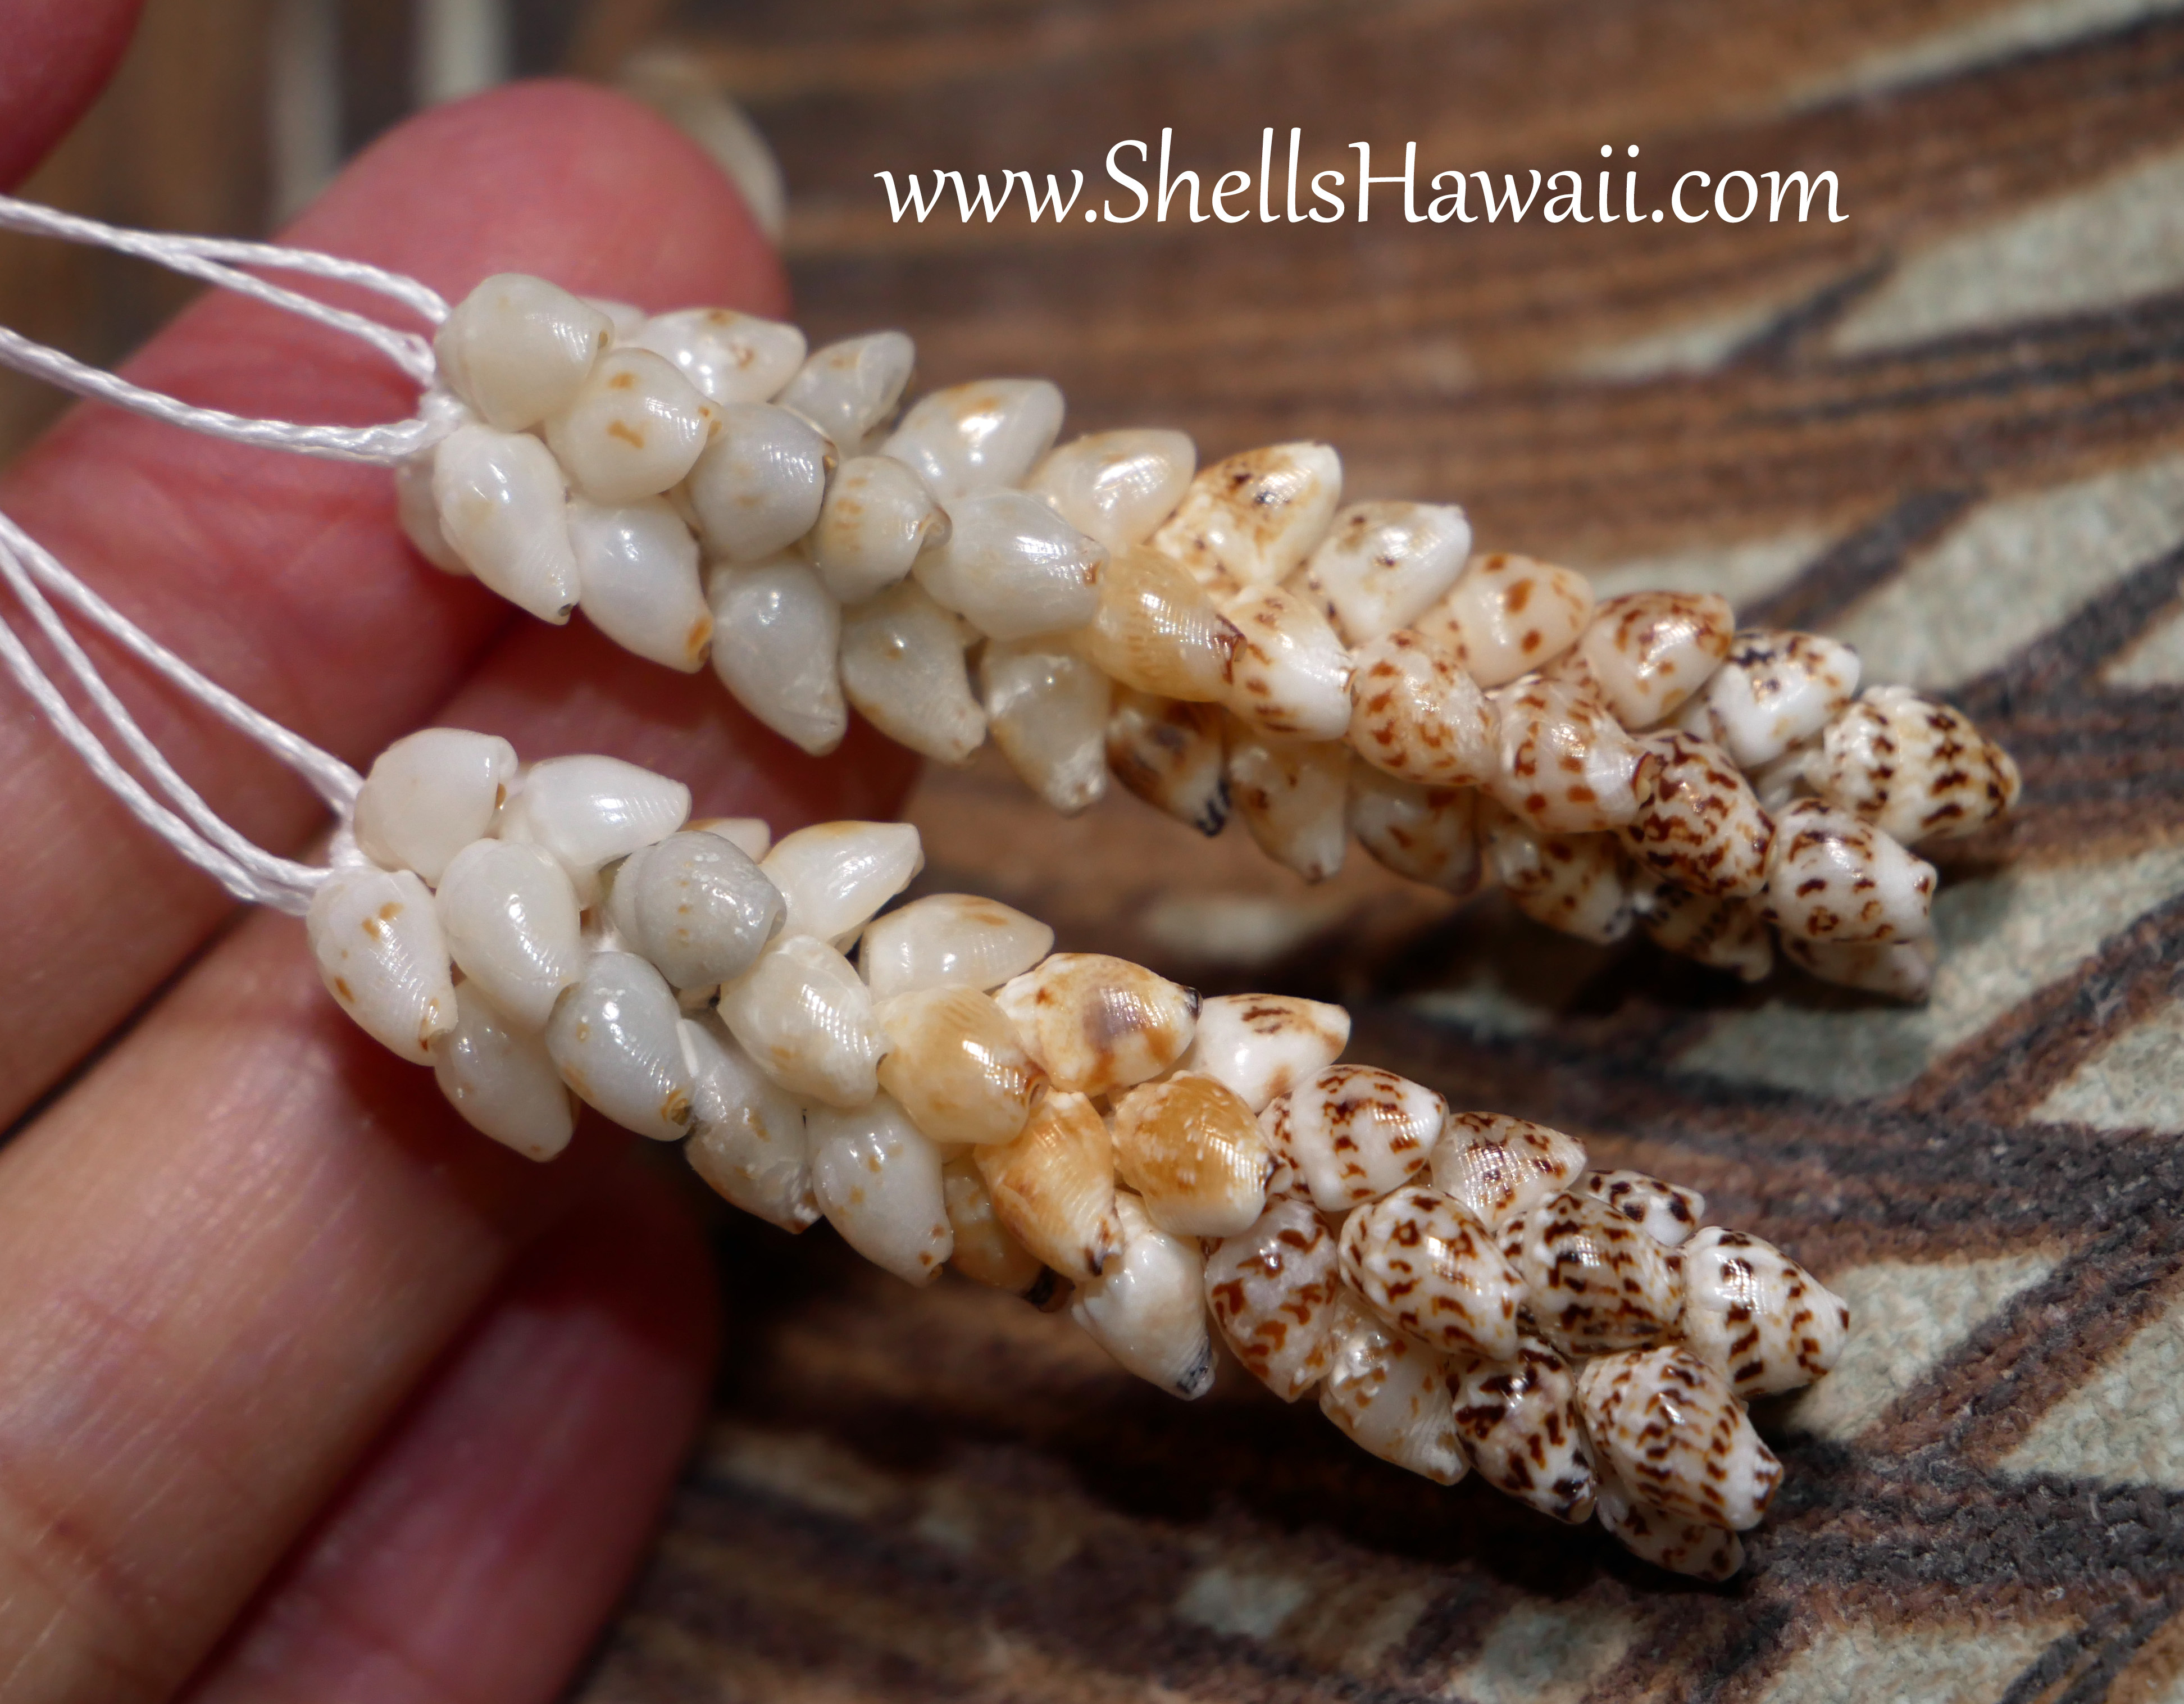
Since I’m writing a blog about the Double-Double Pīkake style, I wanted to show you how a finished piece looks when you use different poking styles. Reading helps, but seeing the shells side by side is what truly teaches you. So I decided to make a few examples — real pieces, tied the way I always make them, not just theory from a book.
And while creating this example, something unexpected happened.
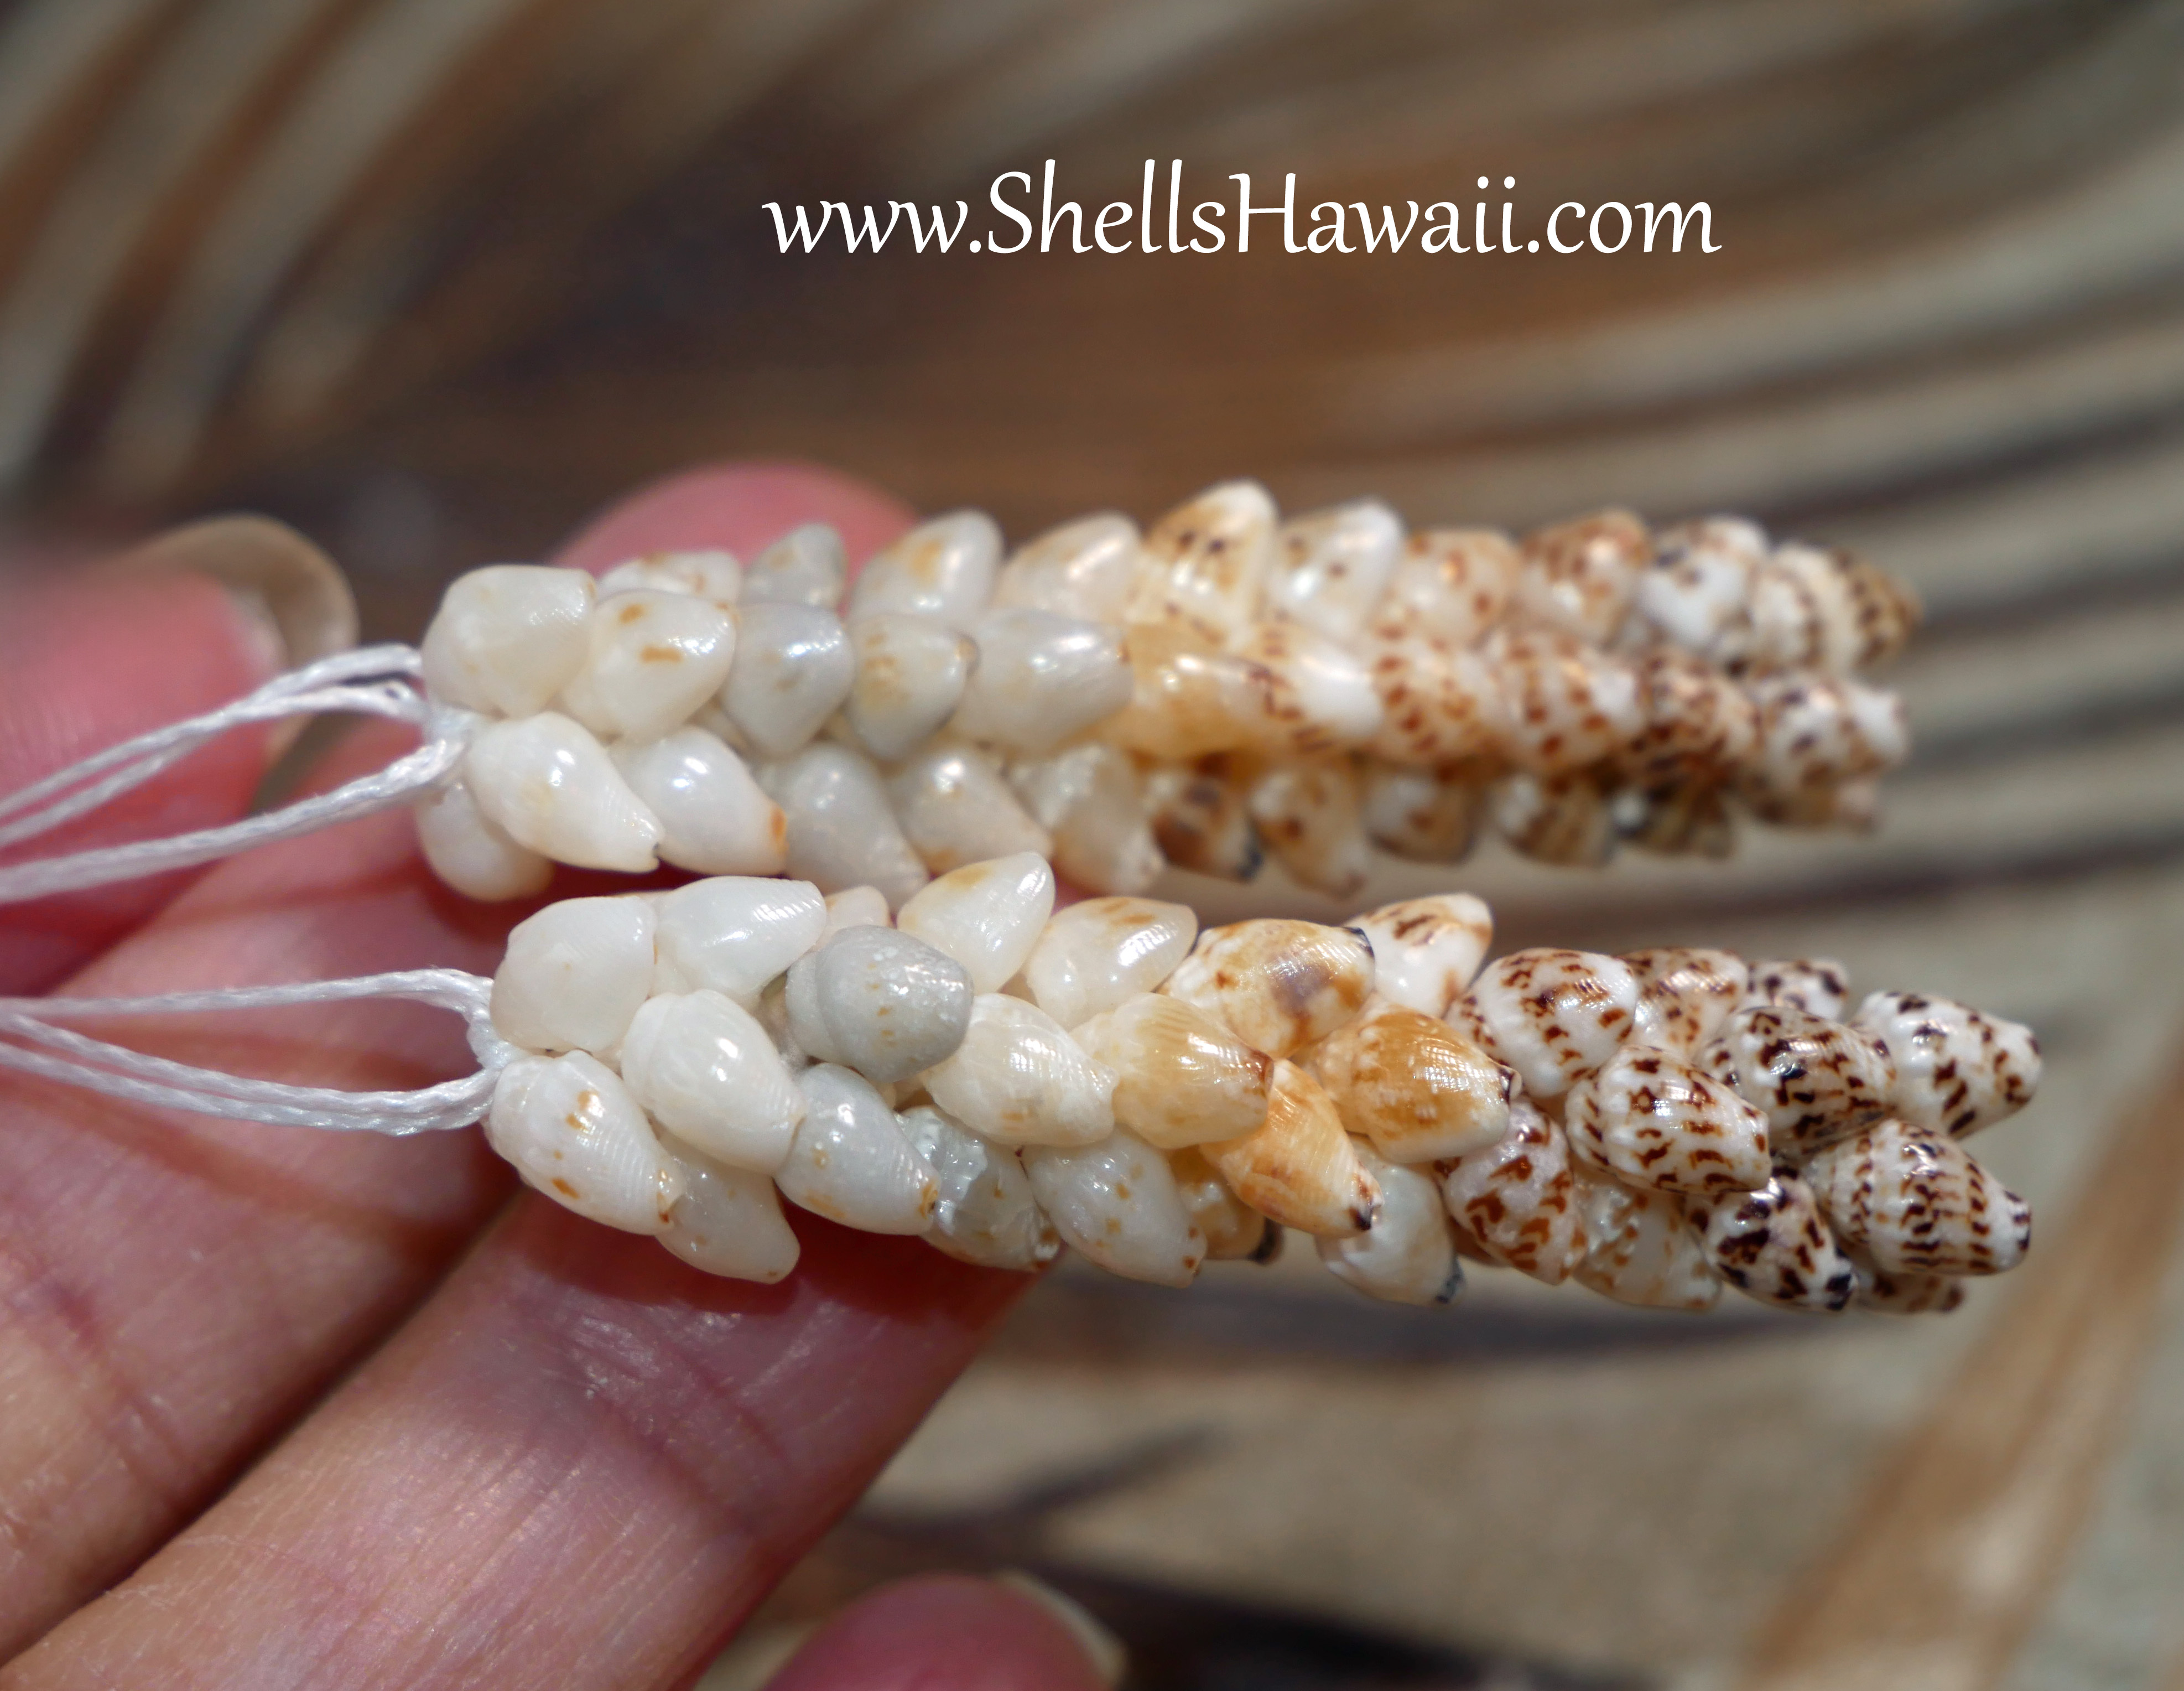
The two sides turned out in completely different shapes — same shells, same poking, same technique, yet they developed two totally different personalities.
That moment is what led to this entire story.
New to Momi Shells in Niʻihau Shell Jewelry
If you’re just beginning your Niʻihau shell jewelry journey and want to understand Momi shells and their many natural colors, you can read my blog about Momi varieties here. It’s a helpful place to start before learning more advanced sewing styles like Pīkake.
I also have beginner-friendly blogs you may enjoy, such as:
- Beginner’s Guide to Niʻihau Shell Jewelry
- What Are Kahelelani Shells?
- What Is the Single Pīkake Style?
- What Is the Double Pīkake Style?
- Why Niʻihau Shells Are Rare and Valuable
And if you would like to see how these techniques look in actual finished jewelry, you’re welcome to take a look at some of my Pīkake-style pieces here. Seeing a finished Hawaiian shell necklace or Momi shell lei often makes the technique easier to understand.
When the Momi Shells Don’t Follow the Same Rhythm
When I create Niʻihau shell jewelry, I always let the shells guide me. I never force them. I follow their rhythm, their tilt, and their natural movement as I tie.
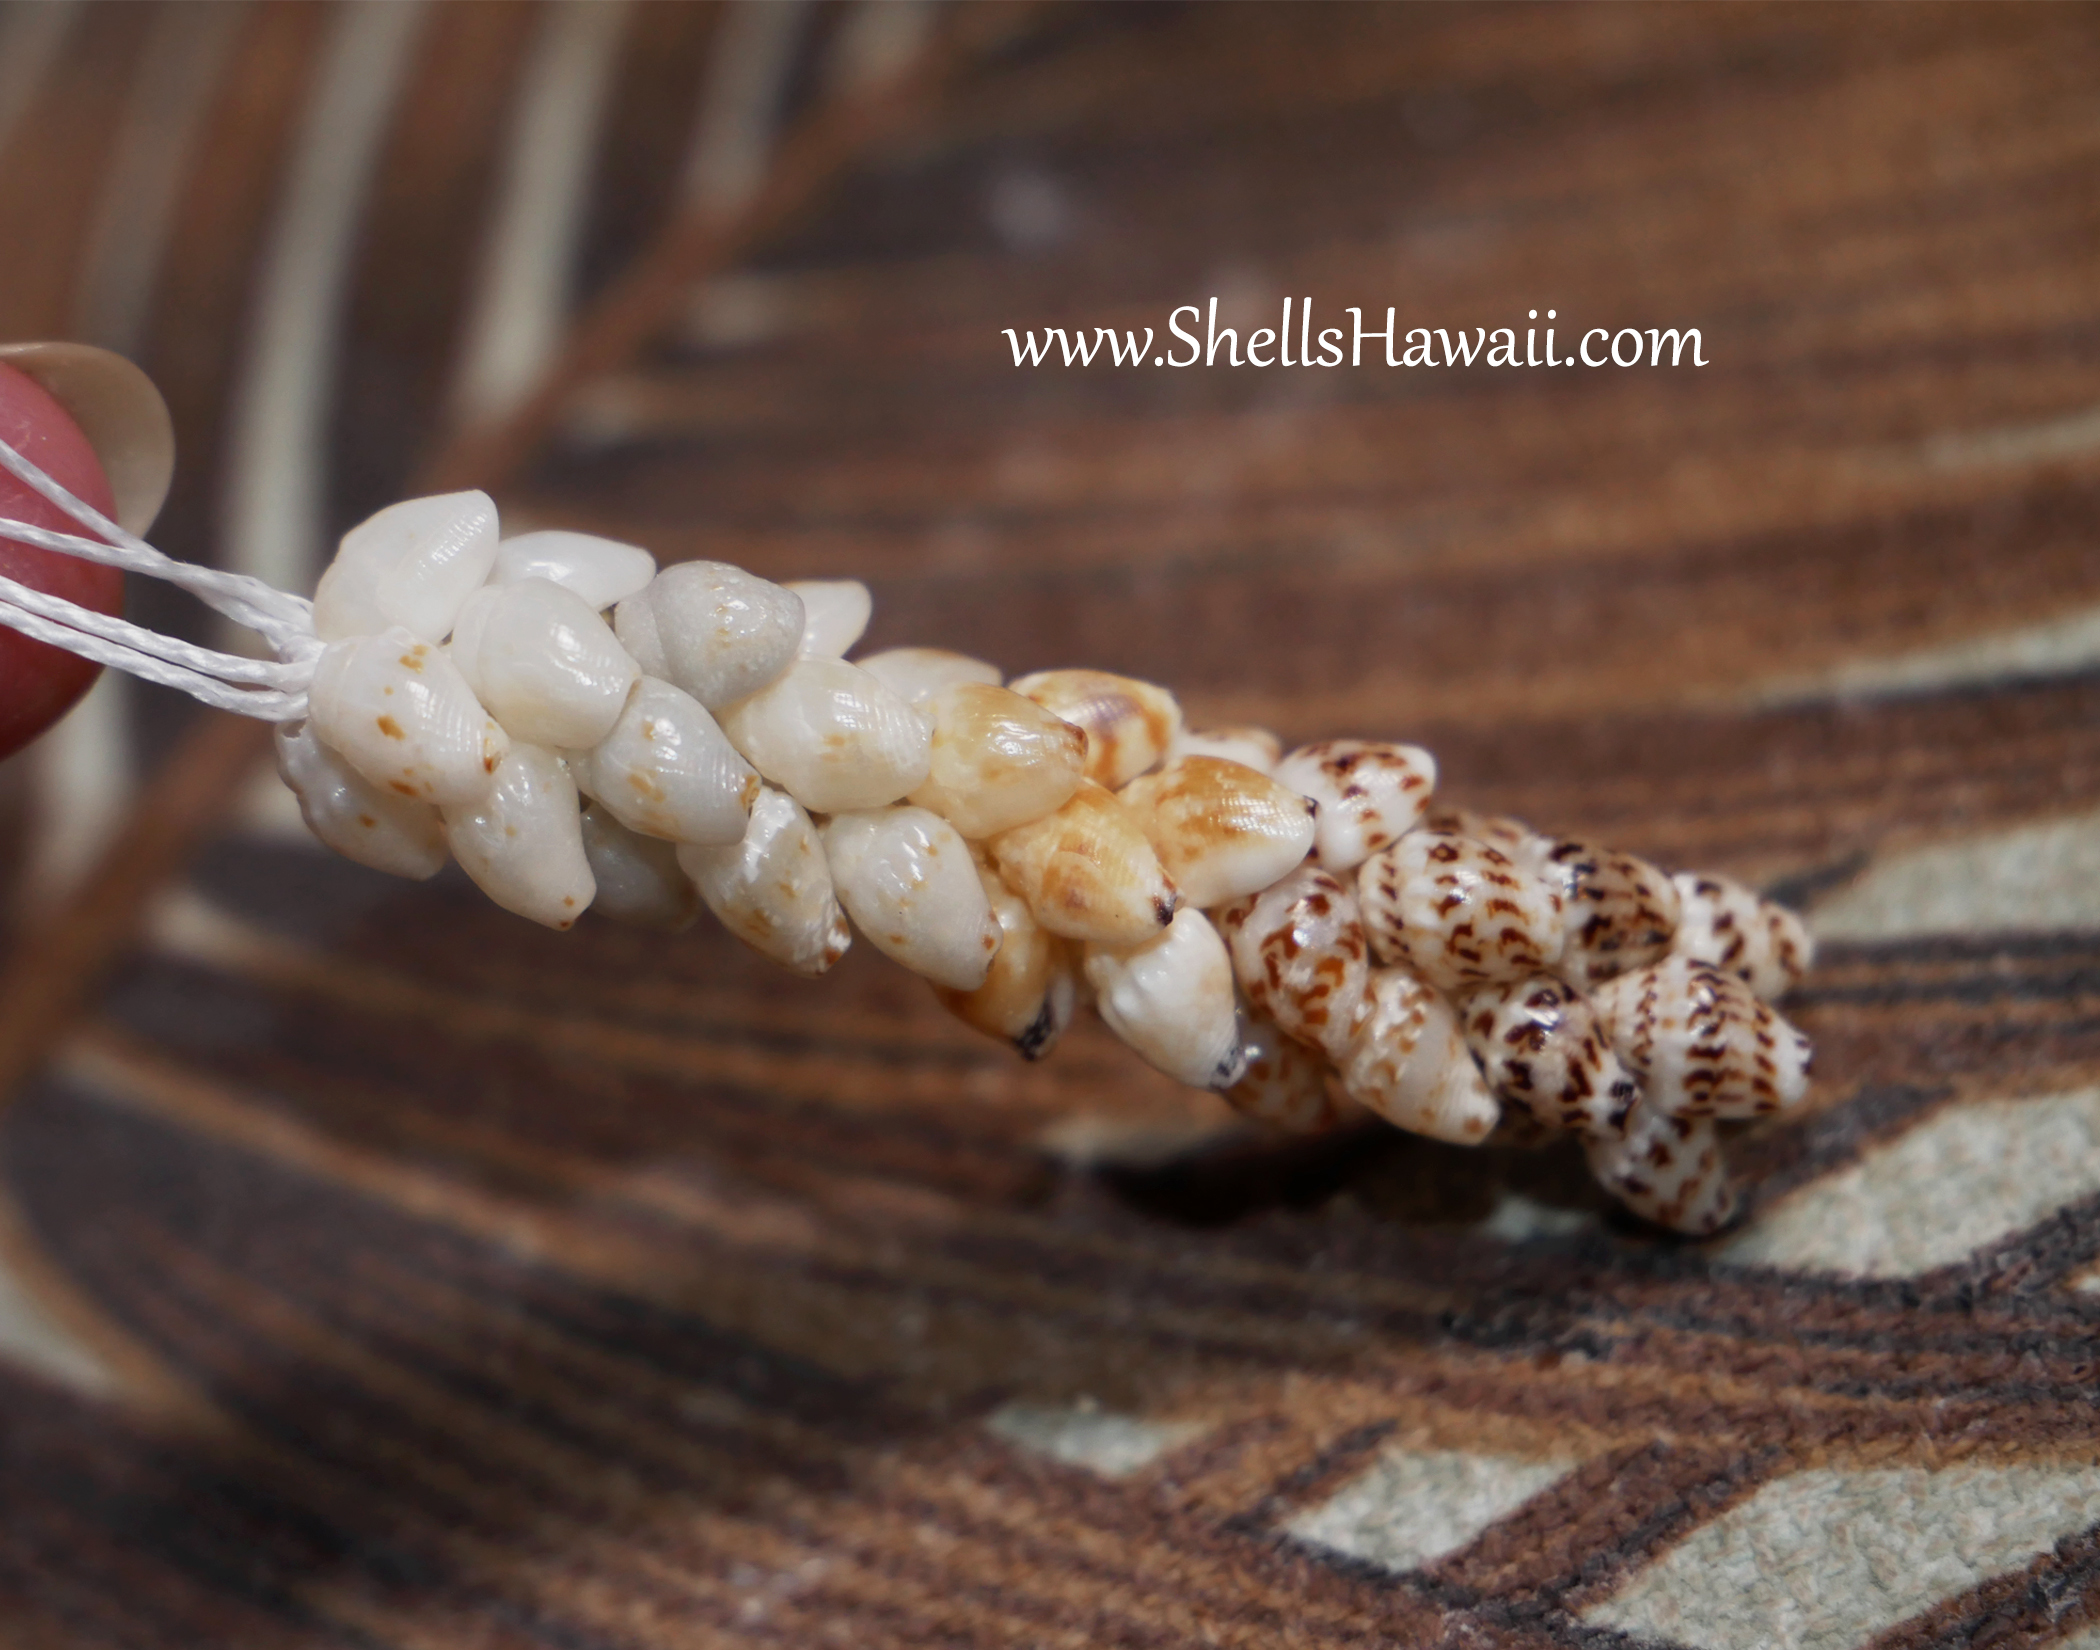
On the first side of this Double-Double Pīkake example, the shells flowed beautifully. They formed a soft spiral, and I thought, “Oh good… this is turning out really pretty.”
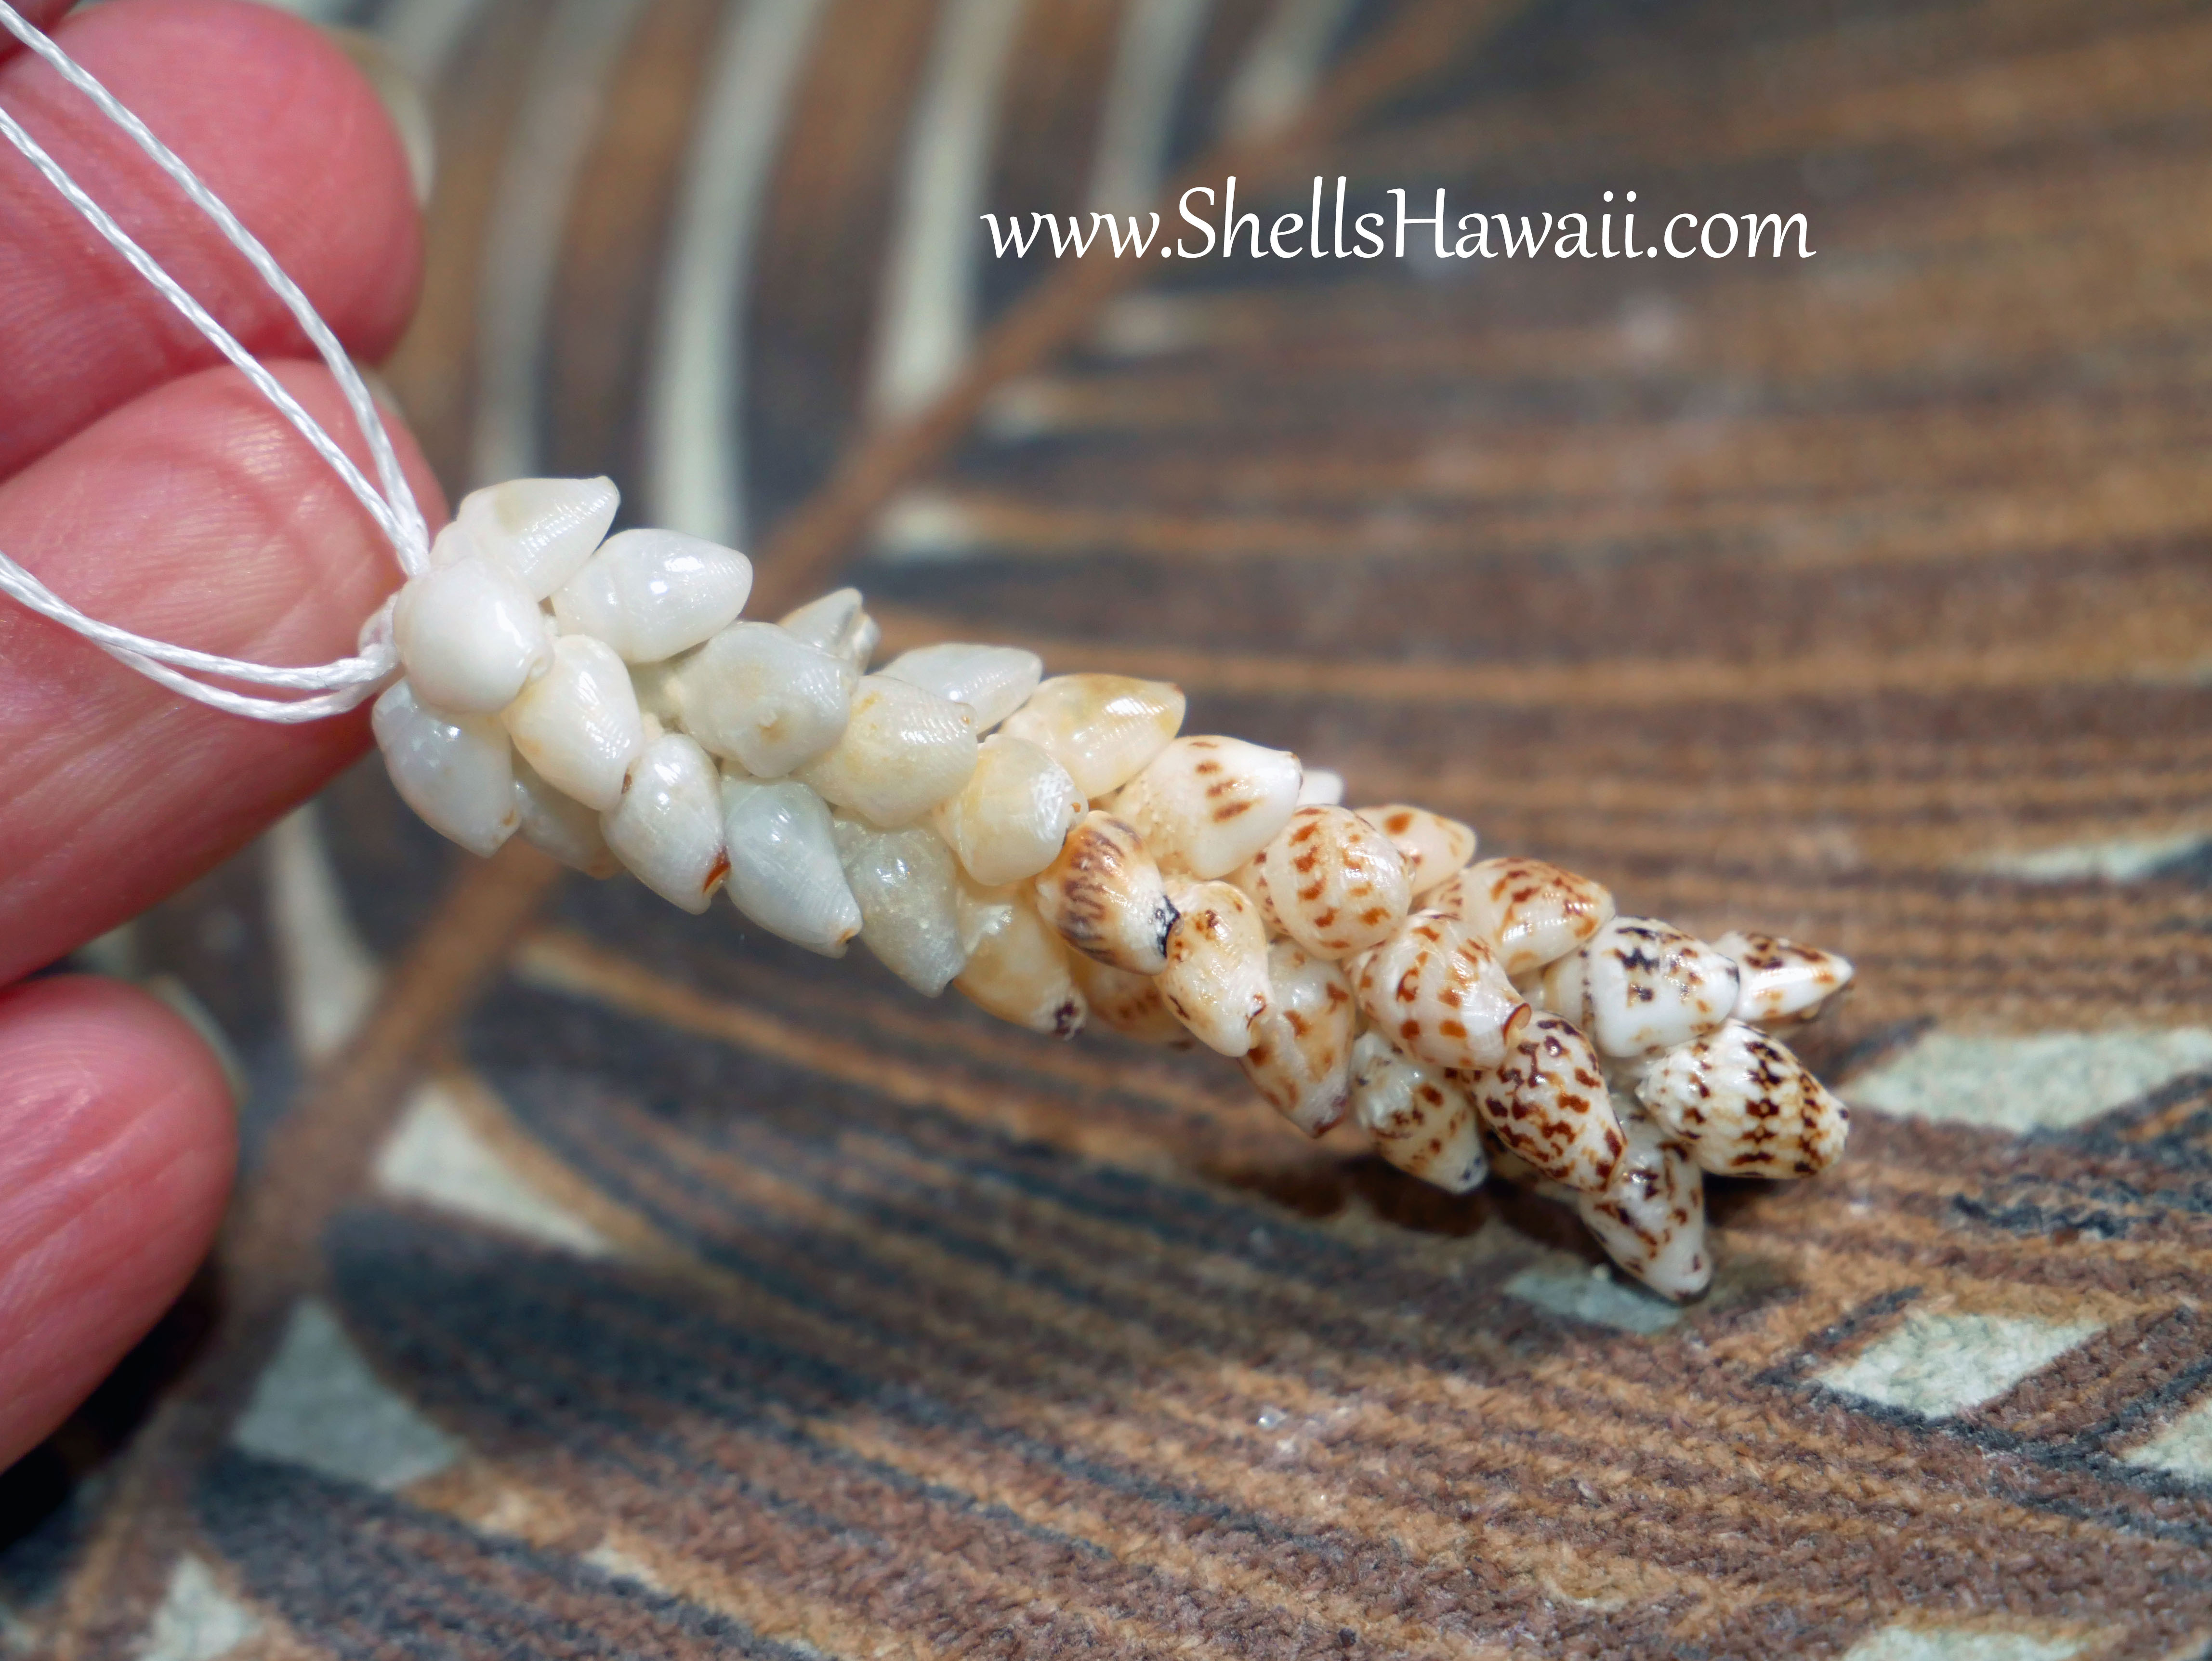
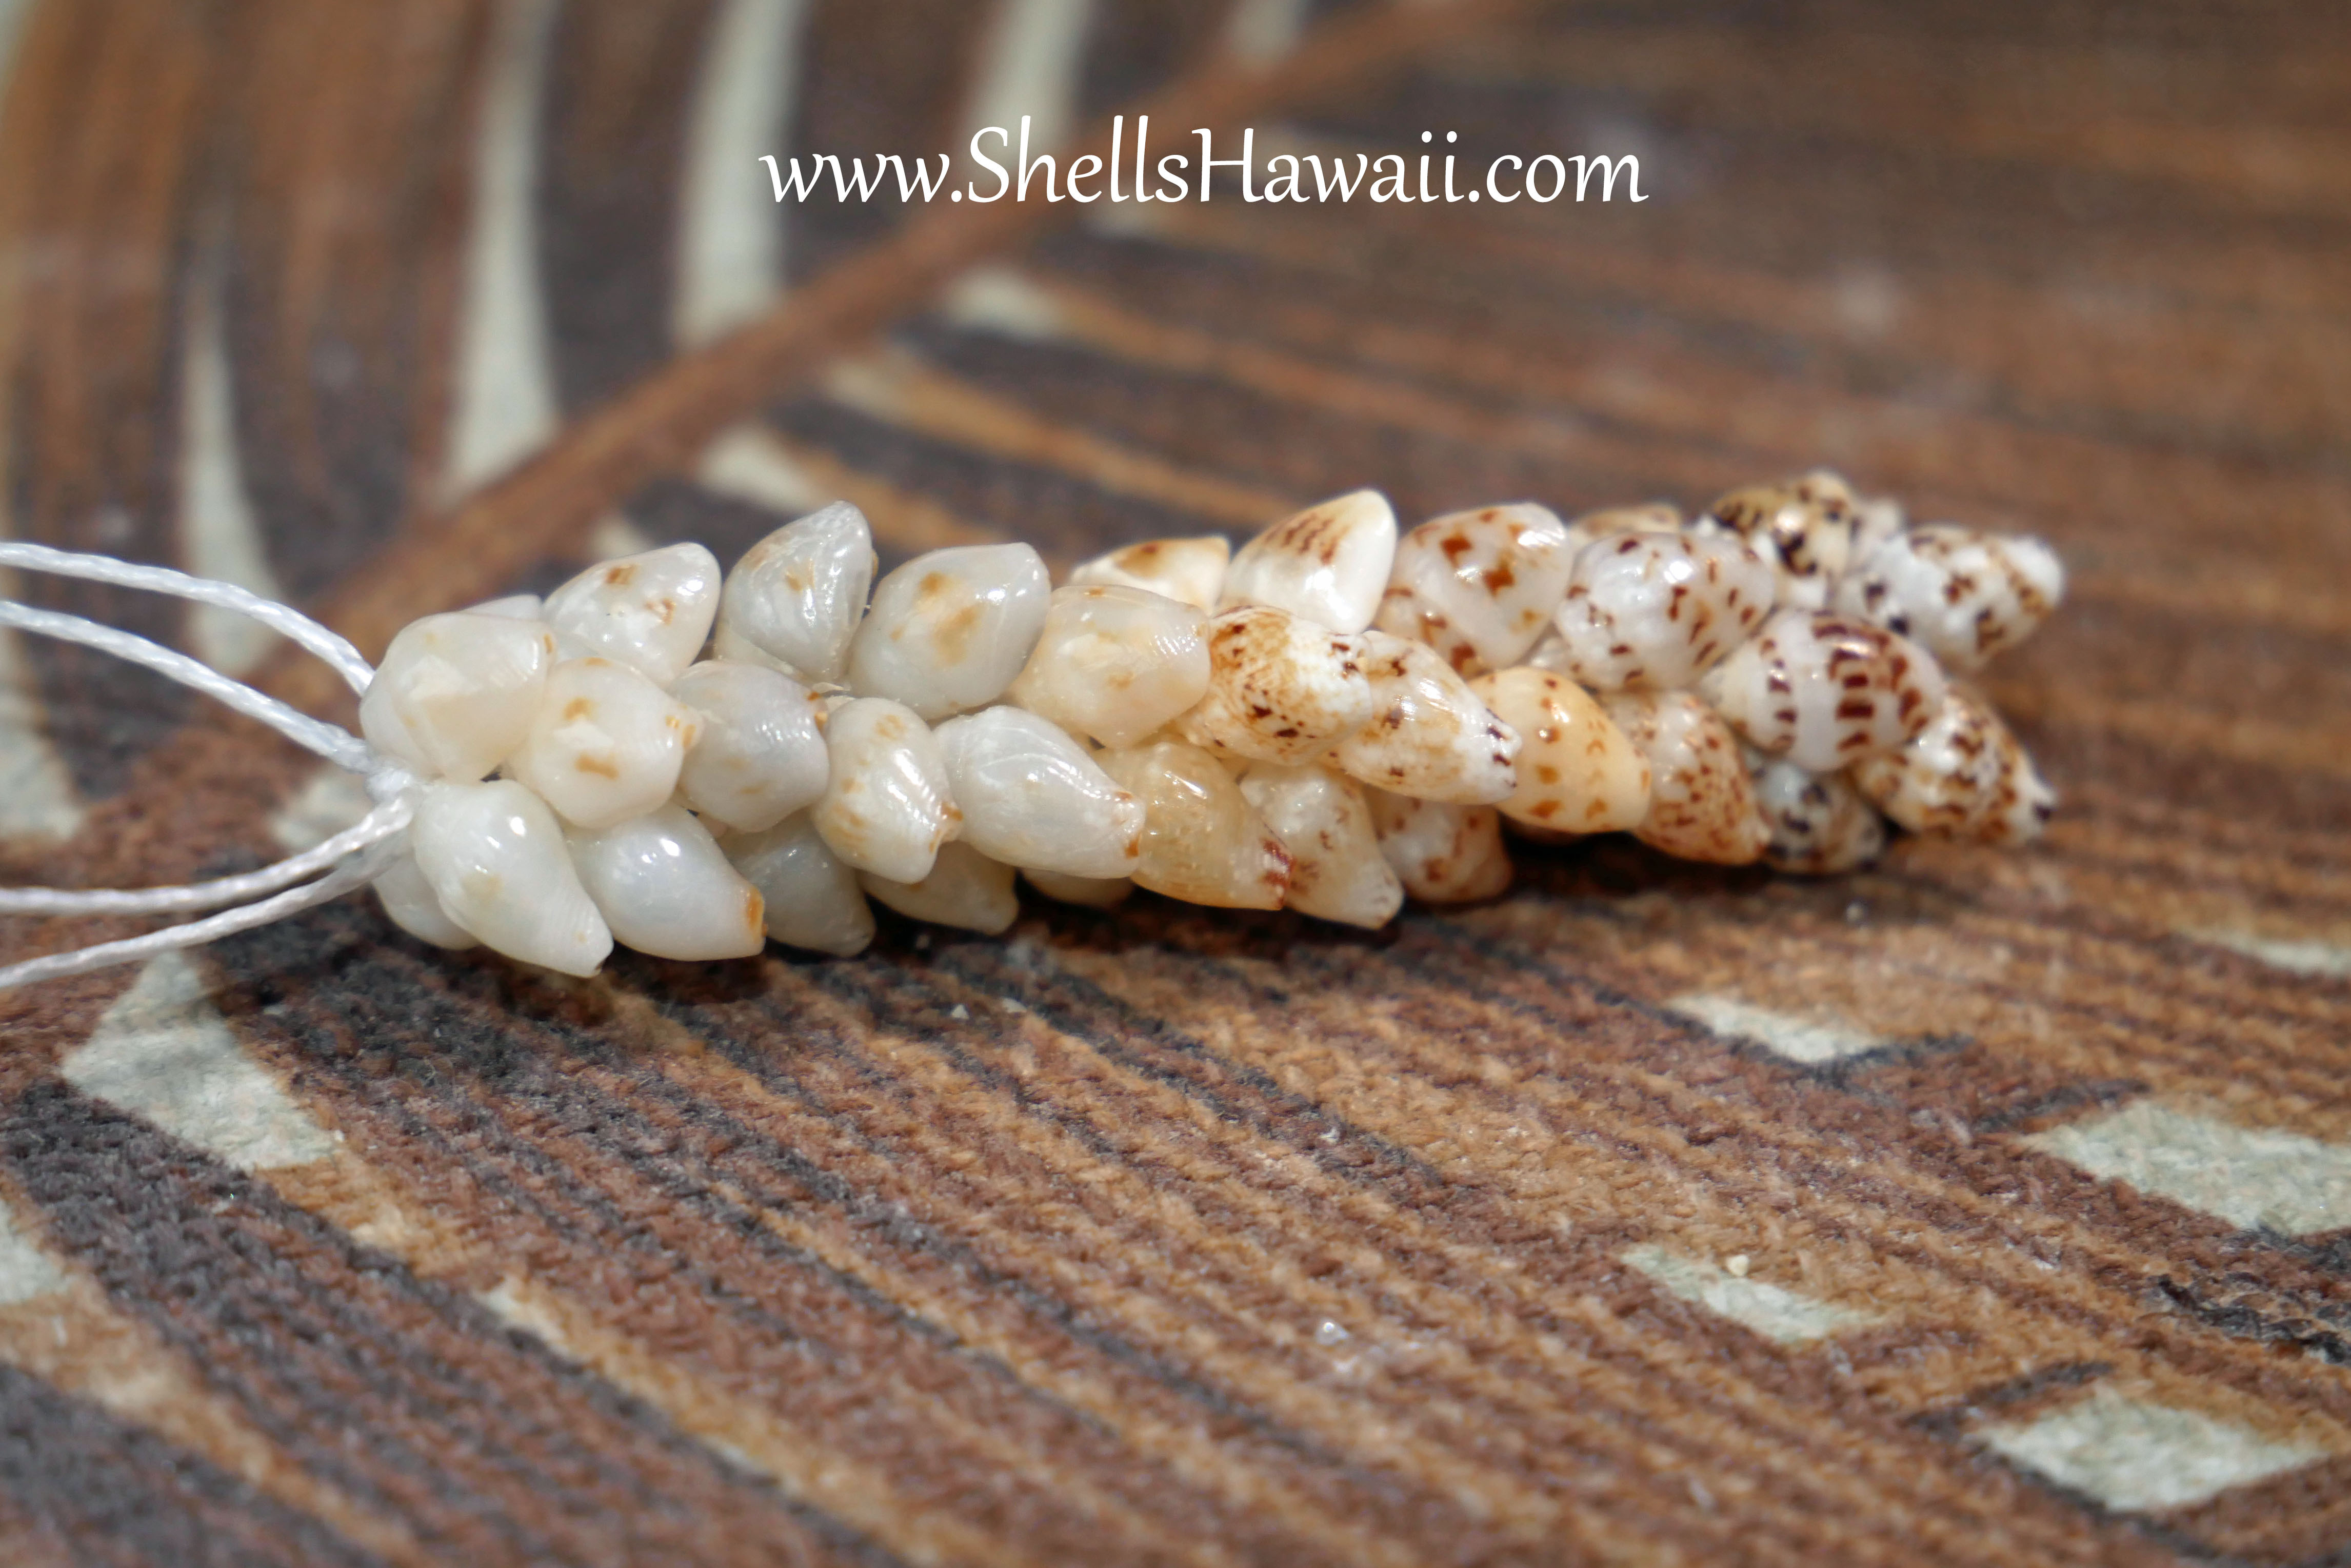
But when I made the second side — using the same poking, the same size shells, and the same technique — the rhythm changed completely. This side didn’t want to spiral. Instead, it tightened and filled out, stacking into a rounder, more solid shape.
You don’t see the difference right away. In the first few clusters, everything feels normal. But as you keep tying, the shells slowly reveal their personality. By the time I reached the middle, the two sides looked nothing alike.
One side soft and spiraled,
the other side full and rounded.
And no — it wasn’t because I tied it incorrectly. I would notice that immediately. What really happened was simple:
The shells did not fall into the same rhythm the second time.
Even with perfect technique, Momi can shift slightly, and in Pīkake-style tying, even a tiny change can create a completely different look. This is part of the challenge when learning how to make Pīkake or any Double-Double Pīkake technique.
Deciding Which Look to Keep… and Starting Over
Once I noticed how different the two sides looked, I paused for a moment and asked myself,
“Alright… what should I do with this?”
One side was soft and spiraled.
The other was tight, full, and beautifully rounded.
They didn’t look related at all — not even close.
I tried giving the spiral side a gentle twist, hoping it would settle into the same shape as the fuller side. But instead of becoming round, it shifted into an unexpected square look. It surprised even me.
At that moment, all I could do was smile and shake my head. When Momi shells decide the shape they want to take, they truly follow their own path.
After looking closely at both sides, the fuller one stood out. It had a clean, balanced look that felt right for this design. So I chose that side as my guide and carefully untied the first side to begin again.
The second time around, the shells moved together the way they needed to. They followed the correct rhythm, locked neatly into place, and matched the fuller shape perfectly. Same shells, same poking, same technique — just a different flow this time.
And that’s how the pair finally came together.

The Hidden Challenges Behind Quality Niʻihau Shell Jewelry
Creating Niʻihau shell jewelry will always have moments like this — unexpected surprises that show up right when you think everything is going smoothly. Sometimes a shell may break in a section you’ve already passed… and when that happens, you have to make a choice. Some people use a little epoxy to patch it and keep going. For me, I don’t do that. I take the whole section apart and redo it. And yes, this has happened more than once.
Finishing a truly beautiful piece can take much longer than you think. Shells break, shells sit uneven, the rhythm shifts, the string might show — and if you manage to finish a piece on the first try without any trouble, that is a very successful piece.
If you ever look at a Niʻihau shell jewelry piece and notice string showing, uneven movement, or something that feels “off,” it’s because something is off. Sometimes the creator simply decides to leave it and move on. Maybe they think no one will notice, or that this is “how it’s supposed to be.”
But the truth is: it’s usually because they didn’t want to spend extra time to fix it.
This is what separates quality work from quick work — the willingness to undo, redo, and polish the piece until the shells look their best.
So when I create something meaningful, whether it’s for someone I love or for someone who buys it from me, I believe in quality and detail. Whoever receives the piece should feel confident knowing I did my very best, and that every shell in that design carries my care, my patience, and my aloha.
A Little Lesson for Anyone Learning how to make the Pīkake style
If this ever happens to you — and trust me, it does happen sometimes — your earrings may turn out with two completely different looks. And yes, there are days when they even end up different lengths. When that happens, you really don’t have much choice except to redo the side that doesn’t match.
In one of my ➡️ upcoming blogs, I’ll share a few ways you can try to fix the problem before deciding to take everything apart. Sometimes there is a small trick you can try first. But most of the time, the only thing you can really do is laugh. You won’t see it coming. You tie one side, everything feels normal, and nothing looks wrong. The shells stay quiet until the very end — and only then do they reveal the surprise.
Even with perfectly matched shells and careful poking, the second side can fall into a different rhythm. And in Pīkake-style tying, rhythm is everything.
When that happens, just do what I do:
choose the side you love more and recreate the other to match it.
It takes patience, but the result is always worth it — and that’s why Niʻihau shell jewelry remains one of the most unique forms of Hawaiian craftsmanship, from earrings to necklaces and leis.
That is the joy of Niʻihau shell jewelry. Every piece teaches something new, and every style reveals its own personality — a beautiful tradition of handmade Hawaiian jewelry treasured by collectors everywhere.
More Blogs to Explore on Niʻihau Shell Jewelry
If you’d like to explore more, I have many other blogs already published how I began this journey, how Niʻihau shells are collected, and I hope they help guide you on your own path in learning Niʻihau shell jewelry.
You’ll also find beginner blogs, buyer’s guide blogs, and behind-the-scenes stories about how I create my pieces — including how I sort shells, how I tie different styles, and challenges that happen during the process.
If you would like to purchase the earrings I used in this example, they are available in my shop — you can ➡️ click here .
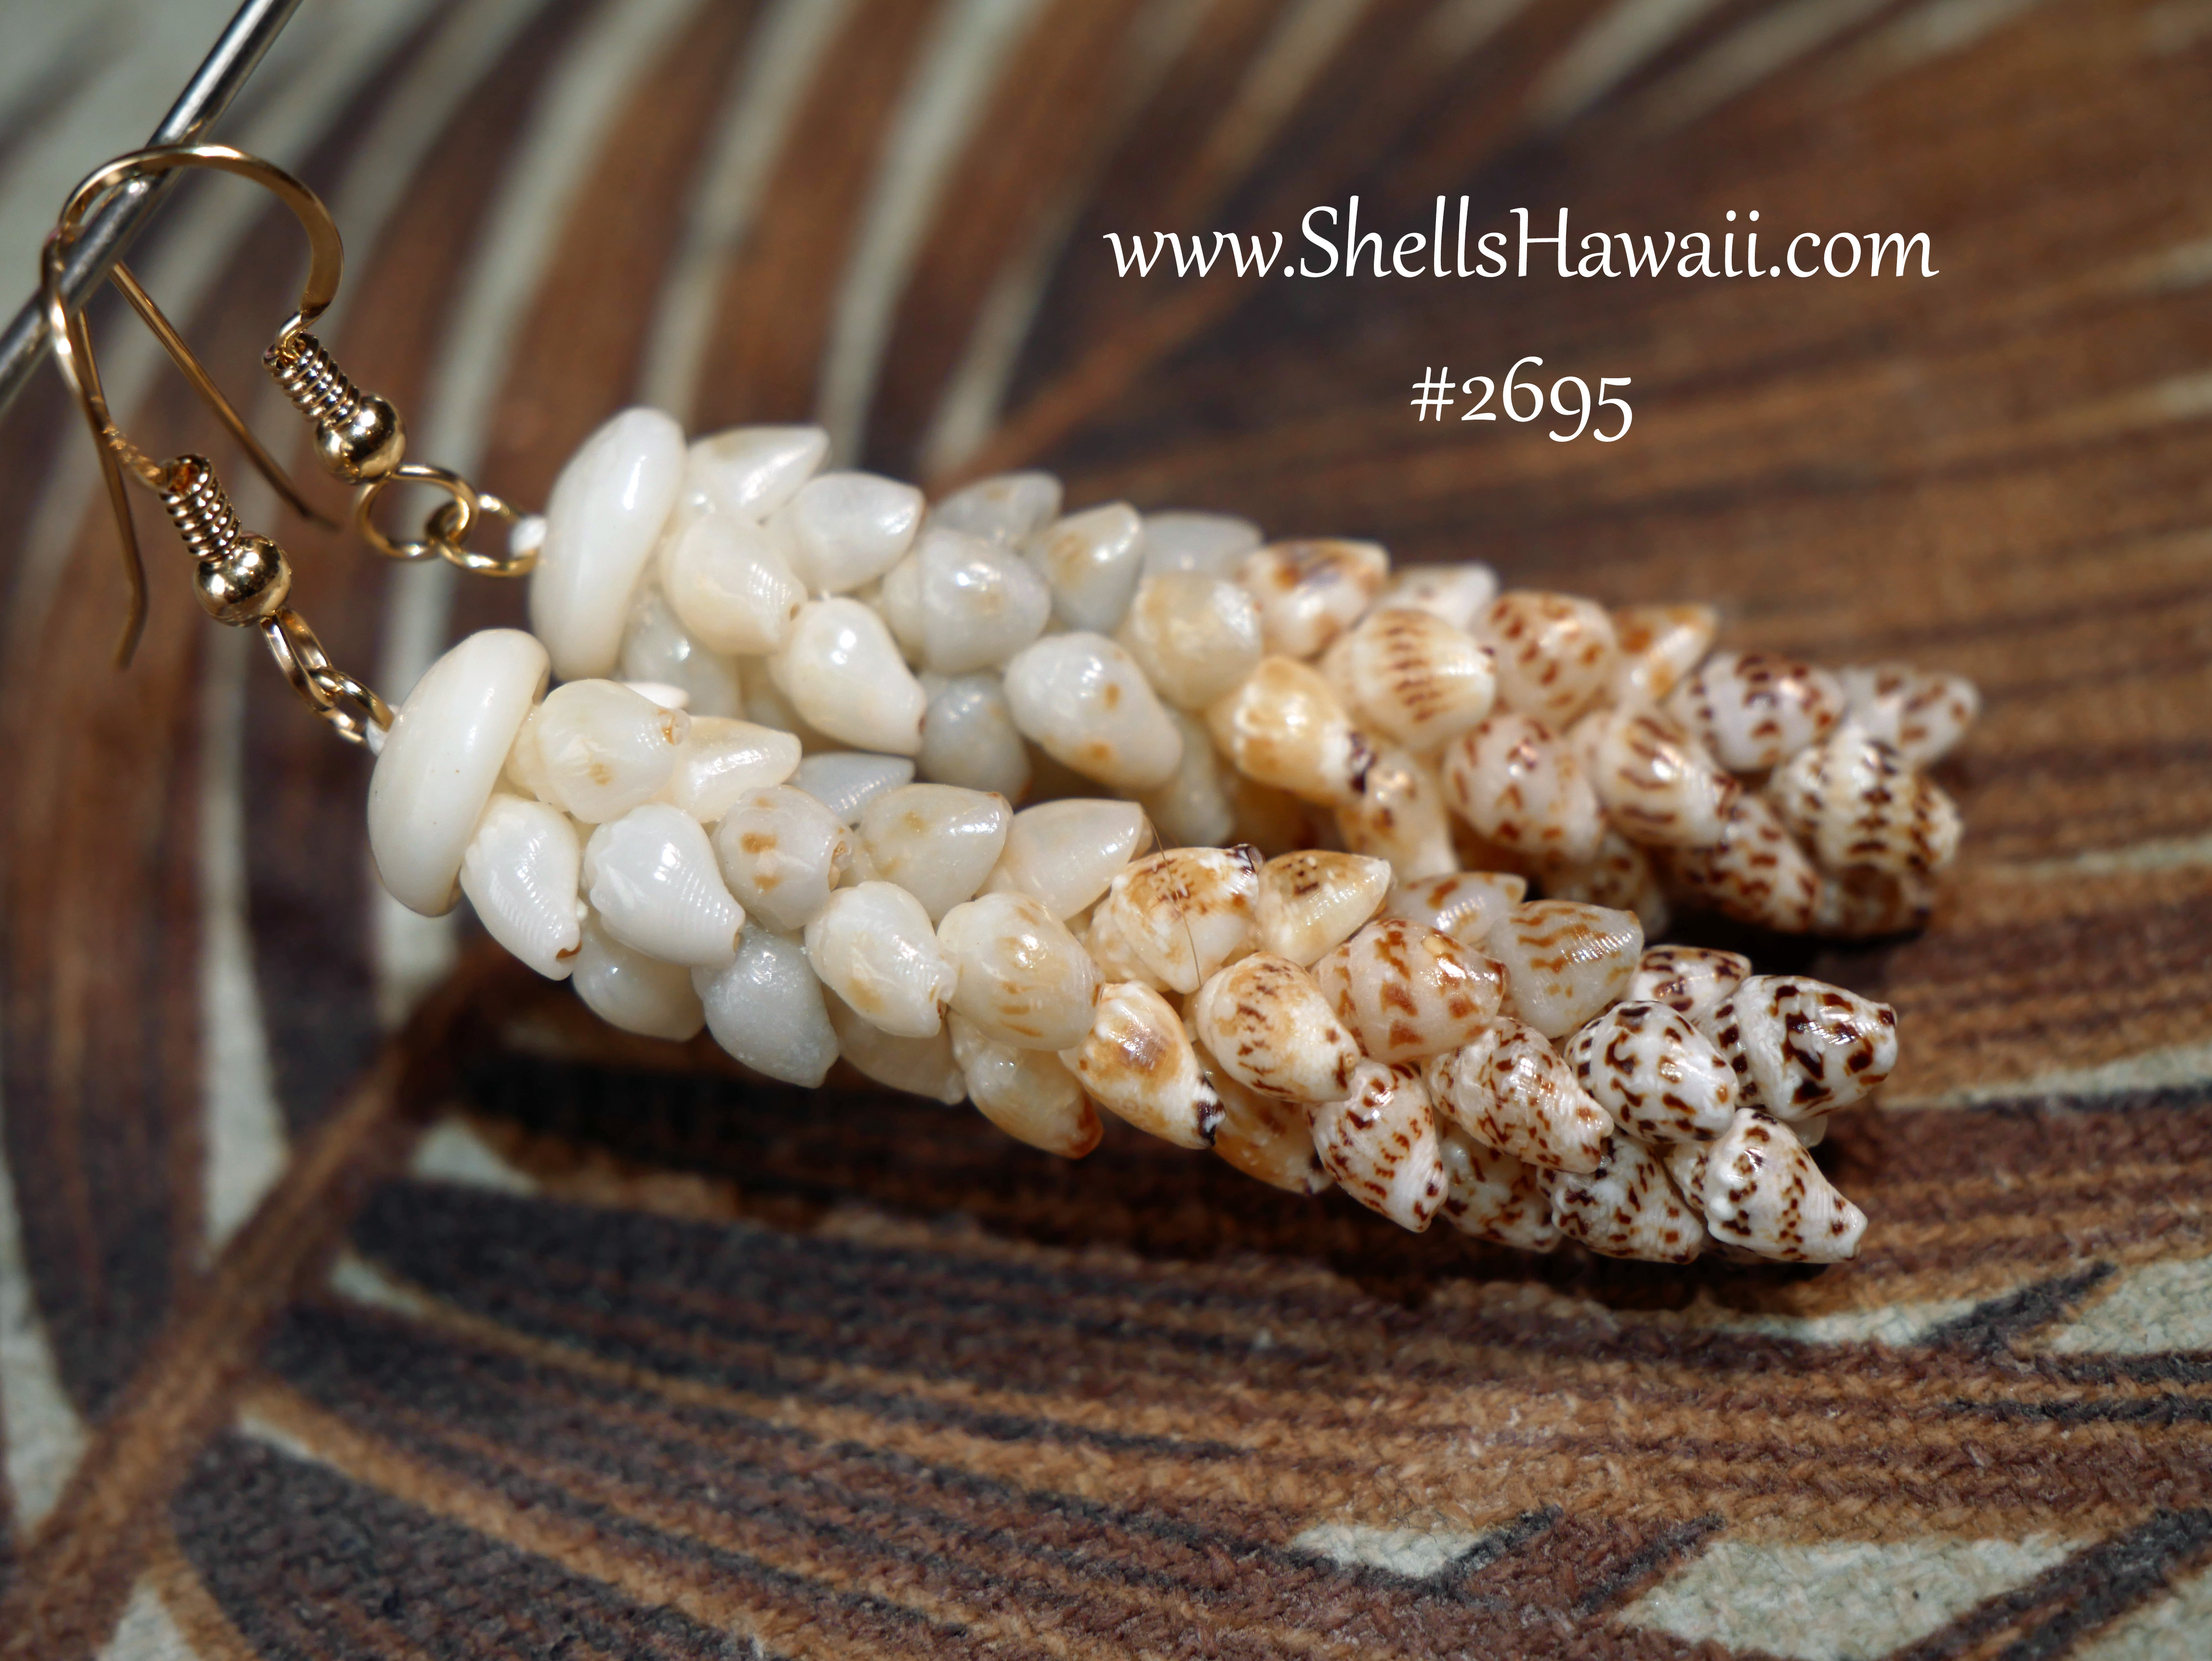
For most designs, I only make one piece. Once it sells, I usually don’t remake the exact same design again.
And if you want to see what customers have experienced before deciding, you can read their comments here:
https://shellshawaii.com/testimonials/