 JPY
JPY

Aloha and welcome back everyone,
If you’ve been following along with me since I left for vacation, now I’m finally back again. After a long break filled with family time, quiet moments, and a slower rhythm of life — not quite the kind where you sit on the beach and truly rest, but one filled with time spent with family, helping at the farm, and staying busy in between — it feels so nice to sit back down at my work table and start creating once more.
Even while I was away, my creativity never really rested. During little breaks throughout the days, I kept thinking about new designs, color ideas, and the pieces I wanted to make when I returned home. These new Heleconia style earrings are some of the first creations that came to life from those thoughts — soft inspiration carried home with me.
Before this post, I already shared another update showing some of the pieces I worked on during my vacation. I’m still finishing the earring hooks, taking photos, and updating everything on my website, so please check back from time to time. I’ll try my best to add new designs little by little as they become ready. Now let’s step into the behind-the-scenes process of how this beautiful Heleconia design comes to life.
Sorting Through the Momi Shells for My New Heleconia Style Earrings
As I mentioned in my last behind-the-scenes post about the Heleconia style earrings, we were sorting through the yellow Lenalena shells together. Heleconia is such a fun style to create because you can mix many different Momi colors and add Kahelelani shells accents to build unique patterns. Each color combination brings a different look and feeling, and it’s always exciting to see how the finished piece turns out. Since my Heleconia style earrings are now getting low in stock, I decided it was time to create a new set of earrings to add to my collection.
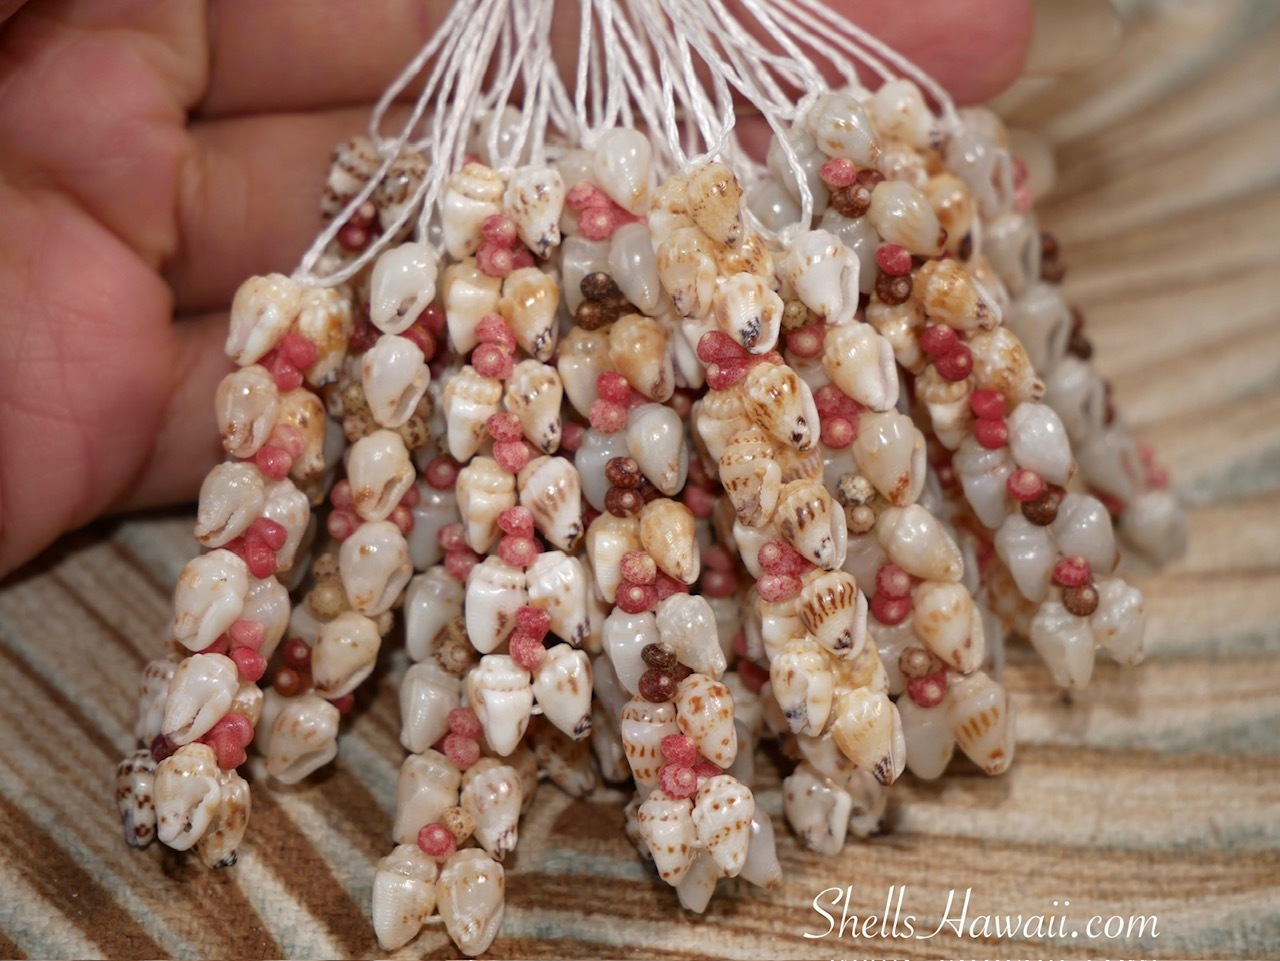
The Momi shells in the photos show many different colors and sizes together. When you look at a pile like this, how many shades and size differences can you see? These shells have already been carefully sorted, with all imperfect pieces removed, and separated from the B–C grade shells, so what you’re seeing here are only A-grade quality Momi shells.
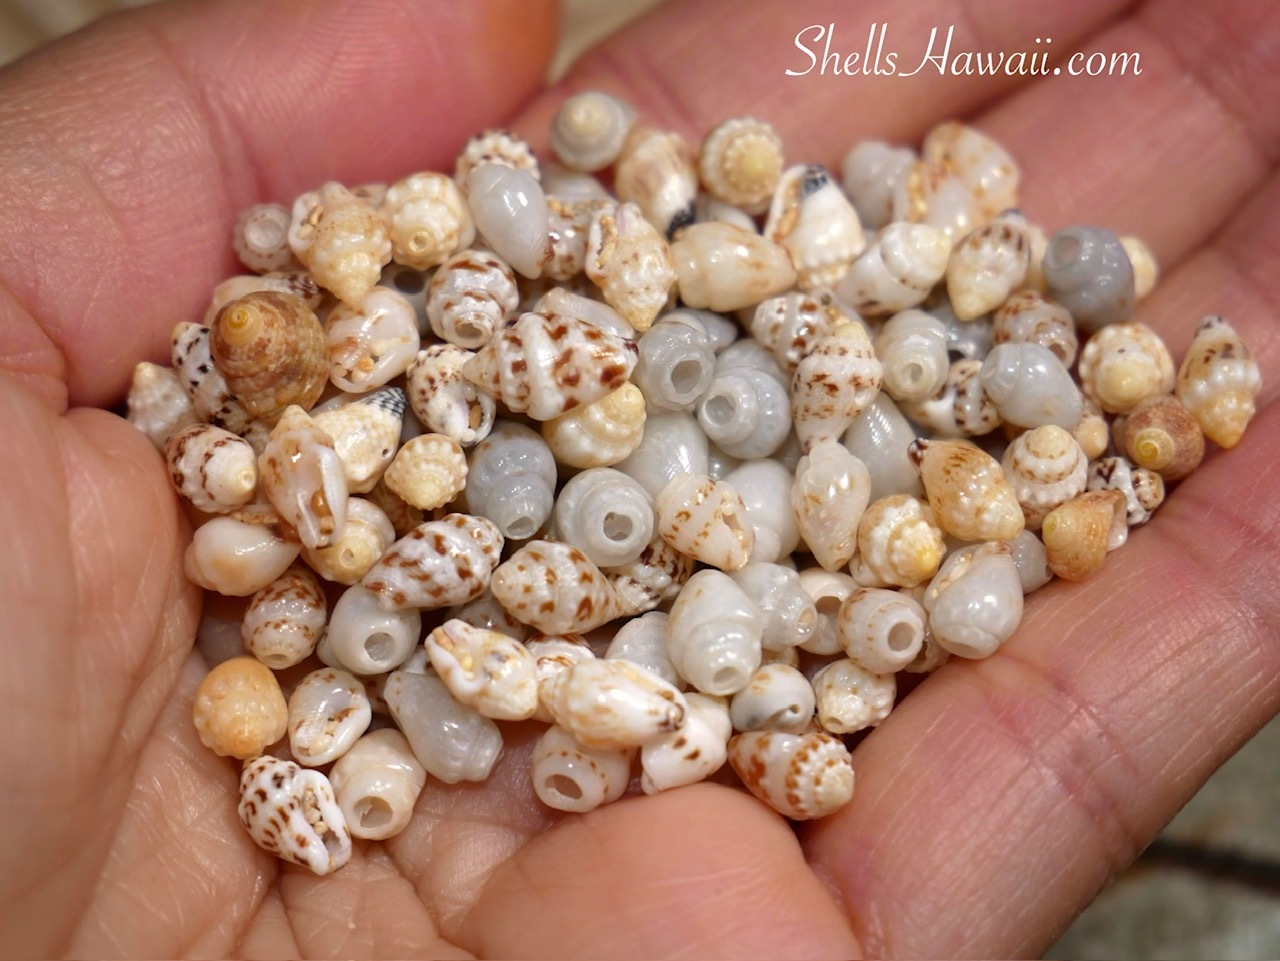
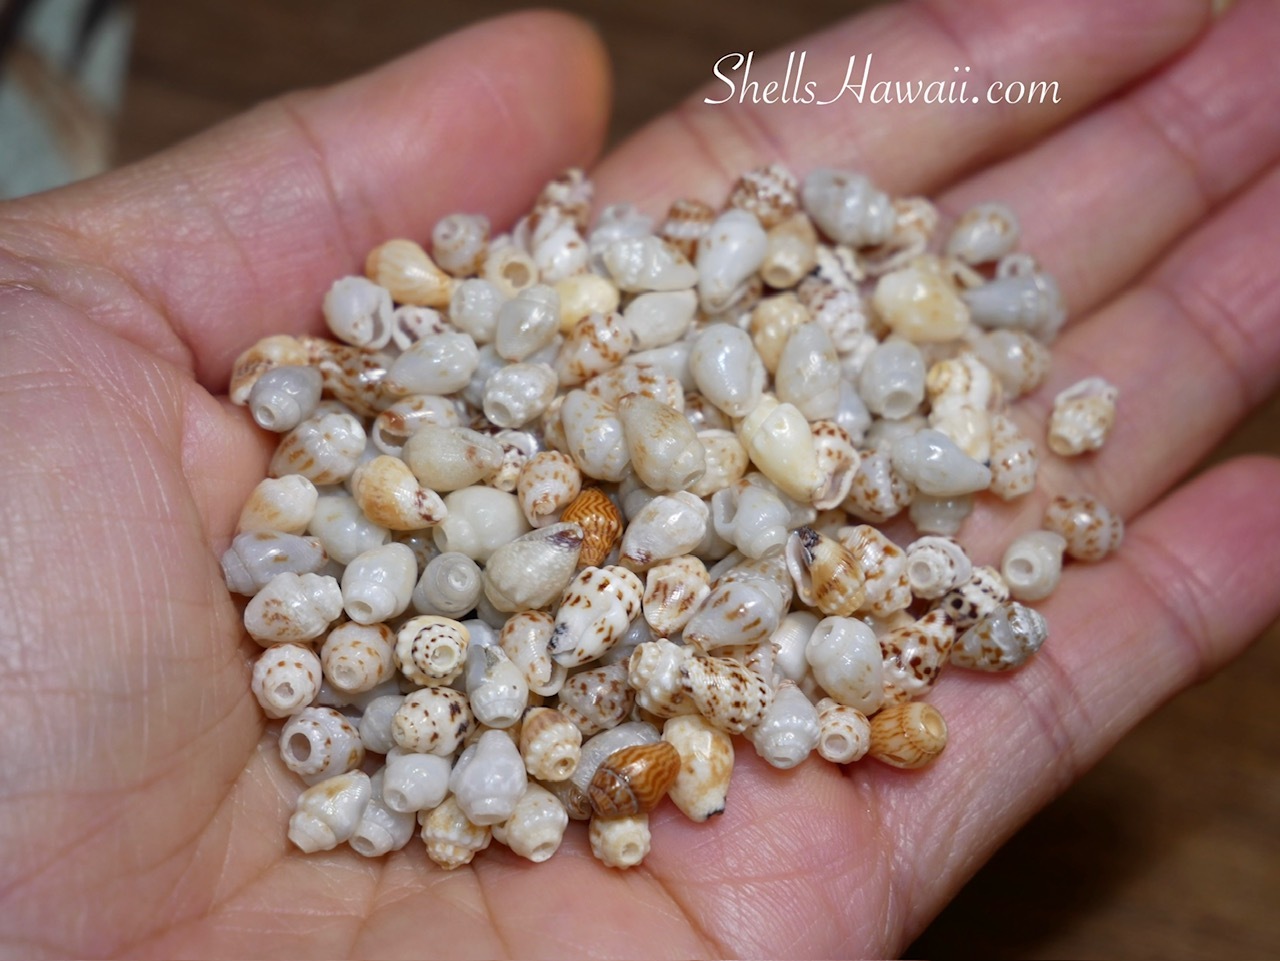
These Momi shells carry the ocean blue ʻŪliʻuli shades — soft, calming tones that remind you of the colors of the Hawaiian sky and ocean. When blended with other colors, they help balance the overall look, adding depth and a quiet contrast that makes each piece feel more natural, fluid, and connected, like the gentle movement of the sea.
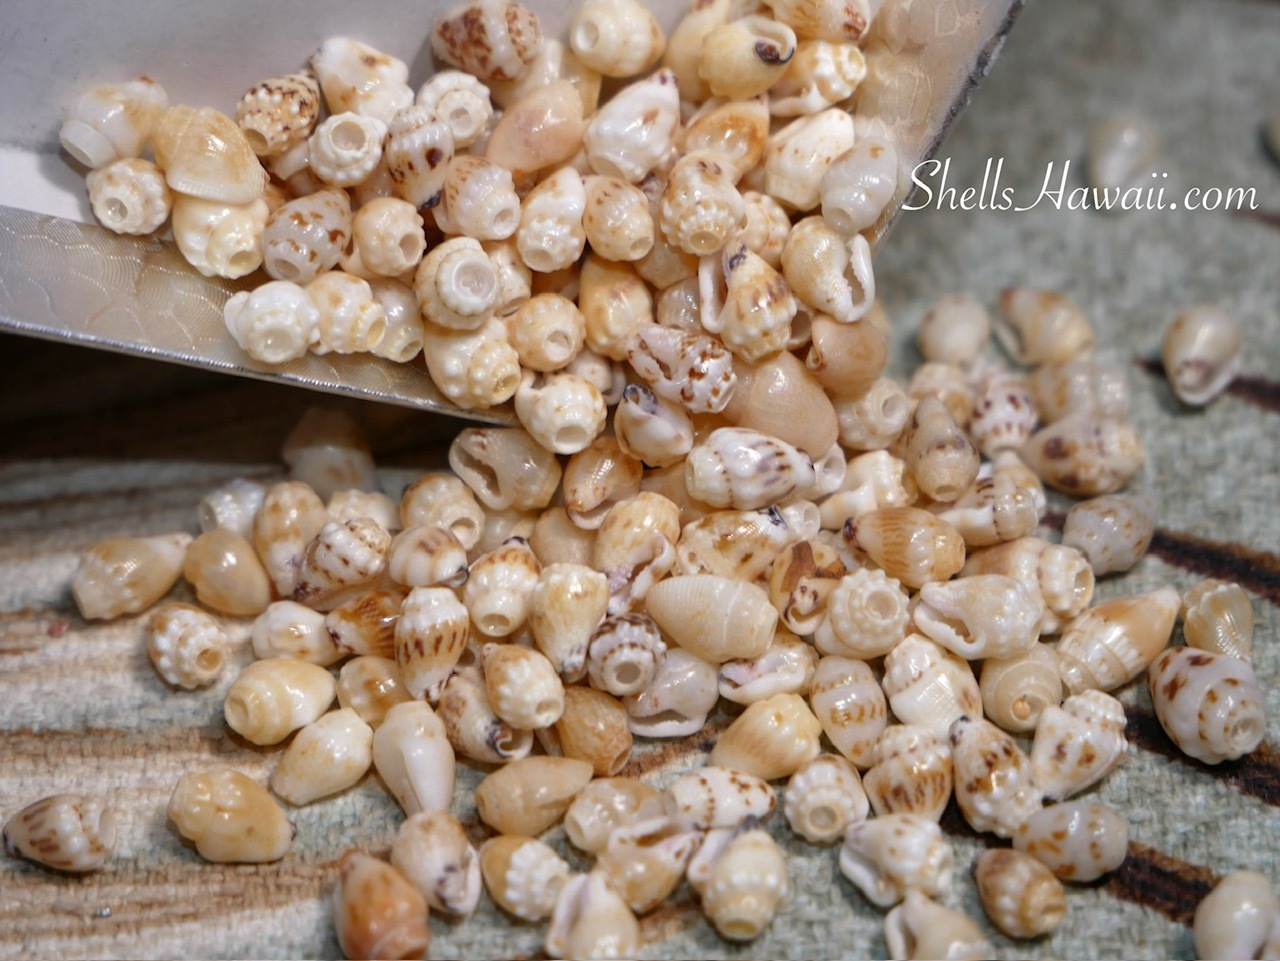
These Momi shells are in the yellow Lenalena shades — warm, soft tones that bring a gentle golden glow to the jewelry, adding brightness and a touch of warmth that makes each piece feel lively and full of light.
After I decide on the color pattern, the next step is choosing the size. For this set, I’ll be using medium-size Momi shells together with size 11 Kahelelani shells to create that fine, elegant Heleconia look. If you’re thinking about creating your own Heleconia style earrings, I do offer some loose Momi shells and pre-poked Momi shells. At this time, I do not offer pre-poke Kahelelani shells for this project.
Thinking About Making Your Own Heleconia Style Earrings?
If you plan to create your own, I do encourage you to learn more about Kahelelani shell sizing before deciding to buy any Kahelelani shells, especially the shells from Niʻihau Island. Size 11 is considered very small for beginners, especially if you have never worked with the shells, poked them, or even held them in person before.
Even though I do sell loose shell supplies, I’m not only thinking about making a sale. I truly want my customers to enjoy the experience and feel successful when they work with these shells. Many times I tell my customers to buy only what they need at the moment — there is no need to buy everything all at once. Make sure you feel comfortable working with the shells first before buying more. Start small and start slowly.
If you’re willing to put in the time and patience, creating your own can be very rewarding. At the same time, I also don’t want anyone to spend money on loose shells before feeling ready, because these tiny shells can be challenging to work with.
You may want to start by staying with designs that use only Momi shells first. When you feel ready to explore more, trying B-grade Kahelelani shells in size 13 can be a good next step before moving into smaller sizes, and it also allows you to enjoy more color variations while you learn.
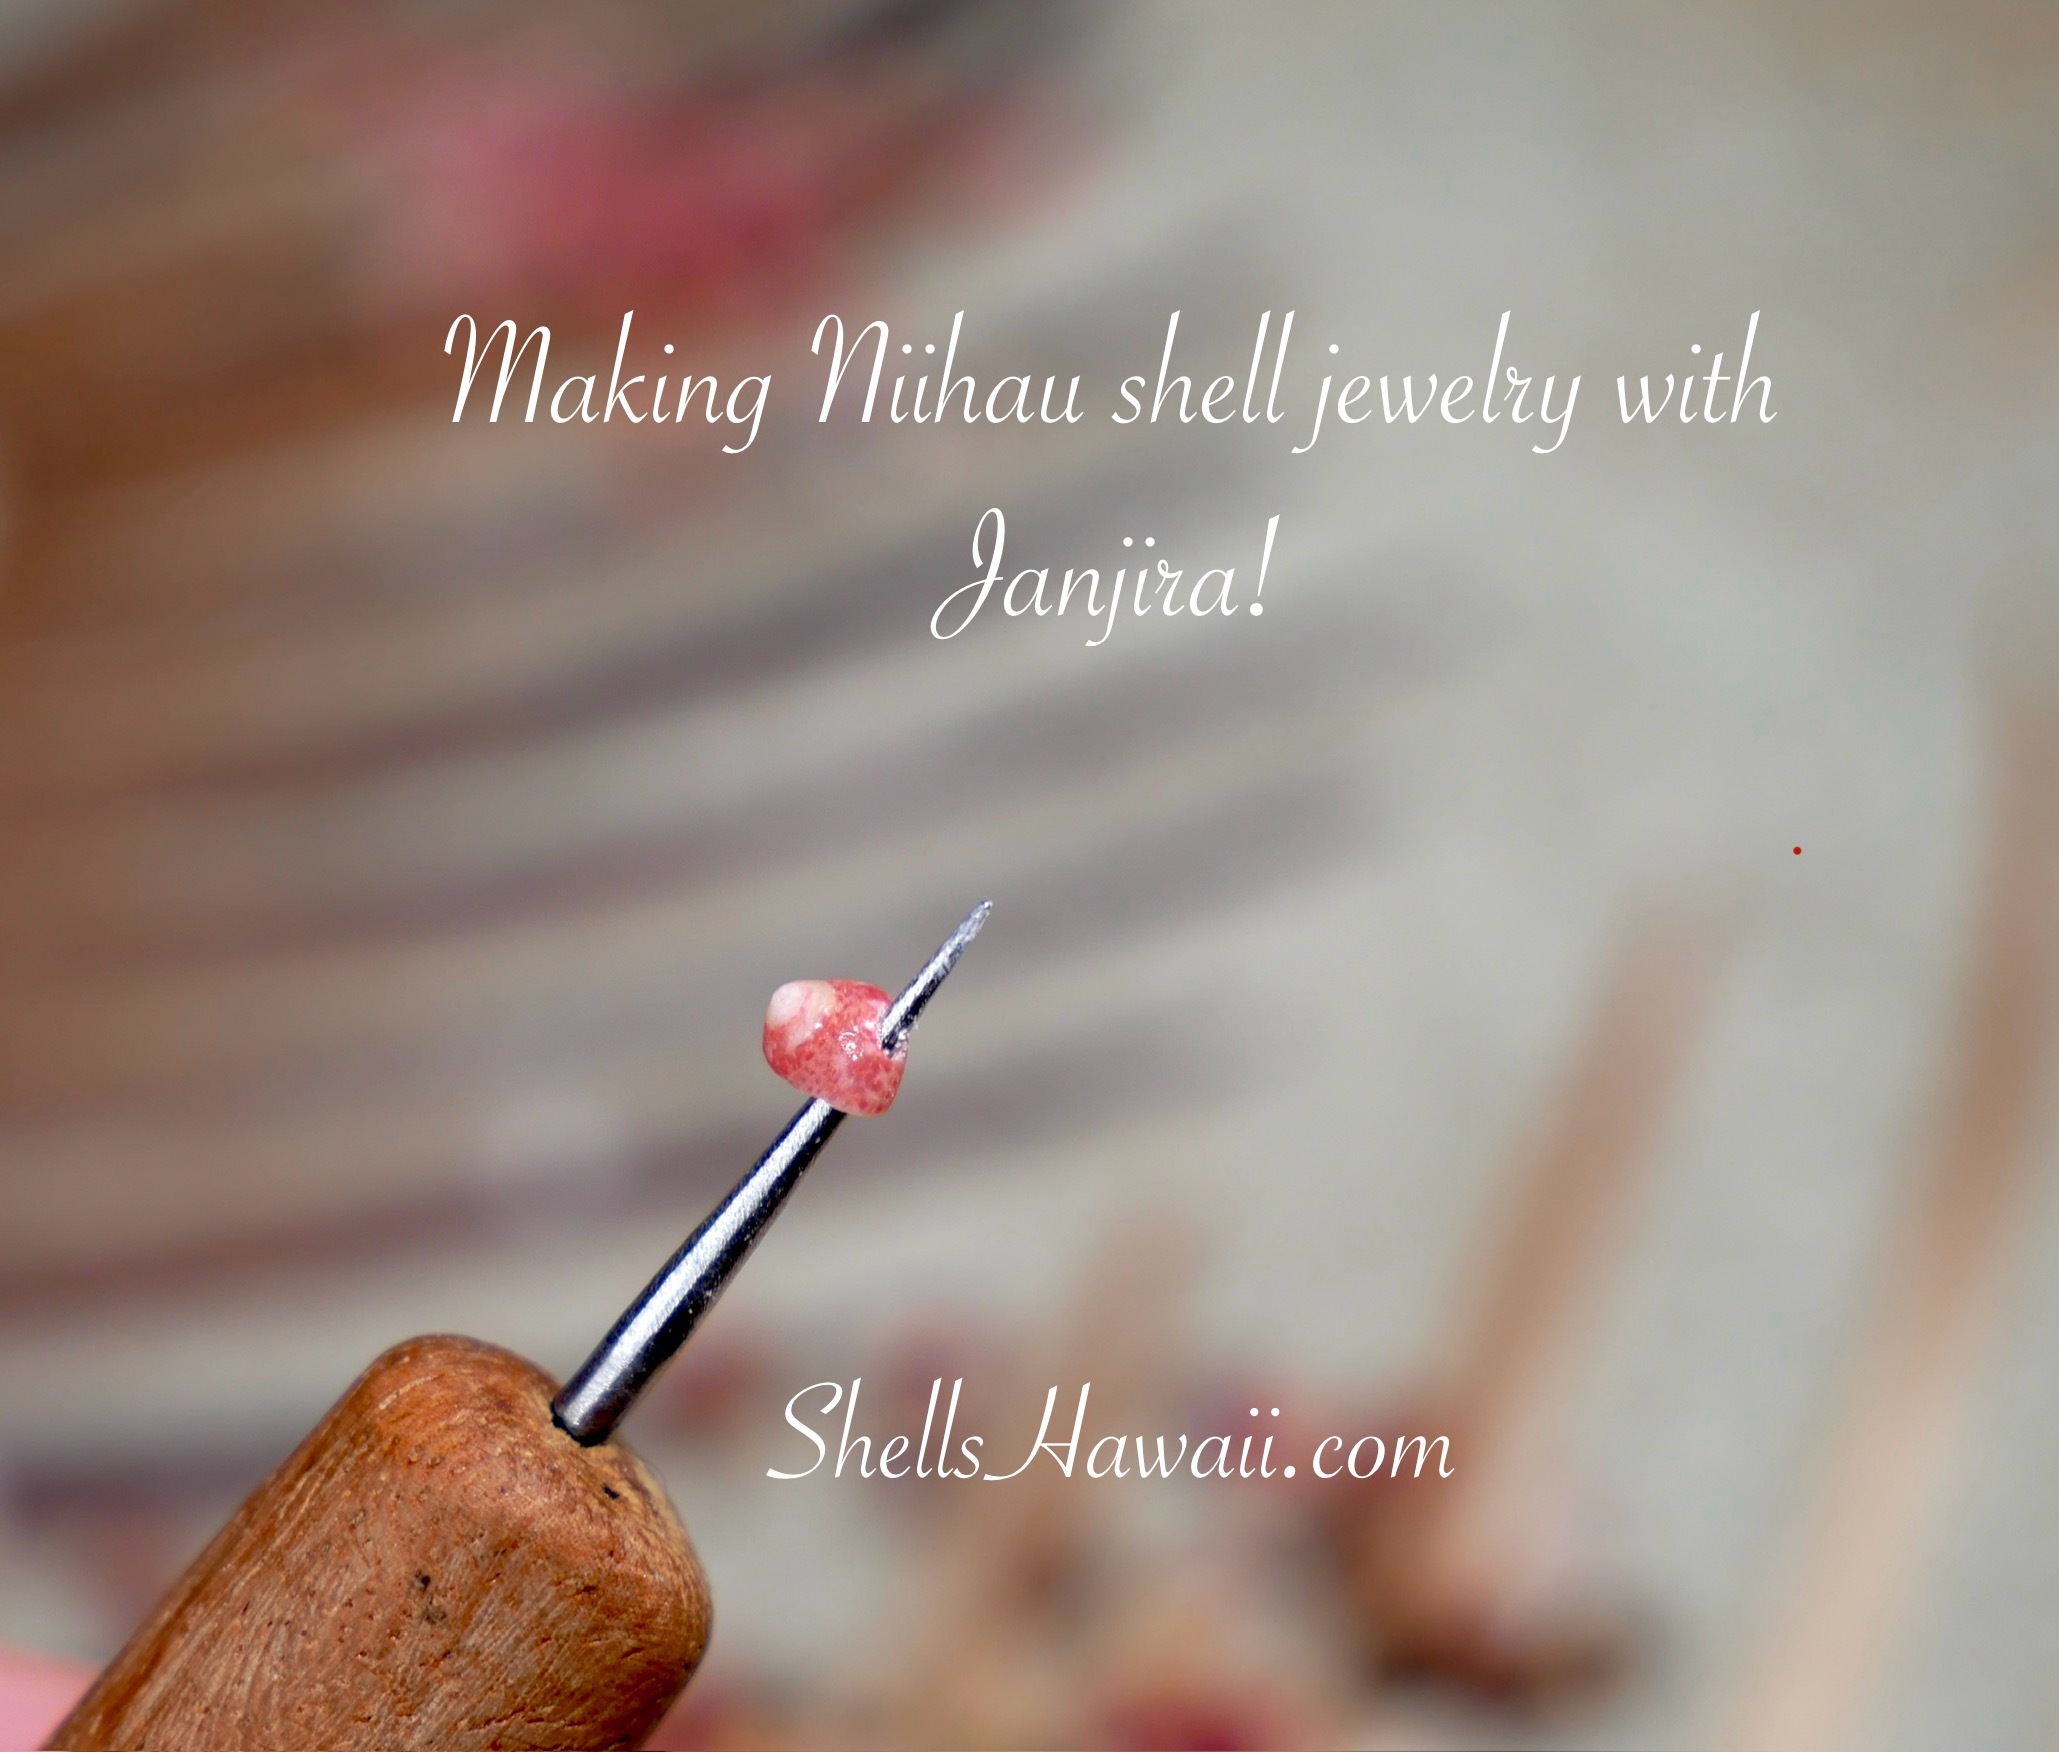
Prepping the Puka (Hole) — Momi and Kahelelani Shells
After I decide what colors of Momi and Kahelelani shells I want to use, the next stage is poking. Poking Momi shells is usually much easier than poking Kahelelani shells because of their size, but it still requires the right poking tool. Momi shells have a thick layer, and if you use the wrong tool, many times you won’t be able to poke through, or you may end up breaking the shell.
When poking Momi shells, you need a steady hand so each hole is placed at the same position and angle every time. This makes a big difference later when you start stringing.
Poking Kahelelani shells is the hardest part of all. The shells are tiny and very valuable, so this step takes patience, a steady hand, and some experience to properly handle and position the shells while poking.
Stringing My Heleconia Earrings
After all the prepping we’ve done, now comes the fun part we’ve all been looking forward to — stringing the pattern together.
Once I decide which colors and sizes of Momi and Kahelelani shells I will use, I pair everything together. I double-check the sizing and shape, and look closely for any cracks I might have missed or colors that don’t quite match. If something doesn’t feel right, I switch it out so everything looks good together.
As I start stringing and pick up each shell, I check one more time — making sure the size matches, the colors flow nicely, and there are no hidden cracks before moving on to the next set. This is such a fun part of the creation because I can really see the vision starting to come to life.
And now we come to the end of this creation day — here is what I made. One the next step I always enjoy just as much is taking photos of the finished earrings. After everything is completed and photographed, I’ll slowly start adding these earrings to my website. Please check back from time to time, as I’ll do my very best to add them as soon as they are ready.
As always, I create each piece with deep respect for the tradition and for the Hawaiian artists who came before me and continue to inspire this work. If you would like to see the finished pieces from this creation, they will be updated in the Earrings / Heleconia Style section as they become ready.
I hope you enjoyed reading and following along with my work today. Much aloha, and I’ll see you next time with my new bracelet collection.
With aloha,