USD
USD

Tips for Making Stronger, Tighter Niʻihau Shell Jewelry
Niʻihau shell earrings — I’m sure you’re getting so excited to create your first piece. It’s such a special feeling, isn’t it? You’ve seen the photos, maybe held a few shells in your hand, and now you’re ready to try.
Before we jump into some of the little surprises you might run into while making your Pikake-style earrings, bracelets, or necklaces, let’s take a moment to talk about what this style really means — and why it’s so loved in the world of Niʻihau shell jewelry.
What Is the Pikake Style?
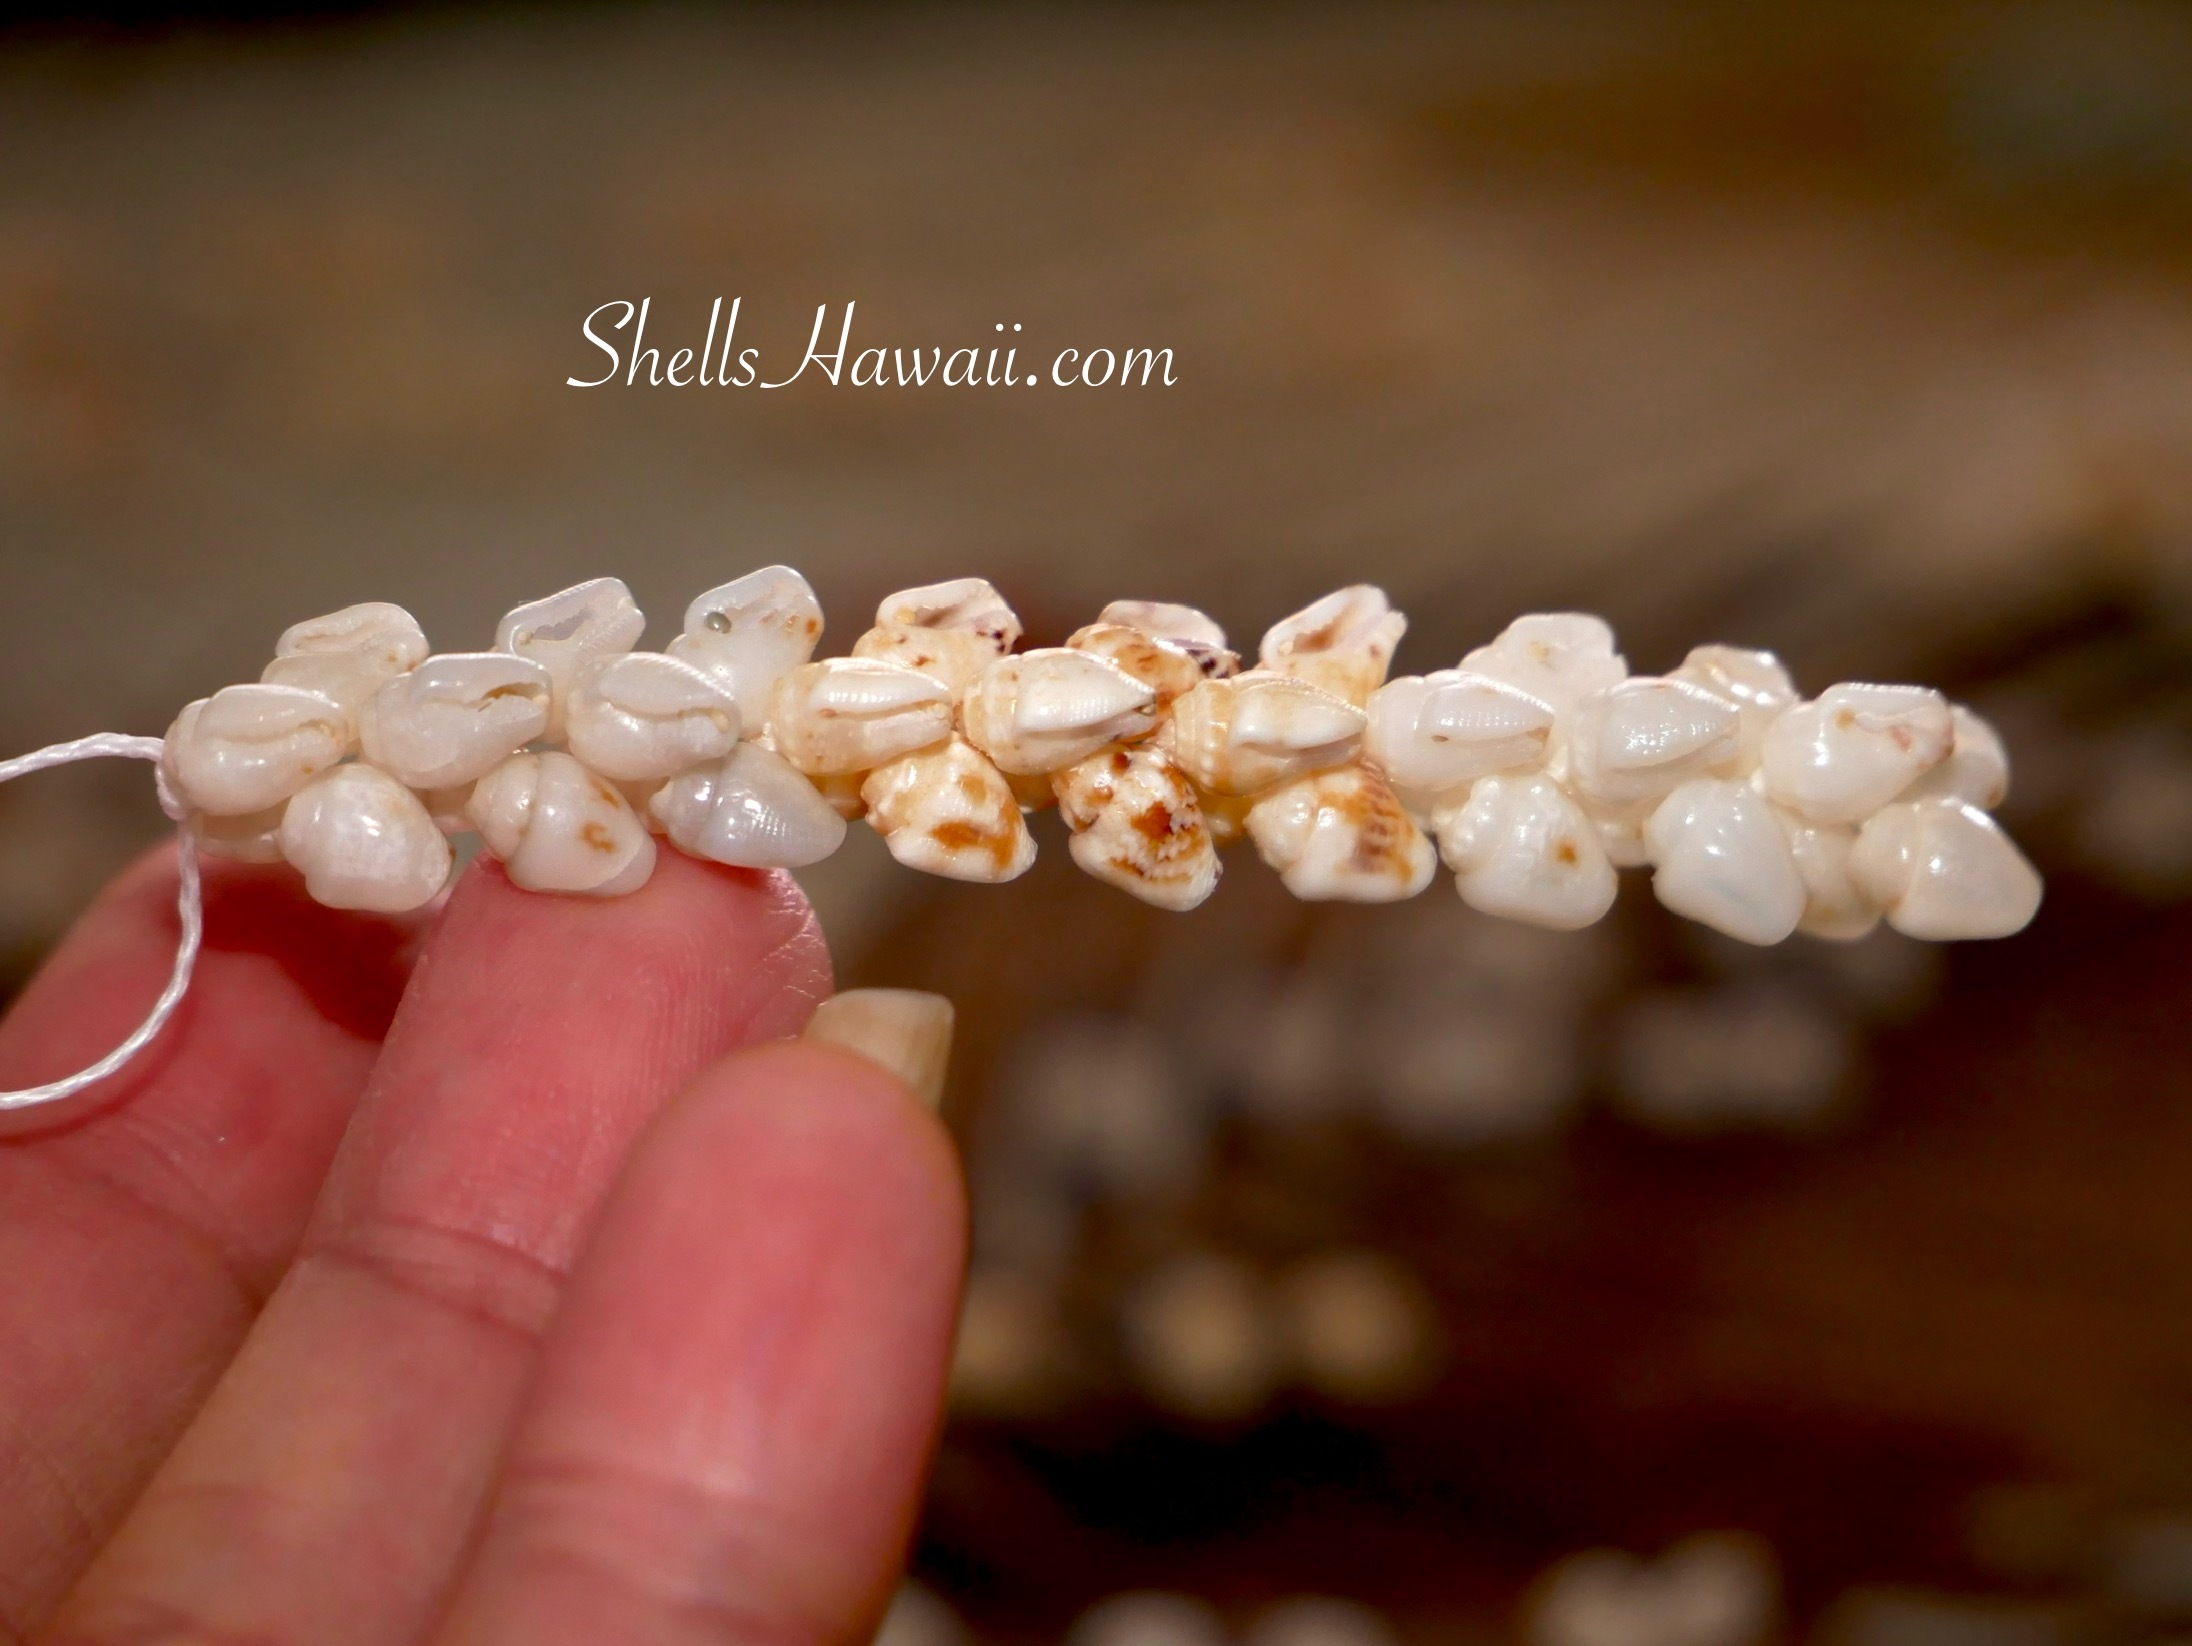
The Pikake style is one of the oldest and most cherished designs in Niʻihau shell jewelry. The word Pikake means jasmine flower in Hawaiian — a blossom known for its gentle scent and simple beauty.
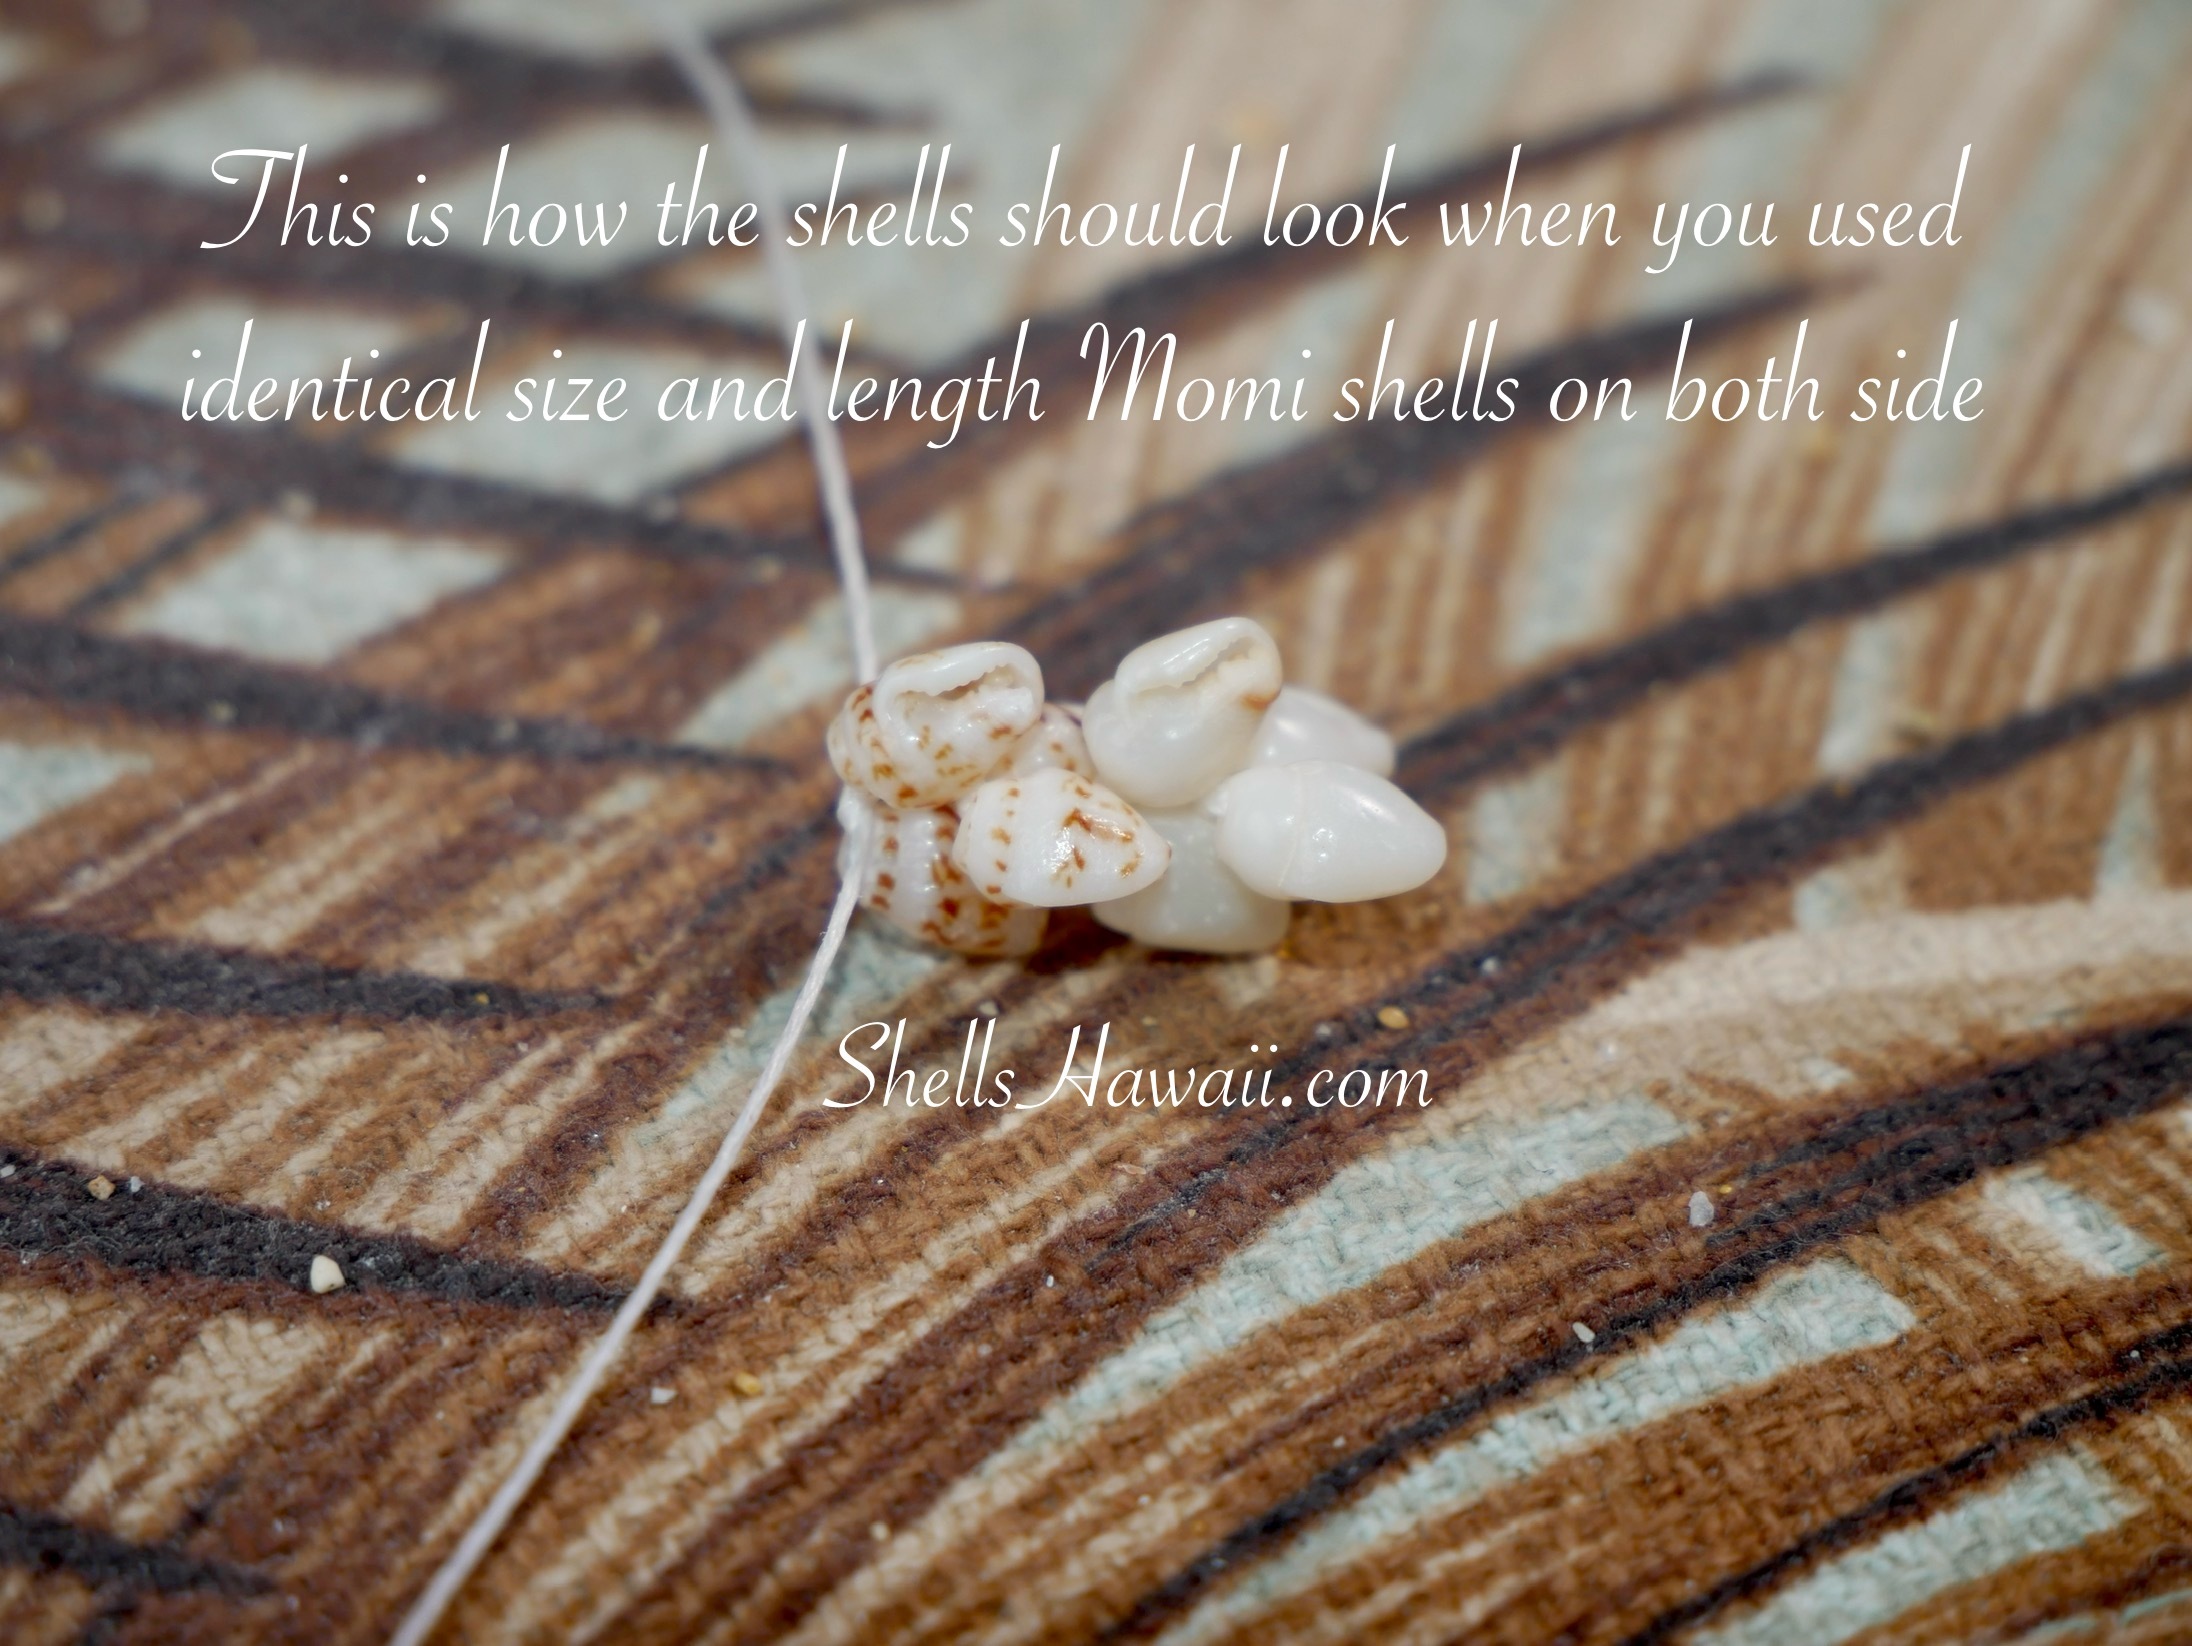
When the Momi shells are tied close together, they form little clusters that look like the soft petals of a jasmine bloom. That’s where the name comes from — Pikake, meaning jasmine.
This style can be used for earrings, bracelets, or even full lei. It’s often the first one taught in Niʻihau shell classes, because it helps beginners learn how to match shell sizes and find that quiet rhythm between your hands and the string.
It looks simple, but it takes patience. Once you understand its rhythm, it becomes something very calming and special — a piece that carries both grace and aloha.
Why Does My Pikake earrings or necklace Feel Loose Even When I Pull the Cord Tight?
This is something almost everyone goes through at first. You pull the thread as tight as you can, expecting the shells to sit perfectly — but somehow they still look loose or uneven.
Here’s the thing: Pikake style isn’t about pulling harder — it’s about rhythm and touch. When you tug too hard, the shells twist or even crack. When you’re too gentle, they drift apart. It’s all about that balance your fingers slowly learn over time.
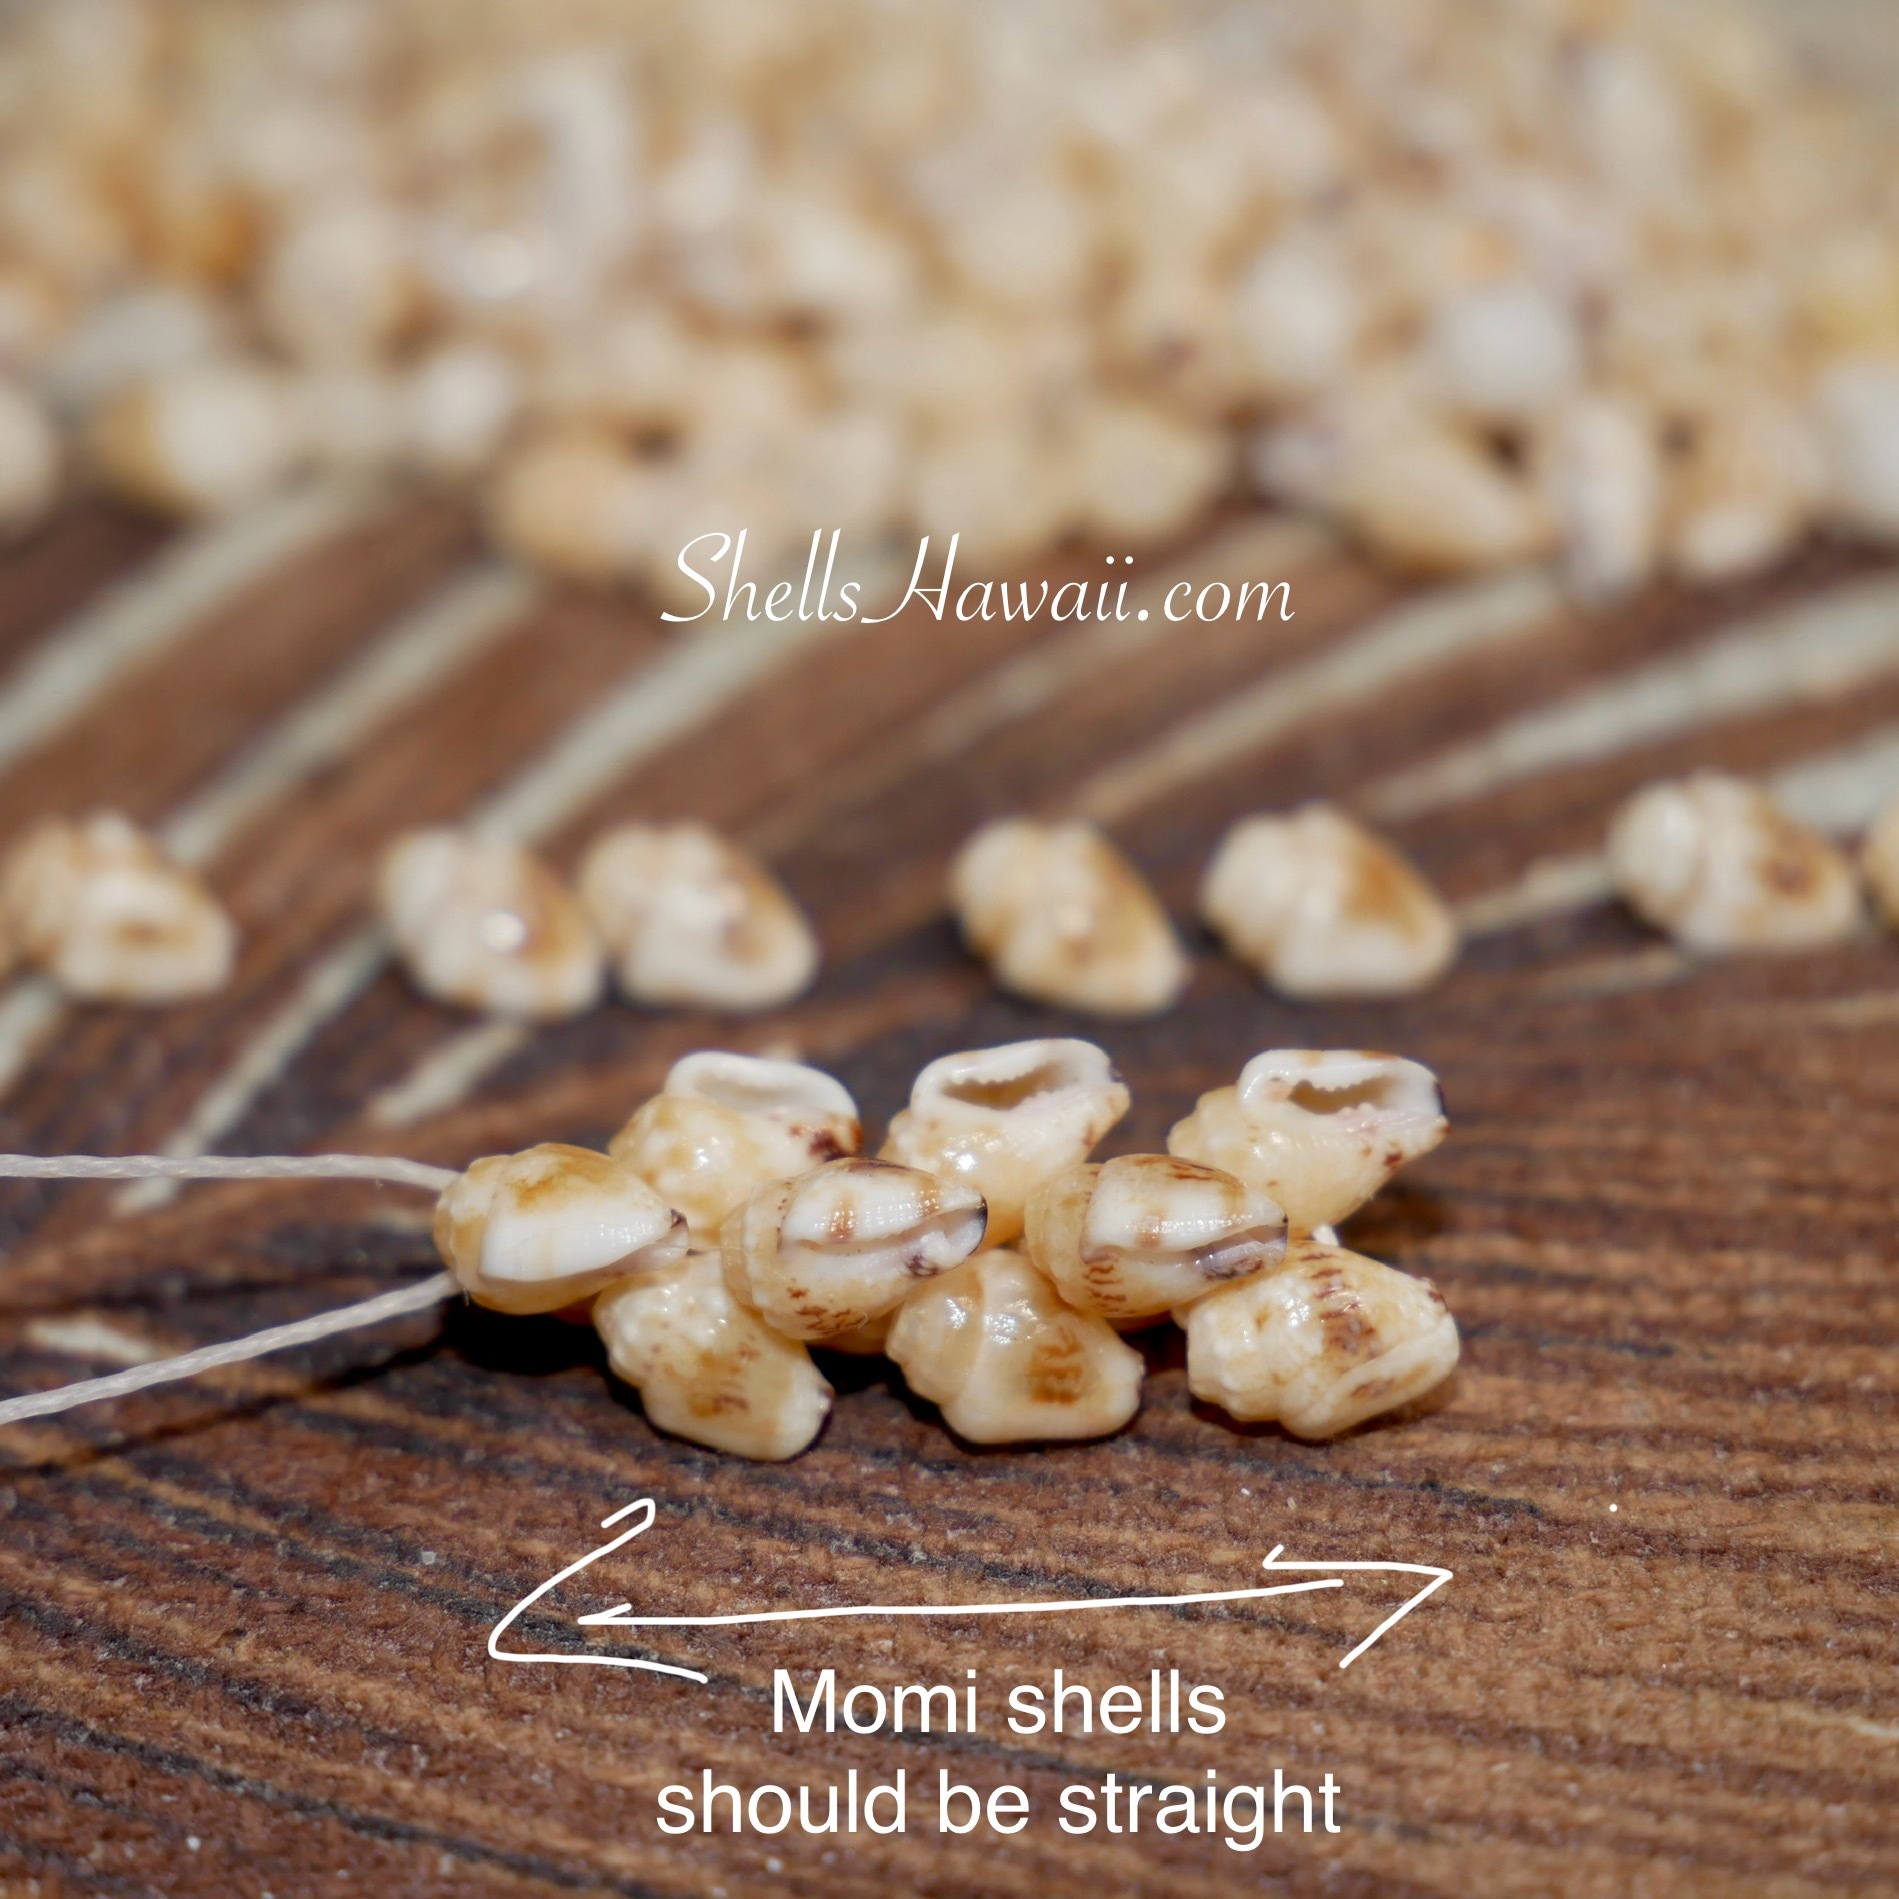
Sometimes when a section turns out a little loose, it isn’t always the tying like we first think. Quite often, it comes from the shells themselves. Even after careful sorting, there can still be tiny differences — one shell just a touch bigger, another slightly smaller, or the poke placement may vary slightly from shell to shell — and in the end, it’s really about balance. When those little details line up just right, your pattern sits nicely; when they don’t, it can shift a bit, even when your hands are doing everything right. Once you begin noticing these small things before you tie, your Pikake clusters will naturally sit closer and tighter.
Sometimes I like to pause for a moment and just look at each pair before I tie, turning them a little to see how they sit together — not only in size and shape, but in their overall balance. That small check has saved me many times, because what looks “almost right” can feel very different once the knot is in place.
As I work, I try to keep my poking angle fairly steady so the shells line up more naturally. And if a pair still doesn’t feel right after tying, I’ll quietly change one shell out and move on. Those tiny adjustments along the way usually show their value at the very end.
With time, your hands start to remember the feeling of “just right.” That’s when your Pikake blooms start to really shine.
My Shells Look Crooked… and What Should I Do to Help?
When you’re working with these tiny shells, sometimes you’ll be tying along and everything seems to be going nicely — and then one shell suddenly leans its own way. I’ve seen this happen many times. Most of the time it’s not your tying at all, just a small balance quirk in the shell itself. A slight difference in poke placement can change how it settles on the thread, and even a tiny shift can make it look a bit crooked. It’s very common — part of the personality of natural shells.
When I notice it, I just slow down a little. I’ll turn the shells, try a different pairing, and see how they want to sit together. Sometimes a small adjustment is enough, sometimes I simply change one shell and keep going. No pressure — just paying attention to the little details and letting balance guide the process. The more gently you notice each step, the more refined the finished piece usually feels in the end.
Creating Pikake style is really about care, attention to detail, and consistency — what you put into each small step will quietly show in the finished piece. From the shell quality you choose, the way the holes are poked, the pairing and stringing, and even choosing a good, trustworthy supplier — all of it plays a part. None of these steps are loud on their own, but together they shape how your work finally looks and feels.
For me, Niʻihau shell jewelry is never only about the finished piece. What makes it special is the whole journey — from the ocean, to the collector’s hands, to your sorting table, and finally into your design. Each stage carries intention and patience, and that’s why I see it as an art form, not just jewelry at the end. These shells feel like gentle reminders of island life — A small gift from the Hawaiian sea, brought to life through the art of Niʻihau shell jewelry — and shared with aloha.
If you’d like to explore a little more before choosing your piece, you might enjoy these blogs — they can be a helpful and friendly place to start.
➡️ Niʻihau Shell Jewelry Buyer’s Guide — How to Choose Authentic Hawaiian Treasures
➡️ Buyer’s Guide — When You’re Tempted to Buy but Still Unsure if Niʻihau Shell Jewelry or Loose Shells Are Right for You
➡️ Why Are Niʻihau Shells So Rare and Expensive?
Much aloha — and I truly hope this blog brings a little more enjoyment and ease to your creating journey. If you feel curious and would like to look around, I’d be happy to share a few of my own creations with you too.
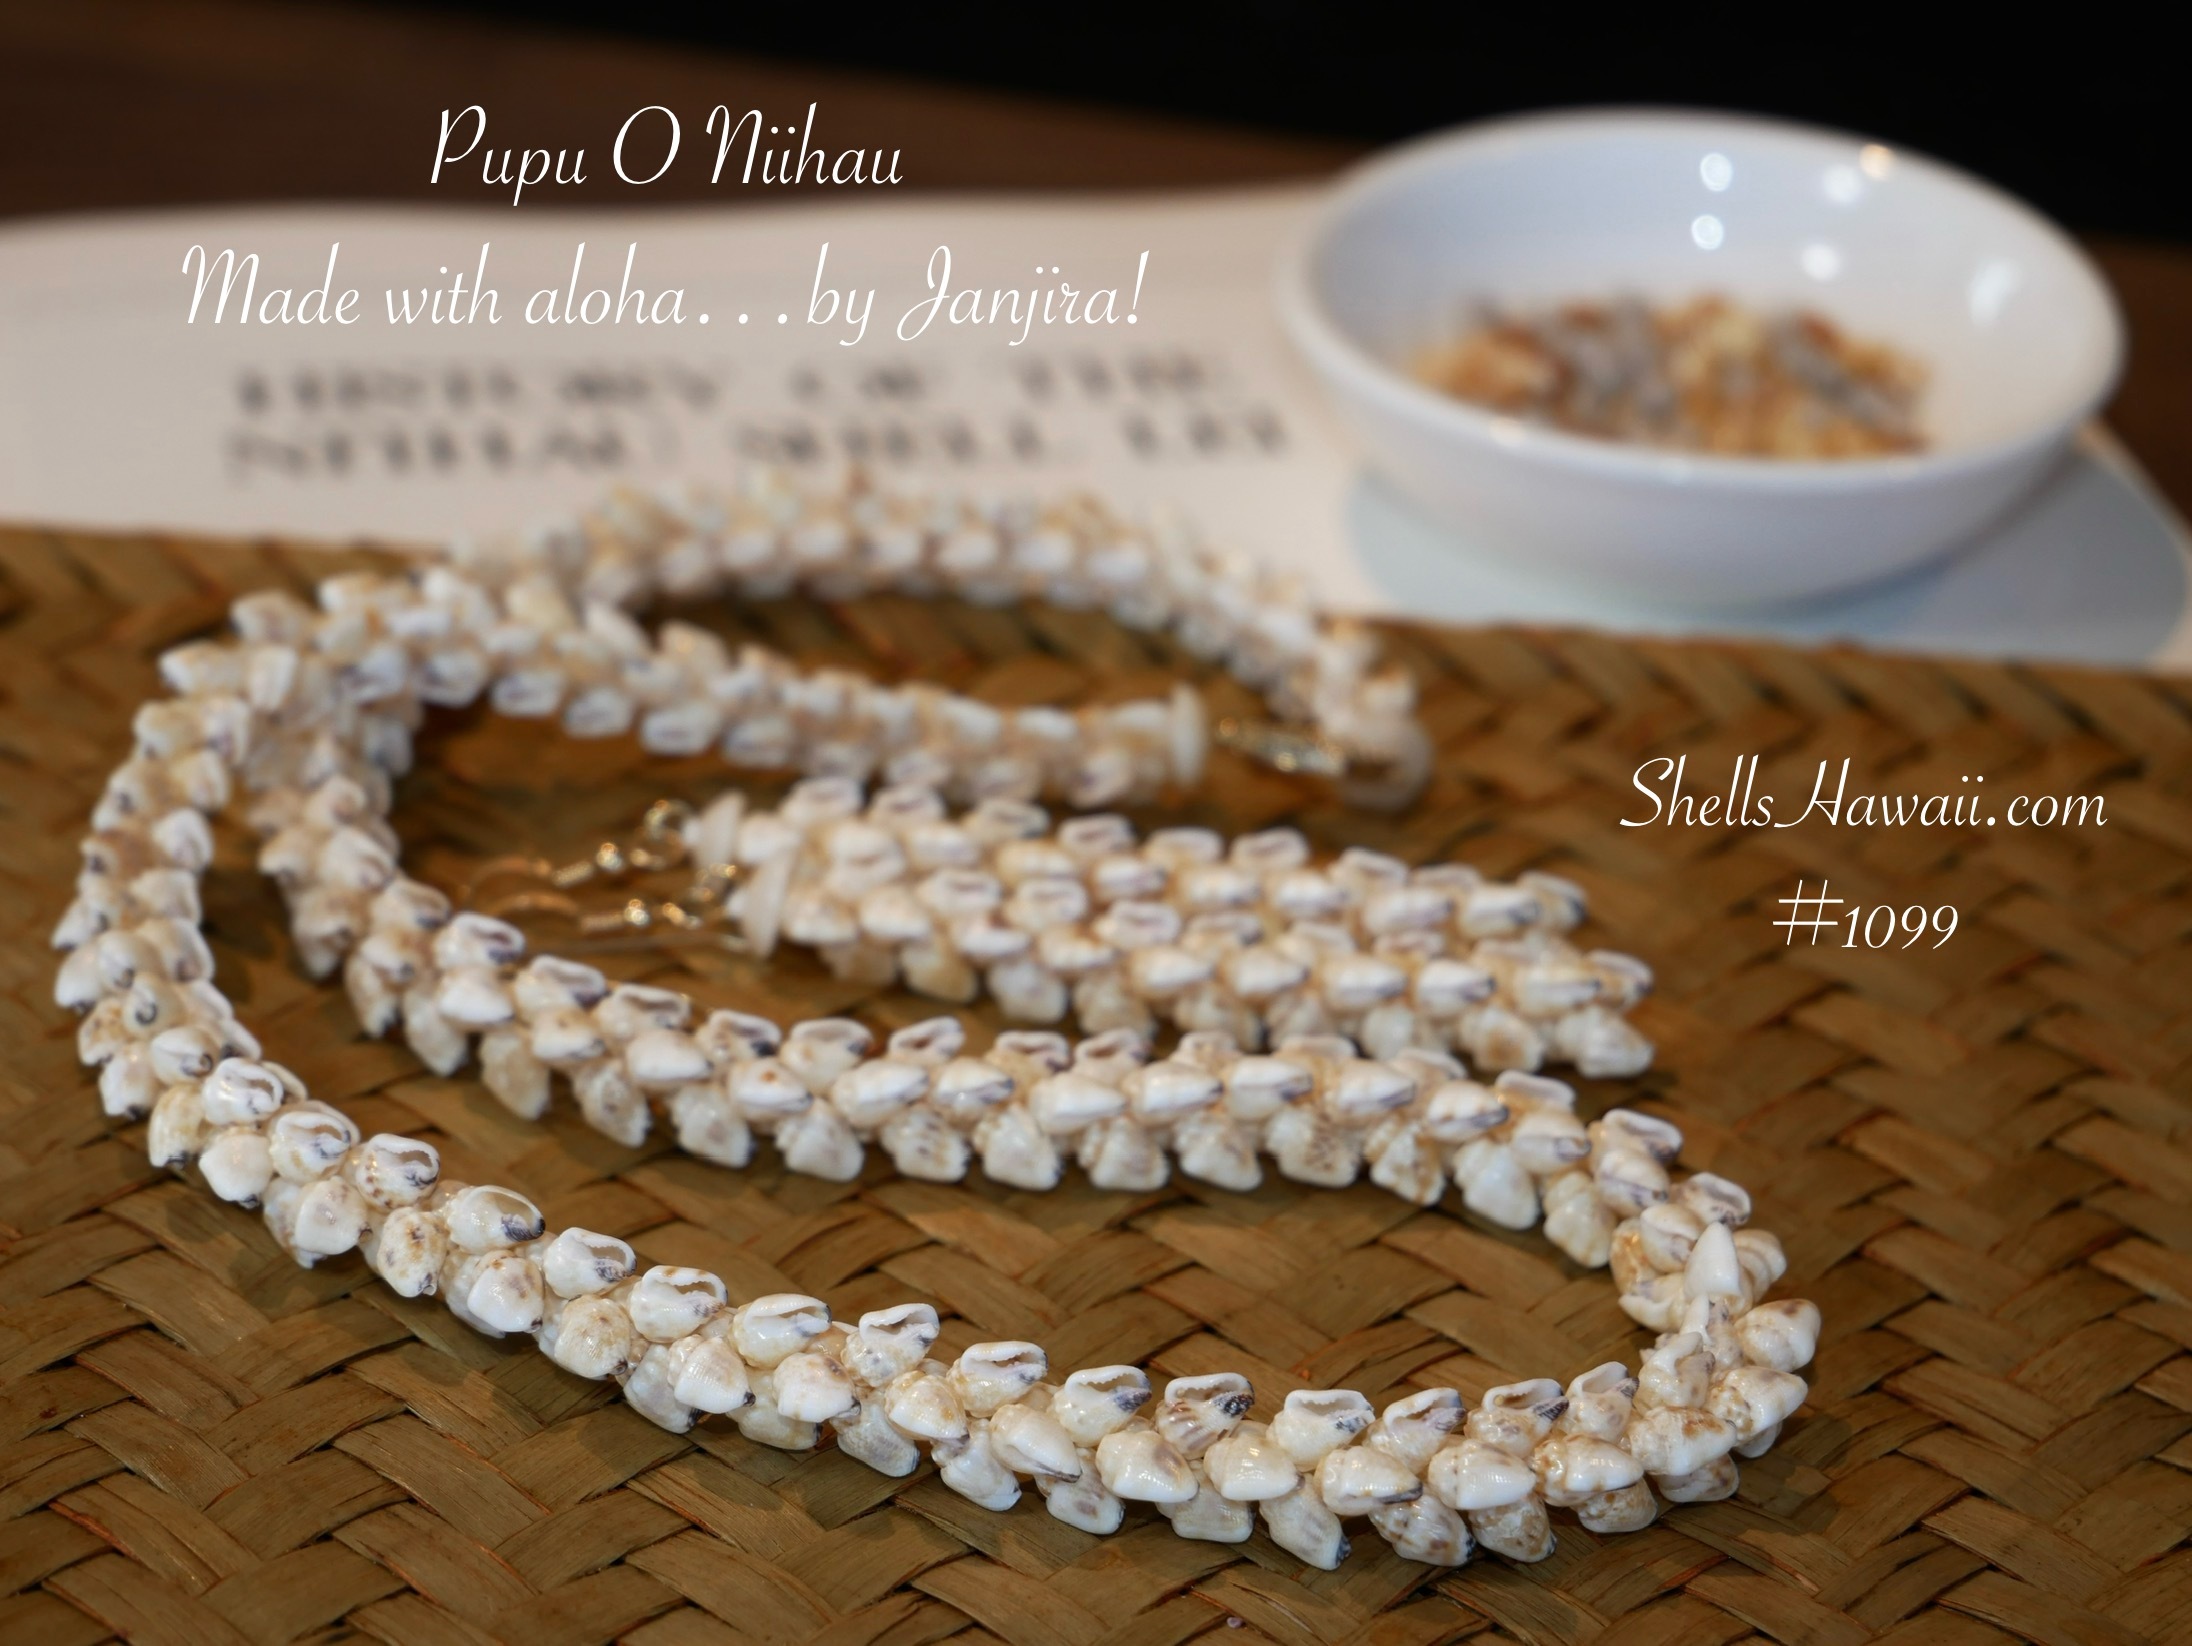
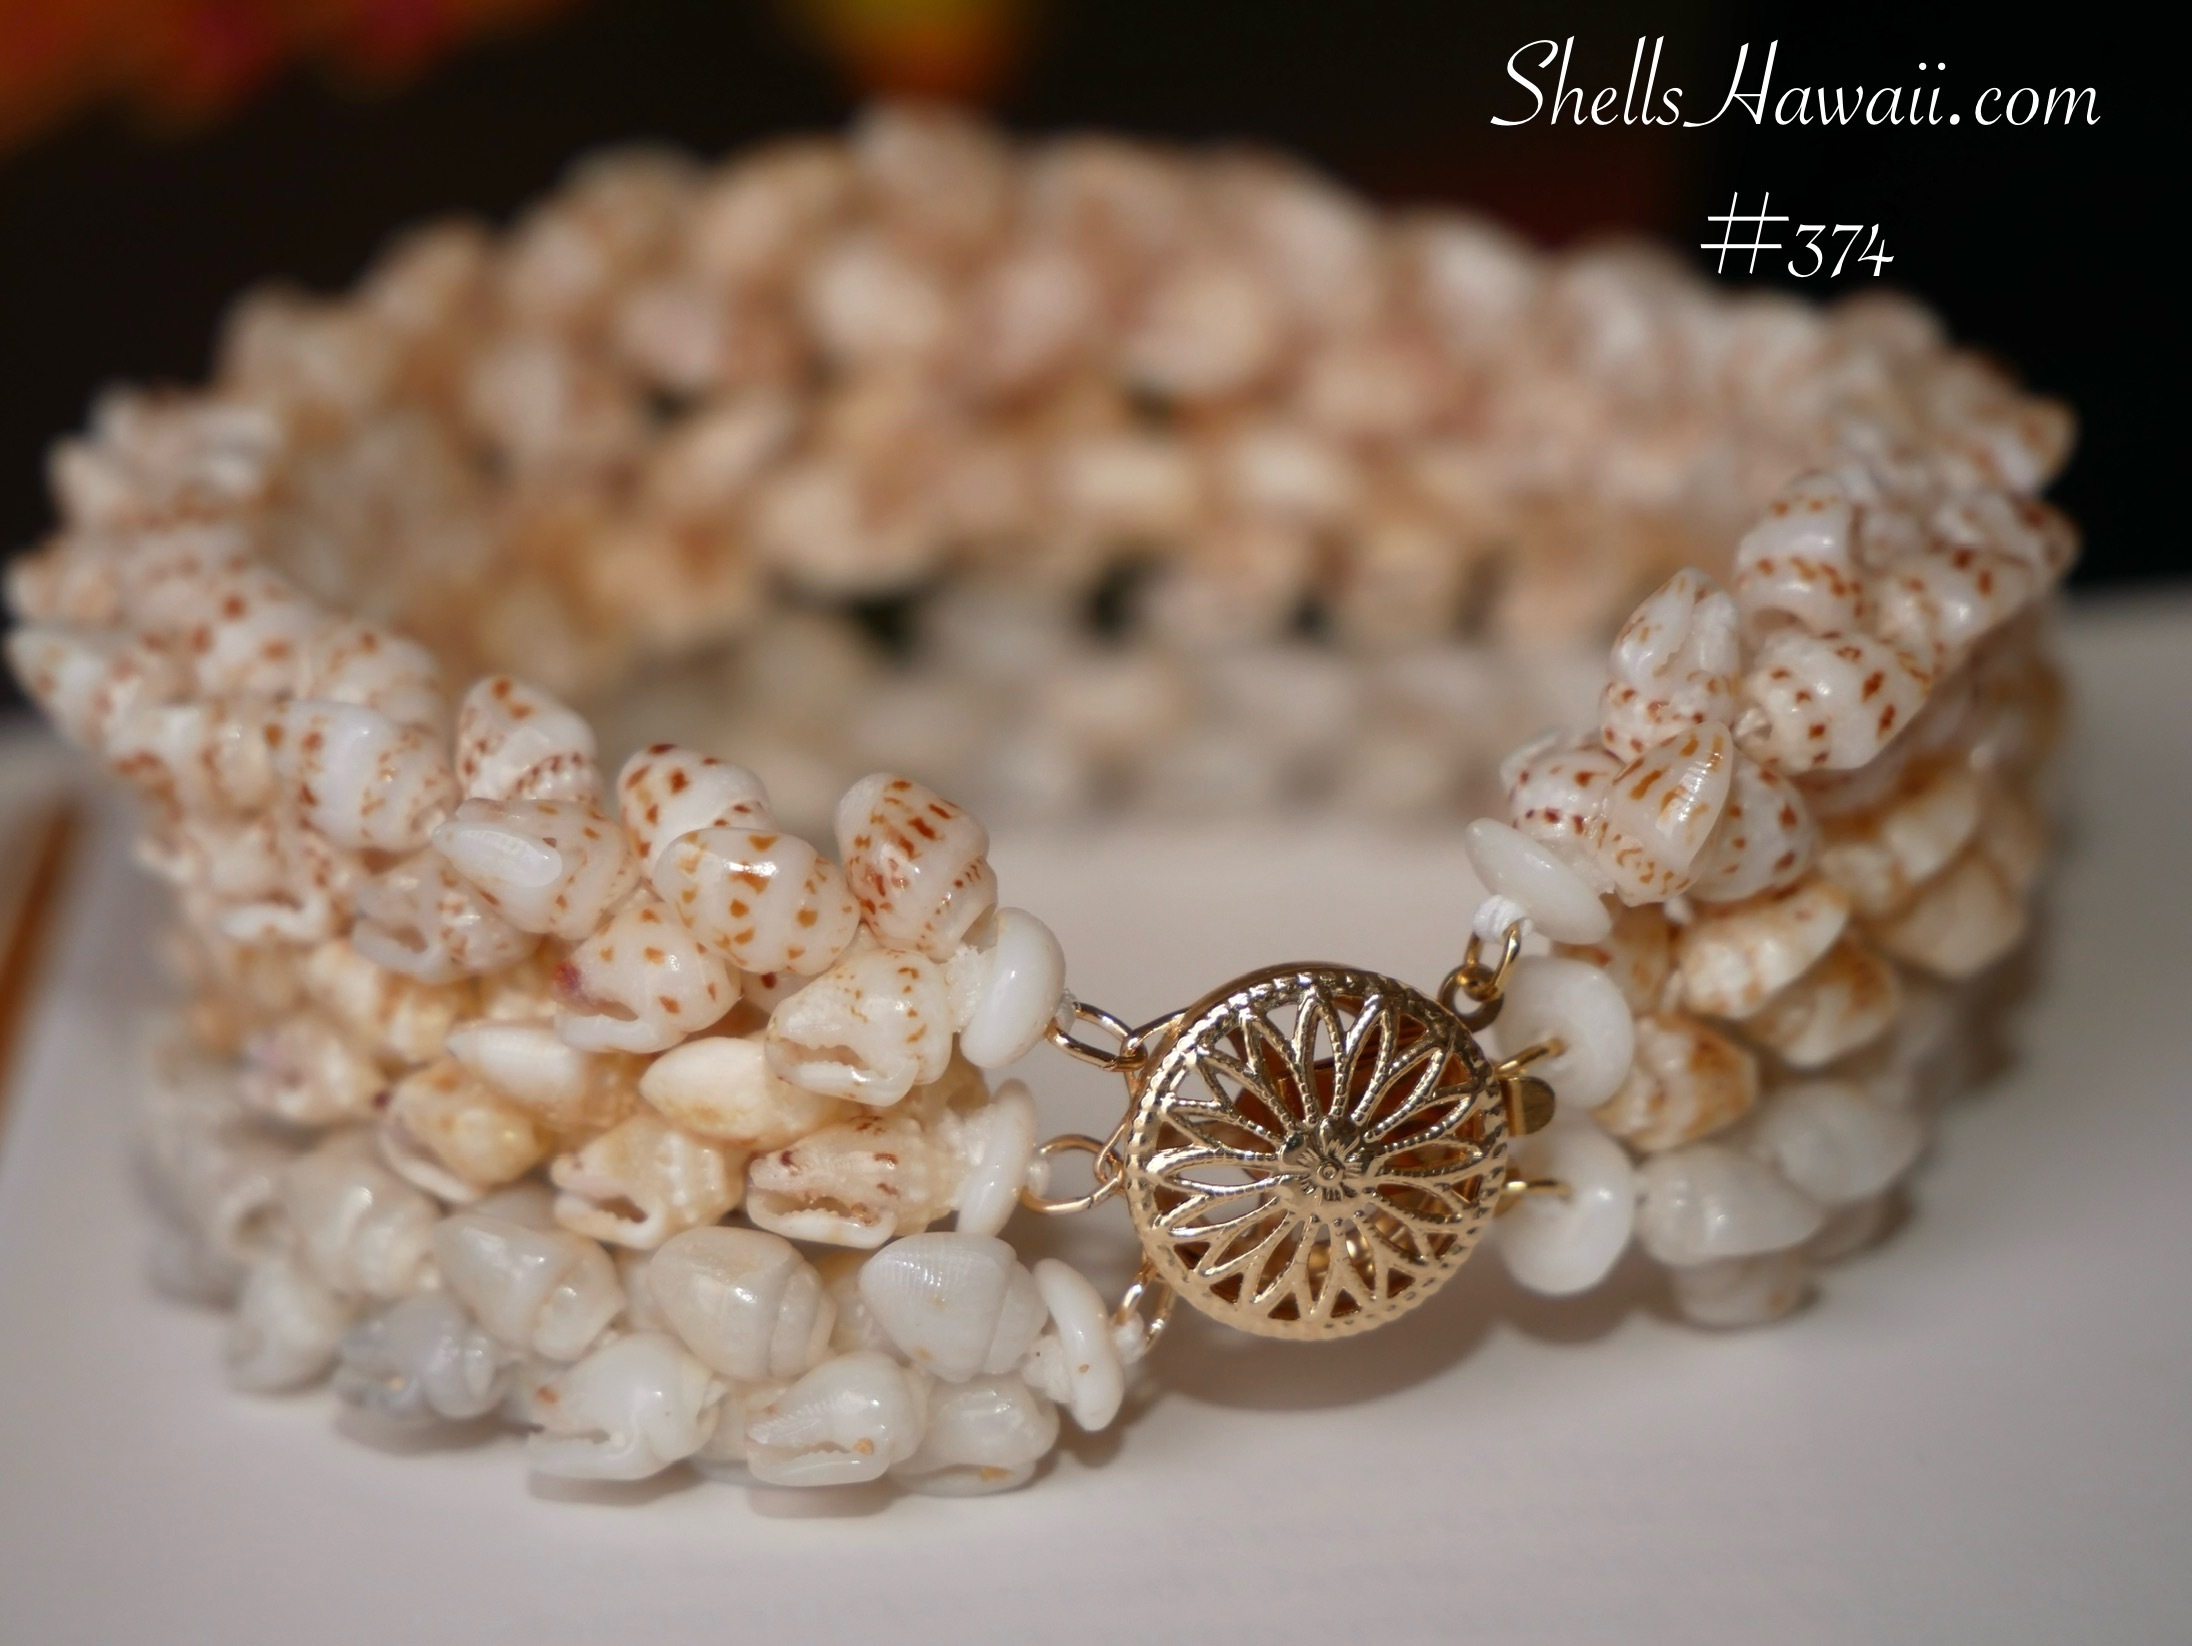
Here are a couple designs I made with Momi shells in Pikake style — you can find them in my lei, earrings, and bracelet collections.
With aloha,
Janjira