 USD
USD

Aloha and welcome to the ShellsHawaii blog.
If this is your very first step into the world of Niʻihau shell jewelry, I’m truly happy you found your way here. Maybe you discovered my work through a Google search, Instagram, Facebook, Etsy, or ShellsHawaii — or perhaps with a little help from Mr. Google or Mrs. AI However you arrived, I’m so glad you’re here. If you’re just beginning to explore Hawaiian seashells and how they are used in Niʻihau shell jewelry, you’re in the right place.
Where Your Journey Begins
For some of you, this journey may have started long ago — walking along island beaches, collecting shells one by one, each holding a memory of sunshine, sand, and ocean air. For others, the connection may have come later — through a visit to Hawaiʻi, a special piece of jewelry, or even a photo that quietly captured your attention.
However it began, there is always a moment when you realize these shells are more than something beautiful from the sea. They carry tradition, meaning, and a story that continues through the hands of those who create.
As you move through this guide, I hope it gently helps you understand that creating Niʻihau shell jewelry — especially in traditional styles — takes time, patience, and practice. It’s something we slowly grow into, learning along the way to appreciate the care, the meaning, and the Hawaiian artists who have carried this tradition forward.
Try not to rush through it. It’s very natural to move from one step to the next, always looking ahead, without spending much time with what’s right in front of you.
When that happens, some of the deeper understanding can be missed — the care, the feeling, the connection within the work. This is not a “grab and go” kind of art. It invites you to slow down, to give it your time and attention, and to learn it in a way that feels thoughtful and true.
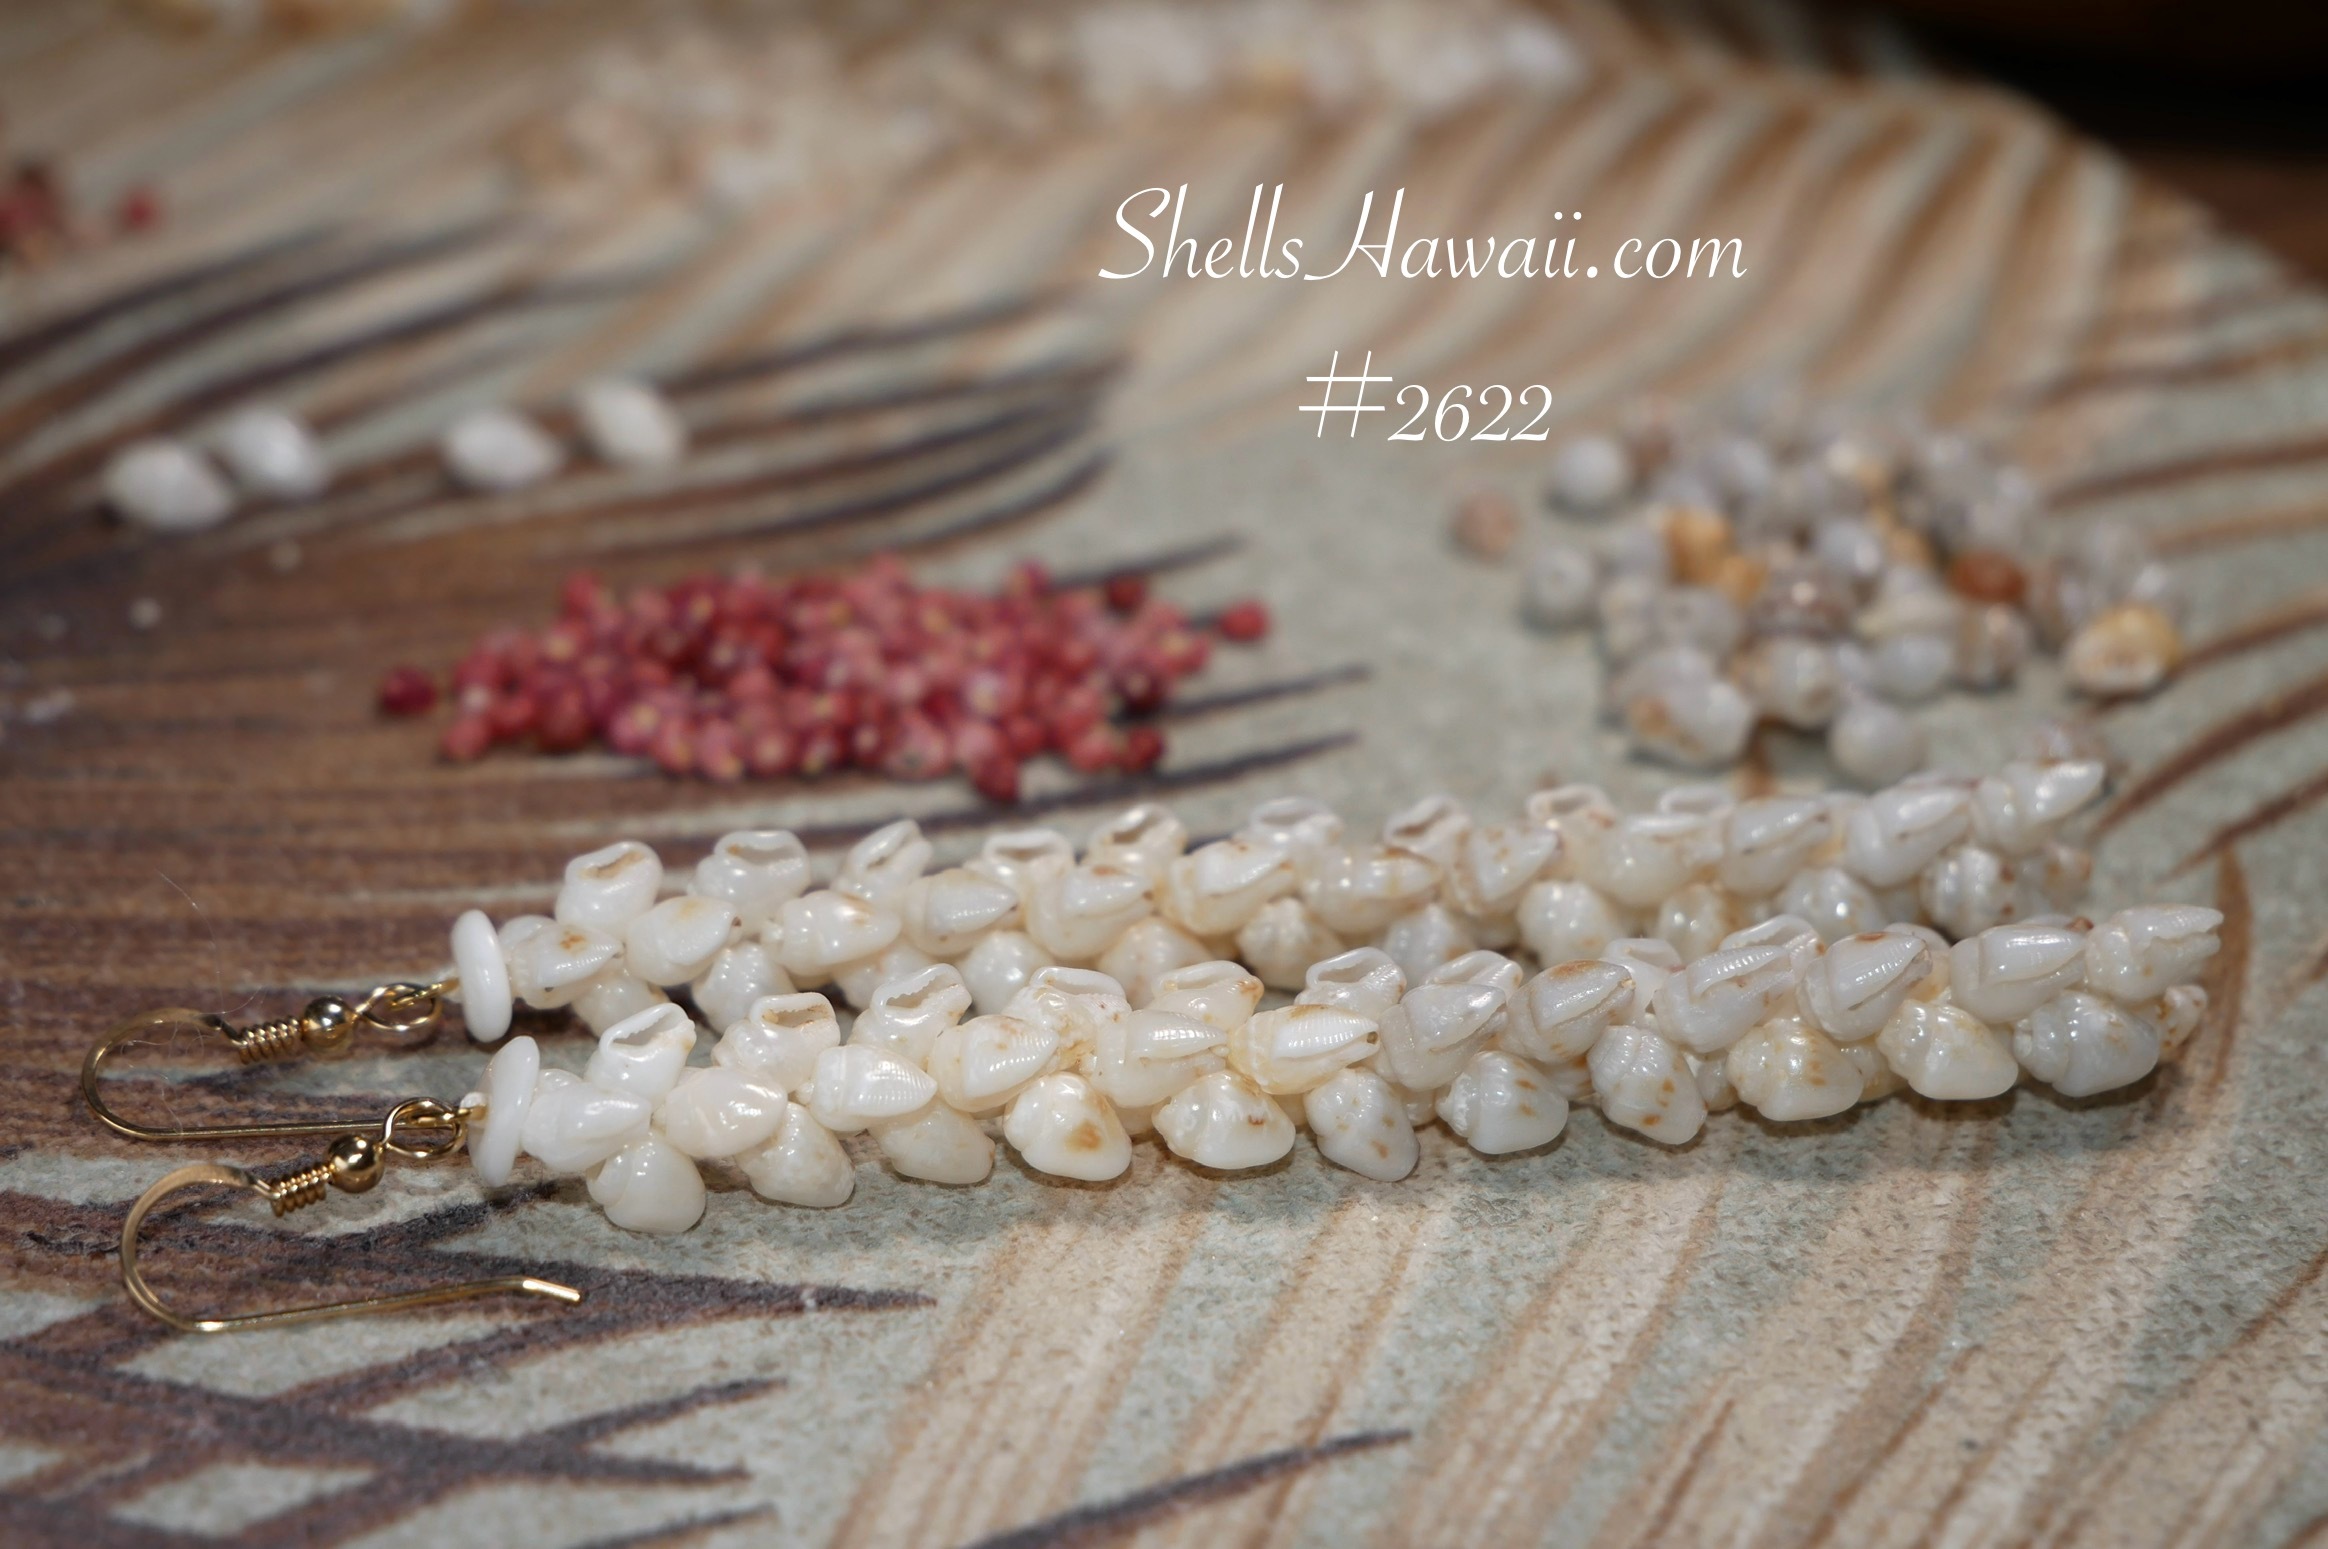
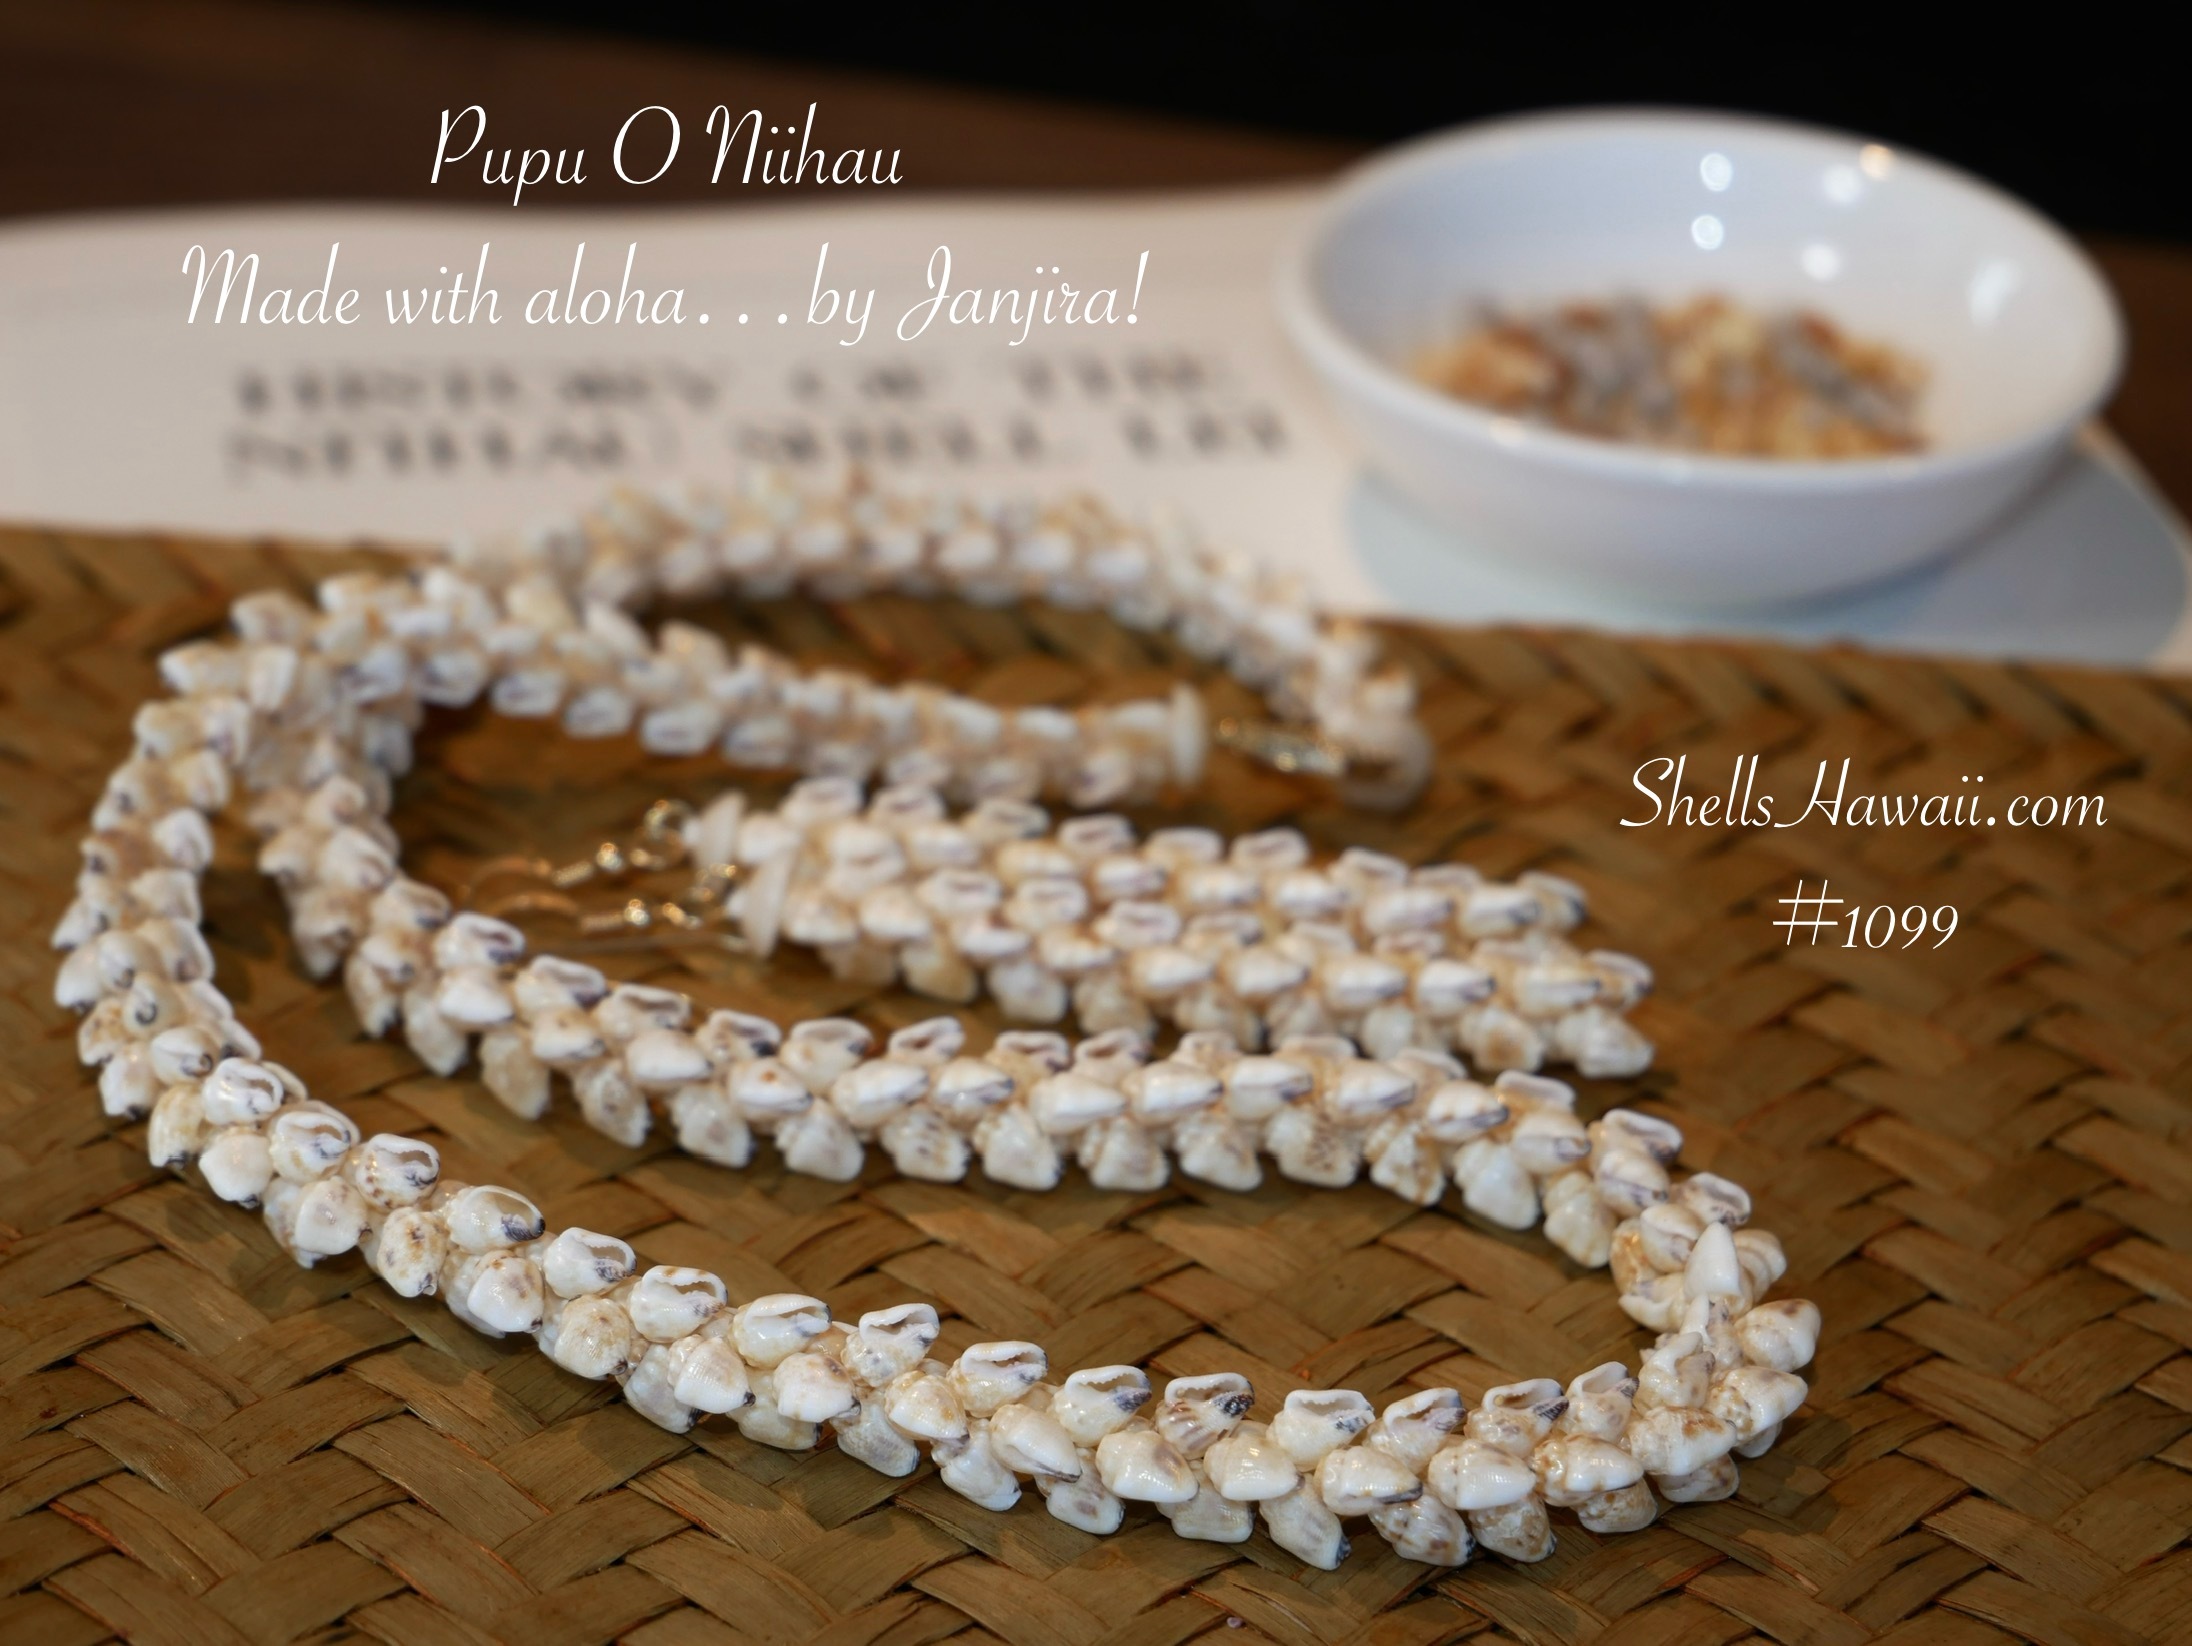
The First Design You Should Try: Pikake Style
Now that you’ve taken your first step, the best place to begin is the Pikake style.
Pikake is one of the most beginner-friendly designs to learn. This style most often uses Momi shells, which are slightly larger and easier to hold when you’re learning how to poke and string shells.
Starting with Pikake allows you to focus on the basics — holding the shell steady, controlling pressure, and learning how shells naturally line up as you string them. It’s a gentle, forgiving design that helps build confidence without feeling overwhelming.
If you feel curious and would like to know more about Pikake style, I’ve shared more about it in another blog. I also wrote a full story about Momi shells and their details — you may enjoy reading and learning more when you have a quiet moment.
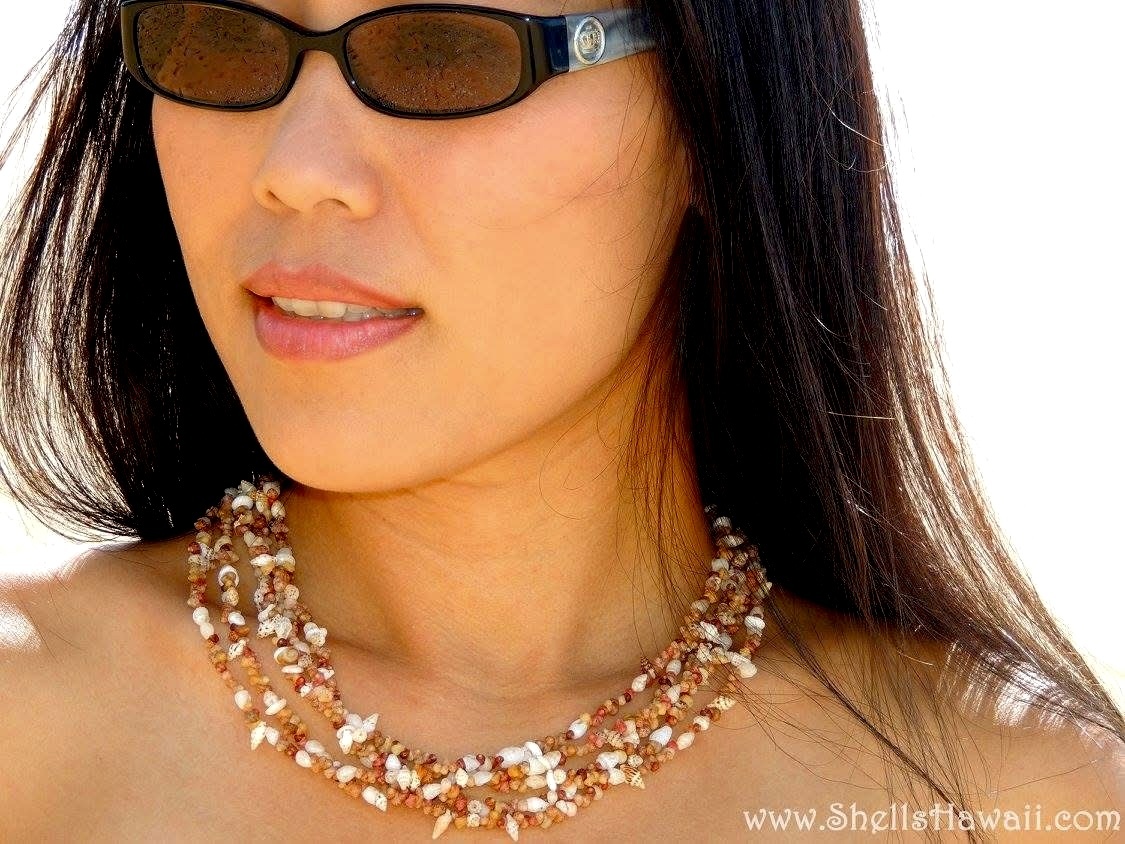
This gives you a little idea of how a finished Pikake style design looks once it’s all put together. If you’d like to learn more, or if you’re curious about the earrings or lei shown in the photo, you’re welcome to explore my Pikake earrings and lei collection anytime.
For those who are just beginning this journey, getting familiar with the different shell types can make choosing supplies much easier and more enjoyable. I’ve put together a Buyer’s Guide that shares what to look for and what to know, based on my own experience — it’s there for you anytime you feel like exploring it.
It’s also important to understand shell quality, especially when buying shells online. Knowing the difference between A-grade shells and B- and C-grade shells will help you make confident choices and avoid disappointment. I explain this in my beginner guides on how to choose quality shells and understanding B- and C-grade shells.
Using the right tools also makes a big difference when you’re first learning. For guidance on what tools I use to poke shells like Kahelelani, Momi, or Laiki, you can read more in my tools blog.
Pikake is where many journeys begin — and where confidence, patience, and love for the craft start to grow.
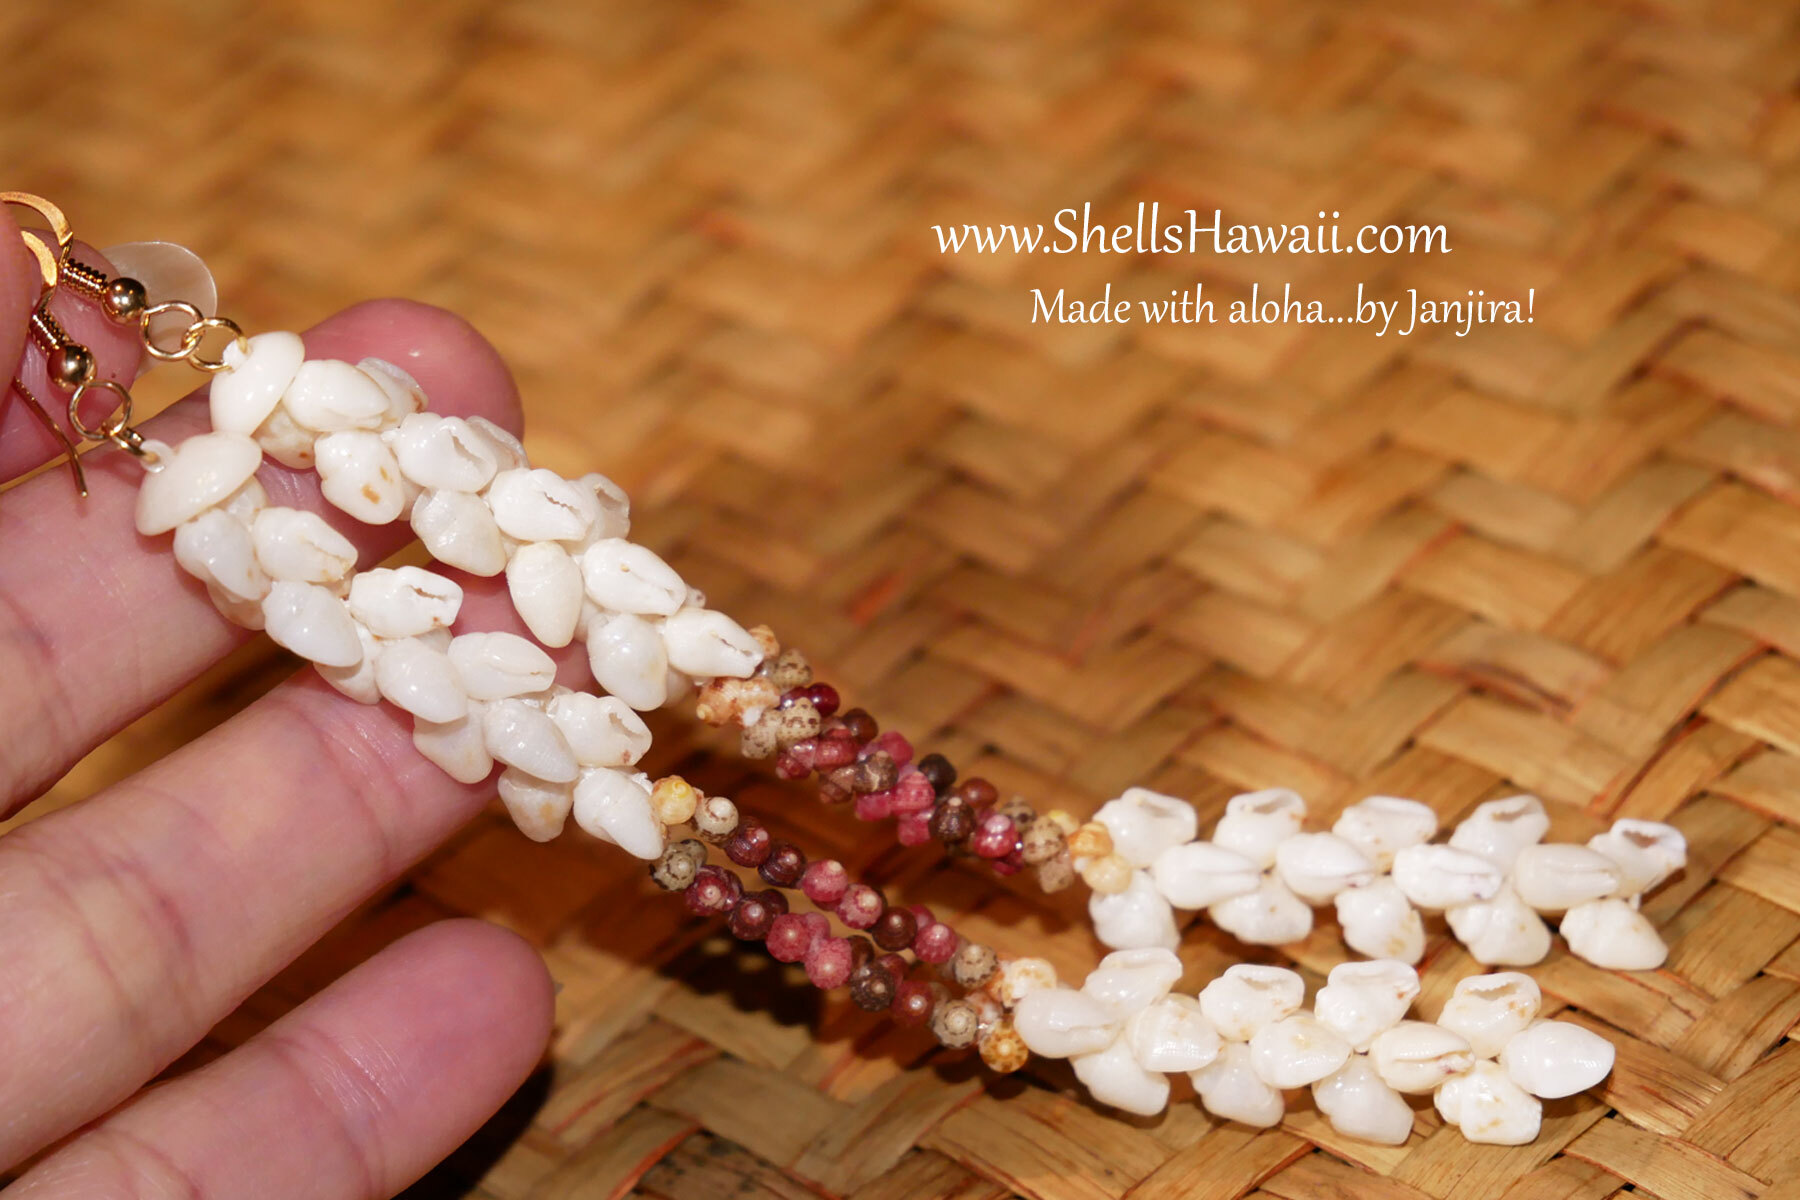
Funky (Popcorn) Style: A Playful Way to Practice
Once you feel comfortable with Pikake, the next fun design to explore is the Funky style, sometimes called the Popcorn style.
This design can be twisty, uneven, and a little wild — but that’s exactly what makes it such a great learning style. Funky doesn’t need to be perfect to be beautiful.
Many beginners see pre-poked Kahelelani shells online and think they already understand how the holes are placed. Then you try it yourself and quickly realize how much placement matters.
Before you ever reach “perfect poking,” you need to practice the basics: how to hold the shell steady, how much pressure to use, and how to guide the needle through without cracking the shell.
Every strand teaches you something new, and every attempt helps your hands grow steadier.
Closing: Your First Accomplishments
By now, you’ve had your first taste of creating — learning Pikake’s soft beauty and experimenting with Funky’s playful twist. These early steps may seem simple, but they are the foundation of everything that follows.
This craft teaches us that every step and every detail matters. It’s never just about poking, stringing, and tying shells together. Each shell carries meaning, history, and beauty, and the process itself is part of honoring that.
Each strand you create is more than practice — it is a step into something meaningful, created with patience, intention, and aloha.
Looking Ahead to Part 2
Once you feel comfortable poking Momi shells and Kahelelani shells, the next step is learning how to combine them together. In Part 2, we’ll begin exploring the Kipona style — a beautiful design that brings these two shell types into one harmonious piece.

Kipona is a natural next style to try once you’ve built confidence with Pikake and practiced your poking skills. It’s where your technique starts to come together and your eye for balance begins to grow.
This will be your next design to explore.
Please stay tuned — we’ll talk more about this in an upcoming blog.
I hope you’ve enjoyed spending this time here, reading and learning along the way. I look forward to seeing you again next time. Until then, enjoy your practice, enjoy your creations… and take your time with each step.
With aloha,
Janjira